Home>Devices & Equipment>Earbuds>How To Pair My Raycon Earbuds
Earbuds
How To Pair My Raycon Earbuds
Modified: January 22, 2024
Discover how to easily pair your Raycon earbuds and enjoy a seamless wireless listening experience. Follow our step-by-step guide to connect your earbuds hassle-free.
(Many of the links in this article redirect to a specific reviewed product. Your purchase of these products through affiliate links helps to generate commission for AudioLover.com, at no extra cost. Learn more)
Table of Contents
Introduction
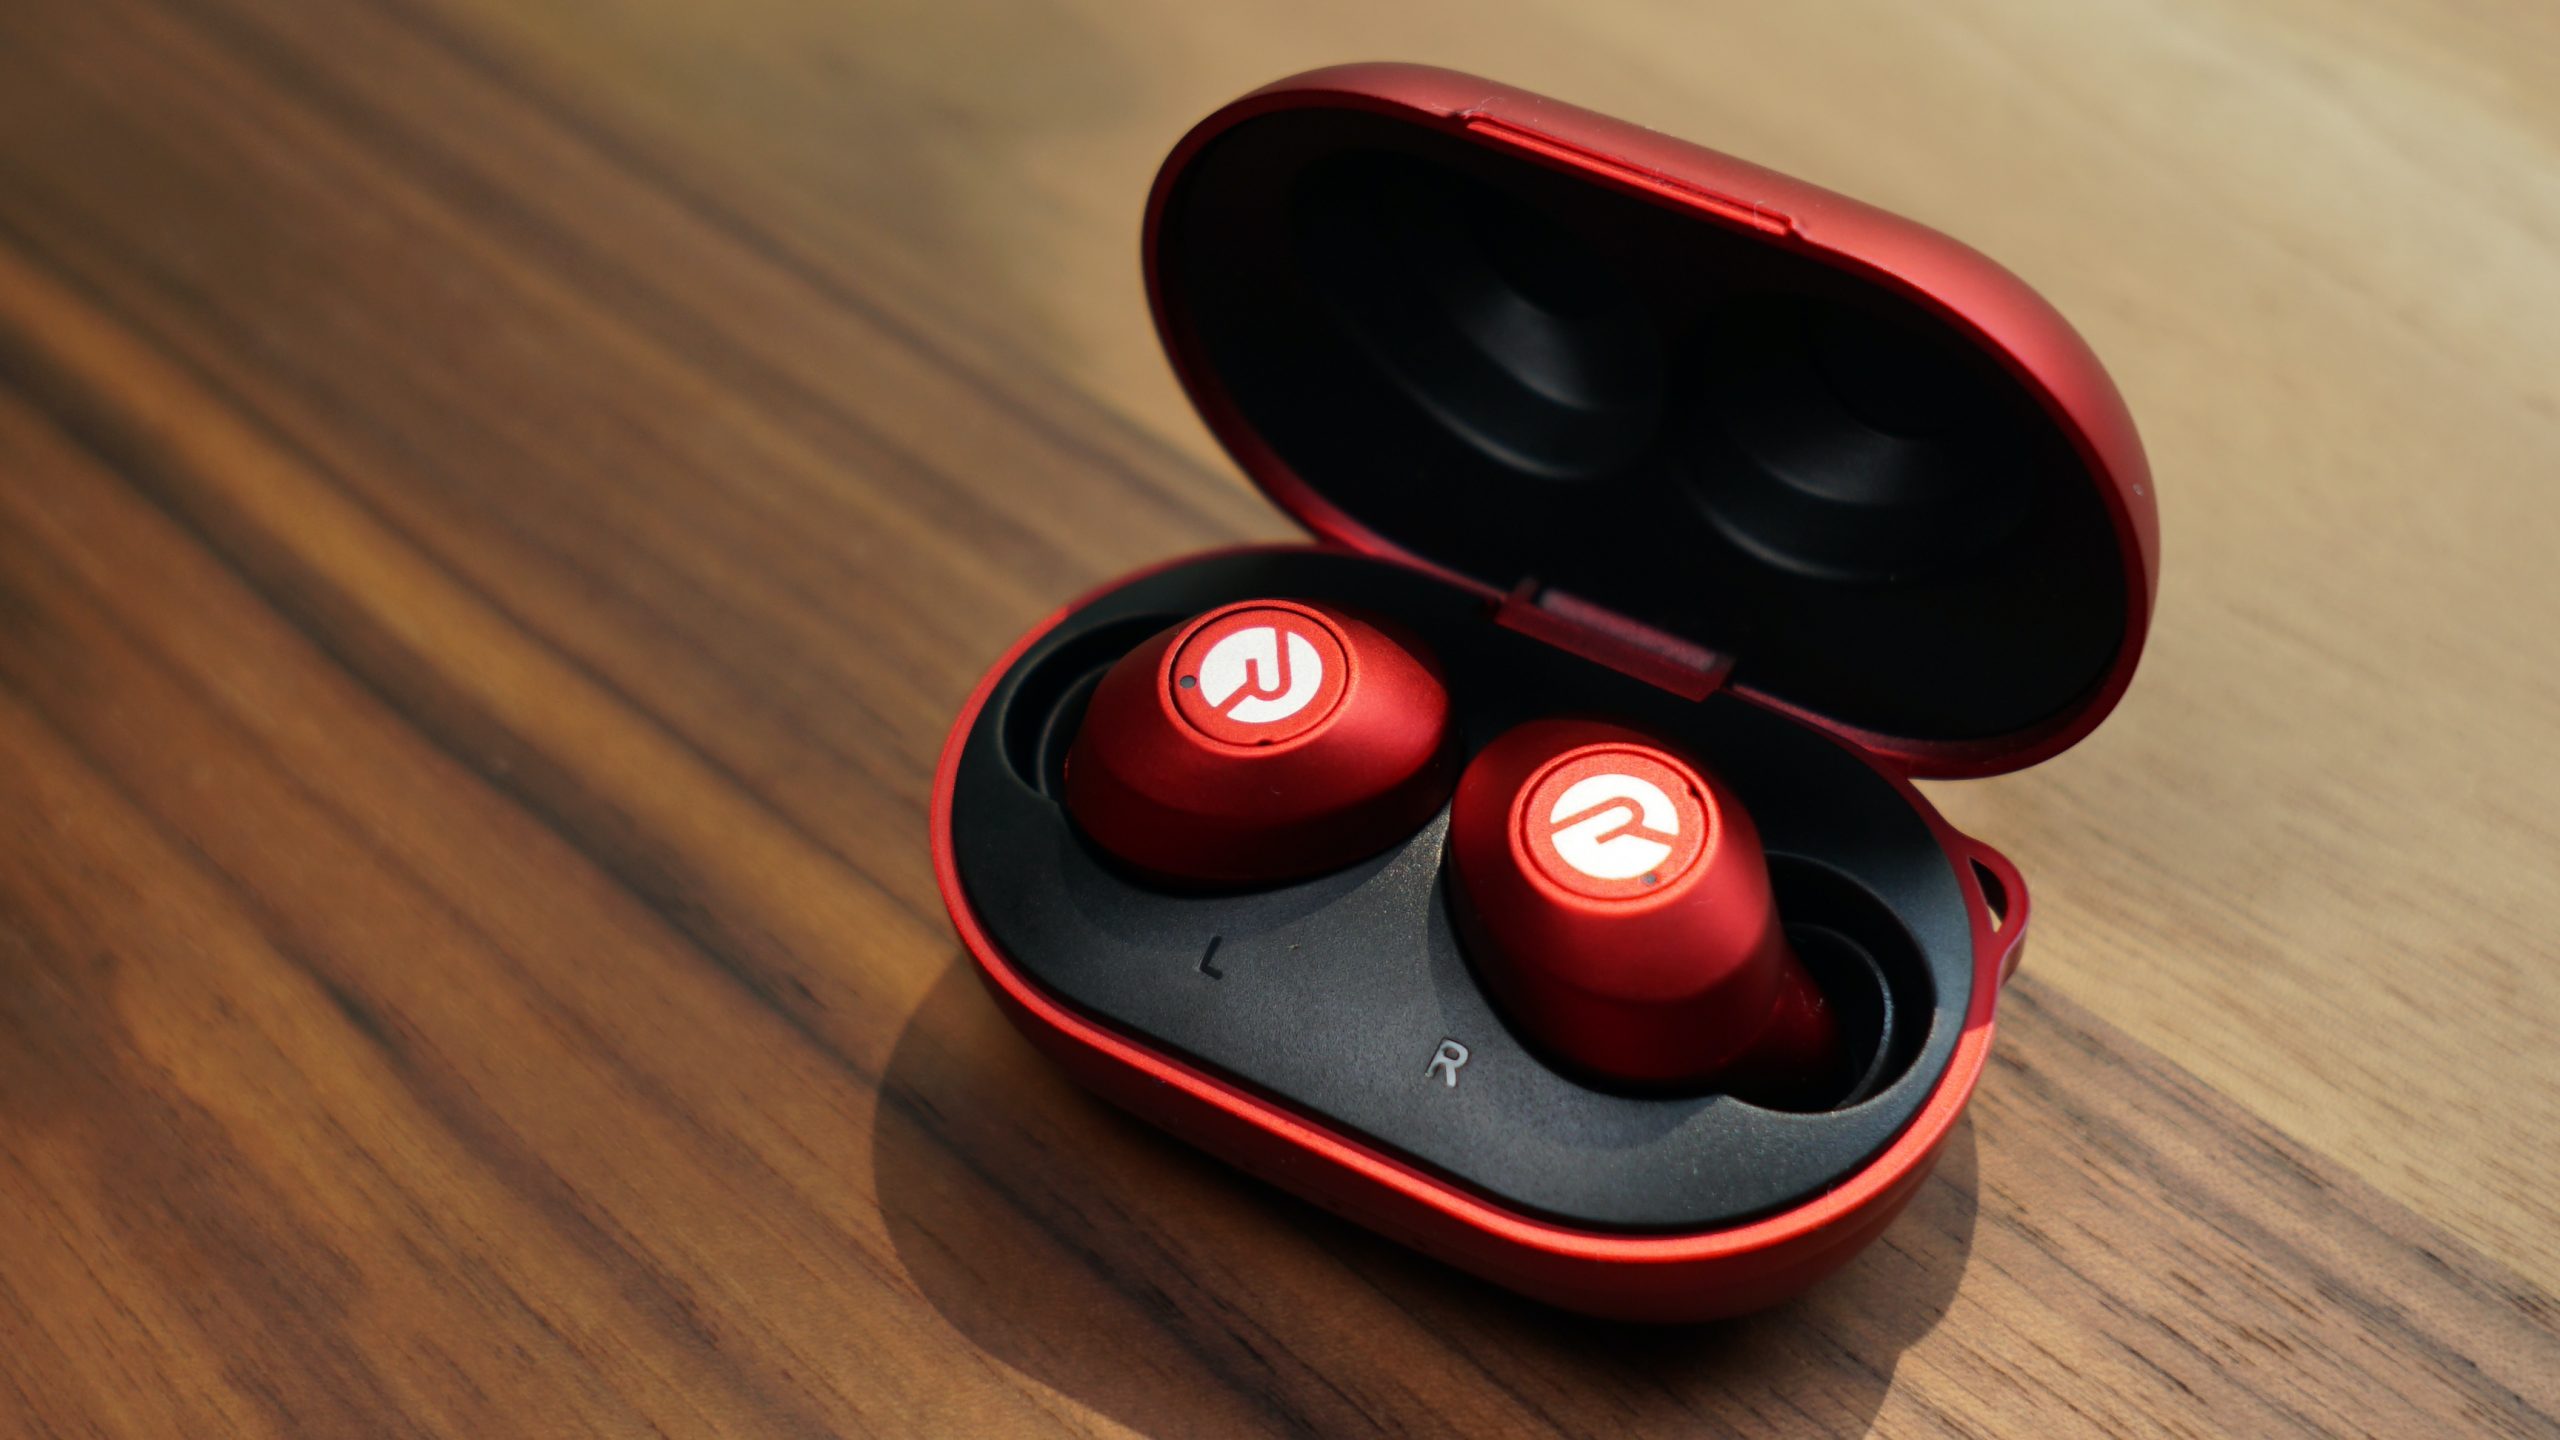
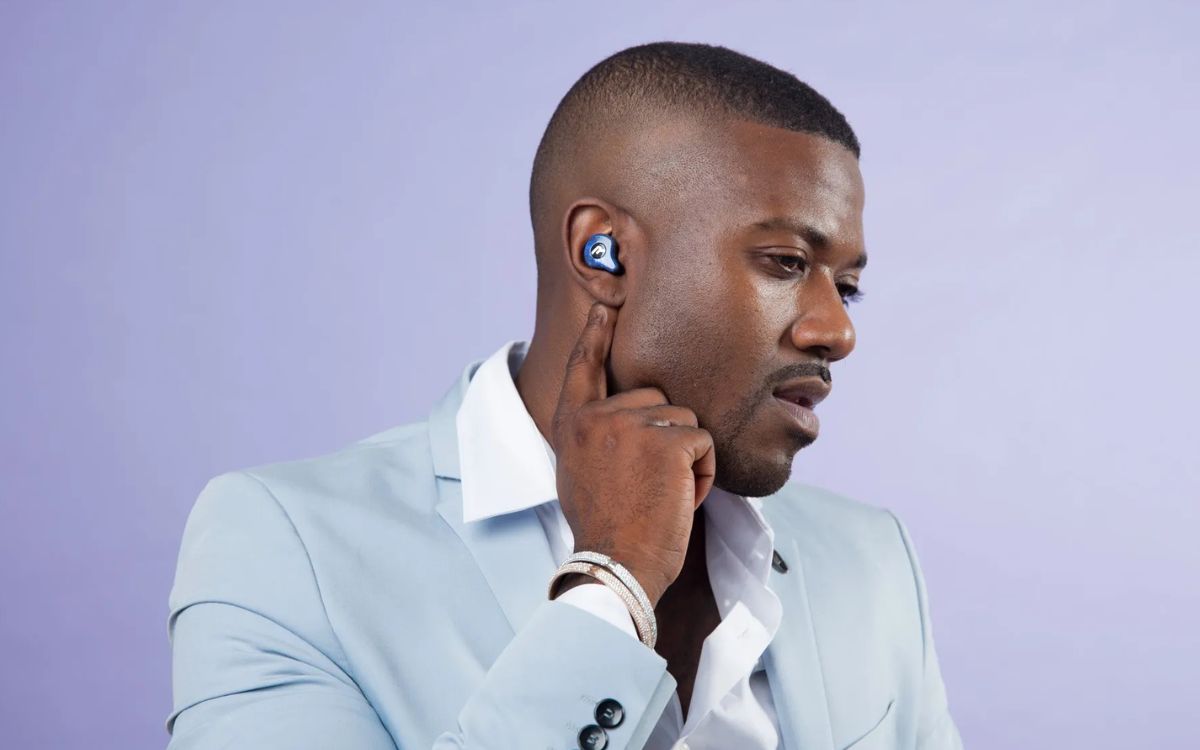
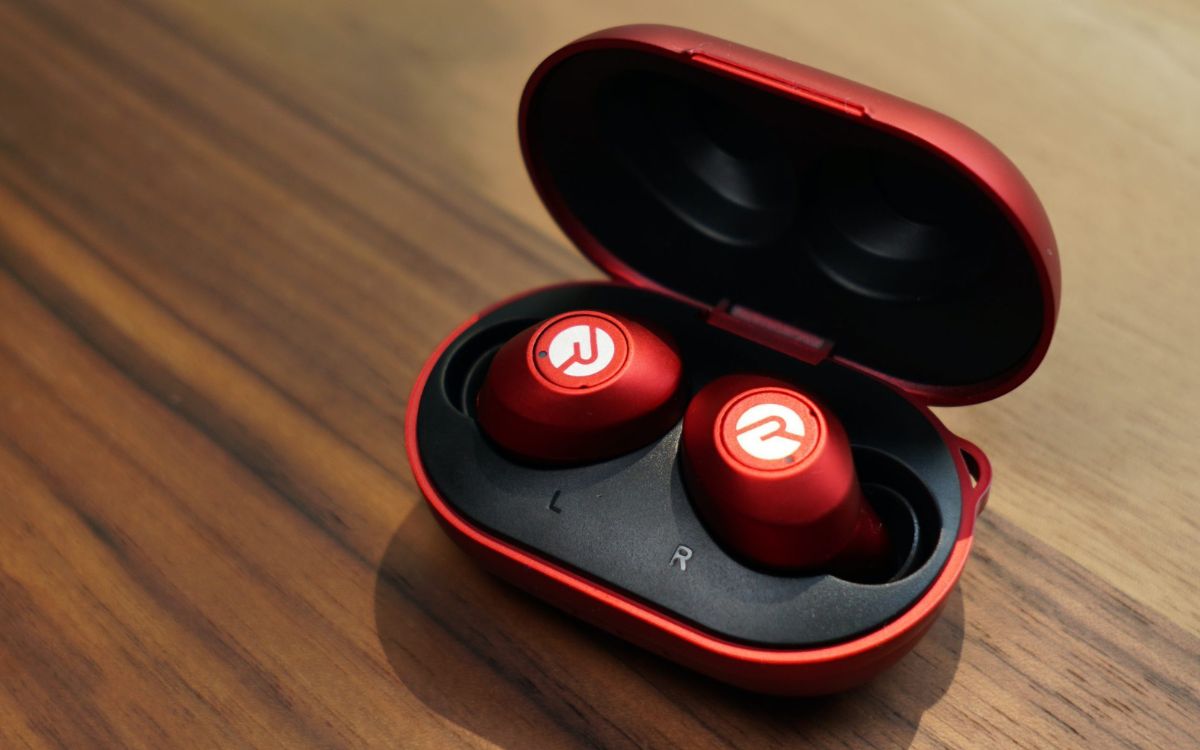
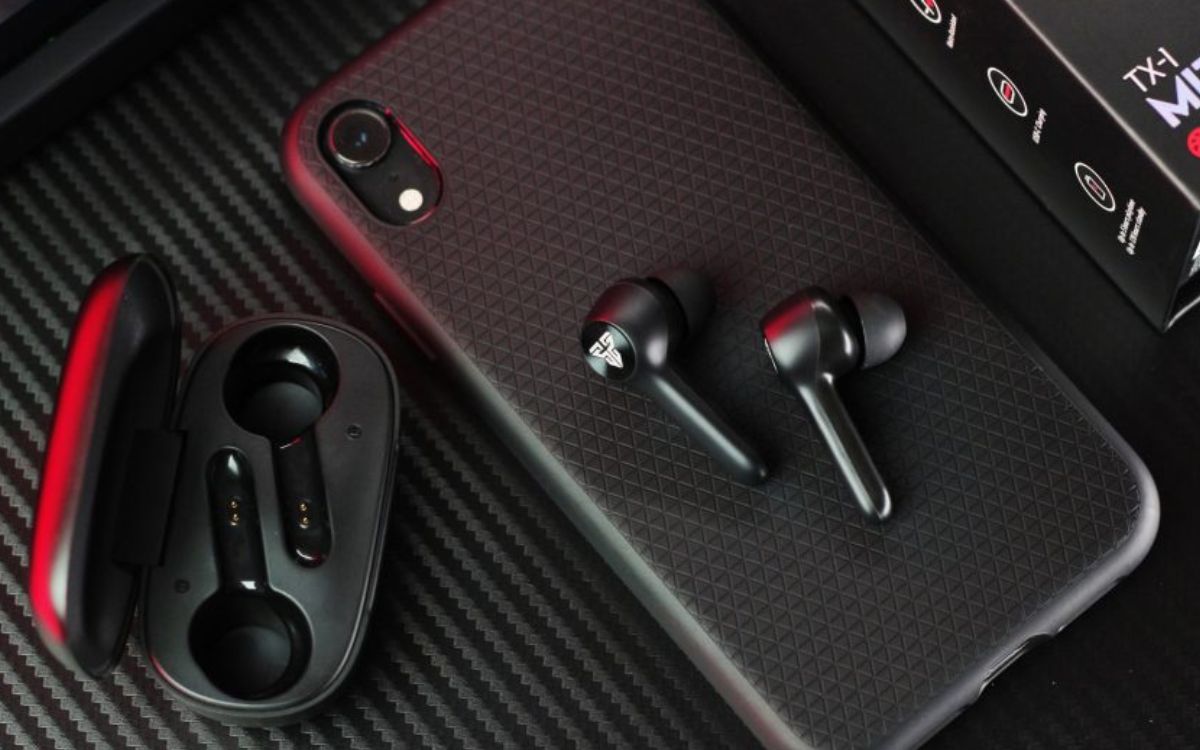
Welcome to the world of Raycon Earbuds! These sleek and innovative earbuds offer a high-quality audio experience and are designed for the modern music lover. Whether you’re a workout enthusiast, a busy commuter, or just someone who appreciates great sound on the go, Raycon Earbuds are the perfect companion.
However, before you can start enjoying your favorite tunes, you need to pair your Raycon Earbuds with your device. Pairing is the process of establishing a wireless connection between your earbuds and your smartphone, tablet, or other compatible device. Once paired, you can listen to music, take calls, and control your audio playback with ease.
If you’re new to the world of wireless earbuds, don’t worry! This step-by-step guide will walk you through the process of pairing your Raycon Earbuds. We’ll cover everything from getting your earbuds ready for pairing to troubleshooting common issues that you may encounter along the way.
So, grab your Raycon Earbuds, charge them up, and let’s dive into the world of wireless audio!
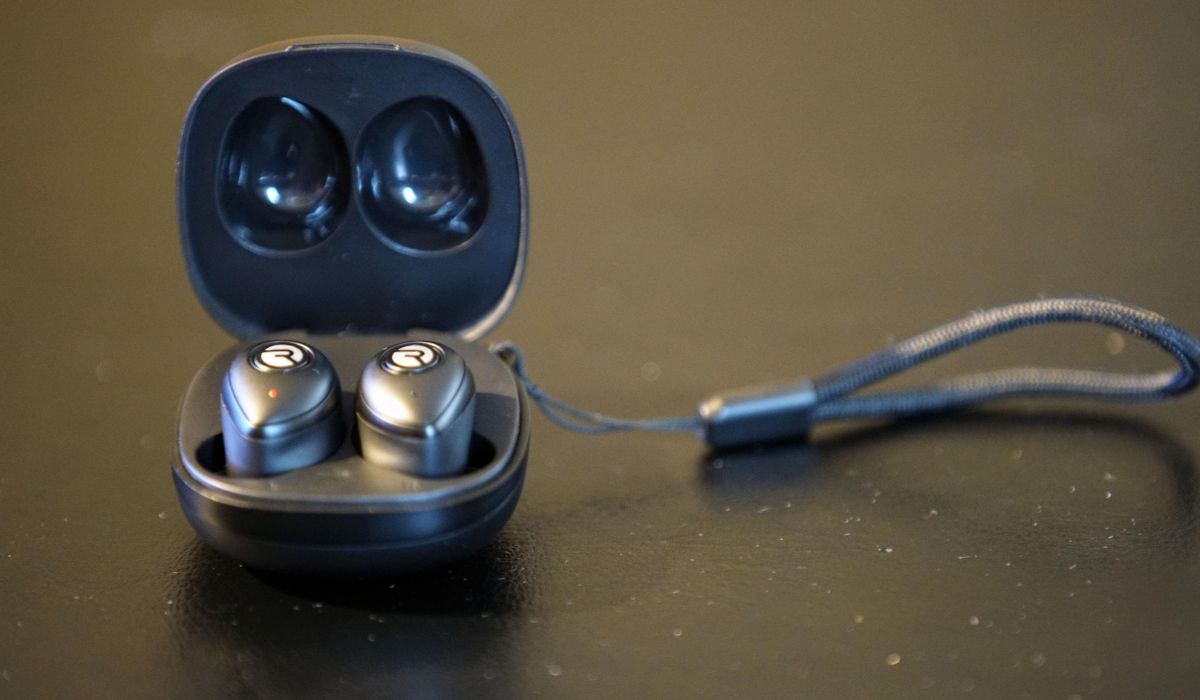
Step 1: Ensure Both Earbuds Are Charged
The first step in pairing your Raycon Earbuds is to ensure that both earbuds are fully charged. While the exact charging time may vary depending on the model you have, it is generally recommended to charge them for at least 1-2 hours to ensure maximum battery life.
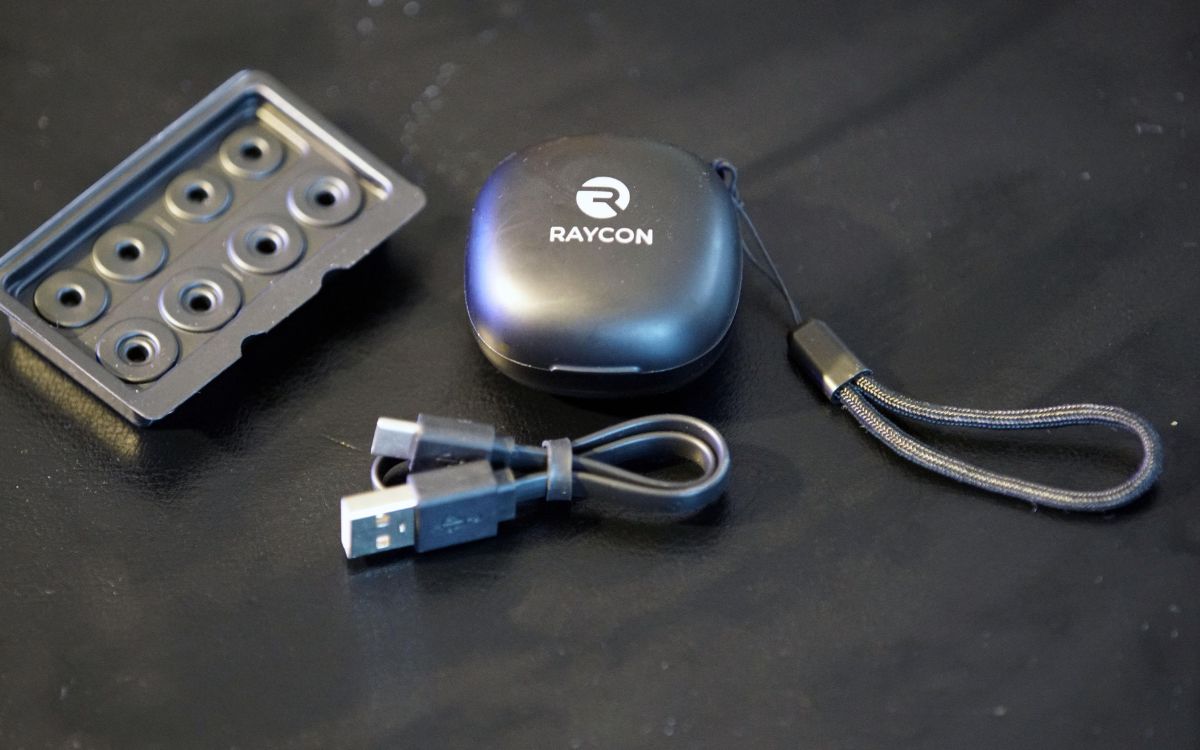
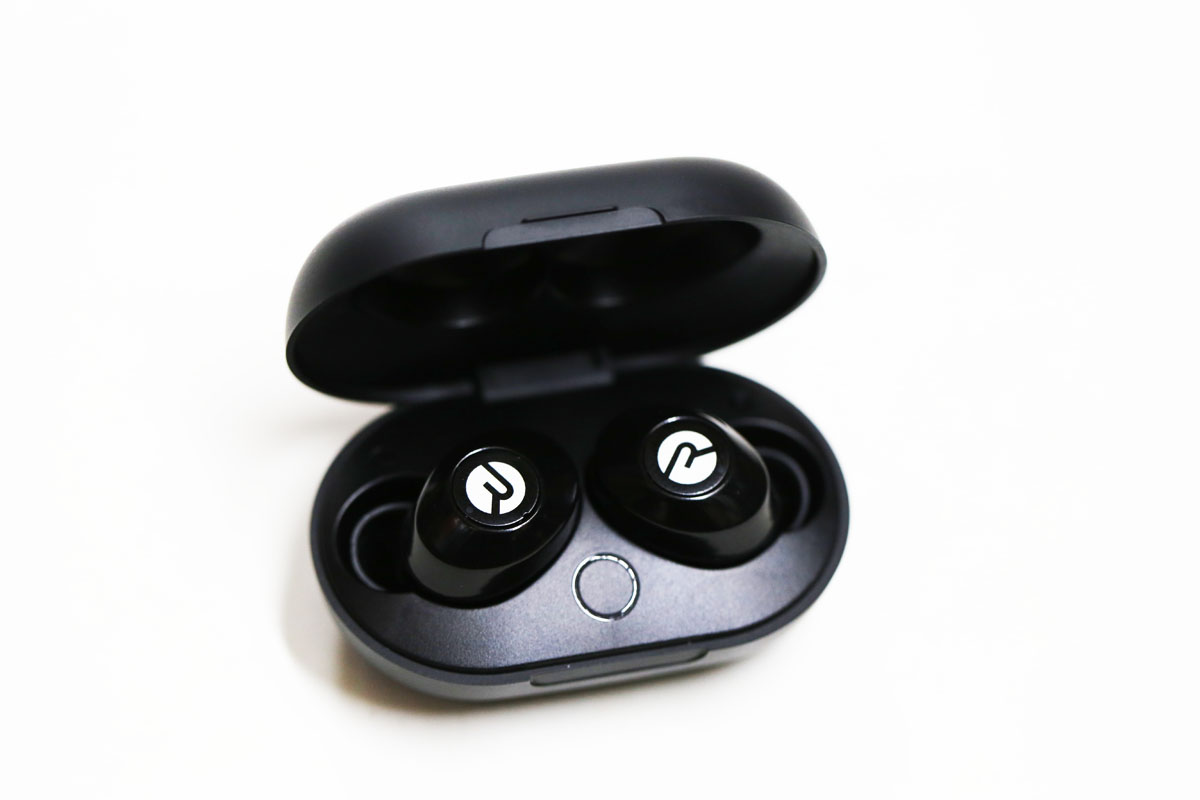
To charge your Raycon Earbuds, simply place them inside the charging case and connect the case to a power source using the provided USB cable. The charging case typically has LED indicators that show the charging status of the earbuds. Once both earbuds are fully charged, the LED indicators will turn solid or change color to indicate a full charge.
Keep in mind that it’s important to charge both earbuds simultaneously to ensure balanced battery usage. If you notice that one earbud is not charging properly or has a significantly shorter battery life than the other, try cleaning the charging connectors on both the earbuds and the charging case with a soft, dry cloth. This can help improve the charging connection and ensure optimal performance.
By making sure that both earbuds are fully charged before starting the pairing process, you’ll be ready to experience uninterrupted audio and a seamless connection with your device.
Step 2: Put the Earbuds in Pairing Mode
Now that your Raycon Earbuds are charged, it’s time to put them in pairing mode. Pairing mode allows your earbuds to be discoverable by your device so that they can establish a wireless connection.
The specific method for putting your Raycon Earbuds in pairing mode may vary depending on the model you have. However, most Raycon Earbuds follow a similar process. Here’s a general guide:
- Ensure that Bluetooth is enabled on your device. This can usually be done by going to the Settings menu and selecting Bluetooth.
- Take both earbuds out of the charging case and ensure that they are turned off.
- Press and hold the power button on both earbuds simultaneously for a few seconds, until you see the LED indicators start flashing or hear an audible voice prompt indicating that the earbuds are in pairing mode.
- Release the power buttons and wait for the LED indicators to continue flashing or for the voice prompt to confirm that the earbuds are in pairing mode.
Once your Raycon Earbuds are in pairing mode, they are ready to be connected to your device.
Note that some Raycon models may have additional features such as touch controls or specific button combinations for entering pairing mode. Refer to the user manual or Raycon’s official website for detailed instructions on your specific model.
Now that your earbuds are in pairing mode, it’s time to move on to the next step and connect them to your device.
Step 3: Connect the Earbuds to Your Device
Now that your Raycon Earbuds are in pairing mode, it’s time to connect them to your device. The process for connecting your earbuds may vary depending on the operating system of your device. Here’s a general guide:
- On your device, navigate to the Bluetooth settings menu. This is usually found in the Settings app.
- Within the Bluetooth settings, you should see a list of available devices. Look for your Raycon Earbuds in the list and select them to initiate the pairing process.
- Some devices may require you to enter a passcode or PIN to complete the pairing. If prompted, refer to the user manual or any documentation provided with your earbuds for the correct passcode.
- Once the pairing process is complete, you should see a confirmation message on your device or hear an audible notification on your Raycon Earbuds.
After successfully connecting your Raycon Earbuds to your device, you can start enjoying your favorite music, podcasts, or any other audio content wirelessly.
It’s important to mention that once the initial pairing is complete, your Raycon Earbuds should automatically connect to your device whenever they are in range and Bluetooth is enabled. This means that you can simply take your earbuds out of the charging case, put them in your ears, and they will connect seamlessly.
If you’re having trouble connecting your earbuds to your device, try the following troubleshooting steps:
- Make sure your device and earbuds are close to each other, as distance can affect the quality and stability of the Bluetooth connection.
- Restart your device and try the pairing process again.
- Reset your earbuds by placing them back into the charging case and removing them again, then attempt to pair them as described earlier.
- If all else fails, consult Raycon’s customer support or refer to the user manual for further assistance.
Now that your Raycon Earbuds are successfully connected to your device, you can enjoy a wireless audio experience like never before.
Step 4: Test the Connection
Once you’ve connected your Raycon Earbuds to your device, it’s important to test the connection to ensure everything is working properly. Testing the connection will allow you to verify that the audio is playing through both earbuds and that there are no distortions or connectivity issues.
To test the connection, follow these steps:
- Open a media player or streaming app on your device and play a song or audio file.
- Ensure that both earbuds are securely and comfortably placed in your ears.
- Pay attention to the audio playback and make sure that you can hear the sound clearly through both earbuds.
- Move around a little and test the stability and range of the connection. Try walking a few steps away from your device to see if the audio remains uninterrupted.
- If you notice any issues such as sound dropping out, crackling, or only one earbud working, try the following troubleshooting steps:
- Ensure that there are no obstacles or interference between your device and the earbuds, as this can impact the Bluetooth signal.
- Verify that the earbuds are firmly seated in your ears and that they have a proper seal.
- Try adjusting the volume levels on your device or the earbuds to see if that improves the sound quality.
- If you’re using a multi-device connection, make sure that the audio source is not being played simultaneously on another connected device.
If you continue to experience issues with the connection or audio quality, refer to the troubleshooting section in the user manual or reach out to Raycon’s customer support for further assistance.
Once you’ve confirmed that the connection is stable and the audio quality is excellent, you can enjoy your music, podcasts, or calls with the freedom and convenience of your Raycon Earbuds.
Troubleshooting Common Issues
While pairing and connecting your Raycon Earbuds is generally a smooth process, there may be some common issues that you may encounter. Don’t worry! We’ve got you covered with some troubleshooting tips to help you resolve these issues:
1. Earbuds not entering pairing mode: If you’re having trouble putting your earbuds in pairing mode, make sure to follow the correct instructions for your specific model. If the issue persists, try resetting the earbuds by placing them back in the charging case and removing them again before attempting to pair them.
2. Connectivity issues: If you experience issues with the Bluetooth connection, try the following steps:
- Ensure that your Raycon Earbuds and your device are within the recommended range for a stable connection.
- Turn Bluetooth off and on again on your device.
- Try forgetting the device from your Bluetooth settings and then reconnecting it.
- Reset your earbuds by placing them back in the charging case and removing them again.
3. Audio imbalance: If you notice an imbalance in the audio between the left and right earbuds, try the following:
- Ensure that both earbuds are clean and the charging connectors are free from debris.
- Try resetting the earbuds by placing them back in the charging case and removing them again.
- If the issue persists, contact Raycon customer support for further assistance.
4. Charging issues: If you’re experiencing difficulty charging your earbuds or the battery life seems to be significantly shorter than expected, try these steps:
- Ensure that the charging case and cables are clean and free from any debris.
- Try using a different USB cable or charging adapter to eliminate the possibility of a faulty power source.
- Make sure that the earbuds are properly aligned with the charging contacts in the case.
If none of these troubleshooting steps resolve your issue, it’s best to reach out to Raycon’s customer support for personalized assistance. They will be able to provide you with specific guidance and solutions based on your particular situation.
Remember, patience and perseverance are key when troubleshooting. With a little troubleshooting, you’ll be back to enjoying your favorite music with your Raycon Earbuds in no time!
Conclusion
Congratulations! You’ve successfully learned how to pair your Raycon Earbuds and connect them to your device. Now, you can enjoy the freedom of wireless audio and experience the exceptional sound quality that Raycon Earbuds have to offer.
Throughout this guide, we covered the essential steps to ensure a seamless pairing process. From ensuring both earbuds are charged to putting them in pairing mode and connecting them to your device, you now have the knowledge to set up your Raycon Earbuds with confidence.
In addition, we discussed troubleshooting common issues that may arise during the pairing and connection process. Remember, if you experience any difficulties, don’t hesitate to consult the user manual or reach out to Raycon’s customer support. They are always ready to assist you and provide solutions to any challenges you may encounter.
With your Raycon Earbuds, you can enjoy the convenience of wireless audio during workouts, commutes, or daily activities. Immerse yourself in your favorite music, podcasts, or calls, all without the hassle of tangled wires.
So go ahead, put on your Raycon Earbuds, and let the music transport you to a whole new level of audio enjoyment. From here on out, wireless freedom and exceptional sound quality will be at your fingertips!