Home>Devices & Equipment>Earbuds>How To Reboot Raycon Earbuds
Earbuds
How To Reboot Raycon Earbuds
Modified: January 22, 2024
Learn how to reboot your Raycon earbuds and fix common issues with this comprehensive guide. Ensure optimal performance and enjoy uninterrupted audio.
(Many of the links in this article redirect to a specific reviewed product. Your purchase of these products through affiliate links helps to generate commission for AudioLover.com, at no extra cost. Learn more)
Table of Contents
Introduction
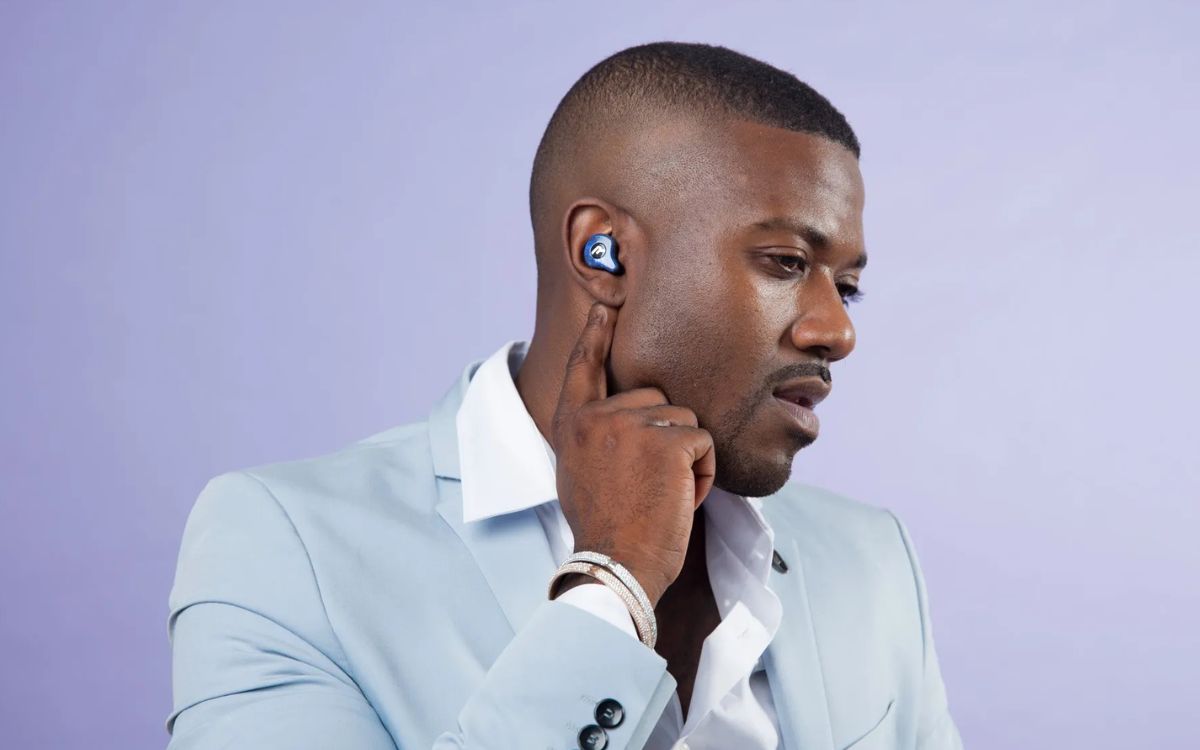
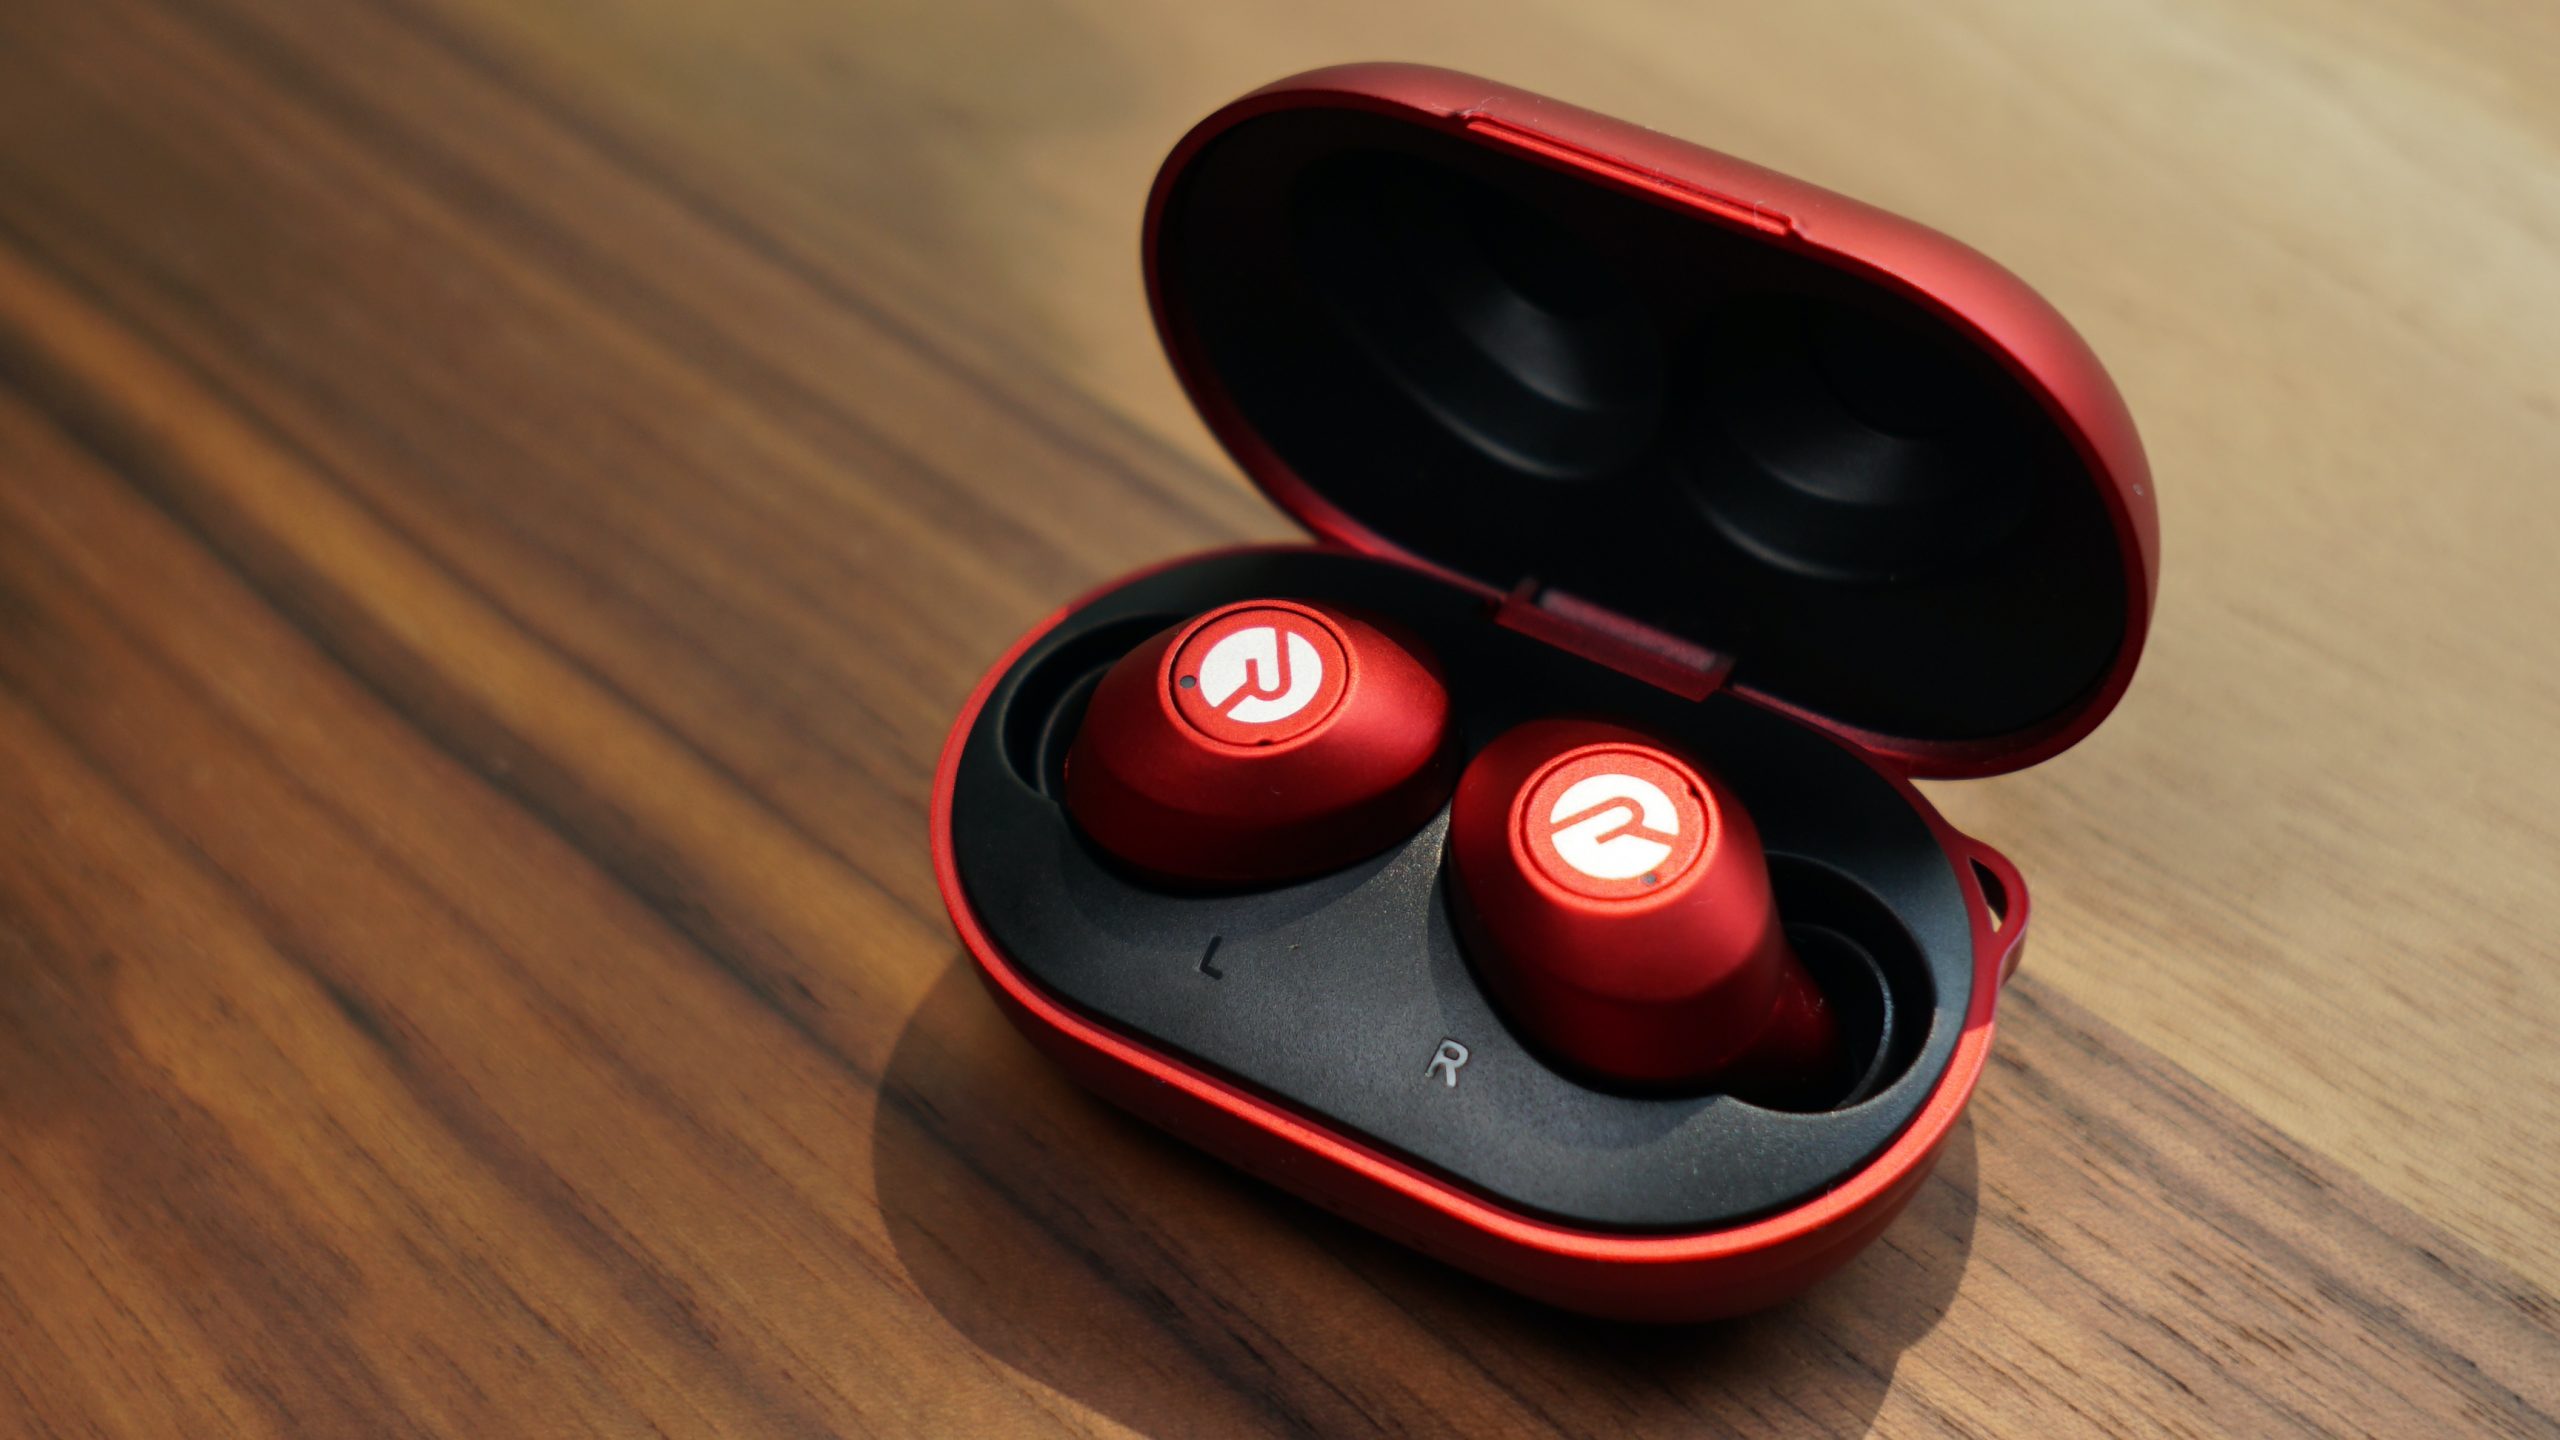
Welcome to the world of Raycon Earbuds! These sleek and stylish wireless earbuds have gained popularity for their superior sound quality, comfortable fit, and impressive battery life. Whether you are using them for workouts, commuting, or just enjoying your favorite tunes, Raycon Earbuds are designed to provide an immersive audio experience.
However, like any electronic device, there may be instances where your Raycon Earbuds encounter a glitch or require a reboot. It’s important to know how to reset and reconnect your earbuds to get them back to optimal performance. In this article, we will guide you through the steps on how to reboot your Raycon Earbuds effectively.
Before we dive into the process, it’s worth mentioning that rebooting your Raycon Earbuds can help resolve connectivity issues, sound problems, or other minor glitches you may encounter. By following these steps, you’ll be able to ensure that your earbuds are working at their best and ready to deliver crystal-clear audio.
Step 1: Putting the Raycon Earbuds into Pairing Mode
Before you can reset or reconnect your Raycon Earbuds, you need to put them into pairing mode. Pairing mode allows your earbuds to establish a connection with your device and enables seamless communication between them. Here’s how you can put your Raycon Earbuds into pairing mode:
- First, make sure that your Raycon Earbuds are fully charged. It’s always a good idea to start with a full battery to ensure a smooth pairing process.
- Next, take both earbuds out of the charging case and make sure they are turned off. You can turn them off by pressing and holding the power button until the LED light indicator turns off.
- Once your earbuds are turned off, press and hold the power button on both earbuds simultaneously for about 3 to 5 seconds. You will notice that the LED light indicator on both earbuds starts to flash, indicating that they are now in pairing mode.
- At this point, your Raycon Earbuds are ready to be paired with your device. Open the Bluetooth settings on your device and look for the Raycon Earbuds in the list of available devices. Select them to initiate the pairing process.
Note: The pairing process may vary slightly depending on the model of your Raycon Earbuds. It’s always a good idea to refer to the user manual that came with your earbuds for specific instructions.
Once your Raycon Earbuds are successfully paired with your device, you can move on to the next step in the rebooting process. Remember that putting your earbuds into pairing mode is essential for establishing a stable connection and ensuring the best user experience.
Step 2: Resetting the Raycon Earbuds
In some cases, you may encounter issues with your Raycon Earbuds that can be resolved by performing a reset. Resetting your earbuds essentially restores them to their original factory settings, erasing any customized settings or saved data. Here’s how you can reset your Raycon Earbuds:
- Ensure that your Raycon Earbuds are turned off and not connected to any devices.
- Place both earbuds back into the charging case and close the lid to ensure they are in the proper position for resetting.
- Once the earbuds are in the case, press and hold the button on the back of the case for approximately 10 seconds. You may see the LED lights on the front of the case flash or change colors during this process.
- Release the button after 10 seconds and open the lid of the charging case.
- Your Raycon Earbuds have now been reset and are ready to be reconnected to your device.
Note: Resetting your earbuds should only be done as a troubleshooting measure when you are experiencing persistent issues. If your Raycon Earbuds are functioning properly, there is typically no need to reset them.
It’s important to keep in mind that resetting your Raycon Earbuds will unlink them from any previously paired devices. This means you will need to go through the pairing process again to reconnect them to your device. Don’t worry, we will cover that in the next step.
Resetting your Raycon Earbuds can often resolve connectivity issues, sound problems, or other minor glitches. If you are still experiencing issues after resetting, proceed to the next step for reconnecting your earbuds to your device.
Step 3: Reconnecting the Raycon Earbuds to Your Device
After resetting your Raycon Earbuds, you’ll need to reconnect them to your device in order to enjoy your favorite music and audio once again. Follow these steps to successfully reconnect your Raycon Earbuds:
- Make sure your Raycon Earbuds are out of the charging case and turned on. If they are turned off, press and hold the power button on each earbud to turn them on.
- Access the Bluetooth settings on your device and ensure that Bluetooth is turned on.
- In the list of available devices, you should see your Raycon Earbuds. Select the name of your earbuds to initiate the connection process.
- Once you have selected your Raycon Earbuds, your device will attempt to establish a connection. You may see a prompt on your device asking for permission to connect to the earbuds. Approve the connection request.
- After a few moments, your device should successfully pair with your Raycon Earbuds. You may hear a voice prompt or see an on-screen notification confirming the successful connection.
It’s important to note that the reconnection process may vary depending on the operating system and device you are using. In some cases, you may need to re-enter the pairing mode on your earbuds before they are visible to your device again.
If you are experiencing difficulty reconnecting your Raycon Earbuds, ensure that they are charged and within range of your device. Additionally, try turning Bluetooth off and on again on your device to refresh the connection.
Once your Raycon Earbuds are successfully reconnected to your device, you can enjoy your music, podcasts, and calls with the premium audio quality they deliver. If you continue to experience issues, consider contacting Raycon customer support for further assistance.
Step 4: Troubleshooting Tips
Even after following the previous steps, you may still encounter issues with your Raycon Earbuds. Before reaching out for further assistance, consider trying these troubleshooting tips to resolve common problems:
- Ensure a proper fit: Make sure that the earbuds are securely and comfortably in your ears. Adjust the ear tips or ear wings if necessary to achieve a snug fit.
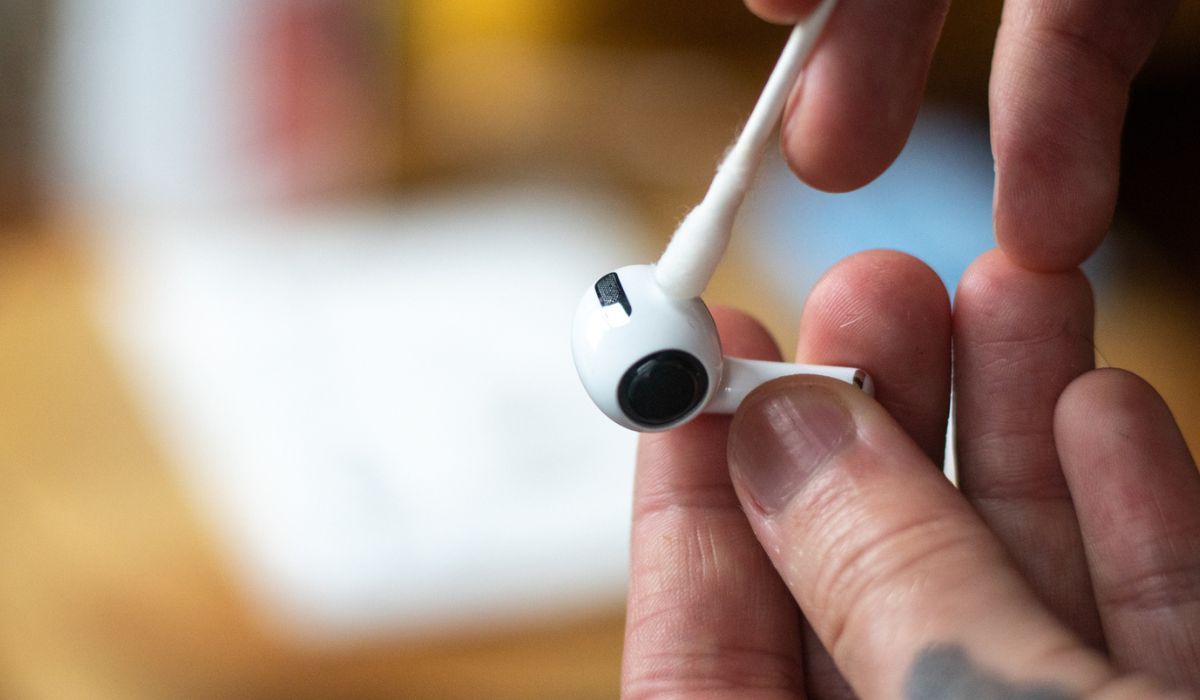
- Clean the earbuds: Over time, earwax or debris can accumulate on the earbuds and affect their performance. Clean them gently using a soft, dry cloth or a cotton swab.
- Update firmware: Check if there are any firmware updates available for your Raycon Earbuds. Keeping the firmware up-to-date can often resolve bugs and improve overall performance.
- Restart your device: Sometimes, issues can be related to your device rather than the earbuds. Try restarting your smartphone, tablet, or computer to refresh the system and reconnect the earbuds.
- Try a different device: If you’re experiencing connectivity or sound issues with one device, try connecting your Raycon Earbuds to a different device to determine if the problem lies with the earbuds or device.
- Reset network settings: If you’re having trouble with Bluetooth connectivity, resetting the network settings on your device can help. Keep in mind that this will reset all network-related settings, so be prepared to reconnect to Wi-Fi networks as well.
If you have exhausted all troubleshooting options and continue to experience persistent issues with your Raycon Earbuds, it’s advisable to contact Raycon’s customer support for further assistance. They will be able to provide specific guidance and potentially offer a solution or replacement if necessary.
By following these troubleshooting tips, you can often resolve common problems and enjoy a seamless audio experience with your Raycon Earbuds.
Conclusion
Rebooting your Raycon Earbuds may seem like a daunting task, but with the right guidance, it can be a simple and effective way to resolve common issues and ensure optimal performance. By following the steps outlined in this article, you can easily put your earbuds into pairing mode, reset them if needed, and reconnect them to your device.
Remember, the key to a successful reboot is to ensure that your Raycon Earbuds are fully charged, in a stable position, and have been properly reset before attempting to reconnect them to your device. These steps will help troubleshoot connectivity issues, sound problems, or other minor glitches you may encounter.
In addition to the rebooting process, we also provided some troubleshooting tips that can come in handy if you continue to experience difficulty with your Raycon Earbuds. These tips include checking for a proper fit, cleaning the earbuds, updating firmware, restarting your device, trying a different device, and resetting network settings.
However, if the issues persist even after trying these troubleshooting steps, it’s always a good idea to reach out to Raycon’s customer support for further assistance. They have dedicated experts who can provide personalized guidance and solutions to address any concerns you may have.
With their stylish design, impressive sound quality, and convenient wireless functionality, Raycon Earbuds are a fantastic choice for music lovers and technology enthusiasts. By familiarizing yourself with the rebooting process and troubleshooting techniques, you can ensure that your Raycon Earbuds continue to provide you with an exceptional audio experience for years to come.