Home>Devices & Equipment>Earbuds>How To Pair My Samsung Earbuds To My Laptop
Earbuds
How To Pair My Samsung Earbuds To My Laptop
Modified: January 22, 2024
Learn how to easily pair your Samsung earbuds with your laptop and enjoy wireless audio on the go. Follow our step-by-step guide to connect your earbuds to your laptop.
(Many of the links in this article redirect to a specific reviewed product. Your purchase of these products through affiliate links helps to generate commission for AudioLover.com, at no extra cost. Learn more)
Table of Contents
Introduction
Welcome to the world of wireless freedom and immersive audio experience with Samsung earbuds! With these sleek and stylish devices, you can enjoy your favorite music, take calls, and even connect them to your laptop for a seamless audio experience while working or watching movies.
In this article, we will walk you through the step-by-step process of pairing your Samsung earbuds to your laptop. Whether you have the latest Galaxy Buds or the Gear IconX, the pairing process is generally the same. By following these simple instructions, you’ll be able to connect your earbuds to your laptop and enjoy the convenience of wire-free audio.
Before we jump into the details, it’s important to note that the pairing process may vary slightly depending on the model of your Samsung earbuds and the operating system of your laptop. However, the fundamental steps remain the same, and we will cover the general process that applies to most Samsung earbuds and laptops.
So, if you’re ready to enhance your audio experience and unleash the full potential of your Samsung earbuds, let’s dive in and get started with the pairing process!
Step 1: Check the compatibility of your Samsung earbuds and laptop
Before attempting to pair your Samsung earbuds with your laptop, it’s important to ensure that they are compatible with each other. Compatibility depends on both the model of your earbuds and the specific requirements of your laptop.
To check the compatibility, start by consulting the user manual or the official website of your Samsung earbuds. Look for information regarding compatibility with laptops or Bluetooth-enabled devices. This will provide you with a clear indication of whether your earbuds can be paired with your laptop.
Next, check the specifications of your laptop for Bluetooth compatibility. Most laptops nowadays come with built-in Bluetooth capabilities, but it’s always a good idea to double-check. If your laptop doesn’t have Bluetooth, you may need to purchase a Bluetooth adapter, which plugs into a USB port and enables Bluetooth connectivity.
Additionally, make sure that both your Samsung earbuds and laptop are running the latest software or firmware versions. Keeping your devices updated ensures optimal performance and compatibility. Visit the official Samsung website or the manufacturer’s website of your laptop to download and install any available updates.
Once you have confirmed the compatibility and updated the software on your devices, you’re ready to proceed to the next step: turning on Bluetooth on your laptop.
Step 2: Turn on Bluetooth on your laptop
In order to pair your Samsung earbuds with your laptop, you need to ensure that the Bluetooth functionality is turned on. This allows your laptop to discover and connect to nearby Bluetooth devices, including your earbuds.
The process of turning on Bluetooth may vary depending on the operating system of your laptop. Here are the general steps to enable Bluetooth on some commonly used operating systems:
- Windows: On Windows 10, click on the Start button and go to Settings. From there, click on the Devices option and select Bluetooth & other devices. Toggle the Bluetooth switch to turn it on.
- macOS: On a Mac, click on the Apple menu, go to System Preferences, and select Bluetooth. In the Bluetooth preferences window, ensure that the Bluetooth checkbox is selected to turn it on.
- Linux: The process may vary depending on the Linux distribution you’re using. Generally, you can find the Bluetooth settings in the system settings or system preferences. Look for a Bluetooth icon or an option named Bluetooth to enable it.
Once Bluetooth is turned on, your laptop is now ready to discover and connect to nearby devices. Keep the Bluetooth settings window open on your laptop, as you will need it in the next step when putting your Samsung earbuds in pairing mode.
Now that Bluetooth is activated on your laptop, let’s move on to the next step: putting your Samsung earbuds in pairing mode.
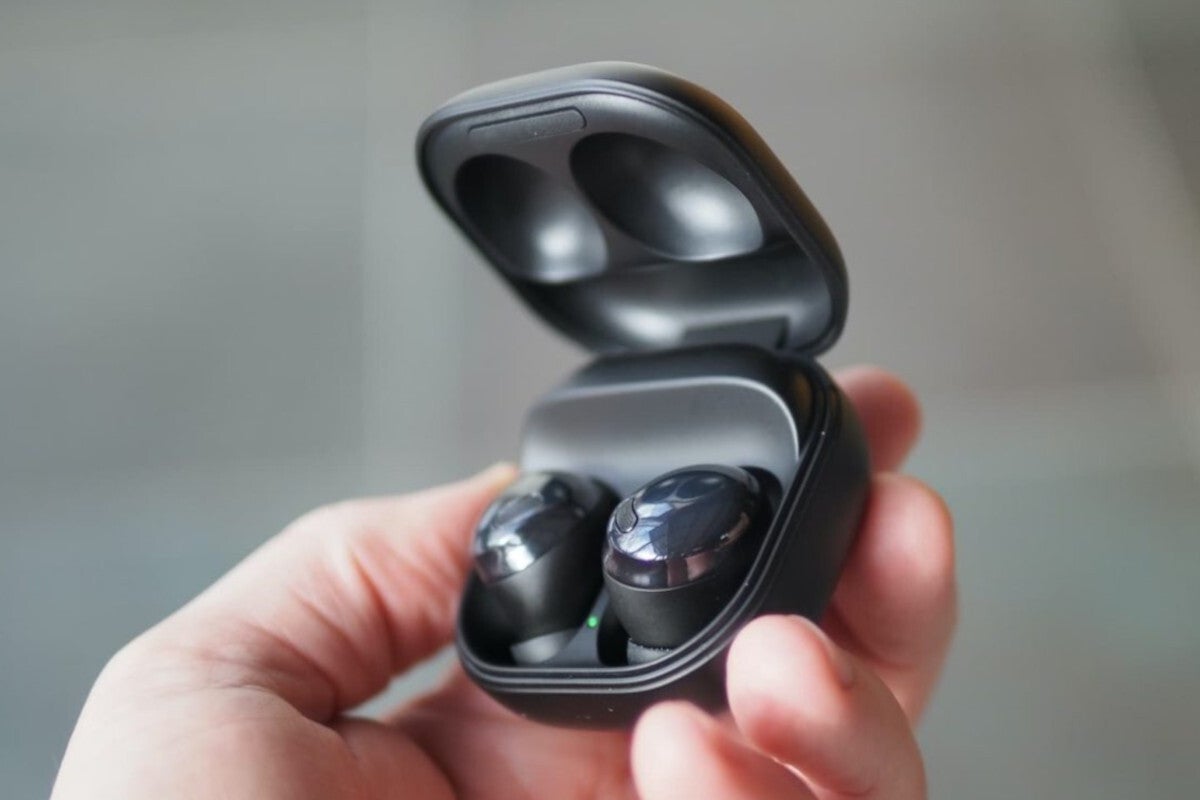
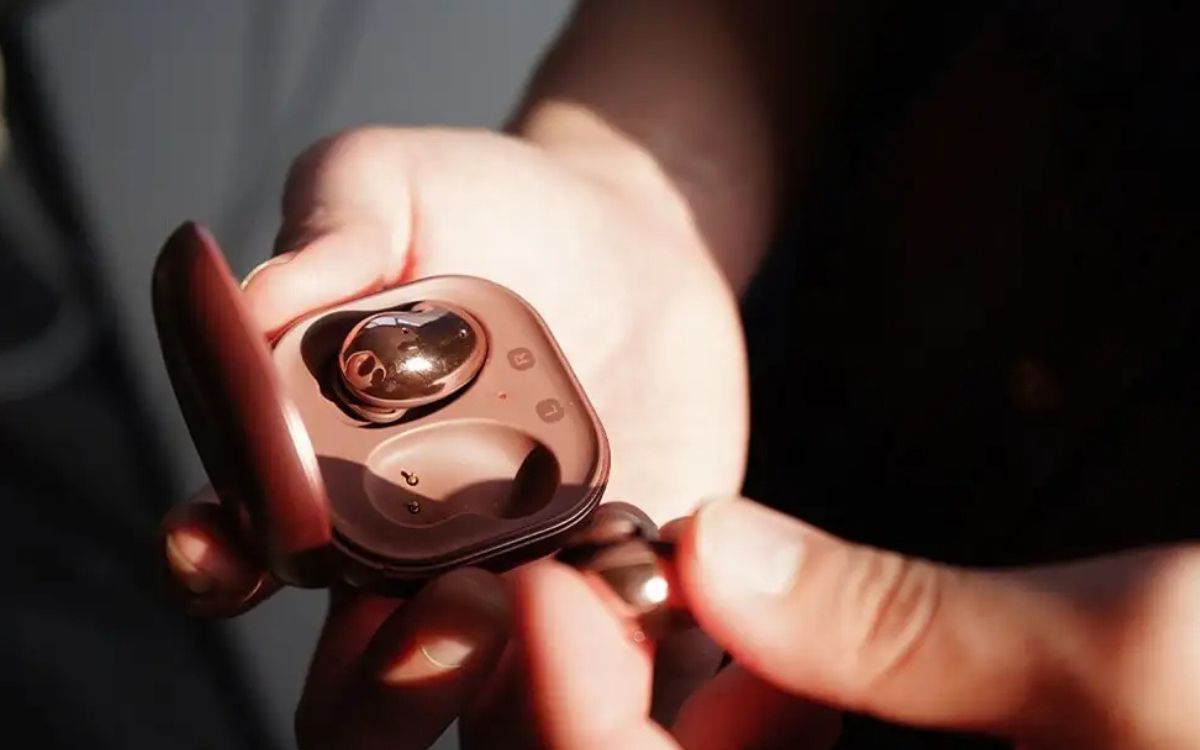
Step 3: Put your Samsung earbuds in pairing mode
In order for your laptop to discover and establish a connection with your Samsung earbuds, you need to put them in pairing mode. Pairing mode allows the earbuds to broadcast their availability for connection.
Putting Samsung earbuds in pairing mode typically involves a specific button combination or a long press on the earbuds themselves. Here’s a general guide on how to put various Samsung earbuds models in pairing mode:
- Galaxy Buds: To put Galaxy Buds in pairing mode, first ensure that the earbuds are not in use and are fully charged. Then, press and hold the touchpad on both earbuds simultaneously for a few seconds until the LED indicators on the earbuds start blinking in white or blue.
- Galaxy Buds Pro: To put Galaxy Buds Pro in pairing mode, open the Galaxy Wearable app on your smartphone and tap on the menu icon. From there, tap on the “Settings” option and select “About earbuds”. Finally, tap on “Reset earbuds” and follow the on-screen instructions to put them in pairing mode.
- IconX (first generation): To put IconX (first generation) in pairing mode, press and hold the touchpad on both earbuds simultaneously for about three seconds until you hear a notification sound indicating that the earbuds are in pairing mode.
It’s essential to consult the user manual or the official Samsung website for your specific model, as the process may vary. Once your Samsung earbuds are successfully in pairing mode, the LED indicators or audio cues will confirm it.
With your earbuds in pairing mode, you’re now ready to move on to the next step: connecting your Samsung earbuds to your laptop.
Step 4: Connect your Samsung earbuds to your laptop
Now that your Samsung earbuds are in pairing mode, it’s time to connect them to your laptop. The process differs slightly depending on the operating system of your laptop. Here’s a general guide on how to connect your Samsung earbuds to your laptop:
- On your laptop, go to the Bluetooth settings window that you opened in the previous step.
- Click on the “Add a device” or “Scan for devices” button to start the scanning process. Your laptop will search for nearby Bluetooth devices.
- After a few moments, your Samsung earbuds should appear in the list of available devices. Select the name of your earbuds from the list.
- Click on the “Pair” or “Connect” button to initiate the pairing process.
- Follow any on-screen instructions that may appear to complete the pairing process.
During the pairing process, you may be prompted to enter a passcode or confirm a pairing request on both your laptop and earbuds. Make sure to follow the instructions and provide the necessary input to establish the connection successfully.
Once the pairing process is complete, you should see a confirmation message on your laptop indicating that your Samsung earbuds are now connected. The LED indicators on the earbuds or an audio cue may also indicate a successful connection.
With your Samsung earbuds successfully connected to your laptop, you’re now ready to move on to the final step: testing the connection and ensuring everything is working correctly.
Step 5: Test the connection
After successfully connecting your Samsung earbuds to your laptop, it’s important to test the connection to ensure everything is working correctly. By testing the connection, you can verify that the audio is being transmitted without any issues and that you can enjoy a seamless audio experience.
To test the connection, follow these simple steps:
- Play a song or video on your laptop.
- Ensure that the audio output is set to your Samsung earbuds. You can usually select the audio output device by clicking on the audio icon in the taskbar or accessing the sound settings in your operating system.
- Put on your Samsung earbuds and listen to the audio. Make sure that the sound is clear, without any distortion or lag.
- Try adjusting the volume on your laptop and check if the volume changes accordingly on your earbuds.
- If you’re using any multimedia applications on your laptop, such as media players or video conferencing software, test the audio playback and microphone functionality to ensure they are working correctly.
If you encounter any issues during the testing phase, such as poor audio quality, connectivity problems, or issues with the microphone, there are a few troubleshooting steps you can try:
- Ensure that your Samsung earbuds are charged properly. Low battery levels can sometimes cause connectivity problems or impact audio quality.
- Restart both your Samsung earbuds and your laptop and try reconnecting them.
- Make sure that no other devices in the vicinity are interfering with the Bluetooth signal. Move away from sources of interference, such as other wireless devices or crowded Wi-Fi networks.
- Check for any available software or firmware updates for your Samsung earbuds and install them if necessary.
- If the issue persists, consult the user manual or contact Samsung support for further assistance.
Congratulations! You have successfully paired your Samsung earbuds to your laptop and tested the connection. Now you can enjoy a wire-free audio experience while listening to music, watching movies, or participating in video conferences with enhanced sound quality and convenience.
Remember, the process of connecting your Samsung earbuds may vary slightly depending on the model and operating system of your devices. It’s always a good idea to consult the user manual or the official Samsung website for specific instructions tailored to your earbuds and laptop.
Enjoy the freedom of wireless audio with your Samsung earbuds and make the most out of your laptop’s multimedia capabilities!
Conclusion
Pairing your Samsung earbuds with your laptop can elevate your audio experience and provide you with the convenience of wire-free listening. Whether you’re enjoying your favorite music, watching movies, or participating in virtual meetings, the ability to connect your earbuds to your laptop opens up a world of possibilities.
In this article, we have walked you through the step-by-step process of pairing your Samsung earbuds to your laptop. We started by checking the compatibility of your devices and ensuring they meet the necessary requirements. Then, we turned on the Bluetooth functionality on your laptop and put your Samsung earbuds in pairing mode. Next, we connected your earbuds to your laptop, followed by testing the connection to ensure everything is working as expected.
Remember, while the general process remains the same, the specific steps may vary depending on the model of your Samsung earbuds and the operating system of your laptop. It’s always a good idea to refer to the user manual or official Samsung website for device-specific instructions.
Now that you have successfully connected your Samsung earbuds to your laptop, you can enjoy a wire-free audio experience that allows you to move freely while enjoying your favorite content. Whether you’re listening to music, watching movies, or participating in video conferences, the seamless connection between your earbuds and laptop enhances the overall experience.
If you encounter any issues during the pairing process or while using your Samsung earbuds with your laptop, don’t hesitate to consult the troubleshooting steps provided or reach out to Samsung support for further assistance.
Embrace the freedom of wireless audio and take full advantage of your Samsung earbuds and laptop combination. Enjoy the immersive sound, impressive battery life, and the convenience of being able to seamlessly switch between devices. Enhance your productivity, entertainment, and communication with the power of wireless connectivity.