Home>Devices & Equipment>Earbuds>How To Turn Up Raycon Earbuds

Earbuds
How To Turn Up Raycon Earbuds
Modified: January 22, 2024
Discover how to effortlessly turn up the volume on your Raycon Earbuds with these simple steps. Enhance your audio experience and enjoy your favorite tunes to the fullest.
(Many of the links in this article redirect to a specific reviewed product. Your purchase of these products through affiliate links helps to generate commission for AudioLover.com, at no extra cost. Learn more)
Table of Contents
Introduction
Welcome to the world of Raycon Earbuds, where superior sound quality and wireless convenience meet. Whether you’re a music aficionado or a podcast enthusiast, these sleek and compact earbuds deliver an immersive audio experience on the go. However, just like any other audio device, you may sometimes find yourself needing to turn up the volume to fully enjoy your favorite tracks.
In this article, we will guide you through the steps to turn up the volume on your Raycon Earbuds, ensuring that you never miss a beat. Whether you’re using the latest model or an older version, these tips and tricks will help you amplify the sound and elevate your listening experience.
Before we dive into the specifics, it’s important to note that turning up the volume on your Raycon Earbuds is a multi-step process that involves adjusting settings on both the earbuds themselves and the connected device. By following these steps, you’ll be able to maximize the volume and enjoy your favorite content at its best!
Step 1: Ensure Proper Connection
The first step to turning up the volume on your Raycon Earbuds is to ensure a proper connection between the earbuds and your device. A weak or unstable connection can result in low volume output, so it’s crucial to establish a solid connection before proceeding.
Start by checking that the earbuds are securely placed in your ears. Adjust them if necessary to achieve a snug and comfortable fit. This not only enhances the sound quality but also prevents any audio leakage that may reduce the perceived volume.
Next, make sure that your device is correctly paired with the earbuds. Most Raycon Earbuds use Bluetooth technology to connect wirelessly to your device. Activate the Bluetooth feature on your device and select the appropriate earbuds from the list of available devices. Follow the on-screen instructions to complete the pairing process.
If you have already paired your earbuds with your device but are experiencing connection issues, try resetting the earbuds and then re-pairing them. Refer to the user manual or the manufacturer’s website for instructions on how to reset your specific model of Raycon Earbuds.
Once the earbuds are properly connected, play some audio on your device to test the volume. If the volume is still lower than expected, proceed to the next step to continue enhancing the sound output.
Step 2: Adjust Volume on Device
After ensuring a proper connection between your Raycon Earbuds and your device, the next step is to adjust the volume settings on your device. Most devices, whether it’s a smartphone, tablet, or computer, have dedicated volume control buttons or sliders that allow you to increase or decrease the volume.
Locate the volume control buttons on your device. These are usually located on the side, top, or bottom of the device, depending on the make and model. If your device has a volume slider, you can find it in the system settings or in the control center/notification panel.
To turn up the volume, simply press the volume up button or slide the volume slider to the right. On some devices, you may need to unlock the screen or wake up the device before accessing the volume controls.
As you adjust the volume, you’ll notice that the audio output level on your Raycon Earbuds increases or decreases accordingly. Keep in mind that the maximum volume level may vary depending on the device you’re using. Some devices have a default volume limit or volume restrictions for safety reasons, particularly for younger users. Check the device settings to ensure that the volume limit is not hindering the maximum output of your Raycon Earbuds.
Additionally, some devices offer software-based volume control options. For example, you might find an equalizer in the settings that allows you to customize the audio output and boost the volume even further. Experiment with different equalizer presets or manually adjust the settings to find the sound profile that suits your preferences.
If you’ve followed this step and the volume is still not satisfactory, proceed to the next step to explore additional volume control options specific to your Raycon Earbuds.
Step 3: Check Earbuds’ Volume Control
In addition to adjusting the volume on your device, many Raycon Earbuds also have their own volume control options. These dedicated controls allow you to fine-tune the volume output directly from the earbuds themselves, giving you an additional level of control over your listening experience.
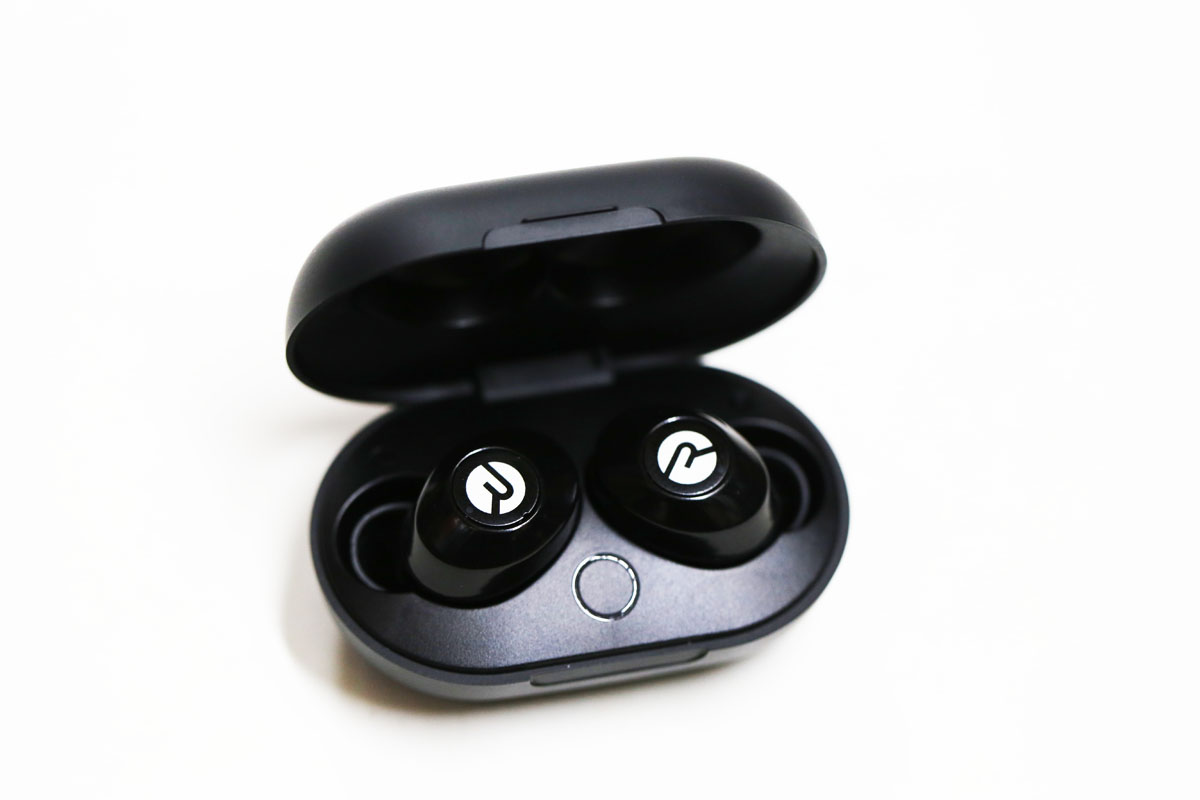
Start by locating the volume control buttons on your Raycon Earbuds. These buttons are typically located on the earbud housing and may be marked with “+” and “-” symbols to indicate volume increase and decrease.
To turn up the volume, press the “+” button on your earbuds. Each press should incrementally increase the volume level. As you press the button, pay attention to the audio feedback or tone that plays through the earbuds, indicating the volume level adjustment.
If your Raycon Earbuds have touch-sensitive controls, swipe or tap on the appropriate areas of the earbud to adjust the volume. Consult the user manual or the manufacturer’s website for specific instructions on how to control the volume using touch gestures.
Keep in mind that the volume control options may vary depending on the model of your Raycon Earbuds. Some models offer more advanced features, such as voice prompts or built-in equalizers, which can further enhance the volume output and sound quality.
Once you’ve adjusted the volume on your earbuds, test the audio output by playing some music or any other audio content. Gradually increase the volume to your desired level. If you’re still not satisfied with the volume, proceed to the next step to explore additional options.
Step 4: Use Equalizer Settings
If adjusting the volume on your device and earbuds hasn’t provided the desired results, you can further enhance the volume output by utilizing the equalizer settings on your device or audio app.
An equalizer allows you to fine-tune the frequency response of the audio, giving you more control over the overall sound output. By boosting specific frequency ranges, you can effectively increase the perceived volume of your Raycon Earbuds.
Start by opening the settings or audio app on your device that provides equalizer functionality. Look for the equalizer or sound settings section, which is often found in the music or audio settings.
Once you’ve located the equalizer settings, explore the available presets or manually adjust the sliders to your preferences. Increasing the sliders for frequencies in the mid-range and high-range can help amplify the volume without sacrificing clarity. However, be cautious not to over-boost certain frequencies, as it may result in distorted or unbalanced audio.
Take some time to experiment with different equalizer settings and test the audio output with your Raycon Earbuds. Listen to different genres of music or audio content to ensure that the volume enhancement doesn’t compromise the overall audio quality.
It’s worth noting that not all devices or audio apps have equalizer settings. If your device doesn’t provide this feature, consider downloading a third-party equalizer app from the app store or marketplace. These apps can provide an additional level of control over your audio settings and can help boost the volume of your Raycon Earbuds.
By utilizing the equalizer settings, you can tailor the audio output to your preferences and potentially achieve a louder and more immersive listening experience with your Raycon Earbuds.
Step 5: Reset or Update Firmware
If you have followed the previous steps and still find that the volume on your Raycon Earbuds is not satisfactory, it may be beneficial to reset the earbuds or update their firmware.
Resetting the earbuds can help resolve any software glitches or connectivity issues that may be affecting the volume output. The process for resetting the earbuds may vary depending on the model, so it’s best to refer to the user manual or the manufacturer’s website for specific instructions.
Once you’ve reset the earbuds, pair them with your device again and test the volume. In many cases, the reset process can help restore the earbuds to their optimal settings, resulting in improved volume performance.
If resetting the earbuds doesn’t yield the desired results, it may be worth checking for any available firmware updates. Manufacturers periodically release firmware updates to enhance the performance, features, and compatibility of their products.
To update the firmware of your Raycon Earbuds, visit the manufacturer’s website or use their dedicated mobile application (if available). Follow the provided instructions to check for and install any available firmware updates for your specific model of earbuds.
Firmware updates can address potential bugs or optimize the audio output, including volume levels. By ensuring that your Raycon Earbuds are running the latest firmware version, you can potentially improve the volume and overall functionality of the earbuds.
If after following all the steps, you still find that the volume on your Raycon Earbuds is not satisfactory, it may be worth reaching out to the manufacturer’s customer support for further assistance. They can provide additional troubleshooting steps or offer solutions to address the volume-related issues.
Remember, each step outlined in this guide is aimed at enhancing the volume output of your Raycon Earbuds. However, if you are still not satisfied with the volume, it’s important to consider your personal listening preferences and avoid listening at extremely high volumes to protect your hearing.
Conclusion
Turning up the volume on your Raycon Earbuds is essential for an immersive and enjoyable listening experience. By following the steps outlined in this guide, you can optimize the volume output and make the most out of your audio content.
Starting with ensuring a proper connection, adjusting the volume on your device, and checking the earbuds’ volume control, you can already make significant improvements in the volume level. Utilizing the equalizer settings on your device or audio app can further enhance the volume by fine-tuning the frequency response.
If you’re still unsatisfied with the volume, consider resetting your earbuds or updating their firmware. These steps can address any software glitches or compatibility issues that may be affecting the volume output.
However, it’s important to remember to listen responsibly. Excessive exposure to high volumes can damage your hearing over time. Take breaks and lower the volume when necessary to protect your ears.
If you’ve exhausted all the troubleshooting options and are still facing volume-related issues, don’t hesitate to reach out to the manufacturer’s customer support for further assistance. They have the expertise to guide you through specific troubleshooting steps or offer solutions to address your concerns.
With these steps in mind, you can enhance the volume performance of your Raycon Earbuds, ensuring that you can fully immerse yourself in your favorite music, podcasts, and more.
So, turn up the volume, embrace the stunning audio quality of your Raycon Earbuds, and enjoy the true power of your favorite soundtracks!

