Home>Devices & Equipment>Earbuds>How To Tell If Raycon Earbuds Are Charging
Earbuds
How To Tell If Raycon Earbuds Are Charging
Modified: January 22, 2024
Learn how to determine if your Raycon Earbuds are charging. Discover simple steps to check the charging status and ensure a seamless listening experience.
(Many of the links in this article redirect to a specific reviewed product. Your purchase of these products through affiliate links helps to generate commission for AudioLover.com, at no extra cost. Learn more)
Table of Contents
Introduction
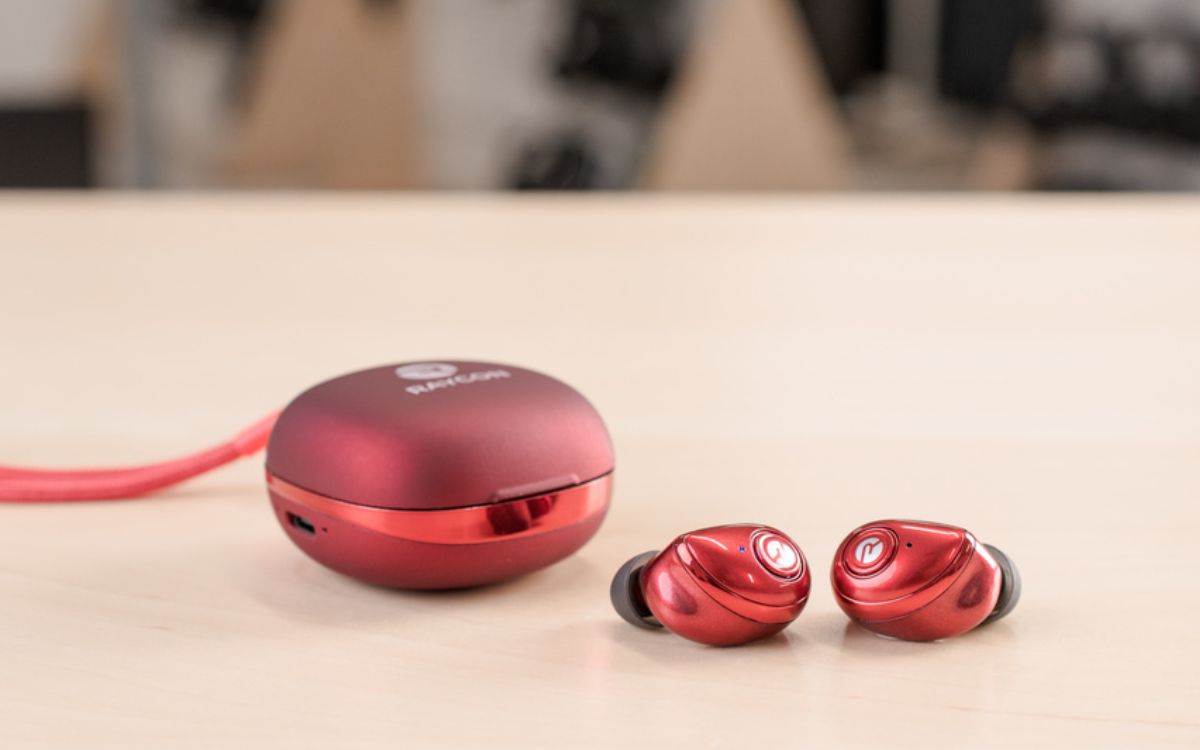
Welcome to the world of Raycon Earbuds, where wireless audio meets convenience and style. These sleek and compact earbuds offer a liberating listening experience without the hassle of tangled wires. However, to ensure that your Raycon Earbuds are always ready for use, it’s important to know how to determine if they are charging properly.
Whether you’ve just purchased your Raycon Earbuds or have been using them for a while, it’s crucial to understand the charging process. This knowledge will enable you to enjoy uninterrupted music, podcasts, or phone calls on the go.
In this article, we will guide you through the various methods to determine if your Raycon Earbuds are charging correctly. We will explore the importance of checking the charging indicators, verifying the connection, using the charging case, and troubleshooting common issues that may arise.
So, let’s dive into the world of Raycon Earbuds and discover how to tell if they are charging!
Checking the Charging Indicators
One of the easiest ways to determine if your Raycon Earbuds are charging is by checking the charging indicators. These indicators provide visual cues regarding the charging status of your earbuds. Here’s how you can interpret the different charging indicators:
- LED lights: Most Raycon Earbuds are equipped with LED lights that indicate the charging status. Generally, a solid red light indicates that the earbuds are charging, while a solid blue light indicates that they are fully charged. Some models may have different color options or blinking patterns, so it’s important to refer to the user manual for your specific model to understand the meaning of the LED lights.
- Charging case indicators: The charging case that comes with your Raycon Earbuds may also have LED lights to indicate its charging status. These lights can help you determine if the case has enough power to charge your earbuds. A solid red light on the case usually means it’s charging, while a solid blue light signifies a full charge. Again, make sure to consult the user manual for accurate information regarding the charging case indicators.
In addition to the LED lights, you may also receive audio cues that indicate the charging status of your earbuds. These audio cues can vary depending on the model and settings of your Raycon Earbuds. Pay attention to any voice prompts or sounds that accompany the charging process.
Remember to keep an eye on the charging indicators to ensure that your Raycon Earbuds are receiving the power they need. If you notice any inconsistencies or issues with the charging indicators, it may be necessary to troubleshoot the problem or contact Raycon’s customer support for further assistance.
Verifying the Connection
Another important factor to consider when determining if your Raycon Earbuds are charging is to verify the connection between the earbuds and the charging source. Here are some steps to follow:
- Check the charging cable: Ensure that the charging cable is properly connected to both the charging source and the charging case. Make sure there are no loose connections or damaged cables that could hinder the charging process.
- Clean the charging port: Over time, dust, debris, or lint can accumulate in the charging port of your Raycon Earbuds or charging case, which might prevent a solid connection. Gently clean the charging port using a soft, dry cloth or a small brush to remove any obstructions that may hinder the charging process.
- Try a different charging source: If you’re having trouble charging your Raycon Earbuds, try connecting them to a different charging source, such as a different USB port on your computer or a wall adapter. This can help determine if the issue lies with the original charging source or the earbuds themselves.
- Inspect the charging pins: Examine the charging pins on both the earbuds and the charging case. Ensure that they are clean, free from corrosion, and not bent or damaged. Any issues with the charging pins could interfere with the charging process.
By carefully verifying the connection between your Raycon Earbuds and the charging source, you can ensure a stable and reliable charging experience. Keep an eye out for any loose connections, obstructions, or physical damage that may disrupt the charging process. If you discover any issues, try troubleshooting or contacting Raycon’s customer support for further assistance.
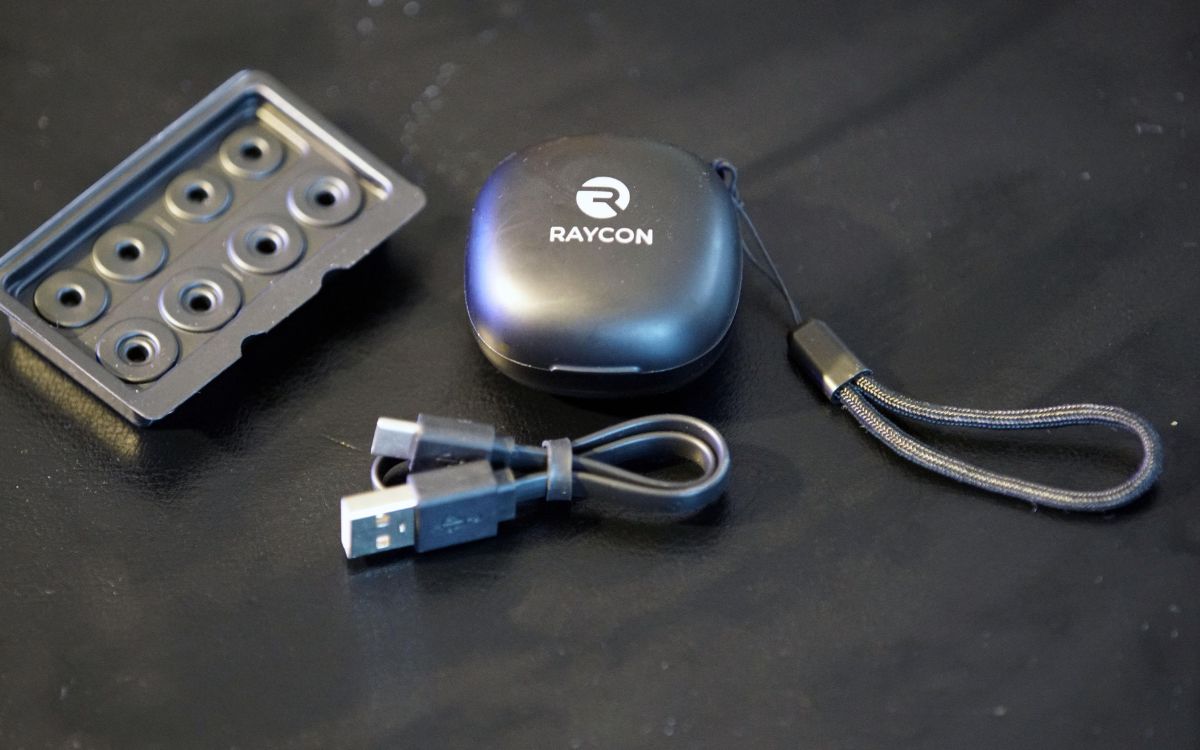
Using the Charging Case
The charging case plays a crucial role in ensuring that your Raycon Earbuds stay powered up and ready for use. Here are some essential tips for using the charging case effectively:
- Proper placement: When charging your Raycon Earbuds, make sure to correctly position them in the charging case. Align the metal charging contacts on the earbuds with the corresponding charging pins in the case. This ensures a secure connection and efficient charging.
- Close the lid: After placing the earbuds in the charging case, remember to close the lid securely. This helps protect the earbuds and maintains their connection to the charging pins. It also ensures that the charging process isn’t interrupted.
- Monitor charging progress: The charging case may have LED lights or other indicators to show the charging progress of the earbuds. Keep an eye on these indicators to determine when the earbuds have reached a full charge. This prevents overcharging and extends the battery life of the earbuds.
- Charge the case: Don’t forget to charge the charging case itself regularly. The case serves as a power bank for your Raycon Earbuds, so it must have enough power to recharge them. Use the provided charging cable to connect the case to a power source and ensure it’s fully charged before using it to charge the earbuds.
By following these guidelines, you can maximize the effectiveness of the charging case and ensure that your Raycon Earbuds have the power they need. Remember to take proper care of the case by keeping it clean, avoiding excessive moisture exposure, and storing it in a safe place when not in use.
Troubleshooting Common Issues
Even with the best care and maintenance, you may encounter some common issues when charging your Raycon Earbuds. Here are a few troubleshooting steps you can take to resolve these problems:
- No charging indicators: If you do not see any charging indicators or lights when you connect your Raycon Earbuds to a power source, double-check the connection. Ensure that the charging cable is securely plugged in and that there is power in the charging source. If the issue persists, try using a different charging cable or power source.
- Inconsistent charging: If you notice that your Raycon Earbuds aren’t charging consistently or have intermittent charging, clean the charging contacts on both the earbuds and the case. Use a soft cloth or a cotton swab lightly dampened with rubbing alcohol to gently clean the contacts. This should remove any dirt or debris that may be affecting the charging connection.
- Earbuds not holding a charge: If your Raycon Earbuds do not hold a charge for a reasonable amount of time after being fully charged, it may indicate a battery issue. In this case, try resetting the earbuds by placing them in the charging case and keeping the lid open for 10 seconds. Then, close the lid and try charging them again. If the problem persists, reach out to Raycon’s customer support for further assistance.
- Case not charging: If you find that your charging case is not charging, confirm that the charging cable is securely connected to both the case and the power source. Make sure the charging cable and the charging port on the case are clean and free from any obstructions. If the issue persists, try using a different cable and power source to rule out any potential problems.
If you have gone through these troubleshooting steps and are still experiencing difficulties with charging your Raycon Earbuds, it’s recommended to contact Raycon’s customer support for further assistance. They will be able to provide you with specific troubleshooting guidance based on your particular situation.
Conclusion
Ensuring that your Raycon Earbuds are charging properly is essential for a seamless and uninterrupted audio experience. By checking the charging indicators, verifying the connection, using the charging case effectively, and troubleshooting common issues, you can maintain the performance and longevity of your earbuds.
Remember to pay attention to the LED lights and audio cues that indicate the charging status of your Raycon Earbuds. If you encounter any inconsistencies or issues with the charging indicators, double-check the connection, clean the charging ports, and try using a different charging source if necessary.
Using the charging case correctly is also crucial. Properly placing the earbuds in the case, closing the lid securely, monitoring the charging progress, and keeping the case charged will ensure that your Raycon Earbuds are always ready for use.
In case you face any common charging issues such as no charging indicators, inconsistent charging, earbuds not holding a charge, or a case not charging, follow the troubleshooting steps mentioned in this article. If the problems persist, reach out to Raycon’s customer support for further assistance.
With the knowledge and tips provided in this article, you can confidently charge your Raycon Earbuds and enjoy uninterrupted music, podcasts, or phone calls wherever you go. Embrace the wireless freedom and superior audio quality that these earbuds offer, knowing that you can easily keep them charged and ready for use!