Home>Devices & Equipment>Microphone>Singing Machine Microphone: How To Use
Microphone
Singing Machine Microphone: How To Use
Published: February 16, 2024
Learn how to use a microphone with the Singing Machine for an unforgettable karaoke experience. Discover tips and techniques for maximizing your microphone performance.
(Many of the links in this article redirect to a specific reviewed product. Your purchase of these products through affiliate links helps to generate commission for AudioLover.com, at no extra cost. Learn more)
Table of Contents
Introduction
Welcome to the exciting world of the Singing Machine Microphone! Whether you're a karaoke enthusiast, a professional singer, or someone who simply loves to belt out tunes in the shower, this innovative device is designed to elevate your vocal performances to new heights. In this comprehensive guide, we'll explore everything you need to know about using the Singing Machine Microphone, from unpacking it for the first time to troubleshooting common issues that may arise.
The Singing Machine Microphone is not just any ordinary microphone; it's a versatile and powerful tool that offers a range of features to enhance your singing and recording experiences. With its user-friendly design and advanced capabilities, this microphone is suitable for users of all skill levels, whether you're a seasoned performer or a beginner looking to hone your vocal skills.
Throughout this guide, we'll delve into the step-by-step process of setting up and using the Singing Machine Microphone, including powering it on, connecting it to compatible devices, adjusting its settings, and leveraging its features for singing and recording purposes. Additionally, we'll address common troubleshooting issues that users may encounter, ensuring that you can make the most of this exceptional device without any unnecessary hiccups.
So, whether you're preparing for a lively karaoke night with friends, recording your latest musical masterpiece, or simply indulging in some solo singing sessions, the Singing Machine Microphone is here to amplify your voice and bring your performances to life. Let's embark on this exciting journey and unlock the full potential of your Singing Machine Microphone!
Unpacking the Singing Machine Microphone
As you eagerly unbox your Singing Machine Microphone, you’ll be greeted by a carefully crafted device that exudes quality and innovation. The packaging is designed to ensure that your microphone arrives safely, ready to be unleashed for your singing and recording endeavors. Let’s take a closer look at what you can expect when unpacking your Singing Machine Microphone.
Upon opening the box, you’ll find the sleek and stylish Singing Machine Microphone, exuding a professional and modern aesthetic. Its ergonomic design ensures a comfortable grip, allowing you to focus on delivering captivating vocal performances without any unnecessary strain. The microphone’s build quality reflects the brand’s commitment to providing users with a durable and reliable tool for their musical pursuits.
Accompanying the microphone, you’ll discover essential accessories that enhance its functionality. This may include a user manual, a USB charging cable, and any additional components specific to your model. The user manual is a valuable resource that provides detailed insights into the microphone’s features, setup process, and maintenance guidelines. It’s recommended to review the manual thoroughly to familiarize yourself with the microphone’s capabilities and unleash its full potential.
As you unwrap the components, you’ll notice the meticulous attention to detail that has gone into the design and packaging of the Singing Machine Microphone. The inclusion of the USB charging cable ensures that you can conveniently power up your microphone, eliminating the need for disposable batteries and promoting environmental sustainability.
Overall, the experience of unpacking the Singing Machine Microphone sets the stage for an exciting journey into the world of enhanced vocal performances and professional-grade recordings. With its thoughtful design, essential accessories, and user-friendly setup, this microphone is poised to become an indispensable companion for anyone passionate about singing and music.
Powering On the Microphone
Before diving into the captivating world of singing and recording with your Singing Machine Microphone, it’s essential to power it on and ensure that it’s ready to amplify your voice. The process of powering on the microphone is straightforward, allowing you to swiftly transition from anticipation to action as you prepare to unleash your vocal prowess. Here’s a step-by-step guide to powering on your Singing Machine Microphone:
1. Charging the Microphone: The first step in powering on your microphone is to ensure that it’s adequately charged. Connect the provided USB charging cable to the microphone’s charging port and then plug the other end into a compatible power source, such as a USB wall adapter or a computer. While the microphone is charging, a light indicator may illuminate to signify the charging process. Once fully charged, the microphone is ready to accompany you on your musical journey.
2. Turning On the Microphone: To power on the Singing Machine Microphone, locate the power button, typically situated on the microphone’s body for easy access. Press and hold the power button for a few seconds until you see a visual indicator, such as an LED light, signaling that the microphone is now powered on and ready for use. This seamless process ensures that you can swiftly activate the microphone and focus on your vocal performances without any unnecessary delays.
3. Verifying Power Status: Once powered on, you may verify the microphone’s power status by observing any designated indicators, such as LED lights or digital displays, depending on your specific model. These indicators provide valuable insights into the microphone’s operational status, ensuring that you can proceed with confidence and clarity as you prepare to showcase your vocal talents.
By following these simple steps, you can power on your Singing Machine Microphone with ease, setting the stage for immersive singing experiences and professional-grade recordings. With its user-friendly design and intuitive power activation process, the microphone empowers you to channel your passion for music without any technical barriers, allowing your voice to take center stage with unparalleled clarity and impact.
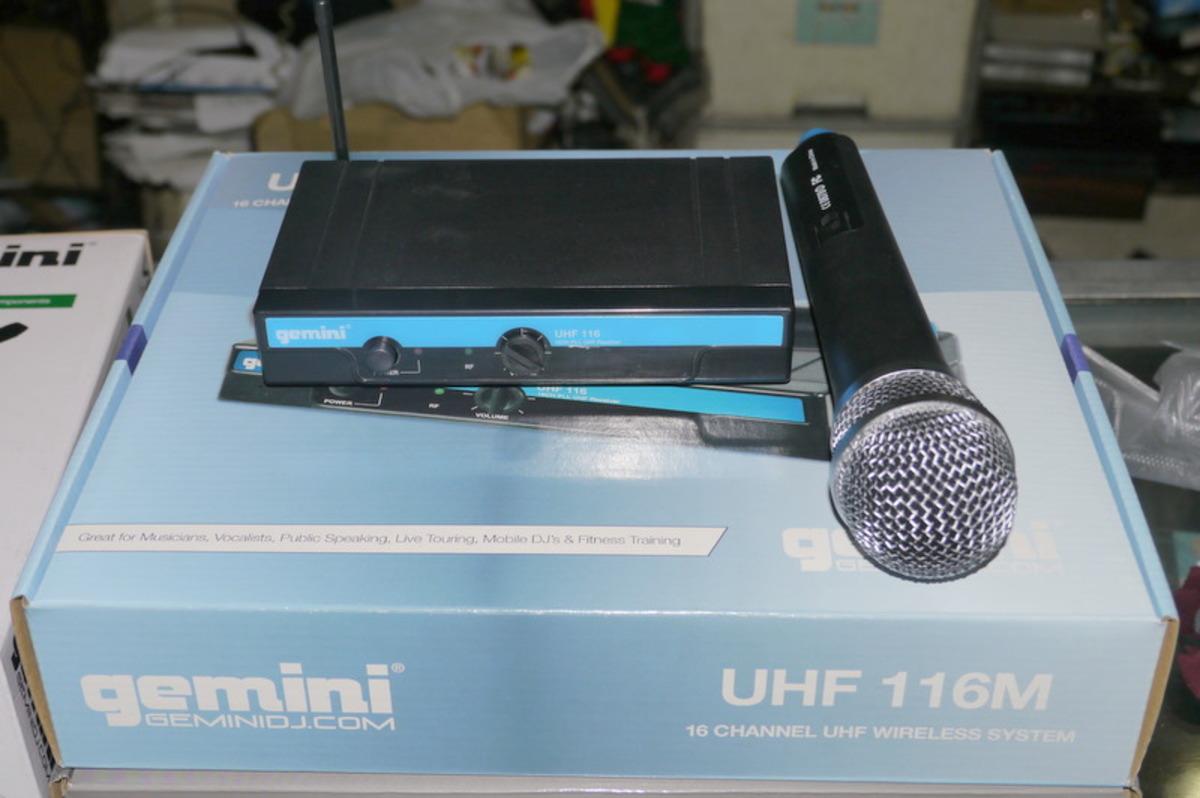
Connecting the Microphone to a Device
Once your Singing Machine Microphone is powered on and ready to amplify your voice, the next step is to establish a seamless connection with a compatible device, such as a karaoke machine, a speaker system, a smartphone, a tablet, or a computer. This pivotal stage ensures that your vocal performances can be heard with pristine clarity and that any recordings capture every nuance of your voice. Here’s a comprehensive guide to connecting your Singing Machine Microphone to a device:
1. Identifying Compatible Interfaces: Before proceeding, identify the available interfaces on both the microphone and the target device. The Singing Machine Microphone may feature various connectivity options, such as Bluetooth, a 3.5mm audio jack, or a USB interface, depending on the model. Likewise, the target device may offer compatible input ports, ensuring a seamless connection process.
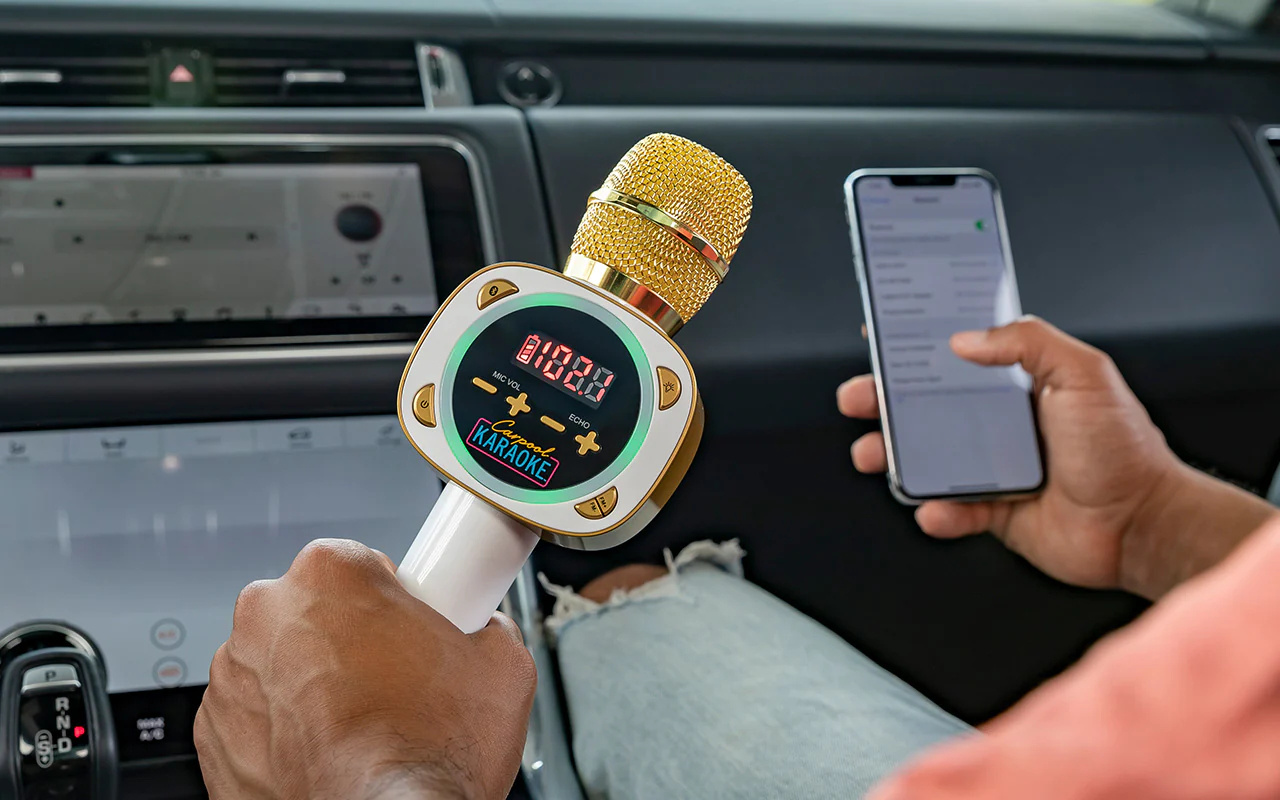
2. Bluetooth Pairing (If Applicable): If your Singing Machine Microphone supports Bluetooth connectivity, activate the Bluetooth function on the microphone by following the manufacturer’s instructions. Then, access the Bluetooth settings on your target device and select the microphone from the list of available devices to initiate the pairing process. Once successfully paired, the microphone and the device are ready to communicate wirelessly, offering enhanced flexibility and mobility during performances or recordings.
3. Wired Connection: For devices that support wired connections, such as karaoke machines, speakers, or audio interfaces, utilize the appropriate cables to establish a physical connection between the microphone and the device. Ensure that the cables are securely plugged into the respective input and output ports, providing a stable and reliable audio transmission path for your vocal signals.
4. Adjusting Input Settings (If Necessary): Depending on the target device, you may need to adjust the input settings to optimize the microphone’s audio input levels. This may involve accessing the device’s audio settings, mixer controls, or dedicated microphone input settings to ensure that the microphone’s signal is captured and processed accurately.
By following these steps, you can seamlessly connect your Singing Machine Microphone to a compatible device, unlocking its full potential for captivating vocal performances and high-fidelity recordings. Whether you prefer the convenience of wireless Bluetooth connectivity or the reliability of traditional wired connections, the microphone empowers you to integrate seamlessly with a diverse range of devices, amplifying your voice with unparalleled clarity and impact.
Adjusting Microphone Settings
With your Singing Machine Microphone successfully connected to a compatible device, it’s time to explore the versatile settings that empower you to tailor your vocal performances and recordings to your preferences. The microphone’s intuitive settings allow you to fine-tune audio parameters, optimize sound quality, and customize the overall experience to suit your unique style. Here’s a comprehensive overview of the essential microphone settings and how to adjust them:
1. Volume Control: The microphone may feature dedicated volume controls, allowing you to adjust the input level of your voice. Depending on your performance environment and personal preferences, you can increase or decrease the microphone’s volume to achieve the perfect balance between your vocals and the accompanying music or backing tracks.
2. Reverb and Echo Effects: Many Singing Machine Microphone models offer built-in reverb and echo effects, adding depth and ambiance to your vocals. These effects can be adjusted to enhance the spatial presence of your voice, creating a captivating and immersive sonic environment during your performances.
3. Equalization (EQ) Settings: Some advanced microphone models provide EQ settings that enable you to adjust the tonal characteristics of your voice. With options to modify bass, midrange, and treble frequencies, you can sculpt your vocal sound to achieve a rich and balanced sonic profile that resonates with your audience.
4. Mode Selection: Certain microphones offer multiple modes, such as standard, concert, or karaoke modes, each tailored to specific performance scenarios. By selecting the appropriate mode, you can optimize the microphone’s settings to deliver the ideal sound output for your current singing or recording environment.
5. Wireless Connectivity Options: For microphones equipped with wireless connectivity, settings related to Bluetooth pairing, signal strength, and device management may be accessible. These settings empower you to manage wireless connections seamlessly and ensure a reliable and uninterrupted communication link with your connected devices.
By familiarizing yourself with these essential microphone settings and making adjustments based on your preferences and performance requirements, you can harness the full potential of the Singing Machine Microphone. Whether you seek to infuse your vocals with captivating effects, fine-tune audio parameters, or optimize the microphone’s response to different performance scenarios, the intuitive settings cater to your creative vision, ensuring that your vocal performances resonate with clarity and impact.
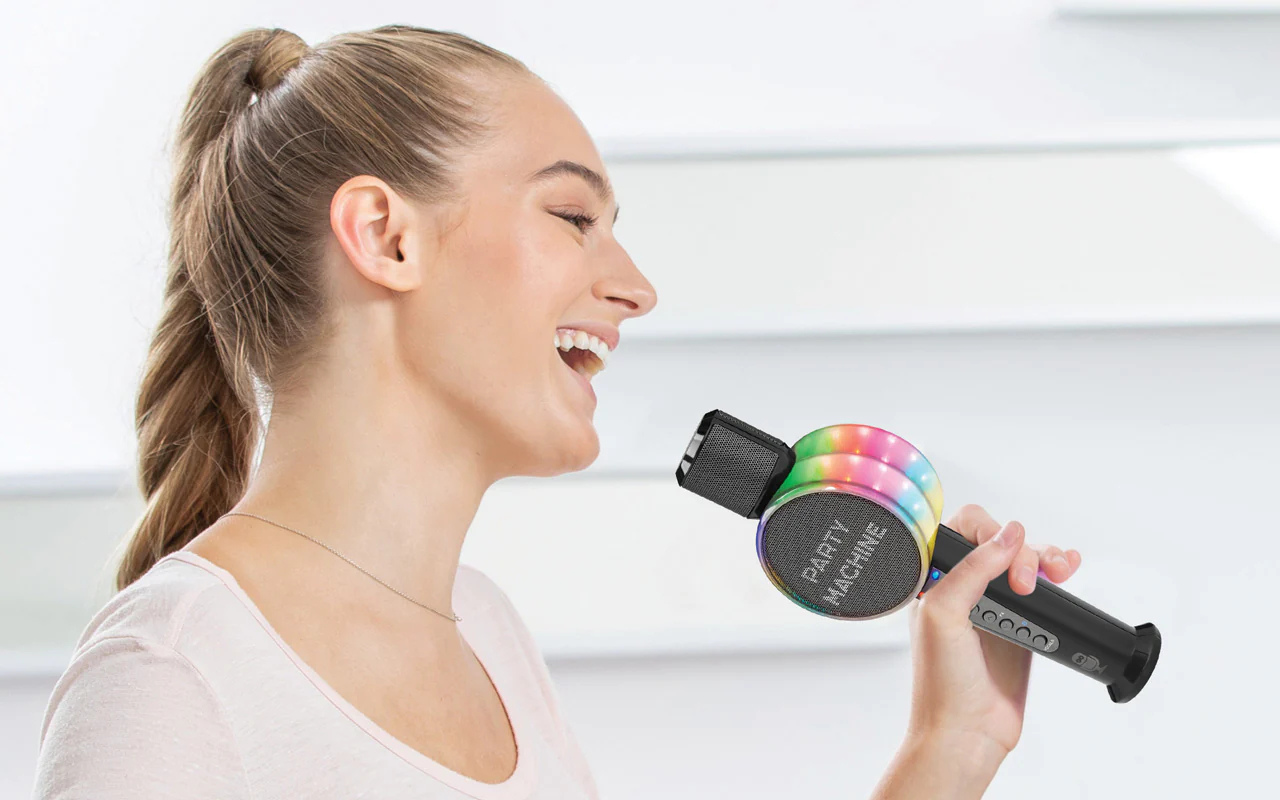
Using the Microphone for Singing
As you prepare to unleash your vocal talents with the Singing Machine Microphone, you’re embarking on a journey filled with expressive melodies, powerful notes, and captivating performances. Whether you’re gearing up for a karaoke night with friends, practicing your favorite songs, or delivering a live performance, the microphone serves as your trusted companion, elevating your singing experiences to new heights. Here’s a guide to using the Singing Machine Microphone for singing:
1. Selecting the Right Environment: Choose a suitable space for your singing endeavors, ensuring that the acoustic environment complements your vocal performances. Whether you opt for a cozy corner in your home or a professional stage setting, the microphone adapts to your chosen environment, capturing the nuances of your voice with precision.
2. Positioning and Grip: Hold the Singing Machine Microphone with a comfortable yet secure grip, allowing you to maintain control and expressiveness during your singing sessions. The microphone’s ergonomic design ensures that you can focus on delivering emotive performances without any physical discomfort, enabling you to channel your passion and energy into your singing.
3. Engaging with the Audience: Whether you’re performing for an audience or enjoying a solo singing session, the microphone enhances your vocal projection and articulation, ensuring that your voice resonates with clarity and impact. Embrace the microphone as your conduit for communication, allowing your emotions and musical expressions to reach and captivate your listeners.
4. Utilizing Vocal Effects: If your Singing Machine Microphone offers built-in vocal effects, such as reverb and echo, experiment with these features to add depth and character to your singing. These effects can elevate your performances, creating a captivating sonic atmosphere that enhances your vocal delivery and immerses your audience in your musical narrative.
5. Dynamic Performance Control: Leverage the microphone’s responsive controls to modulate your vocal dynamics, emphasizing poignant moments and delivering compelling crescendos with finesse. The microphone’s intuitive interface empowers you to shape your singing with precision, ensuring that every note and phrase is conveyed with authenticity and emotion.
By embracing the Singing Machine Microphone as your trusted ally in the realm of singing, you can unlock a world of expressive possibilities and elevate your vocal artistry to new heights. Whether you’re igniting the stage with electrifying performances or serenading intimate audiences with heartfelt melodies, the microphone amplifies your voice with clarity and resonance, allowing your singing to leave an indelible impression on your listeners.
Using the Microphone for Recording
The Singing Machine Microphone transcends traditional vocal amplification, offering a versatile platform for capturing studio-quality recordings with ease and precision. Whether you’re a budding recording artist, a seasoned musician, or an enthusiast exploring the art of audio production, the microphone serves as an invaluable tool for capturing your musical creations with exceptional fidelity and clarity. Here’s a comprehensive guide to using the Singing Machine Microphone for recording:
1. Selecting a Recording Environment: Choose a conducive space for recording that minimizes ambient noise and reverberation, allowing your vocals to be captured with pristine clarity. Whether it’s a professional recording studio or a carefully treated home setup, the microphone adapts to the acoustic nuances of the environment, ensuring that your recordings maintain a professional standard.
2. Positioning and Mic Placement: Position the Singing Machine Microphone according to the recording scenario, ensuring optimal proximity to your vocals while minimizing unwanted background noise. Whether using a microphone stand or handheld configuration, the microphone’s adaptable design accommodates various recording setups, providing flexibility and convenience during the recording process.
3. Optimizing Audio Settings: Adjust the microphone’s settings to optimize audio parameters for recording, such as input gain, EQ settings, and vocal effects. By tailoring the microphone’s settings to suit your vocal characteristics and the desired tonal qualities, you can capture recordings that reflect your artistic vision with precision and authenticity.
4. Utilizing Multitrack Recording: If you’re using the Singing Machine Microphone in conjunction with recording software or a multitrack recorder, explore the capabilities of multitrack recording to capture separate vocal takes, harmonies, and layered arrangements. This approach allows for comprehensive control over the recording process, enabling you to craft intricate and polished musical compositions.
5. Monitoring and Playback: Utilize headphones or monitor speakers to monitor your recordings in real time, ensuring that the microphone captures your vocals with the desired tonal balance and clarity. By actively monitoring your performances, you can make real-time adjustments and enhancements, refining your recordings with precision and attention to detail.
By harnessing the capabilities of the Singing Machine Microphone for recording, you can embark on a sonic journey that captures the essence of your musical expressions with uncompromising fidelity and artistry. Whether you’re laying down vocal tracks for original compositions, capturing cover songs, or documenting musical ideas, the microphone empowers you to preserve your artistic vision with exceptional clarity and impact, ensuring that your recordings resonate with authenticity and emotion.
Troubleshooting Common Issues
While the Singing Machine Microphone is designed to deliver seamless and exceptional performance, occasional technical hiccups or operational challenges may arise. By familiarizing yourself with common issues and their respective troubleshooting steps, you can swiftly address any concerns and ensure that your microphone continues to elevate your vocal experiences with reliability and precision. Here’s a guide to troubleshooting common issues with the Singing Machine Microphone:
1. Intermittent Bluetooth Connectivity: If you encounter intermittent Bluetooth connectivity when using the microphone wirelessly, ensure that the microphone and the paired device are within close proximity and that there are no obstructions causing signal interference. Additionally, consider re-pairing the devices and updating the microphone’s firmware if applicable, as this can resolve connectivity inconsistencies.
2. Low Microphone Volume: If you notice that the microphone’s volume output is lower than expected, verify that the microphone’s volume controls are appropriately adjusted and that the input settings on the connected device are optimized for microphone input. Additionally, check the microphone’s battery level or charging status, as low power can impact the volume output.
3. Audio Distortion or Feedback: In cases of audio distortion or feedback during vocal performances, ensure that the microphone is positioned at an optimal distance from speakers or audio monitors to prevent audio feedback loops. Adjust the microphone’s gain settings and distance from sound sources to mitigate potential distortion issues and maintain clear audio reproduction.
4. Unresponsive Controls: If the microphone’s controls become unresponsive or exhibit erratic behavior, consider resetting the microphone according to the manufacturer’s guidelines. This can recalibrate the internal electronics and restore normal functionality. Additionally, ensure that the microphone’s firmware is up to date, as software updates may address control-related issues.
5. Charging and Power Concerns: If the microphone experiences challenges with charging or power management, use the provided USB charging cable to connect the microphone to a reliable power source and verify that the charging indicator illuminates as expected. If the microphone fails to charge or power on, inspect the charging port for debris or damage and contact technical support if the issue persists.
By addressing these common issues with the Singing Machine Microphone and implementing the recommended troubleshooting steps, you can maintain a seamless and reliable user experience, ensuring that the microphone continues to enhance your vocal performances and recordings with unparalleled clarity and functionality.
Conclusion
Congratulations on delving into the captivating world of the Singing Machine Microphone! Throughout this comprehensive guide, we’ve embarked on a journey that has unveiled the remarkable capabilities of this innovative device, from its versatile features to its seamless integration with singing and recording experiences. As we conclude our exploration, it’s evident that the Singing Machine Microphone stands as a beacon of excellence, empowering users to amplify their vocal performances with clarity, precision, and artistry.
With its user-friendly design and intuitive controls, the Singing Machine Microphone transcends traditional vocal amplification, offering a multifaceted platform for singers, musicians, and enthusiasts to express themselves with unparalleled impact. Whether you’re igniting the stage with electrifying performances, capturing studio-quality recordings, or engaging in immersive karaoke sessions, the microphone serves as your steadfast companion, elevating your vocal endeavors to new heights.
By unpacking the Singing Machine Microphone, powering it on, connecting it to compatible devices, adjusting its settings, and leveraging its capabilities for singing and recording, you’ve embarked on a journey that celebrates the art of vocal expression and musical creativity. The microphone’s seamless integration with diverse performance scenarios, combined with its troubleshooting guidelines for common issues, ensures that your experiences remain enriched and unhindered by technical obstacles.
As you continue to explore the boundless possibilities of the Singing Machine Microphone, remember that your voice is a powerful instrument, and the microphone serves as your faithful ally in amplifying its resonance and emotive impact. Whether you’re captivating audiences with soul-stirring melodies, documenting musical compositions, or simply reveling in the joy of singing, the microphone stands as a testament to your artistic vision and passion for music.
As you embark on your vocal journey with the Singing Machine Microphone, may your performances resound with authenticity, emotion, and unwavering clarity, leaving an indelible mark on all who have the pleasure of experiencing your musical artistry.
With the Singing Machine Microphone as your trusted companion, the stage is set, the recording studio awaits, and the world is ready to be serenaded by your extraordinary voice.