Home>Devices & Equipment>Microphone>How To Use The Blue Yeti Microphone
Microphone
How To Use The Blue Yeti Microphone
Published: February 17, 2024
Learn how to use the Blue Yeti microphone to capture high-quality audio for podcasts, voiceovers, and streaming. Discover tips and techniques for maximizing the microphone's potential.
(Many of the links in this article redirect to a specific reviewed product. Your purchase of these products through affiliate links helps to generate commission for AudioLover.com, at no extra cost. Learn more)
Table of Contents
Introduction
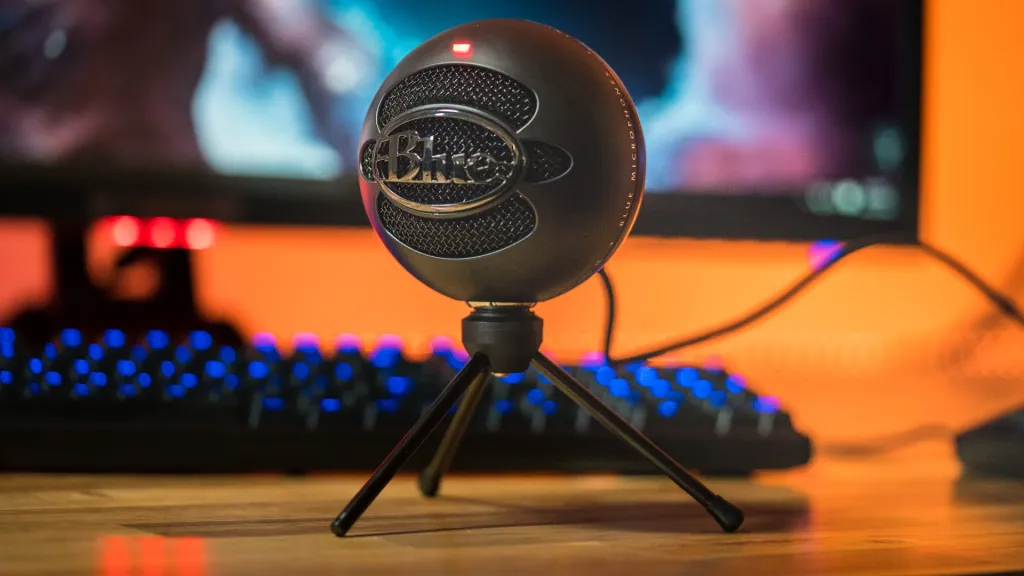
So, you've got your hands on the Blue Yeti microphone, a powerful tool that can take your audio recording to the next level. Whether you're a podcaster, musician, gamer, or content creator, the Blue Yeti offers professional-grade sound quality and versatility. In this guide, we'll walk you through the essential steps to maximize the potential of your Blue Yeti microphone.
The Blue Yeti is renowned for its exceptional sound clarity and ease of use. With its multiple pickup patterns and plug-and-play functionality, it's a popular choice for a wide range of audio recording applications. From capturing crystal-clear vocals to recording instruments with precision, the Blue Yeti is a go-to option for many enthusiasts and professionals alike.
In this comprehensive guide, we'll cover everything from setting up the Blue Yeti to optimizing its settings for different recording scenarios. We'll also delve into the best practices for positioning the microphone to achieve optimal sound capture. Additionally, we'll explore the process of recording with the Blue Yeti and troubleshoot common issues that users may encounter.
By the end of this guide, you'll have a solid understanding of how to harness the full potential of your Blue Yeti microphone, empowering you to produce high-quality audio content that stands out in the digital landscape. So, let's dive in and unlock the capabilities of this remarkable microphone.
Setting up the Blue Yeti Microphone
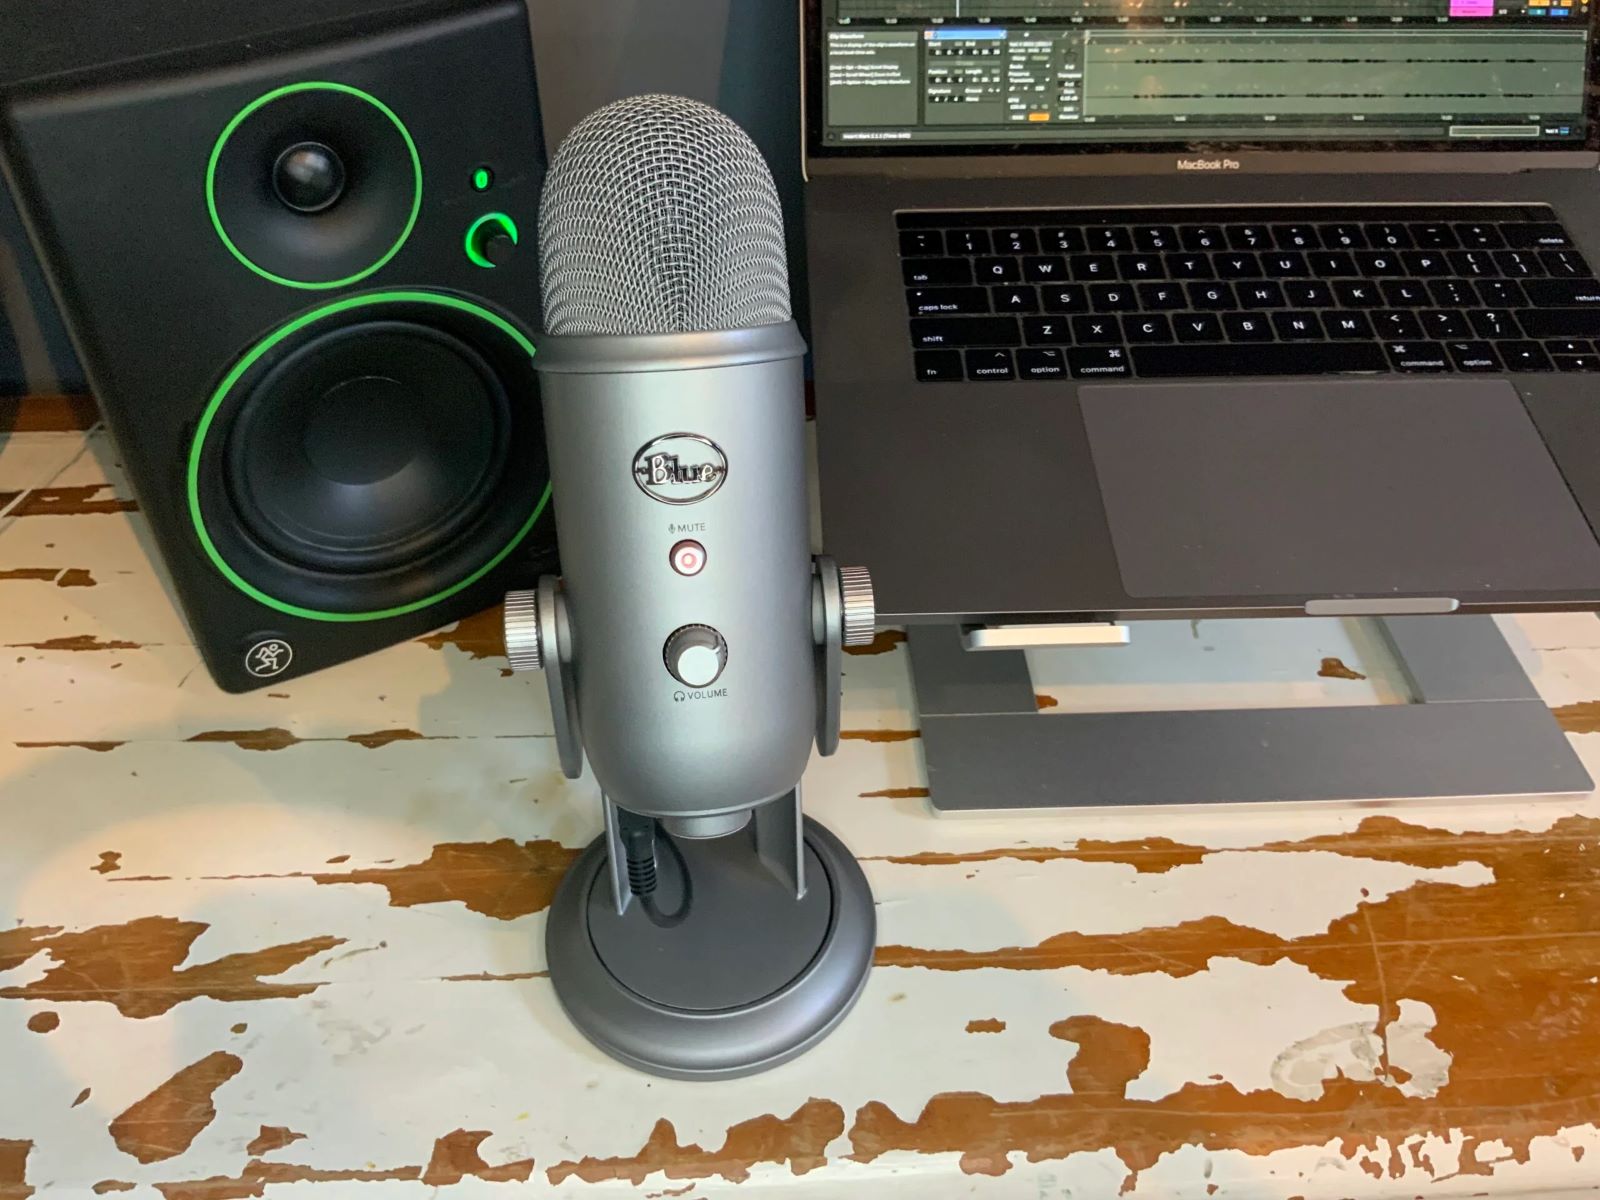
Before diving into the recording process, it’s crucial to set up your Blue Yeti microphone correctly to ensure optimal performance. The first step is to unpack the microphone and familiarize yourself with its components. The Blue Yeti features a sturdy base, an adjustable stand, and a USB cable for seamless connectivity to your computer.
Once you’ve unboxed the microphone, position it on a stable surface within easy reach. The adjustable stand allows you to find the ideal height and angle for your recording setup. Next, connect the USB cable to the Blue Yeti and your computer’s USB port. The plug-and-play nature of the Blue Yeti eliminates the need for additional drivers or software, making the setup process hassle-free.
After connecting the microphone, your computer should automatically recognize the device. To verify the connection, navigate to your computer’s audio settings and ensure that the Blue Yeti is selected as the default recording device. This step is crucial for seamless integration with recording software and applications.
Once the physical setup is complete, it’s essential to consider the acoustic environment in which you’ll be recording. Minimize background noise and echoes by choosing a quiet space with minimal ambient distractions. If possible, use acoustic treatment such as soundproofing panels or foam to enhance the sound quality.
Furthermore, the Blue Yeti offers multiple pickup patterns, including cardioid, bidirectional, omnidirectional, and stereo. Each pattern is suited to different recording scenarios, so understanding their unique characteristics is essential for achieving the desired audio capture. For instance, the cardioid pattern is ideal for solo vocal recordings, while the bidirectional pattern is suitable for interviews and duets.
By following these setup guidelines, you’ll establish a solid foundation for utilizing the Blue Yeti microphone effectively. With the physical and environmental aspects addressed, you’re ready to explore the microphone’s settings and unleash its full potential in your recording endeavors.
Adjusting the Microphone Settings
Once your Blue Yeti microphone is set up, it’s time to delve into the various settings that can significantly impact the quality of your recordings. The Blue Yeti offers a range of adjustable settings, allowing you to customize the microphone’s performance to suit specific recording scenarios.
First and foremost, familiarize yourself with the microphone’s gain control. Located directly on the device, the gain control regulates the microphone’s sensitivity to sound. Adjusting the gain allows you to fine-tune the input level, ensuring that your recordings are free from distortion and background noise. For louder sound sources, such as musical instruments, a lower gain setting is recommended to prevent clipping. Conversely, quieter sources, like whispered vocals, may benefit from a higher gain setting to capture subtle nuances.
Another essential setting to consider is the microphone’s polar pattern. As mentioned earlier, the Blue Yeti offers four pickup patterns, each tailored to different recording scenarios. The cardioid pattern is well-suited for solo vocals and podcasting, as it captures sound primarily from the front of the microphone while minimizing rear and side noise. The bidirectional pattern is ideal for interviews and duets, capturing sound from the front and rear of the microphone. The omnidirectional pattern captures sound from all directions, making it suitable for conference calls and group recordings. Lastly, the stereo pattern provides a wide, realistic sound image, making it great for capturing musical performances and atmospheric recordings.
Additionally, the Blue Yeti features a headphone volume control and a mute button directly on the device. The headphone volume control allows you to adjust the volume of the audio playback directly through the microphone, providing real-time monitoring of your recordings. The mute button conveniently silences the microphone when needed, offering a quick and accessible way to control audio input.
For further customization, the Blue Yeti’s compatibility with recording software and digital audio workstations (DAWs) opens up a world of possibilities for refining your recordings. By exploring the settings within your preferred recording software, you can fine-tune parameters such as EQ, compression, and effects to enhance the audio output from the Blue Yeti.
By understanding and adjusting these microphone settings, you can optimize the Blue Yeti’s performance to achieve professional-grade recordings across various applications. Whether you’re capturing vocals, instruments, podcasts, or live streams, mastering the microphone settings is key to unlocking its full potential.
Positioning the Microphone
The positioning of your Blue Yeti microphone plays a pivotal role in capturing high-quality audio with clarity and precision. Whether you’re recording vocals, musical instruments, or podcasts, understanding the optimal microphone placement is essential for achieving professional results.
When recording vocals or spoken content, positioning the Blue Yeti at the correct distance and angle is crucial. For the cardioid pickup pattern, which is commonly used for solo vocal recordings, position the microphone directly in front of the speaker at a distance of approximately 6 to 8 inches. This distance allows the microphone to capture the vocal nuances while minimizing plosives and sibilance. Using a pop filter can further enhance the recording quality by reducing unwanted breath and wind noise.
For musical instrument recordings, the microphone placement will vary depending on the instrument type and the desired sound characteristics. When recording acoustic guitar, positioning the Blue Yeti near the soundhole at a distance of around 12 inches can yield a balanced and natural sound. Experimenting with different placements, such as closer to the fretboard or the body of the guitar, can offer varying tonal qualities, allowing you to tailor the sound to your preference.
When capturing live performances or group discussions, the omnidirectional pickup pattern of the Blue Yeti becomes particularly relevant. Position the microphone at the center of the group, ensuring an equal distance from all speakers or performers. This placement facilitates uniform sound capture from all directions, creating a balanced and immersive recording.
Moreover, considering the acoustic environment is essential when positioning the microphone. Minimize reflective surfaces and background noise by choosing a recording location with proper acoustic treatment. If available, utilize soundproofing materials or acoustic panels to reduce reverberation and external disturbances, thereby enhancing the overall recording quality.
Real-time monitoring of the microphone’s input can provide valuable insights into the positioning and sound capture. Using the headphone volume control on the Blue Yeti, listen to the live audio feed while adjusting the microphone placement to achieve the desired sound balance and clarity.
By mastering the art of microphone positioning, you can harness the full potential of the Blue Yeti, elevating your recordings to a professional standard with pristine sound quality and immersive audio experiences.
Recording with the Blue Yeti Microphone
Now that your Blue Yeti microphone is set up, the settings are optimized, and the microphone is positioned for optimal sound capture, it’s time to dive into the recording process. Whether you’re a musician, podcaster, gamer, or content creator, the Blue Yeti offers a versatile platform for capturing high-quality audio with ease.
When using the Blue Yeti for vocal recordings, it’s essential to maintain a consistent distance from the microphone to ensure uniform sound capture. For solo vocal performances, position the microphone according to the cardioid pickup pattern’s specifications, ensuring that the sound source is directly in front of the microphone for optimal clarity and presence.
For musical recordings, experiment with different microphone placements to capture the nuances of the instruments accurately. Whether recording acoustic guitar, piano, or percussion instruments, the Blue Yeti’s versatile pickup patterns allow you to tailor the sound capture to suit the unique characteristics of each instrument.
When engaging in live streaming, gaming commentary, or podcasting, the Blue Yeti’s plug-and-play functionality and intuitive controls make it an ideal choice for content creators. The microphone’s integrated headphone output enables real-time monitoring of the audio feed, allowing you to adjust the microphone settings and positioning on the fly for the best results.
As you embark on the recording process, consider the impact of the recording environment on the overall sound quality. Minimize ambient noise, echoes, and reverberation by choosing a suitable recording location and implementing acoustic treatment when possible. This attention to detail can significantly enhance the clarity and fidelity of your recordings.
Furthermore, the Blue Yeti’s compatibility with a wide range of recording software and digital audio workstations (DAWs) opens up a world of creative possibilities. Whether you prefer to use industry-standard recording software or explore innovative plugins and effects, the Blue Yeti serves as a versatile and reliable tool for bringing your creative vision to life.
By leveraging the Blue Yeti’s capabilities and embracing the recording process with creativity and precision, you can produce captivating audio content that resonates with your audience. Whether you’re crafting music, delivering engaging podcasts, or immersing your audience in live streaming experiences, the Blue Yeti empowers you to achieve professional-grade recordings with ease.
Troubleshooting Common Issues
While the Blue Yeti microphone is renowned for its exceptional performance and user-friendly design, users may encounter common issues that can impact the recording experience. By familiarizing yourself with potential challenges and their solutions, you can ensure a seamless recording process with the Blue Yeti.
One prevalent issue that users may encounter is background noise or unwanted static in their recordings. This can often be attributed to the microphone’s gain settings. To mitigate this issue, consider adjusting the gain control on the Blue Yeti to achieve an optimal input level. Lowering the gain for louder sound sources and increasing it for quieter sources can help minimize background noise and ensure clear, distortion-free recordings.
If you notice that the recorded audio lacks clarity or presence, it may be beneficial to revisit the microphone’s positioning. Ensure that the microphone is correctly oriented according to the desired pickup pattern, especially when capturing vocals or instruments. Experiment with different distances and angles to find the optimal placement for your specific recording needs.
Inconsistent audio levels or sudden drops in volume during recordings can be a source of frustration. In such cases, it’s essential to check the USB connection and ensure that the cable is securely plugged into both the Blue Yeti and the computer’s USB port. Additionally, verifying that the Blue Yeti is selected as the default recording device in your computer’s audio settings can help address potential connectivity issues.
If you encounter challenges with real-time monitoring through the microphone’s headphone output, consider adjusting the headphone volume control to ensure that the audio playback is at a comfortable and audible level. Furthermore, testing the headphone output with different audio sources can help identify and troubleshoot any issues related to audio playback.
In the event of software compatibility issues or unexpected behavior when using the Blue Yeti with recording software or DAWs, it’s advisable to check for driver updates and ensure that the microphone’s firmware is up to date. Manufacturers often release firmware updates to address compatibility issues and optimize the microphone’s performance with various software applications.
By proactively addressing these common issues and leveraging the troubleshooting tips provided, you can maximize the potential of your Blue Yeti microphone and enjoy a seamless recording experience across a wide range of applications. With a combination of technical know-how and practical solutions, you can overcome challenges and continue producing professional-grade audio content with confidence.