Home>Devices & Equipment>Microphone>Lavalier Microphone: How To Use
Microphone
Lavalier Microphone: How To Use
Modified: February 17, 2024
Learn how to use a lavalier microphone effectively. Discover tips and techniques for maximizing the performance of your microphone.
(Many of the links in this article redirect to a specific reviewed product. Your purchase of these products through affiliate links helps to generate commission for AudioLover.com, at no extra cost. Learn more)
Table of Contents
Introduction
Lavalier microphones, also known as lapel mics or lav mics, are versatile audio tools that have become indispensable in various professional and personal settings. These compact microphones are designed to be discreetly clipped onto clothing, making them ideal for capturing clear and high-quality audio in situations where traditional microphones may be impractical or obtrusive.
Whether you're a content creator, public speaker, performer, or filmmaker, understanding how to effectively use a lavalier microphone can significantly enhance the audio quality of your recordings or live presentations. From minimizing background noise to providing hands-free operation, lavalier microphones offer a range of benefits that make them a popular choice in diverse applications.
In this comprehensive guide, we'll delve into the nuances of lavalier microphones, from setting them up to optimizing their performance. By the end of this article, you'll have a solid grasp of how to use lavalier microphones effectively, allowing you to elevate the audio production value of your content and presentations. Whether you're preparing for a public speaking engagement, creating video content, or simply looking to improve the clarity of your voice recordings, mastering the art of using a lavalier microphone is a valuable skill that can yield impressive results.
Understanding the Lavalier Microphone
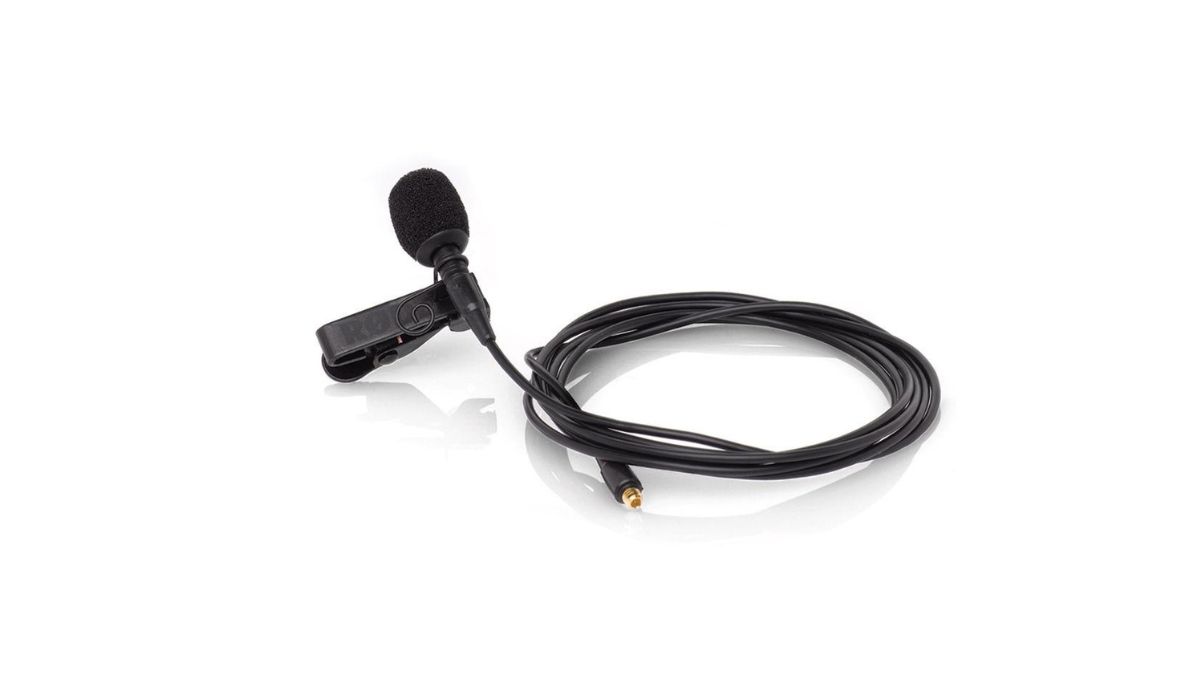
A lavalier microphone is a small, discreet microphone that is commonly used in situations where a traditional microphone would be impractical or obtrusive. These microphones are often clipped onto the clothing of the speaker or performer, allowing for hands-free operation and minimizing the visibility of the microphone itself. Lavalier microphones are available in both wired and wireless configurations, offering flexibility in various recording and presentation scenarios.
One of the key advantages of lavalier microphones is their ability to capture clear and direct audio from the speaker, minimizing ambient noise and delivering a more focused sound. This makes them particularly well-suited for public speaking engagements, interviews, video production, and live performances where audio quality is paramount. Additionally, the discreet nature of lavalier microphones makes them a popular choice for on-camera use, allowing presenters and actors to move freely without being encumbered by a bulky microphone.
It’s important to note that lavalier microphones come in different polar patterns, such as omnidirectional and cardioid, each offering distinct advantages in capturing sound. Omnidirectional lavalier microphones pick up sound from all directions, making them suitable for situations where the speaker may move around. On the other hand, cardioid lavalier microphones are more focused and less prone to picking up ambient noise, making them ideal for environments with potential audio distractions.
Understanding the characteristics and capabilities of lavalier microphones is essential for maximizing their performance in various settings. By harnessing the unique features of these microphones, users can effectively capture high-quality audio while enjoying the freedom of movement and hands-free operation that lavalier microphones afford.
Setting up the Lavalier Microphone
Before using a lavalier microphone, it’s crucial to ensure that it is set up correctly to achieve optimal audio quality. The first step is to carefully unpack the microphone and its accompanying accessories, such as clips and windshields, if included. Familiarize yourself with the components to understand how they come together to form a functional setup.
Next, identify the appropriate placement for the lavalier microphone on the speaker’s clothing. The ideal positioning may vary depending on the specific use case and the individual’s movements. Generally, the microphone should be clipped near the neckline or collar of the clothing, ensuring that it is secure and positioned close to the speaker’s mouth for clear audio capture.
When attaching the lavalier microphone, take care to minimize any friction or contact noise that may arise from the microphone rubbing against clothing. This can be achieved by using the provided clips to secure the microphone in place while allowing for a degree of flexibility to accommodate movement.
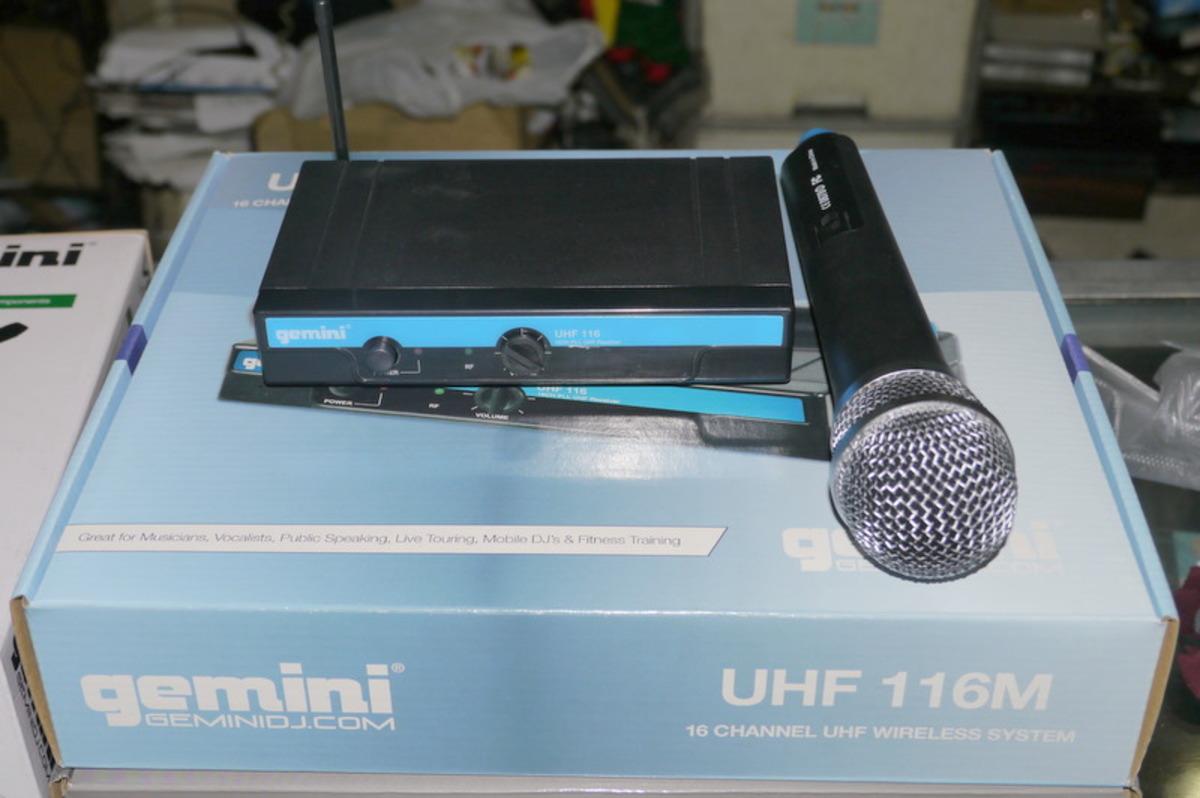
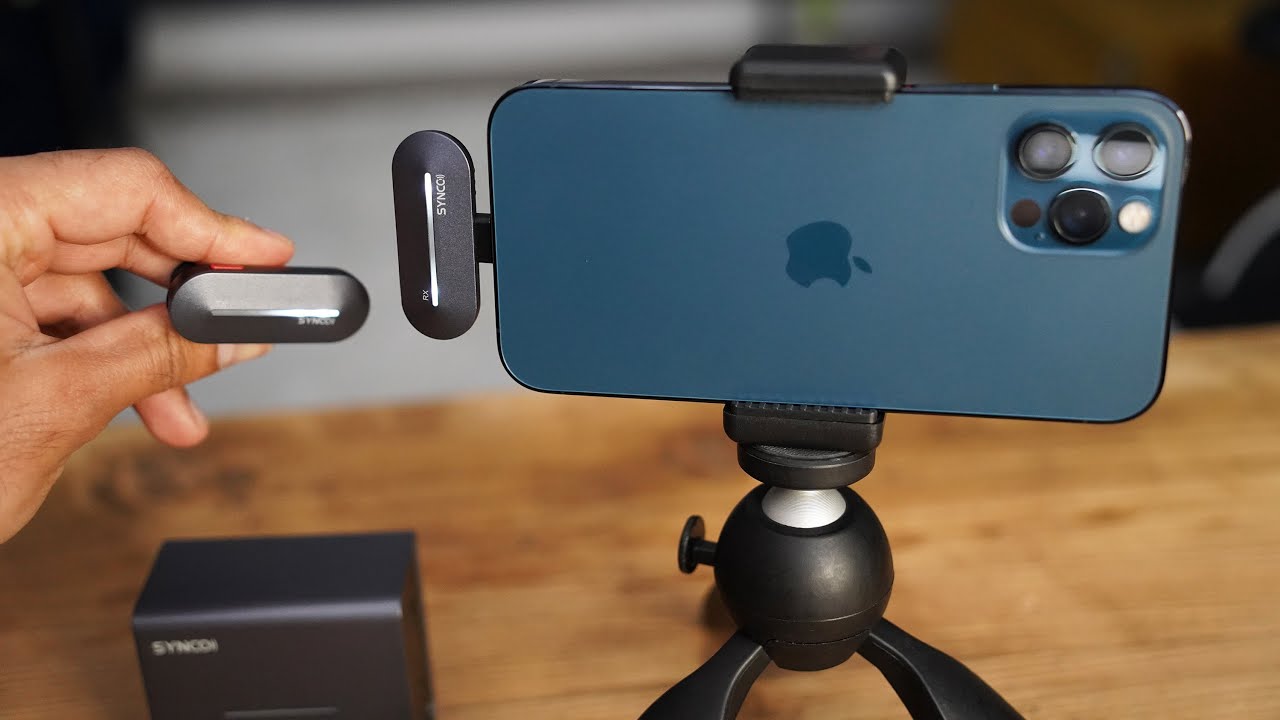
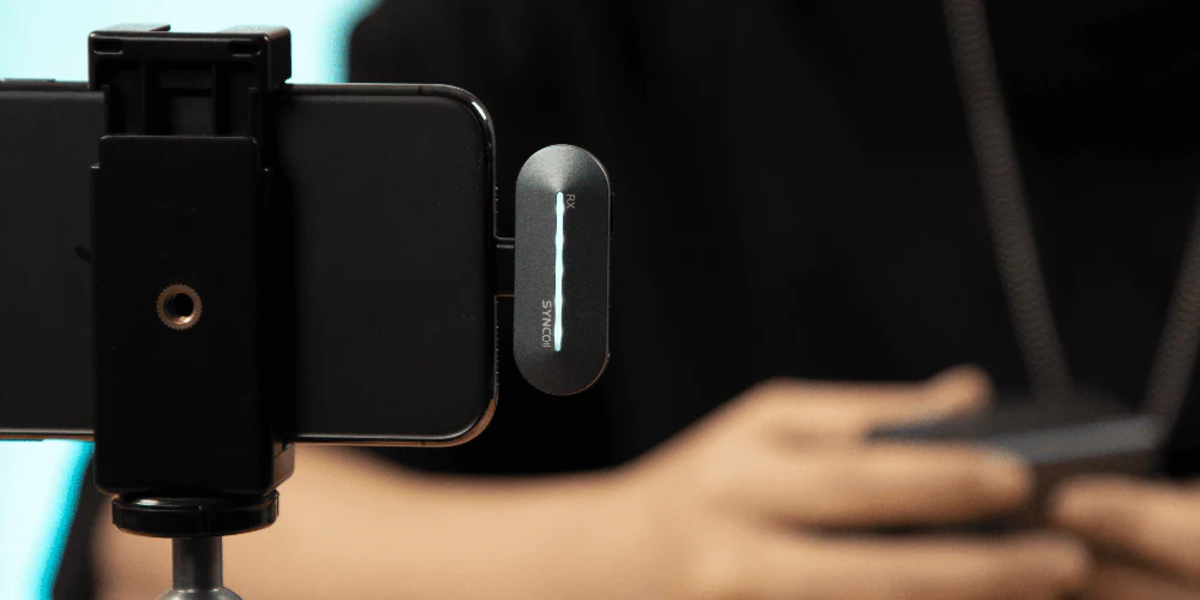
If the lavalier microphone is a wired model, take note of the cable’s length and route it discreetly along the speaker’s clothing to prevent it from becoming tangled or causing obstruction. For wireless lavalier microphones, ensure that the transmitter and receiver are paired and set to the appropriate frequency to establish a reliable connection.
It’s important to conduct a visual inspection of the entire setup to confirm that the lavalier microphone is securely fastened and that the cable, if applicable, is neatly arranged to minimize any potential interference. By taking the time to set up the lavalier microphone with precision and attention to detail, users can lay the groundwork for capturing pristine audio without distractions or technical hiccups.
Positioning the Lavalier Microphone
Proper positioning of a lavalier microphone is crucial for achieving optimal audio quality and minimizing potential audio artifacts. The ideal placement of the microphone largely depends on the specific use case, the speaker’s movements, and the desired audio capture. Here are some key considerations for effectively positioning a lavalier microphone:
- Distance from the Mouth: Position the lavalier microphone at a consistent distance from the speaker’s mouth to ensure consistent audio levels and clarity. While individual preferences may vary, a general guideline is to place the microphone approximately 6 to 8 inches from the mouth, allowing for natural articulation and sound capture.
- Orientation: Orient the lavalier microphone to align with the speaker’s mouth, ensuring that the microphone’s diaphragm is facing the sound source. This helps in capturing the speaker’s voice accurately while minimizing extraneous noise and interference.
- Clothing Considerations: When positioning the lavalier microphone on the speaker’s clothing, be mindful of fabric rustling and contact noise. Opt for areas with minimal fabric movement, such as the neckline or lapel, and use the provided clips to secure the microphone in place without causing friction against the clothing.
- Movement Anticipation: Anticipate the speaker’s movements and adjust the lavalier microphone placement accordingly. For presenters or performers who engage in dynamic movements, consider using additional securing methods, such as tape or adhesive mounts, to ensure the microphone remains in the optimal position throughout the performance.
It’s important to communicate with the speaker or performer to understand their comfort and mobility requirements, allowing for a collaborative approach to lavalier microphone positioning. Additionally, conducting a sound check and monitoring the audio levels during a trial run can provide valuable insights into the effectiveness of the microphone’s placement and inform any necessary adjustments.
By paying careful attention to the positioning of the lavalier microphone and considering the unique variables at play, users can harness the microphone’s capabilities to capture clear, natural-sounding audio while accommodating the speaker’s movements and ensuring a seamless recording or presentation experience.
Connecting the Lavalier Microphone to a Device
Once the lavalier microphone is properly positioned, the next step is to connect it to a compatible recording or amplification device to begin capturing audio. The process of connecting the lavalier microphone may vary depending on whether it is a wired or wireless model. Here’s a guide to connecting both types of lavalier microphones to their respective devices:
Wired Lavalier Microphone:
For a wired lavalier microphone, start by identifying the appropriate input jack on the recording device or audio interface. Most lavalier microphones utilize a standard 3.5mm TRS (Tip-Ring-Sleeve) or TRRS (Tip-Ring-Ring-Sleeve) connector, which can be plugged into the corresponding microphone input on devices such as cameras, smartphones, audio recorders, or mixers.
Ensure that the connection is secure and that the cable is neatly routed to prevent any accidental tugs or disruptions during use. It’s also advisable to use any included cable management accessories, such as clips or cable organizers, to keep the cable tidy and free from entanglement.
Wireless Lavalier Microphone:
When using a wireless lavalier microphone, the setup involves pairing the microphone’s transmitter with the receiver, followed by connecting the receiver to the recording or amplification device. Start by powering on both the transmitter and receiver units, ensuring that they are set to the same frequency or channel to establish a reliable wireless connection.
Once the wireless connection is established, connect the receiver to the recording device using an appropriate audio cable, such as a 3.5mm TRS or XLR cable, depending on the input options available on the device. Verify that the connection between the receiver and the recording device is secure and that the audio levels are appropriately adjusted to accommodate the lavalier microphone’s signal.
Regardless of whether the lavalier microphone is wired or wireless, it’s essential to conduct a brief audio test to confirm that the microphone is successfully transmitting sound to the recording device. This allows for early detection of any potential issues and ensures that the audio signal is being captured as intended.
By following these steps, users can confidently connect their lavalier microphones to compatible devices, paving the way for seamless audio capture and recording in a variety of settings.
Testing the Lavalier Microphone
Before commencing with a recording or live presentation, it’s essential to conduct a thorough test of the lavalier microphone to confirm its functionality and ensure that the audio quality meets the desired standards. A systematic testing process can help identify and address any potential issues, allowing for a seamless and uninterrupted audio capture experience. Here’s a comprehensive guide to testing a lavalier microphone:
Audio Check:
Begin by checking the audio levels and signal quality of the lavalier microphone. If using a wired microphone, monitor the input levels on the recording device to ensure that the microphone is capturing sound at an appropriate volume without clipping or distortion. For wireless microphones, verify that the receiver is receiving a strong and clear signal from the transmitter, and adjust the audio levels as needed.
Speech and Movement Test:
Engage in a brief speaking test while wearing the lavalier microphone to assess the clarity and intelligibility of the captured audio. Speak at varying volumes and pitches to gauge the microphone’s ability to faithfully reproduce the speaker’s voice across different vocal ranges. Additionally, perform gentle movements and gestures to ascertain the microphone’s stability and resistance to handling noise or cable rustling.
Background Noise Evaluation:
Conduct a background noise evaluation to identify any potential environmental or electronic interference that may affect the microphone’s performance. Listen attentively for unwanted hissing, buzzing, or electromagnetic interference that could compromise the audio quality. If using a wireless lavalier microphone, ensure that the selected frequency or channel provides optimal signal integrity and minimal interference.
Range and Coverage Test (Wireless Microphones):
If using a wireless lavalier microphone, assess its range and coverage by moving around the intended recording or performance area. Verify that the microphone’s signal remains stable and free from dropouts or signal loss, especially in environments with potential obstructions or wireless interference. This test helps determine the effective operating range of the wireless microphone system.
Feedback and Adjustment:
Based on the test results, make any necessary adjustments to the microphone’s positioning, audio levels, or system settings to optimize its performance. Address any identified issues, such as unwanted noise or inconsistent audio levels, to ensure that the lavalier microphone is poised to deliver exceptional audio quality during the recording or presentation.
By diligently testing the lavalier microphone and addressing any potential concerns, users can instill confidence in the microphone’s performance and pave the way for a successful and professional audio recording or presentation experience.
Tips for Using Lavalier Microphones
Mastering the use of lavalier microphones involves not only technical proficiency but also an understanding of best practices and nuanced techniques that can elevate the quality of audio capture and presentation. Here are valuable tips to optimize the use of lavalier microphones in diverse scenarios:
1. Conduct Sound Checks:
Prior to any recording or presentation, allocate time for comprehensive sound checks to ensure that the lavalier microphone is capturing clear and balanced audio. Adjust audio levels, monitor for background noise, and verify the microphone’s functionality to preemptively address any potential issues.
2. Minimize Clothing Rustle:
To reduce fabric rustling and friction noise, opt for clothing materials that are less prone to generating unwanted sounds when in contact with the lavalier microphone. Additionally, secure the microphone with clips to minimize movement and maintain a consistent position.
3. Consider Wind Protection:
In outdoor or windy environments, consider using a windscreen or windshield to mitigate the impact of air movement on the lavalier microphone. This helps prevent intrusive wind noise and ensures that the captured audio remains clear and intelligible.
4. Optimize Cable Management:
For wired lavalier microphones, invest effort in cable management to prevent tangles and minimize the risk of accidental cable pulls. Secure the cable along the clothing using clips or organizers, and route it discreetly to maintain a tidy and unobtrusive setup.
5. Anticipate Speaker Movement:
When positioning the lavalier microphone, anticipate the speaker’s movements and adjust the microphone’s placement accordingly. This proactive approach helps maintain consistent audio capture even as the speaker engages in dynamic movements during a presentation or performance.
6. Monitor Battery Levels (Wireless Models):
For wireless lavalier microphones, regularly monitor the battery levels of the transmitter and receiver units to prevent unexpected power depletion. Carrying spare batteries or utilizing rechargeable battery systems can offer added reassurance during extended recording or presentation sessions.
7. Engage in Continuous Monitoring:
Throughout the recording or presentation, engage in continuous monitoring of the lavalier microphone’s audio output to promptly address any unforeseen issues. This proactive approach allows for real-time adjustments and ensures a consistent audio experience for the audience or recording.
By integrating these tips into the use of lavalier microphones, users can harness the full potential of these versatile audio tools, delivering exceptional audio quality and enhancing the overall impact of their presentations, performances, and recordings.
Conclusion
Mastering the art of using lavalier microphones empowers individuals across various domains, from content creators and public speakers to filmmakers and performers, to capture pristine audio in a diverse range of settings. The discreet and versatile nature of lavalier microphones makes them invaluable tools for hands-free audio capture, enabling users to deliver clear and focused sound while maintaining freedom of movement.
By understanding the nuances of lavalier microphones, including their positioning, connectivity, and best practices, users can harness the full potential of these compact yet powerful audio devices. Through meticulous setup, thoughtful positioning, and proactive testing, the audio quality captured by lavalier microphones can be optimized to meet the highest standards, whether in professional recordings, live presentations, or on-camera performances.
Furthermore, integrating practical tips, such as conducting thorough sound checks, optimizing cable management, and anticipating speaker movement, enhances the user’s proficiency in utilizing lavalier microphones effectively. These tips not only contribute to superior audio capture but also streamline the overall recording and presentation process, fostering a seamless and professional experience.
Ultimately, the ability to use lavalier microphones adeptly opens doors to elevated audio production value, enriched storytelling, and impactful communication. As users refine their skills in leveraging lavalier microphones, they unlock new possibilities for engaging their audience, delivering compelling content, and leaving a lasting impression through the power of crystal-clear audio.
With a blend of technical know-how, creative finesse, and a commitment to continuous improvement, the journey of using lavalier microphones unfolds as a transformative pursuit, amplifying the impact of audio in diverse realms of expression and communication.