Home>Devices & Equipment>Music Box>How To Place A Music Box In A Ceramic Base
Music Box
How To Place A Music Box In A Ceramic Base
Modified: January 22, 2024
Learn how to properly place a music box in a ceramic base to create a stunning display. Enhance your decor with this unique and beautiful addition.
(Many of the links in this article redirect to a specific reviewed product. Your purchase of these products through affiliate links helps to generate commission for AudioLover.com, at no extra cost. Learn more)
Table of Contents
- Introduction
- Materials Needed
- Step 1: Prepare the Ceramic Base
- Step 2: Choose a Music Box
- Step 3: Measure and Mark Placement
- Step 4: Create an Opening in the Ceramic Base
- Step 5: Insert the Music Box
- Step 6: Secure the Music Box in Place
- Step 7: Test and Adjust Placement
- Step 8: Final Touches and Decorations
- Conclusion
Introduction
Welcome to this comprehensive guide on how to place a music box in a ceramic base. Music boxes have a nostalgic charm and can add a touch of whimsy to any space. By incorporating them into a ceramic base, you can further enhance their aesthetic appeal and create a unique display piece.
Whether you are a music box collector or someone looking to create a personalized gift, this step-by-step tutorial will walk you through the process of placing a music box inside a ceramic base. You don’t need to be a DIY expert to accomplish this task – with a few simple tools and materials, you’ll be able to create a beautiful and functional decorative item.
In this guide, we will cover everything you need to know, from preparing the ceramic base to securing the music box in place. We’ll also provide tips on choosing the right music box and offer suggestions for adding finishing touches to your creation. So, let’s dive in and get started!
Materials Needed
Before we begin, let’s make sure you have all the necessary materials on hand. Here’s a list of what you’ll need to complete the project:
- A ceramic base: Choose a ceramic base that suits your preferences and the size of the music box. It can be a decorative plate, a shallow dish, or any other ceramic object with a flat surface.
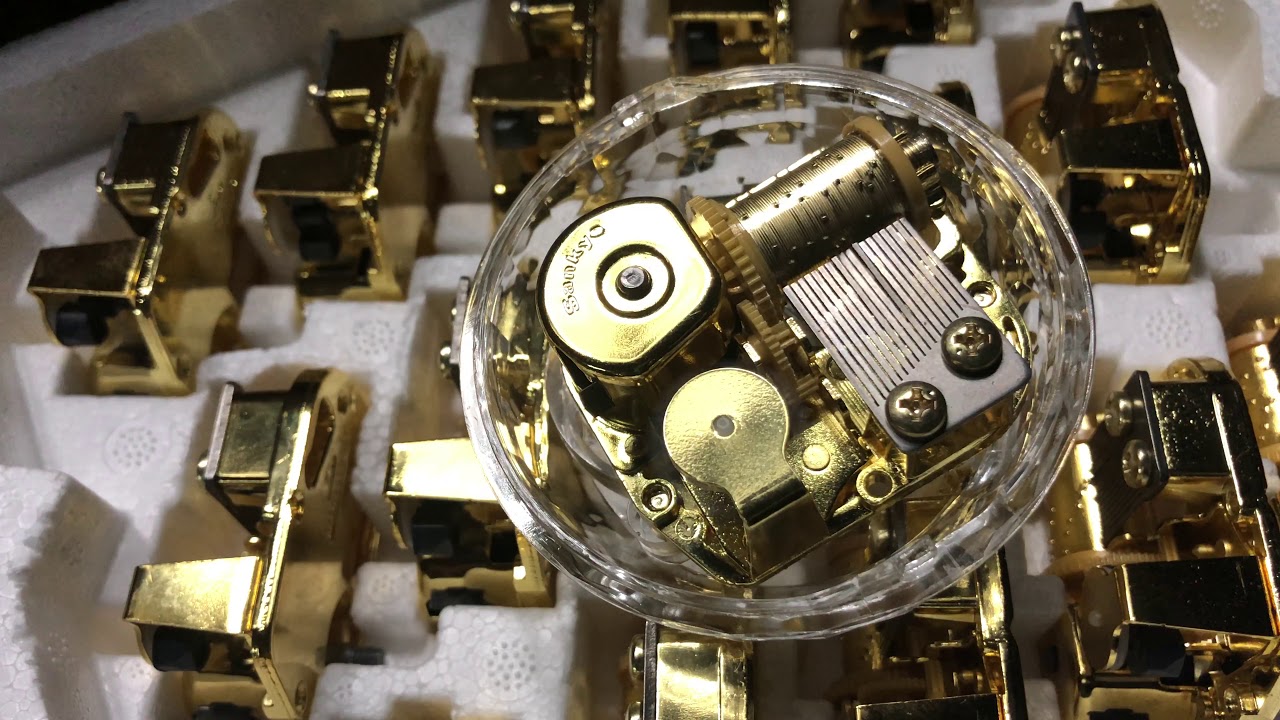
- A music box: Select a music box that fits within the dimensions of the ceramic base. You can find a variety of music boxes online or at specialty stores. Make sure it has a winding mechanism or requires batteries, depending on your preference.
- Measuring tape: This will help you measure the dimensions of the music box and determine the appropriate placement within the ceramic base.
- Marker or pencil: Use a marker or pencil to mark the spot where the music box will be placed.
- Drill or rotary tool: Depending on the material of your ceramic base, you may need a drill or rotary tool to create an opening for the music box. Make sure to use the appropriate drill bit or cutting attachment.
- Safety equipment: It’s always important to prioritize safety when using power tools. Don’t forget to wear safety goggles and gloves.
- Adhesive or epoxy: To secure the music box in place, you’ll need adhesive or epoxy. Choose a strong and durable adhesive suitable for bonding ceramic and other materials together.
- Decorative elements (optional): If desired, you can further personalize your music box by adding decorative elements such as paint, beads, ribbons, or small figurines.
Having these materials ready will ensure a smooth and successful process. Now that you’re prepared, let’s move on to the next step: preparing the ceramic base.
Step 1: Prepare the Ceramic Base
The first step in placing a music box in a ceramic base is to prepare the base itself. Follow these simple steps:
- Clean the ceramic base: Start by cleaning the ceramic base thoroughly. Remove any dust, dirt, or debris that may be on the surface. You can use a damp cloth or sponge to wipe it down.
- Inspect the ceramic base: Carefully examine the ceramic base for any chips, cracks, or imperfections. If there are any visible flaws, consider choosing a different base or repairing the damage before proceeding.
- Choose the placement: Determine where you want to position the music box on the ceramic base. Consider the design and size of the base, as well as how it will visually balance with the music box. Make a mental note or use a marker to mark the desired spot.
- Ensure stability: Check to see if the ceramic base is stable and won’t wobble or tip over when the music box is inserted. If needed, adjust the base or add padding to create a secure and level surface.
By preparing the ceramic base, you are setting the stage for a successful placement of the music box. Once the base is clean and stable, you can proceed to the next step of choosing a music box that will complement your ceramic base.
Step 2: Choose a Music Box
The next step in placing a music box in a ceramic base is selecting the perfect music box. Consider the following factors when making your choice:
- Size: Measure the dimensions of the ceramic base and choose a music box that will fit comfortably within it. You want a music box that is not too small to get lost in the base, but also not too large that it overpowers the design.
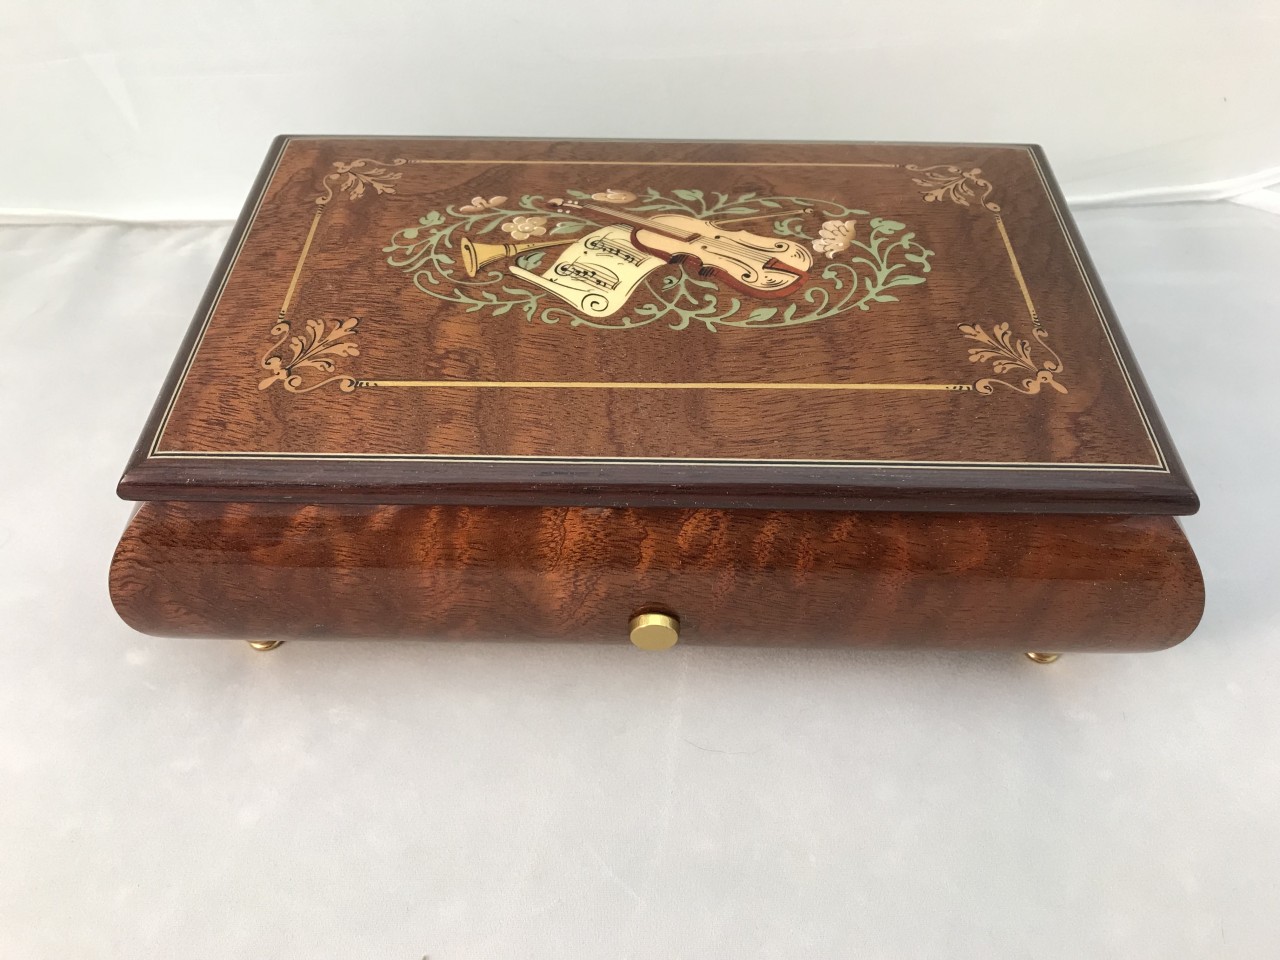
- Style: Consider the overall aesthetic of the ceramic base and choose a music box that matches or complements its style. Whether you prefer a vintage, whimsical, or modern look, there are music boxes available in a variety of designs and finishes.
- Tune: Think about the tune you want your music box to play. Popular choices include classical melodies, lullabies, or sentimental tunes. Select a tune that holds meaning for you or resonates with the recipient if it’s a gift.
- Mechanism: Decide whether you prefer a music box with a winding mechanism or one that runs on batteries. Each option has its advantages: winding mechanisms provide a traditional feel, while battery-operated music boxes are easy to turn on and off.
- Quality: Look for a music box made with high-quality materials that will stand the test of time. Check customer reviews and ratings to ensure that you are purchasing a reliable and well-crafted product.
Take your time in choosing a music box that resonates with you or the intended recipient. Remember that this music box will be the centerpiece of your ceramic base, so it’s important to find one that you truly love.
Step 3: Measure and Mark Placement
Once you have chosen the perfect music box, it’s time to measure and mark the placement within the ceramic base. Follow these steps to ensure accurate positioning:
- Measure the dimensions: Use a measuring tape to measure the length, width, and height of the music box. Take note of these measurements as they will guide you in determining the appropriate placement within the ceramic base.
- Mark the spot: With the measurements in mind, use a marker or pencil to mark the center point where the music box will be inserted. This will help you align the music box correctly within the ceramic base.
- Consider the design: Take into account any decorative elements or patterns on the ceramic base when marking the placement. You want to ensure that the music box will be visually balanced and harmonious with the overall design of the base.
- Ensure proper clearance: Check the dimensions of the music box again and make sure there is enough clearance both horizontally and vertically within the ceramic base. It’s important to have sufficient space for the music box mechanism to function properly.
Accurate measuring and marking are crucial in achieving a professional-looking and well-positioned music box within the ceramic base. By taking the time to do this step carefully, you’ll have a solid foundation for the next steps of the process.
Step 4: Create an Opening in the Ceramic Base
Now that you have measured and marked the placement for the music box, it’s time to create an opening in the ceramic base. Follow these steps to safely and accurately create the opening:
- Gather the necessary tools: Depending on the material of your ceramic base, you’ll need a drill or a rotary tool with the appropriate drill bit or cutting attachment. Make sure to wear safety goggles and gloves for protection.
- Start drilling or cutting: Position the drill or rotary tool over the marked spot and apply gentle pressure. Begin drilling or cutting slowly, allowing the tool to work its way through the ceramic. Maintain a steady and controlled movement to avoid cracking or damaging the base.
- Work in increments: If you are using a drill, start with a small drill bit and gradually increase the size until you reach the desired diameter. If you are using a rotary tool, carefully guide the cutting attachment around the marked spot to create the opening.
- Take breaks if needed: The drilling or cutting process may generate heat, so take breaks if necessary to allow the ceramic base to cool down. This will help prevent any damage to the base and ensure a clean and precise opening.
- Check the size and fit: Periodically check the size of the opening by attempting to insert the music box. Make sure it fits snugly without being too tight. You can always adjust the opening size by using a file or sandpaper to remove any excess material.
Creating an opening in the ceramic base requires patience and precision. Take your time, work carefully, and remember to prioritize safety throughout the process. Once the opening is created, you’re ready to move on to the next step of inserting the music box into the ceramic base.
Step 5: Insert the Music Box
With the opening created in the ceramic base, it’s time to insert the music box. Follow these steps to ensure a secure and proper fit:
- Prepare the music box: Remove any packaging or protective materials from the music box. If the music box has a winding mechanism, ensure it is fully wound or if it requires batteries, insert them according to the manufacturer’s instructions.
- Align the music box: Carefully align the music box with the opening you created in the ceramic base. Ensure that the mechanism aligns with the opening and any decorative elements on the music box are facing the desired direction.
- Insert the music box: Gently lower the music box into the opening, making sure it fits snugly. If necessary, apply light pressure to seat it properly within the ceramic base. Take care not to force it or cause any damage to the ceramic or the music box itself.
- Check for stability: Once the music box is inserted, check if it is stable. Gently give it a slight shake to test its security within the ceramic base. If it feels loose, you may need to adjust the fit or use adhesive or epoxy to secure it in place.
It’s important to handle the music box with care during the insertion process to avoid any accidental damage. Once you have successfully inserted the music box, you’re ready to move on to the next step: securing the music box in place.
Step 6: Secure the Music Box in Place
After inserting the music box into the ceramic base, it’s essential to secure it in place to ensure stability and longevity. Follow these steps to properly secure the music box:
- Choose an adhesive or epoxy: Select a strong adhesive or epoxy that is suitable for bonding ceramic and other materials together. Read the manufacturer’s instructions and ensure it is safe to use on the specific materials of your music box and ceramic base.
- Apply the adhesive: Carefully apply a small amount of adhesive or epoxy to the edges of the opening in the ceramic base. Be mindful not to use excessive amounts that could seep out or create a messy appearance.
- Position the music box: Align the music box within the opening and gently press it down, allowing the adhesive or epoxy to create a bond between the ceramic base and the music box. Take care to ensure that any decorative elements on the music box are still properly aligned.
- Hold in place: Depending on the adhesive or epoxy you’re using, you may need to hold the music box in place for a certain amount of time to allow the bond to set. Follow the instructions provided with the adhesive to ensure proper curing.
- Clean excess adhesive (if applicable): If any adhesive or epoxy has oozed out around the edges of the opening, use a damp cloth or cotton swab to carefully clean it up before it dries completely.
Remember to exercise caution when working with adhesives or epoxies and follow the manufacturer’s instructions for proper usage and safety. By securely bonding the music box to the ceramic base, you can ensure its longevity and prevent any potential movement or damage over time.
Step 7: Test and Adjust Placement
After securing the music box in place, it’s important to test its functionality and make any necessary adjustments to the placement. Follow these steps to ensure the music box is working correctly and positioned to your satisfaction:
- Test the music box: Wind up the music box or activate it using the designated method. Listen to the melody and make sure it plays smoothly without any obstructions or interruptions. Check for any unusual sounds or malfunctions.
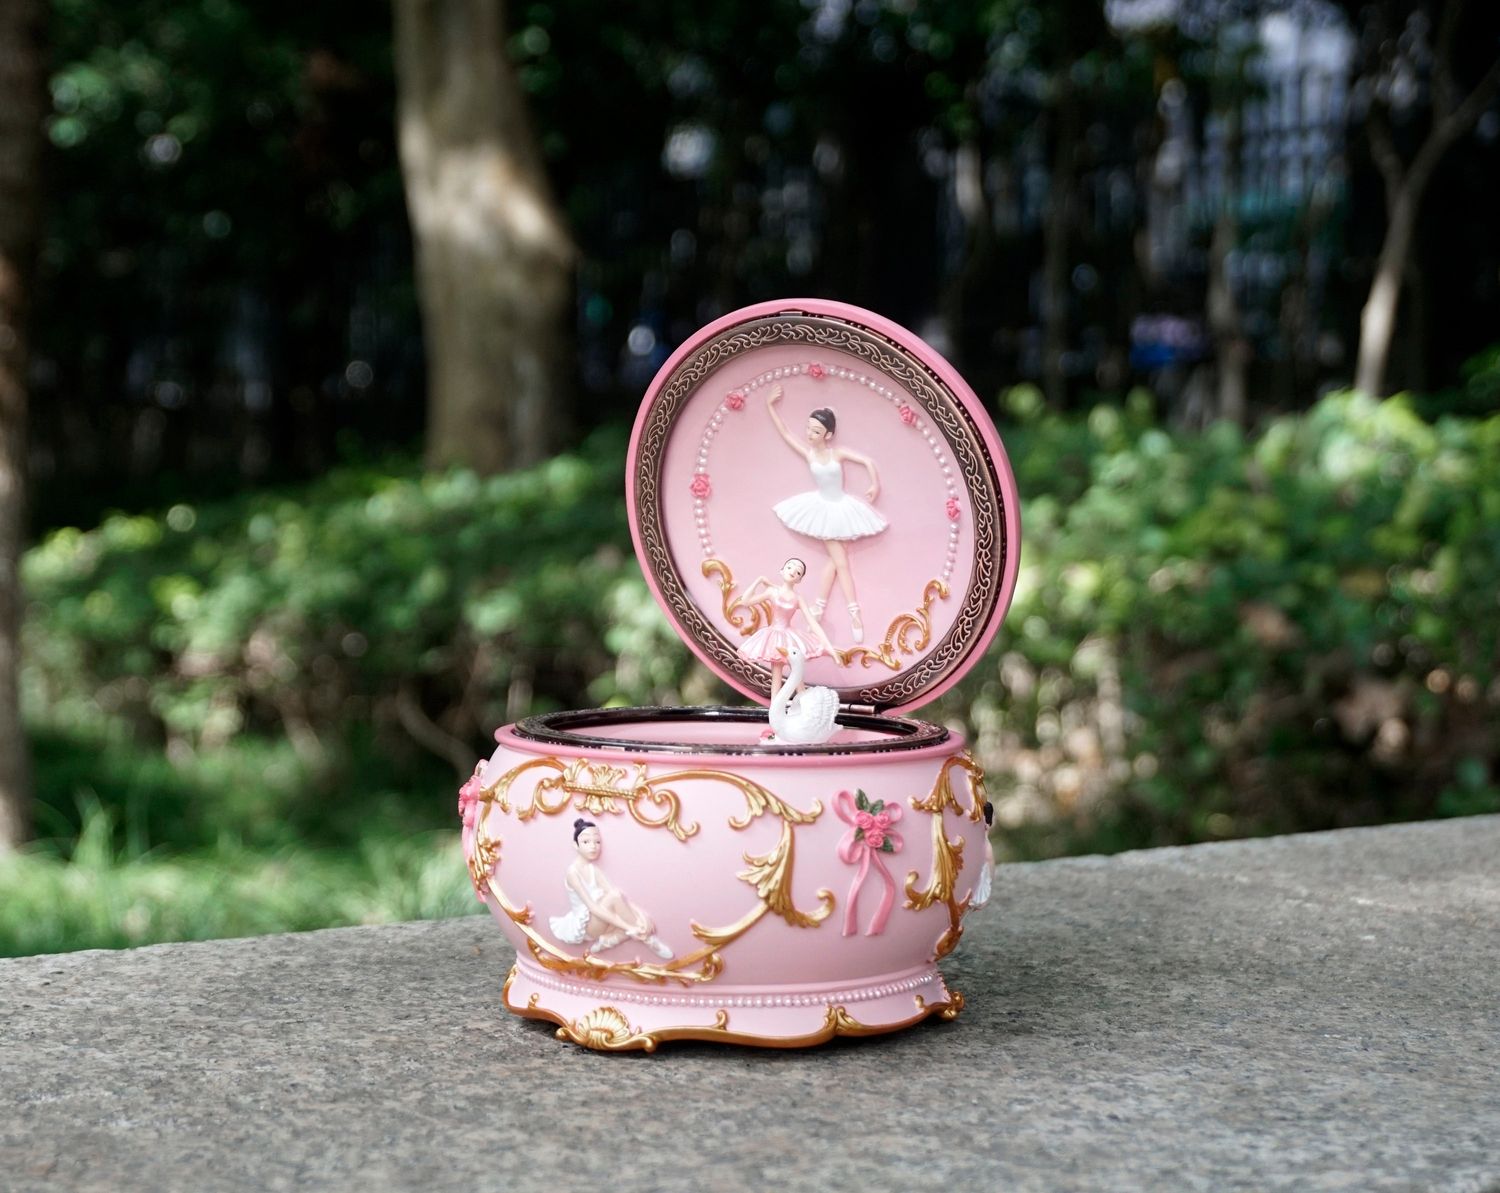
- Observe the movement: Watch the movement of any decorative elements or figures on the music box as the melody plays. Ensure they move freely and in sync with the music. Adjust the placement if needed to optimize the visual effect.
- Check for clearance: Examine the clearance between the music box and the ceramic base. Ensure that there is enough space for any moving parts or mechanisms to operate without obstruction. If necessary, make adjustments to the placement to provide proper clearance.
- Assess the aesthetics: Step back and assess the overall appearance of the music box within the ceramic base. Consider its alignment, position, and visual balance. If anything feels off or unsatisfactory, make minor adjustments until you are pleased with the final result.
By thoroughly testing and assessing the placement of the music box, you can ensure that it not only functions properly but also enhances the aesthetic appeal of the ceramic base. Take your time during this step to fine-tune the position and make any necessary adjustments for the best possible outcome.
Step 8: Final Touches and Decorations
With the music box securely placed and adjusted to your satisfaction, it’s time to add final touches and decorations to complete the overall look and enhance the aesthetic appeal. Consider the following steps to put the finishing touches on your music box in a ceramic base:
- Paint or decorate the base (optional): If desired, you can paint or decorate the ceramic base to complement the design of the music box or to match your personal style. Use acrylic paint, decorative stickers, or other embellishments to add a personal touch.
- Add decorative elements: Enhance the visual appeal by incorporating additional decorative elements. You can attach beads, ribbons, or small figurines to the ceramic base, creating a charming and unique display piece.
- Personalize with engraving: Consider engraving a special message, name, or date on the ceramic base. This adds a sentimental touch and makes your music box in a ceramic base even more meaningful, especially if it’s a gift for someone special.
- Accessorize with a display stand: To showcase your music box and ceramic base, you may want to place them on a decorative display stand or pedestal. This elevates the overall presentation, adds visual interest, and provides a stable platform for your creation.
- Clean and maintain: Regularly clean and maintain both the music box and the ceramic base to ensure their longevity. Dust them gently with a soft cloth, avoid exposing them to direct sunlight or excessive moisture, and handle them with care.
Remember, the final touches and decorations are an opportunity to add your personal style and creativity to the music box in a ceramic base. Use these steps as a guide, but feel free to let your imagination soar and customize it to your liking. The goal is to create a beautiful and unique piece that brings joy to both you and others who appreciate it.
Conclusion
Congratulations! You have successfully learned how to place a music box in a ceramic base. This step-by-step guide has taken you through the process of preparing the ceramic base, choosing a music box, measuring and marking the placement, creating an opening, inserting and securing the music box, testing and adjusting the placement, and adding final touches and decorations.
By following these steps, you have created a beautiful and personalized decorative piece that combines the timeless charm of a music box with the elegance of a ceramic base. Whether you intend to display it in your home or offer it as a thoughtful gift, this unique creation is sure to delight and captivate the hearts of those who see it.
Remember to take your time and pay attention to details throughout the process. Consider your personal preferences, the size and style of the ceramic base, the tune and mechanism of the music box, and any additional decorative elements you desire. This will ensure that the final result reflects your own creativity and vision.
Now that you are equipped with the knowledge and skills to place a music box in a ceramic base, feel free to explore different designs, themes, and materials to add variety to your collection or to create personalized gifts for loved ones. Let your imagination soar as you continue to experiment and create unique combinations that bring joy and nostalgia into your life.
Thank you for joining us on this journey, and we hope that this guide has inspired you to embark on more creative endeavors. Enjoy the beautiful melodies and visual aesthetics that your music box in a ceramic base brings, and cherish the memories it creates for years to come.