Home>Devices & Equipment>Music Box>How Make A Music Box
Music Box
How Make A Music Box
Modified: January 22, 2024
Learn how to make a beautiful music box with our step-by-step guide. Create your own melodies and enjoy the soothing sounds of a homemade music box. #MusicBox
(Many of the links in this article redirect to a specific reviewed product. Your purchase of these products through affiliate links helps to generate commission for AudioLover.com, at no extra cost. Learn more)
Table of Contents
Introduction
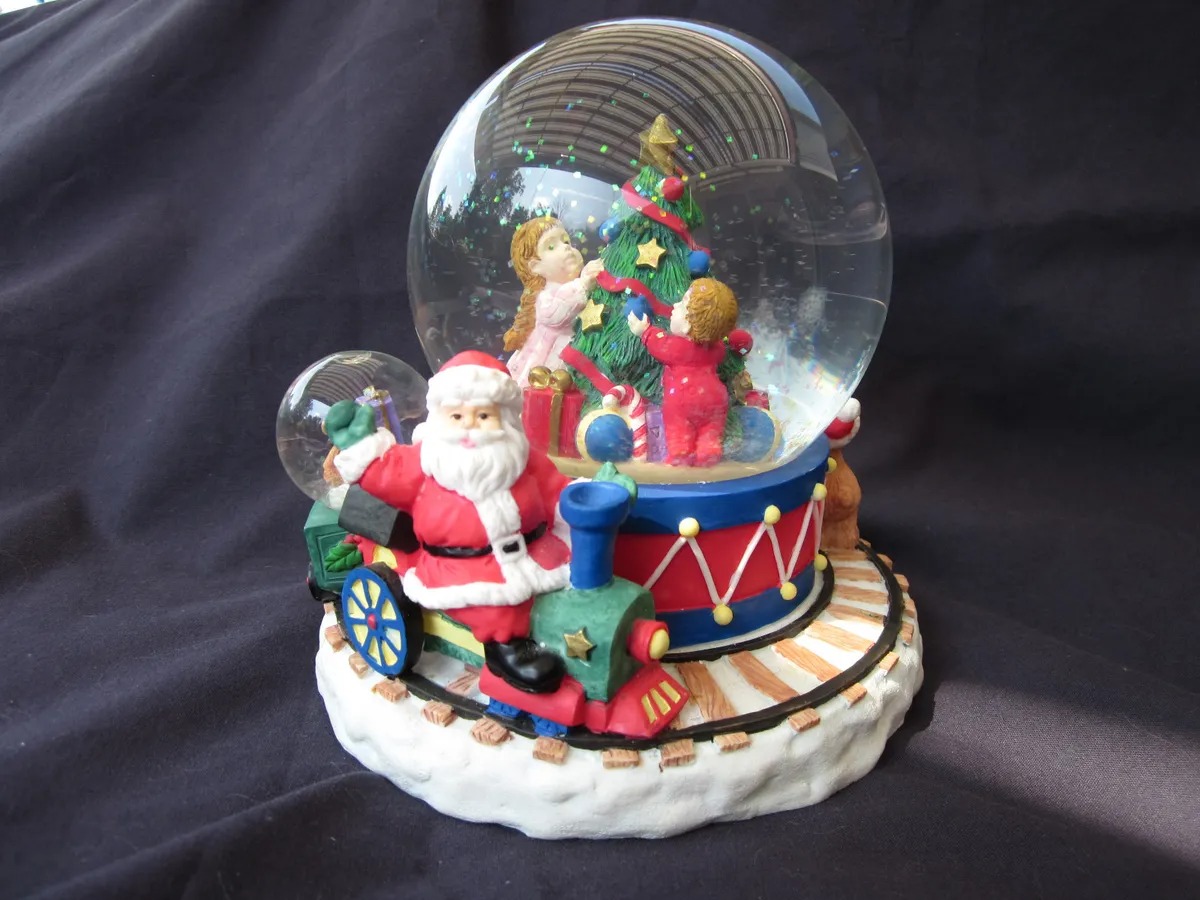
Welcome to the world of music boxes! These enchanting little instruments have been capturing hearts and creating nostalgic melodies for centuries. Whether as a gift or a personal keepsake, a handcrafted music box is a true work of art. In this article, we will guide you through the process of making your own music box, from selecting the box and choosing the melody to designing and decorating the exterior. With a little creativity and patience, you’ll have a unique, personalized music box that can bring joy to yourself or a loved one.
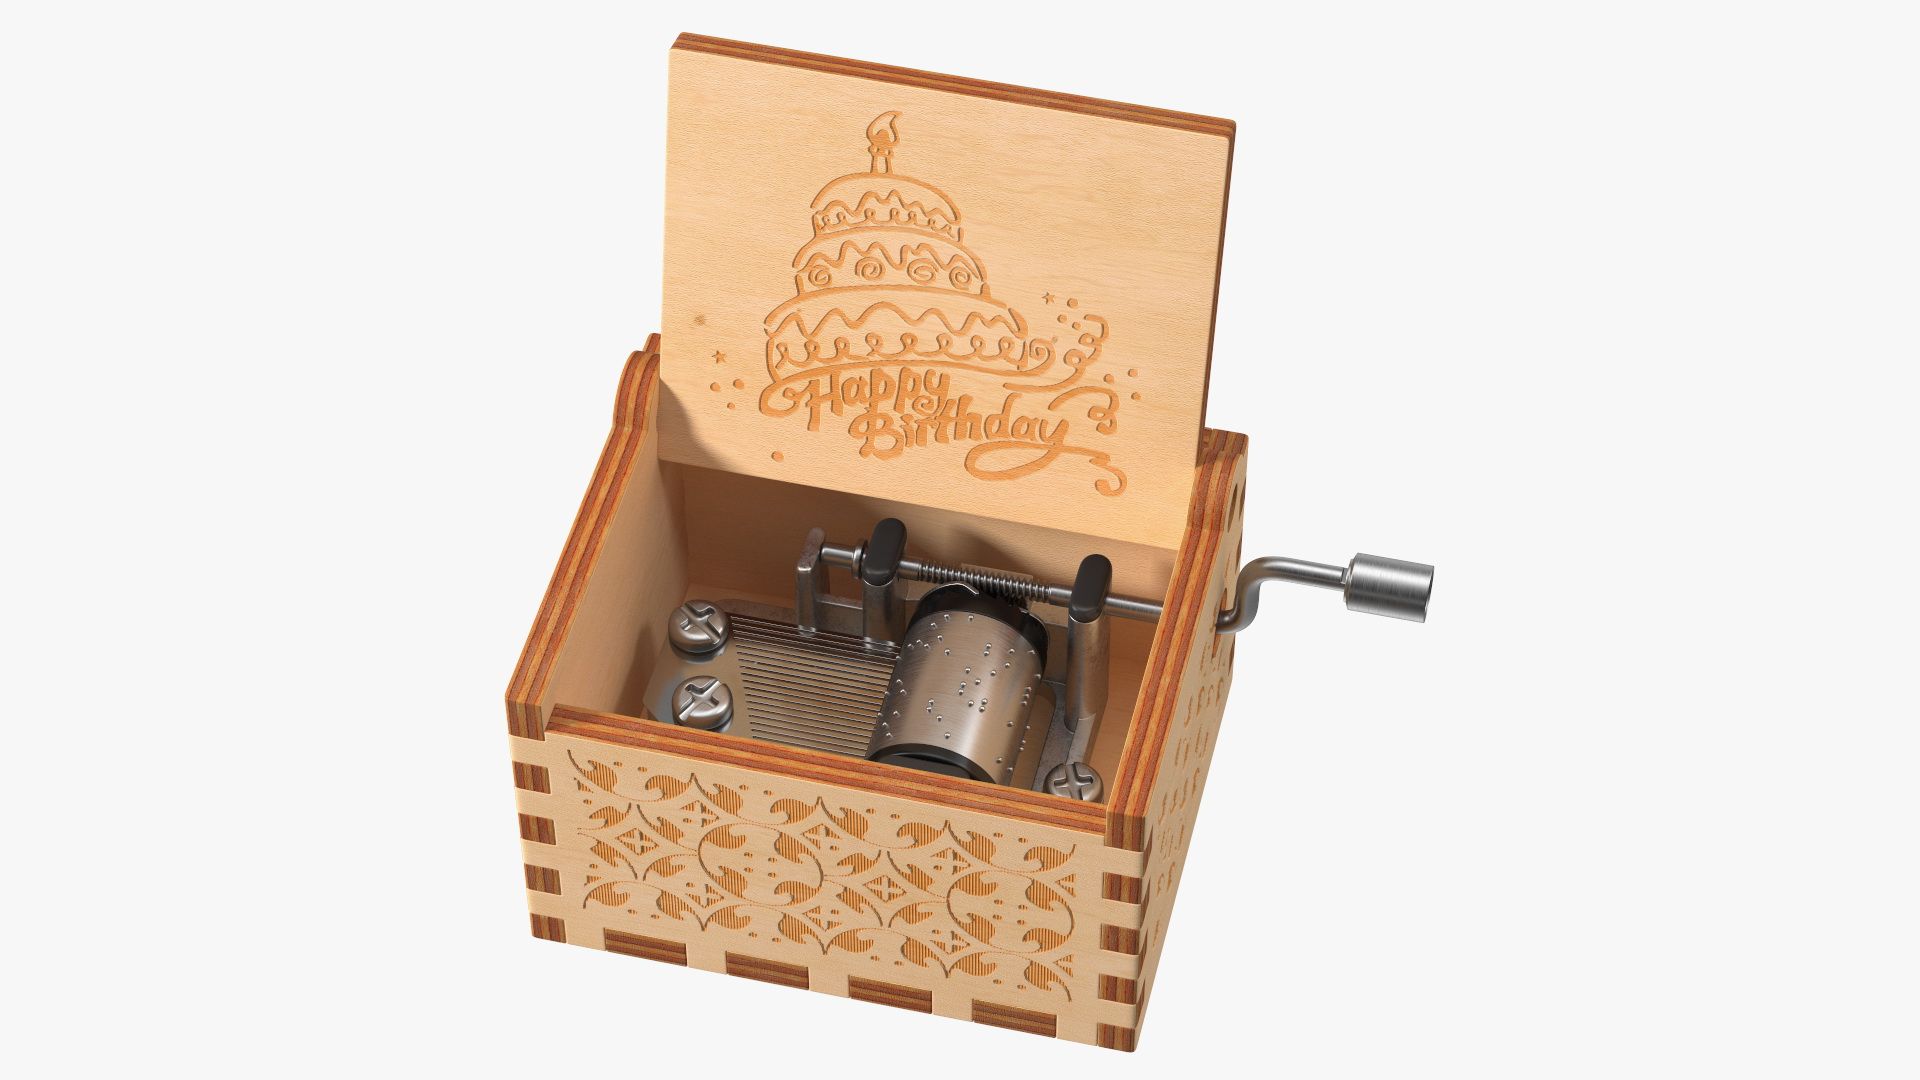
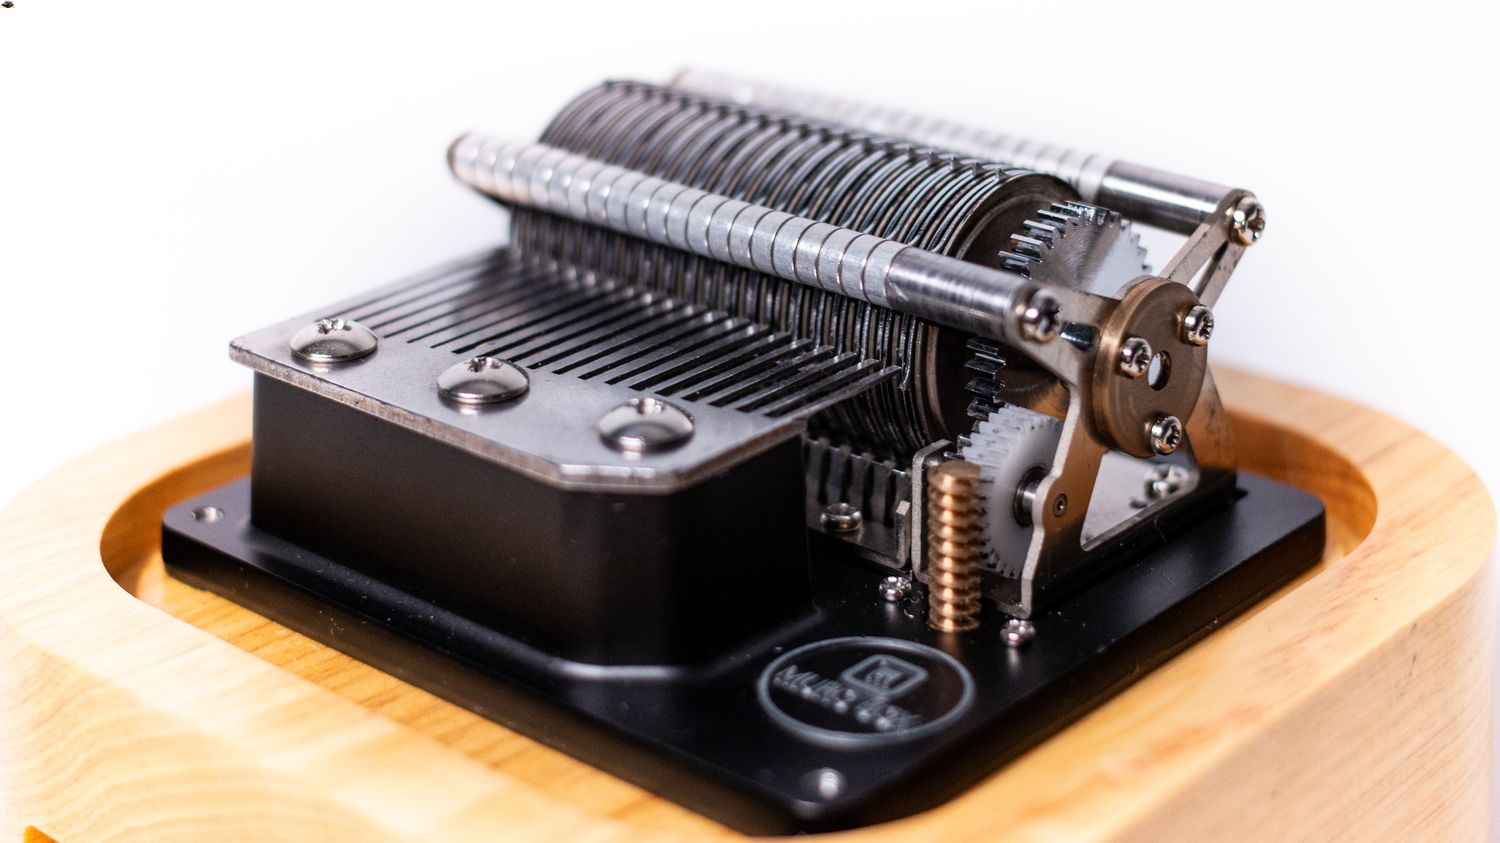
Music boxes, also known as musical or mechanical boxes, produce sounds using a device called a music mechanism. This mechanism consists of a rotating cylinder or disc with pins, which pluck tuned metal teeth or prongs, creating notes. As the cylinder or disc rotates, different pins trigger different notes, producing a melody.
Making a music box allows you to combine your passion for music, craftsmanship, and creativity. You’ll have the opportunity to customize every aspect of the box, from its design to the melody it plays. Whether you prefer classical tunes or modern hits, you can choose the melody that resonates with you or the recipient of your music box.
In the following steps, we will walk you through the process of making your own music box, providing guidance and tips along the way. So, gather your materials and let’s get started on this enchanting journey of creating a one-of-a-kind musical masterpiece!
Materials Needed
Before diving into making your own music box, it’s important to gather all the necessary materials. Here’s a list of the basic materials you’ll need:
- A music box mechanism: This is the heart of the music box and is responsible for producing the melody. You can purchase pre-made music mechanisms online or at craft stores. Make sure to choose one that fits the size of your box and plays the desired tune.
- A wooden or cardboard box: The box will serve as the casing for your music box. You can opt for a pre-made wooden box or get creative and make your own using cardboard or other materials.
- Decorative materials: Depending on your personal style and preference, gather materials to decorate the exterior of your music box. This can include paint, fabric, paper, adhesive gems, ribbon, or any other embellishments you desire.
- Wood glue or strong adhesive: You’ll need adhesive to hold the different components of the music box together. Make sure to choose a strong and reliable glue that can withstand the test of time.
- Tools: Depending on the materials you choose, you might need tools such as a craft knife, sandpaper, paintbrushes, or scissors.
- Optional: If you plan to design your own music box exterior, you might also want to gather drawing tools, stencils, or any other materials that will help bring your creative vision to life.
These are the basic materials needed to get started on your music box project. However, feel free to add your own personal touch and additional materials as you see fit. Remember, the goal is to create a music box that reflects your own style and creativity.
Step 1: Select the Music Box
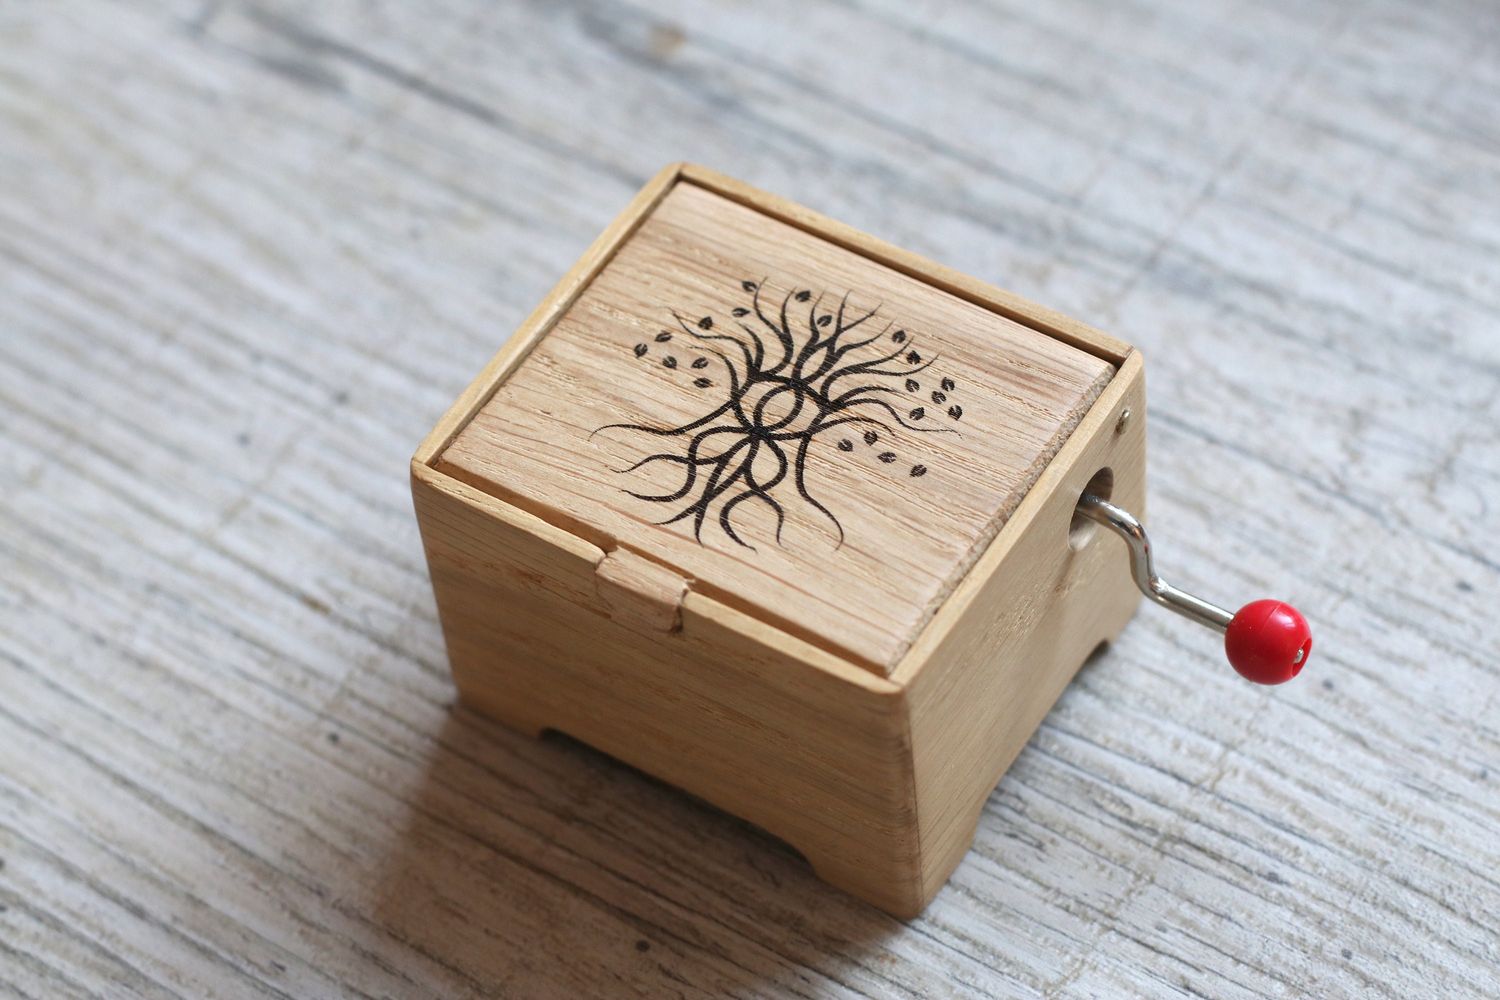
The first step in making your own music box is selecting the perfect box as the foundation. There are various options available, from pre-made wooden boxes to DIY options using cardboard or other materials.
If you prefer a ready-made box, consider factors such as size, shape, and material. Wooden boxes are a popular choice for their durability and classic aesthetic. Look for a box that is sturdy and spacious enough to accommodate the music mechanism and any additional decorations you plan to add.
If you’re feeling more adventurous, you can create your own box using cardboard or similar materials. This option allows for more customization and creativity. You can design the shape and size of the box to suit your preferences.
No matter which route you choose, ensure that the box has a removable lid or access panel. This will allow you to easily install and access the music mechanism.
Consider the overall style and theme of your music box. Do you want a rustic, vintage look or a sleek, modern design? This will help guide your decision when selecting the box. Remember, the exterior of the music box will be the canvas on which you’ll express your creativity and personal touch.
Once you’ve chosen the perfect music box, move on to the next step: selecting the melody that will fill your creation with beautiful music.
Step 2: Choose the Melody
The melody of your music box is what brings it to life and sets the mood. Choosing the right melody is a crucial step in creating a music box that resonates with you or the person you are making it for.
When selecting a melody, consider your personal preferences, the occasion, or the recipient’s taste in music. You can choose a classic tune, a favorite song, a lullaby, or even a custom composition.
One option is to purchase pre-made music mechanisms that come with popular melodies. These mechanisms often have a selection of well-known tunes such as “Amazing Grace,” “Fur Elise,” or “Somewhere Over the Rainbow.” You can easily find these options online or in craft stores.
If you have a specific melody in mind that is not available in pre-made mechanisms, you can explore custom music box mechanisms. These allow you to select the exact tune you want. Some online stores offer services where you can submit the sheet music or an audio file, and they will create a custom music mechanism for your music box.
If you have a musical background, you can compose your own simple melody using music notation software or even play it on an instrument to create a custom music box experience.
Remember to ensure that the selected melody is compatible with the music box mechanism you have or plan to purchase. Check the specific requirements of the mechanism to ensure that the pin arrangement corresponds with your chosen tune.
Once you’ve selected the melody, you’re ready to move on to the next step: designing the exterior of your music box.
Step 3: Design the Exterior
Now that you’ve selected the music box and the melody, it’s time to let your creativity shine by designing the exterior of your music box. The design of the box will not only showcase your personal style but also enhance the overall aesthetic appeal of the music box.
Consider the theme or concept you want to convey through the design. You can draw inspiration from nature, literature, art, or anything else that ignites your imagination. Think about the color palette, patterns, and motifs that align with your chosen theme.
If you’re using a wooden box, you can paint or stain it to achieve the desired look. Experiment with different finishes, such as distressed or aged effects, to add character and charm. You can also carve or engrave intricate designs into the wood for a more customized touch.
If you’ve chosen a cardboard box or a DIY option, you can use various craft materials to decorate the exterior. This can include fabric, paper, beads, sequins, or any other embellishments that suit your chosen theme. Let your imagination run wild as you play with textures and layers to create a visually stunning music box.
Consider personalizing the music box with names, initials, or meaningful quotes. This can be done through hand-lettering, stencils, or using adhesive letters or decals. Adding these personal touches will make the music box even more special.
Remember that the exterior design should harmonize with the melody and the overall concept of the music box. The design elements should evoke emotions and create a cohesive visual experience.
Once you’ve finalized the design, it’s time to assemble the music box and bring your vision to life. Move on to the next step to learn how to assemble all the components.
Step 4: Assemble the Box
Now that you’ve designed the exterior of your music box, it’s time to put all the pieces together and assemble the box. This step involves combining the box structure with the music mechanism to create a functional and beautiful music box.
Start by preparing the box for assembly. If you’re using a wooden box, make sure to sand any rough edges or surfaces to create a smooth finish. If you’re using a cardboard box, reinforce the corners with strong adhesive or tape to ensure stability.
If your box has a removable lid or access panel, carefully remove it to gain access to the interior. Take note of any hinges or clasps that may need to be temporarily removed to facilitate the assembly process.
Next, position the music mechanism inside the box. Depending on the design of the mechanism, you may need to attach it using screws, adhesive, or other fastening methods. Make sure the mechanism is securely in place and aligned properly with any holes or openings that allow the pins to interact with the metal teeth or prongs.
If you’re using a pre-made music mechanism, it may come with instructions on how to install it. Follow these instructions carefully to ensure correct installation and functionality.
Once the music mechanism is securely attached, reattach the lid or access panel of the box. Ensure that it fits snugly and opens smoothly without interfering with the mechanism.
Take a moment to test the mechanism by turning the mechanism’s winding key or activating any buttons or levers. Listen carefully as the pins interact with the teeth or prongs, creating the melody you selected. If the melody sounds off or the mechanism doesn’t work correctly, double-check the alignment and positioning of the mechanism.
With the box fully assembled and the music mechanism working properly, you’re one step closer to completing your music box. Now it’s time to move on to the next step: decorating and adding the finishing touches to your creation.
Step 5: Attach the Music Mechanism
Now that you have assembled the box, it’s time to focus on attaching the music mechanism. This step involves ensuring that the mechanism is securely fixed within the box and aligned properly for optimal functionality.
Start by determining the best location within the box to position the music mechanism. This will depend on the size and shape of the mechanism as well as the available space within the box. Take into consideration any existing holes or slots in the box that are designed to accommodate the mechanism.
If your music mechanism has a winding key or a lever to activate the music, make sure it is easily accessible from the exterior of the box. This will allow you to wind the mechanism or activate the music without opening or dismantling the box.
Once you have identified the ideal location, use a strong adhesive or screws to secure the music mechanism to the box. Depending on the design of the mechanism and the box, you may need to use a combination of adhesive and screws for added stability.
Ensure that the mechanism is aligned properly within the box to allow the pins or discs to interact smoothly with the metal teeth or prongs. Test the mechanism by winding it or activating the music to verify that it plays correctly.
Take note of any adjustment mechanisms or controls that may be present on the music mechanism. These may be used to fine-tune the melody or adjust the speed of the music playback. Follow any instructions provided by the manufacturer to make any necessary adjustments.
Once you are satisfied with the positioning and functionality of the music mechanism, proceed to the next step for adding the final decorative touches to your music box.
Step 6: Decorate the Music Box
With the music mechanism securely attached, it’s time to add the finishing touches and bring your music box to life through decoration. This step allows you to showcase your creativity and personalize the box to make it truly unique.
Consider the design and theme you envisioned during the earlier stages of the process. Use this as a guide while selecting materials and embellishments to decorate your music box.
If you’re using a wooden box, you can paint or stain it in your desired colors. Add patterns, designs, or even hand-painted details to create a visually appealing look. Don’t be afraid to experiment and let your artistic style shine through.
For a more whimsical touch, you can use decoupage techniques to apply decorative paper or fabric onto the surface of the box. This allows you to incorporate intricate designs or images that align with your chosen theme.
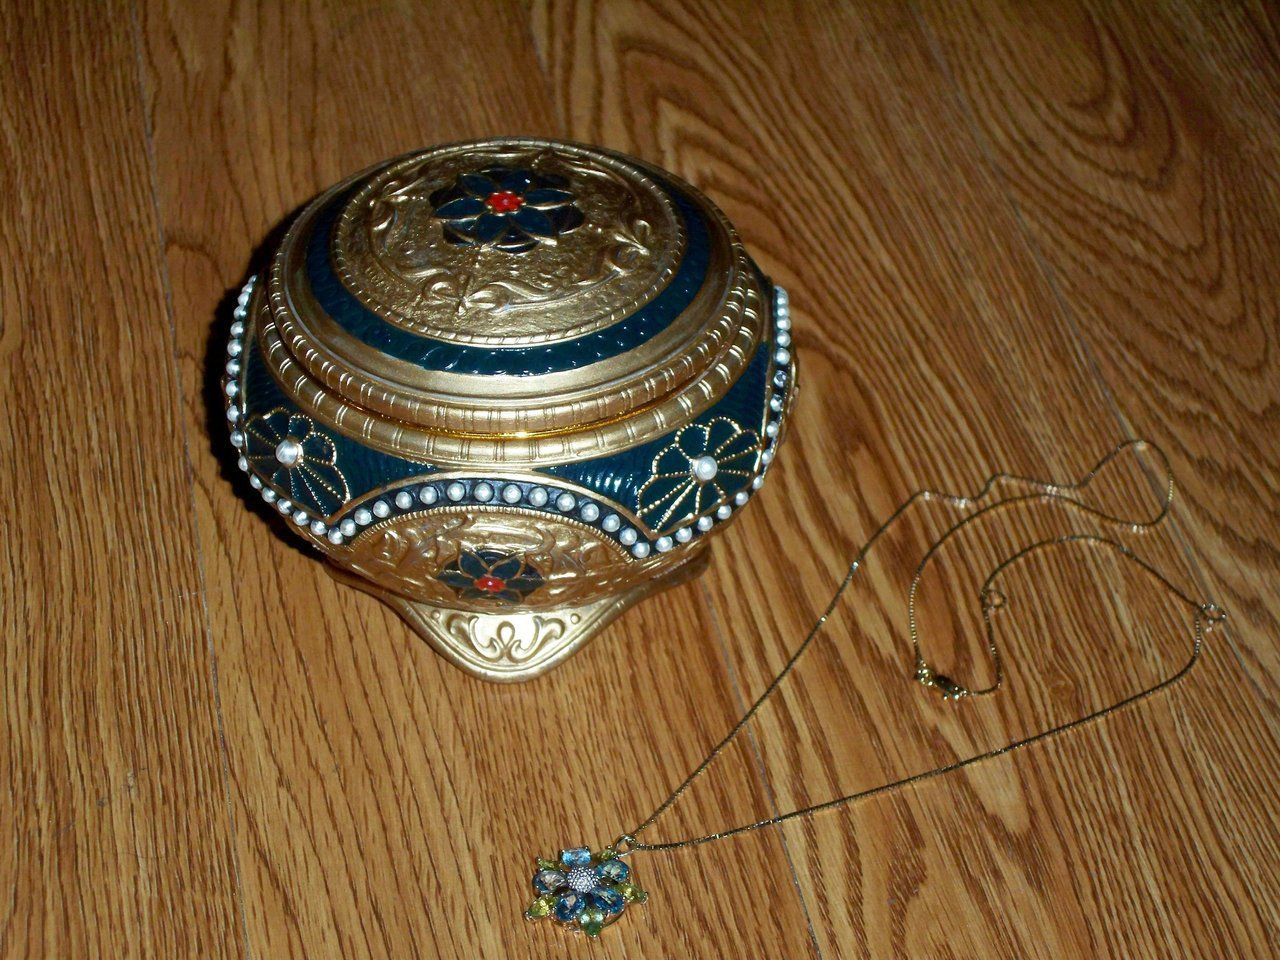
Consider adding additional elements such as ribbons, bows, or adhesive gems to enhance the overall look of the music box. These small embellishments can add a touch of elegance or playfulness, depending on your preferred style.
If you’re using a cardboard or DIY box, you can cover it with decorative paper, fabric, or other materials to achieve your desired aesthetic. Use adhesive to ensure that the covering is securely attached.
Think about personalizing the box with names, initials, or meaningful quotes. You can create custom decals or use decorative letters to incorporate these personal touches.
Remember to consider the positioning of the music mechanism and any access points when making your decorative choices. Ensure that the decorations do not obstruct the mechanism or impede the functionality of the music box.
Once you are satisfied with the decoration, step back and admire your beautifully adorned music box. It’s almost time to enjoy the melodies that will fill the air. But before that, move on to the next step to test and fine-tune the melody of your music box.
Step 7: Test & Fine-tune the Melody
Now that your music box is decorated and visually stunning, it’s time to test and fine-tune the melody to ensure it plays flawlessly. This step allows you to make any necessary adjustments to achieve the desired sound and quality of the music.
Start by winding or activating the music mechanism and listen attentively as the melody plays. Pay close attention to the timing, pitch, and overall clarity of the notes.
If you notice any inconsistencies or glitches in the melody, you may need to fine-tune the mechanism. Most pre-made music mechanisms come with small adjustment screws or levers that allow for minor tuning modifications.
Use a small screwdriver or tool (as specified by the manufacturer) to make slight adjustments to the pins or discs of the music mechanism. This can help refine the timing and pitch of the melody. You may need to experiment and make several small adjustments to achieve the desired sound.
If you’re using a custom music mechanism that was specifically created for your chosen melody, there may be limited options for fine-tuning. However, you can still make slight adjustments by manipulating the pins or discs, if possible.
Take the time to test the melody multiple times, making any necessary adjustments along the way. Be patient and persistent, as finding the perfect balance and harmony in the melody can take some time and experimentation.
Consider recording or capturing the sound of the music box during the testing process. This will not only allow you to assess the sound quality more objectively but also serve as a beautiful keepsake to cherish in the future.
Once you are satisfied with the melody and the overall performance of the music box, you’re ready to move on to the final step: enjoy your beautifully crafted and melodious creation.
Step 8: Enjoy Your Music Box
Congratulations! You have successfully created your own unique and enchanting music box. Now it’s time to sit back, relax, and enjoy the beautiful melodies that flow from your creation.
Place your music box in a special spot where it can be prominently displayed and easily accessed. Whether it’s on a shelf, a bedside table, or a mantelpiece, choose a location where you and others can appreciate its beauty and the music it produces.
Take pleasure in the soothing melodies that fill the air as you wind the mechanism or activate the music. Let the music transport you to moments of joy, nostalgia, or reflection.
Share the magic of your music box with others. Invite family and friends to listen and appreciate the melodies it produces. Music has a way of evoking emotions and creating connections, so allow your music box to bring joy and inspiration to those around you.
Maintain the beauty and functionality of your music box by dusting it regularly and handling it with care. Keep it away from direct sunlight or excessive heat to prevent any damage to the mechanism or the exterior.
Consider expanding your collection of music boxes by creating more of your own or acquiring unique and intricate designs. Music boxes make thoughtful and sentimental gifts for birthdays, anniversaries, weddings, and other special occasions.
Remember, your music box is not just an object but a reflection of your creativity and passion. It holds the power to create moments of tranquility, inspiration, and joy. Embrace the melodies and memories that your music box brings and continue to explore the world of music and craftsmanship.
Now, it’s time to immerse yourself in the beauty of your music box creation and let the melodies transport you to a world of whimsy and wonder.
Conclusion
Creating your own music box is a rewarding and immersive experience that allows you to combine your love for music, craftsmanship, and creativity. Each step of the process, from selecting the music box and melody to decorating and fine-tuning the melody, adds a personal touch and allows you to showcase your unique style.
With careful selection of materials and attention to detail, you can bring a music box to life that not only produces beautiful melodies but also serves as a cherished keepsake or thoughtful gift for someone special.
Remember that the journey of making a music box is as important as the final result. Embrace the creative process, experiment with different ideas, and let your imagination guide you. Don’t be afraid to put your own spin on traditional designs, and enjoy the satisfaction of bringing your vision to life.
Whether you’re creating a music box for yourself or someone else, the melodies that emanate from it will invoke emotions, trigger memories, and create a sense of wonder. Music has a unique power to touch the soul, and your handmade music box will undoubtedly become a cherished piece of art in your life.
So, gather your materials, follow the steps outlined in this article, and embark on the journey of creating your own music box. Let your passion for music and craftsmanship guide you, and revel in the joy that comes with creating a one-of-a-kind musical masterpiece.
Now, it’s time to unleash your creativity and create a music box that will captivate hearts and bring melodies to life!