Home>Devices & Equipment>Music Box>How To Repair Music Box
Music Box
How To Repair Music Box
Published: January 11, 2024
Learn how to repair your music box easily with our comprehensive guide. Fixing common issues and restoring its beautiful melodies.
(Many of the links in this article redirect to a specific reviewed product. Your purchase of these products through affiliate links helps to generate commission for AudioLover.com, at no extra cost. Learn more)
Table of Contents
Introduction
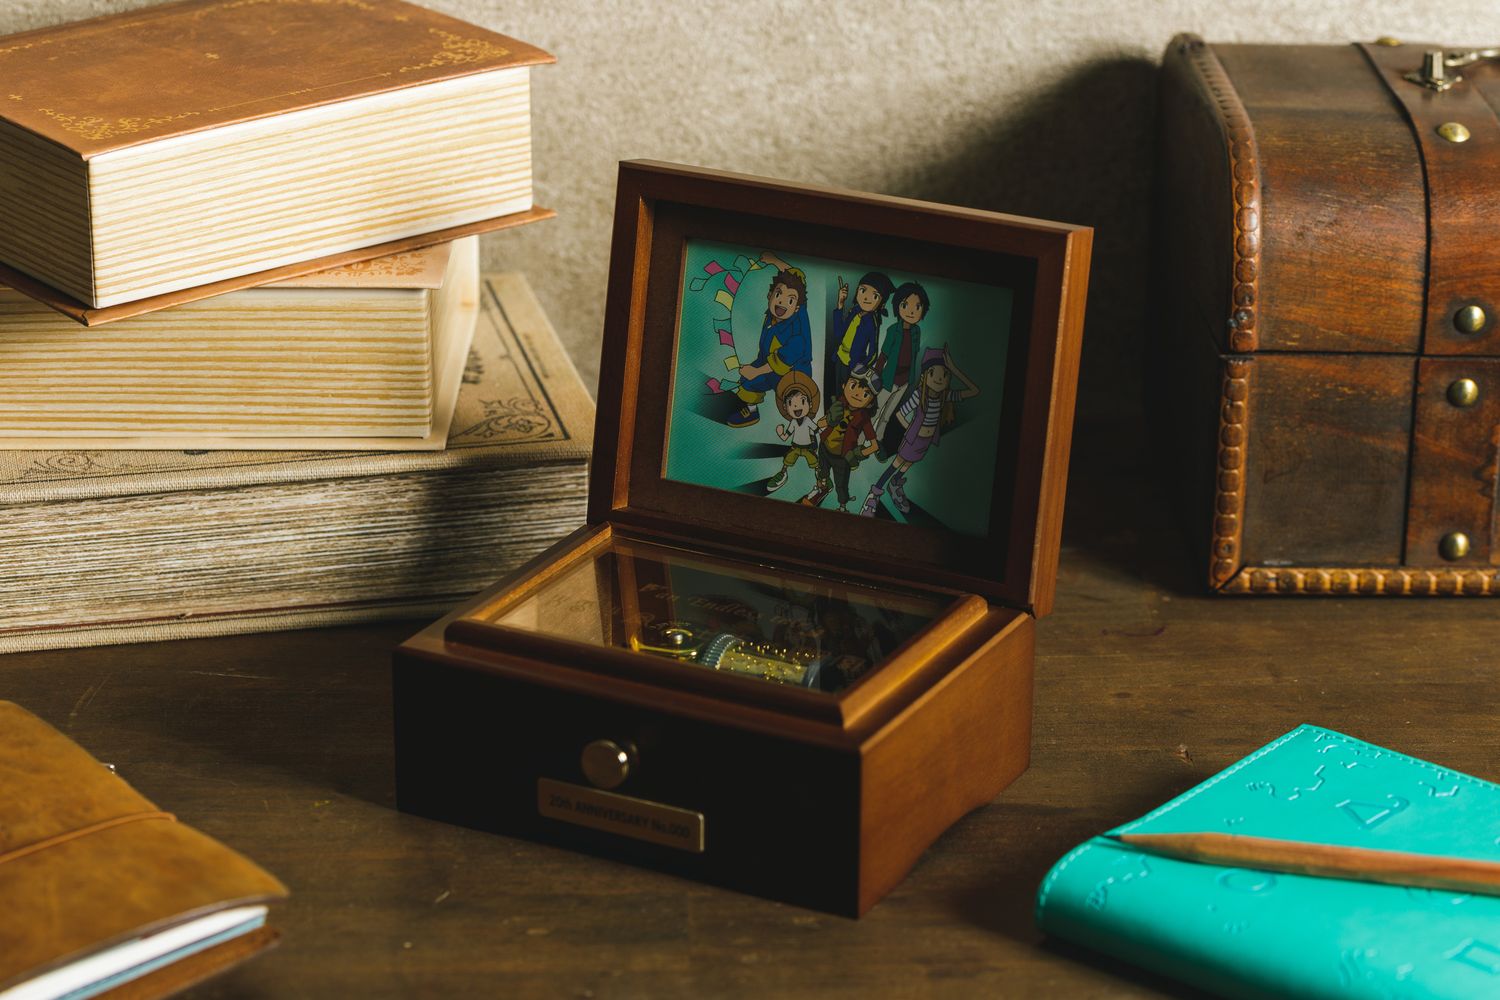
In today’s fast-paced digital age, music boxes may seem like relics from the past. However, these enchanting musical devices continue to captivate people of all ages with their delicate melodies and intricate mechanisms. If you have a damaged music box sitting idly on your shelf, don’t fret! With a little bit of knowledge and patience, you can bring it back to life and enjoy its beautiful tunes once again.
Repairing a music box may seem like a daunting task, but fear not! In this article, we will guide you through the step-by-step process of repairing a music box, giving it a new lease on life. We will provide you with the tools and materials needed, as well as detailed instructions on how to assess the damage, open the music box, identify the problem, repair the music mechanism, reassemble the music box, and test the repaired music box.
Whether your music box is an heirloom passed down through generations or a cherished piece you stumbled upon in an antique shop, learning how to repair it will not only revive its melodious charm but also deepen your appreciation for these timeless treasures.
So, grab your tools, put on your tinkering hat, and let’s dive into the magical world of music box repair!
Tools and Materials Needed
Before you embark on your music box repair journey, it’s essential to gather the necessary tools and materials. Having the right equipment will ensure that you can handle any repairs effectively and efficiently. Here are the tools and materials you’ll need:
- Screwdriver set: You’ll need a set of precision screwdrivers with various sizes to unscrew the casing and access the inner workings of the music box.
- Tweezers: A pair of fine-tipped tweezers will come in handy when handling small components and delicate parts.
- Unwinding key: If your music box is wind-up, you’ll need a specialized unwinding key to release any tension before starting the repair process.
- Lubricants: Music box mechanisms often require lubrication to ensure smooth operation. Silicone oil or watch oil is suitable for lubricating the gears and other moving parts.
- Replacement parts: Depending on the extent of the damage, you may need to replace certain components such as the music mechanism, springs, or pins. It’s advisable to have some spare parts on hand before starting the repair.
- Cotton swabs and cleaning solution: These are useful for cleaning dirt, dust, and debris from the music box mechanism.
- Magnifying glass: A magnifying glass can help you inspect and identify tiny details, especially if you’re working with intricate mechanisms.
- Small pliers: Pliers can be handy for bending or adjusting small metal components.
- Soft cloth or mat: A soft cloth or mat will provide a clean and cushioned surface for disassembling and reassembling the music box.
Before using any tools or applying lubricants, it’s crucial to thoroughly research your specific music box model and consult any available repair guides. Understanding the inner workings and mechanisms of your music box will ensure that you handle it with care and avoid causing further damage.
Now that you have gathered the necessary tools and materials, let’s move on to the first step of repairing your music box: assessing the damage.
Step 1: Assessing the Damage
Before diving into the repair process, it’s crucial to assess the extent of the damage to your music box. This step will help you understand the scope of the repairs needed and equip you with the necessary knowledge to proceed effectively.
Start by examining the overall condition of the music box. Look for any obvious signs of damage, such as broken or missing parts, visible wear and tear, or loose connections. Take note of any unusual sounds or malfunctions that occur when you attempt to wind or play the music box.
Next, carefully open the music box casing using the appropriate screwdriver. Take your time and be gentle to avoid causing any additional harm. Once the casing is removed, inspect the interior components. Look for any loose or disconnected parts, damaged gears or pins, or excessive dirt and debris.
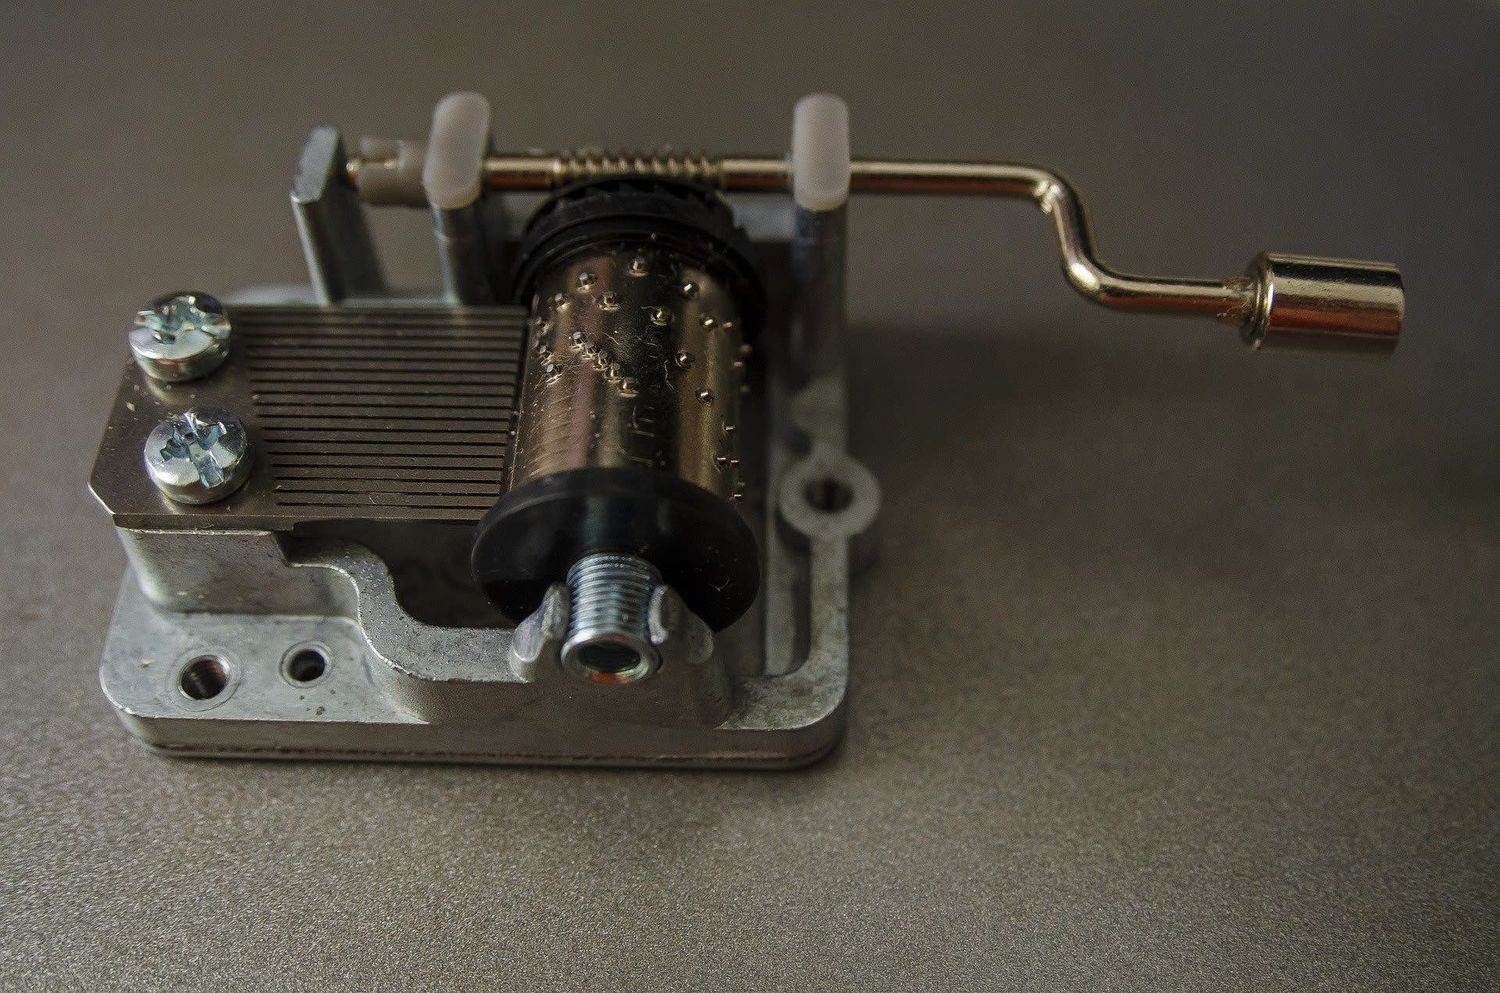
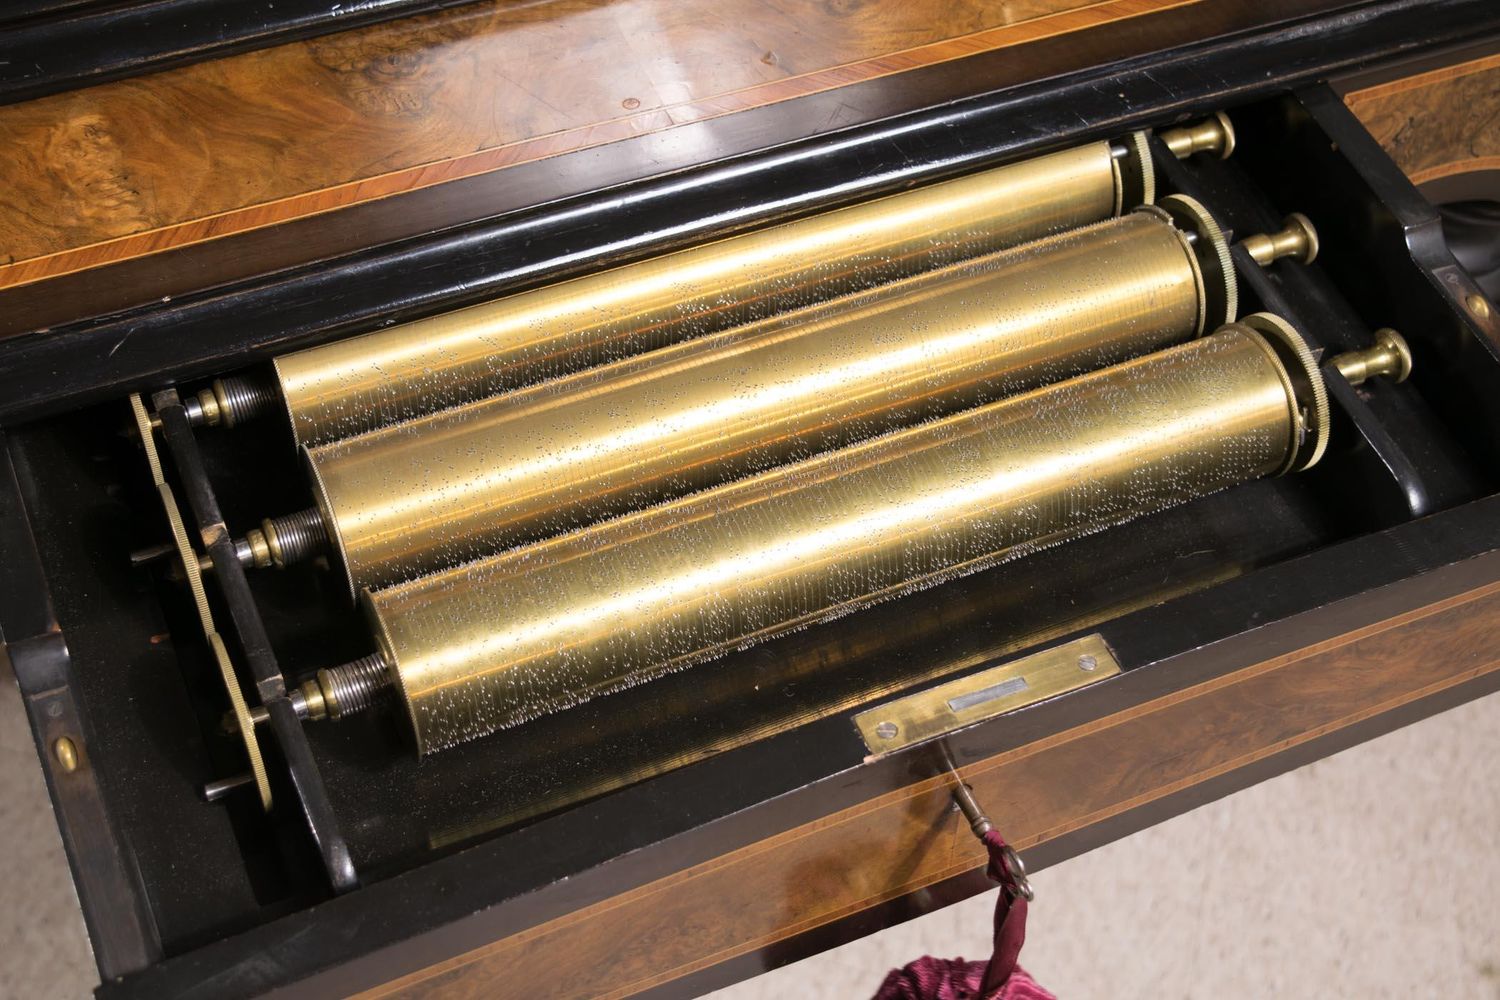
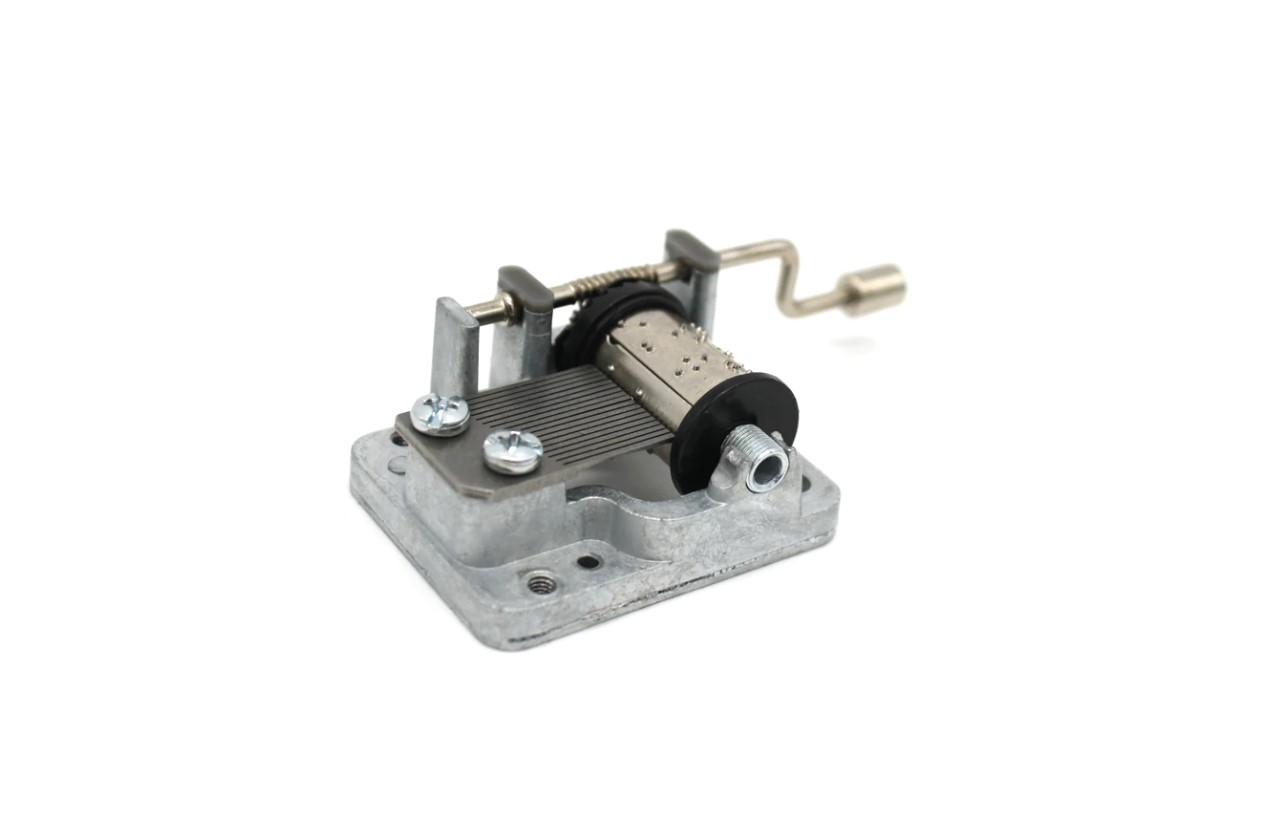
While assessing the damage, pay close attention to the music mechanism. This intricate mechanism is responsible for creating the melodies and should be in good working condition. Check for any bent or broken parts and ensure that the musical notes are aligned correctly.
Take pictures or make sketches of the music box and its components before disassembling further. These visual references will serve as valuable guides when it comes time to reassemble the music box.
Once you have a clear understanding of the damage, you can proceed to the next step: opening the music box. By carefully assessing the damage, you’ll be better prepared to tackle the repairs and restore the music box to its former glory.
Step 2: Opening the Music Box
Now that you have assessed the damage and documented the condition of your music box, it’s time to proceed with opening the casing. Opening the music box will allow you to access the internal mechanisms and make the necessary repairs.
Here’s how you can safely open the music box:
- Find the screws: Most music boxes have screws that hold the casing together. Use the appropriate screwdriver from your set to carefully remove these screws. Keep them in a safe place to avoid losing or misplacing them.
- Remove the casing: Once the screws are removed, gently lift or slide off the casing. Be cautious at this stage, as some parts may still be connected to the casing. Take note of the position and orientation of any components that are attached to the casing.
- Handle with care: Once the music box is open, handle the components with care to prevent damage. Avoid touching the delicate gears, pins, or musical notes unnecessarily.
- Inspect the interior: With the music box open, take a closer look at the interior components. Check for any loose connections, broken parts, or excessive dirt and debris. Pay particular attention to the music mechanism, as this is often the main culprit for any malfunctions.
As you open the music box, be mindful of any springs or tension mechanisms that may be present. These springs can be under pressure and may accidentally spring out when the casing is opened. Take precautions to prevent any injuries.
Remember to document the process by taking pictures or making sketches. These visual references will be helpful when it’s time to reassemble the music box.
Opening the music box is a critical step in the repair process, as it allows you to gain access to the internals for a closer inspection. With the casing removed, you can now move on to the next step: identifying the problem.
Step 3: Identifying the Problem
With the music box casing open and the internal components exposed, it’s time to identify the specific problem or issues causing the malfunction. Properly identifying the problem will guide you in carrying out the necessary repairs and ensure that your music box functions smoothly once again.
Here are some common issues you may encounter and how to identify them:
- No sound: If your music box isn’t producing any sound, the problem could be a disconnected or damaged music mechanism. Inspect the mechanism for any disconnected or broken components. Additionally, check if any of the pins that strike the musical notes are bent or misaligned.
- Slow or distorted sound: If the music plays but sounds slow or distorted, it may be due to worn-out gears or insufficient lubrication. Inspect the gears for signs of wear and ensure they are properly lubricated. If the musical notes sound different from what they should, check for any misaligned or damaged pins.
- Stuck or jammed mechanism: If the music box mechanism is stuck or jammed, debris or dirt may be causing the issue. Clean the gears and other moving parts using a cotton swab and cleaning solution. If there are any obstructions, carefully remove them to free up the mechanism.
- Spring issues: If the music box doesn’t wind up or winds down too quickly, the problem may lie with the spring. Inspect the spring for any damage or distortion. In some cases, the spring may need to be replaced to restore proper functionality.
Pay attention to any other noticeable issues, such as loose connections, broken levers, or damaged pins. By carefully examining the various components of the music box mechanism, you can pinpoint the root cause of the problem.
Remember to refer to any available repair guides or diagrams specific to your music box model. These resources can provide valuable insights into the inner workings of your music box and help you identify the problem more accurately.
Once you have identified the problem, you can move on to the next step: repairing the music mechanism.
Step 4: Repairing the Music Mechanism
Now that you have identified the problem with your music box, it’s time to tackle the repairs and fix the music mechanism. Repairing the music mechanism may involve various tasks, depending on the specific issue at hand. Here are some common repairs you may need to perform:
- Reconnecting or replacing disconnected parts: If you noticed any disconnected components during the assessment, carefully reattach them using tweezers or small pliers. If a part is damaged beyond repair, consider replacing it with a new one.
- Lubricating the gears: Apply a small amount of silicone oil or watch oil to the gears and other moving parts of the music mechanism. This lubrication will ensure smooth operation and prevent any friction or resistance that may cause malfunctions.
- Aligning the musical notes: If certain musical notes are not producing the correct sound, check for any misaligned or bent pins. Gently adjust these pins to align them properly, allowing them to strike the notes accurately.
- Repairing or replacing springs: If the spring in your music box is damaged or worn out, it may need to be repaired or replaced. Carefully remove the old spring and replace it with a compatible replacement. Be cautious when working with springs, as they can be under tension.
- Cleaning and removing debris: Use a cotton swab and a mild cleaning solution to clean any dirt or debris from the gears and other components of the music mechanism. Ensure that all parts are free from obstructions, allowing them to move smoothly.
Throughout the repair process, handle the delicate components with care and avoid using excessive force. Take your time and refer to any available repair guides or diagrams specific to your music box model.
It’s also worth noting that some repairs may require more advanced skills or specialized knowledge. If you feel unsure or uncomfortable with certain repairs, it’s recommended to seek the assistance of a professional music box repair specialist.
Once you have completed the necessary repairs to the music mechanism, it’s time to move on to the next step: reassembling the music box.
Step 5: Reassembling the Music Box
With the repairs to the music mechanism complete, it’s time to reassemble the music box and put all the components back together. Proper reassembly is crucial to ensure that the music box functions smoothly and that all parts are securely in place.
Follow these steps to reassemble your music box:
- Refer to your pictures or sketches: Use the pictures or sketches you took earlier as a visual reference to guide you during the reassembly process. This will help ensure that you place each component in its correct position.
- Attach the internal components: Begin by carefully reattaching any internal components that were disconnected during the repair process. Use tweezers or small pliers, if necessary, to secure these components in place.
- Align the music mechanism: Place the repaired or lubricated music mechanism back into its designated position within the music box. Make sure it is aligned properly and positioned securely.
- Place the musical notes: If the musical notes were removed during the repair process, carefully insert them back into their respective slots. Ensure that each note is aligned correctly to be struck by the corresponding pin.
- Closing the casing: Once all the internal components are in place, lower or slide the casing back onto the music box carefully. Ensure that it fits securely and line up any screw holes.
- Screw the casing back: Use the appropriate screwdriver to reattach the screws and secure the music box casing. Tighten the screws firmly without applying excessive force.
As you reassemble the music box, double-check that all the components are in their correct positions and properly secured. Take your time to ensure that everything fits smoothly and there are no loose or misaligned parts.
Once the music box is fully reassembled, you’re one step closer to hearing its enchanting melodies again. But before you can enjoy the sweet tunes, there’s one more essential step to complete: testing the repaired music box.
Step 6: Testing the Repaired Music Box
After the reassembly of your music box, it’s time to put your repairs to the test. Testing the repaired music box will ensure that all the components are functioning correctly and that the melodies are playing as they should.
Follow these steps to test your repaired music box:
- Wind up the music box: If your music box is wind-up, use the unwinding key to wind it up fully. Turn the key in a clockwise direction until you feel resistance.
- Set the music box in motion: Gently start the music box by either pulling the winding lever or flipping the switch, depending on the type of music box you have. This will engage the music mechanism and begin playing the melodies.
- Listen for proper melody: Pay close attention to the melodies being played. Ensure that the notes are in tune, and the sound is clear and crisp. If the melodies sound distorted or off-key, you may need to revisit the repair process or seek professional assistance.
- Observe the movement: Watch the movement of the gears and other components as the music plays. Check for any signs of sticking, jamming, or irregular movements. A smoothly functioning music box should have synchronized movements and no excessive friction or resistance.
- Check the winding duration: Take note of how long the music box plays before it winds down. If the duration is significantly shorter than expected, it may indicate a problem with the spring or winding mechanism.
During the testing phase, be patient and observant. If any issues or abnormalities arise, carefully examine the music box for any loose connections, misaligned parts, or other potential problems. Make any necessary adjustments or repairs as needed.
Remember, the testing process may require some trial and error. Don’t be discouraged if you encounter minor issues that require further adjustments. With time and patience, you can fine-tune the repairs and ensure that your music box is in optimal working condition.
Congratulations! With the successful testing of your repaired music box, you have brought it back to life and restored its melodic charm. Take a moment to enjoy the sweet melodies that now emanate from your cherished music box.
Conclusion
Repairing a music box may seem like a daunting task, but with the right knowledge and tools, you can revive these enchanting musical devices and enjoy their melodies once again. By following the step-by-step process outlined in this article, you’ve learned how to assess the damage, open the music box, identify the problem, repair the music mechanism, reassemble the music box, and test the repaired music box.
Throughout the repair process, it’s important to handle the delicate components with care, refer to any available repair guides, and take your time to ensure everything is done correctly. Whether it’s reconnecting or replacing parts, lubricating the gears, aligning musical notes, or cleaning and removing debris, each repair task is crucial in restoring your music box to its optimal functionality.
Remember, repairing a music box may require some advanced skills or specialized knowledge. If you don’t feel confident in certain repairs, it’s always advisable to seek professional assistance to avoid causing further damage.
By repairing your music box, you not only breathe new life into a cherished keepsake or antique, but you also deepen your connection with these nostalgic instruments. The delicate melodies that emanate from your music box can transport you to a different time and evoke a sense of joy and nostalgia.
So, if you have a damaged music box sitting idly on your shelf, don’t hesitate to take on the challenge of repairing it. With patience, perseverance, and a little bit of tinkering, you can restore the magic and create a harmonious experience with your music box once again.