Home>Devices & Equipment>Radio>How To Stream A Radio Station
Radio
How To Stream A Radio Station
Modified: January 22, 2024
Learn how to stream your favorite radio station online with our step-by-step guide. Discover the best ways to listen to radio stations from around the world.
(Many of the links in this article redirect to a specific reviewed product. Your purchase of these products through affiliate links helps to generate commission for AudioLover.com, at no extra cost. Learn more)
Table of Contents
Introduction
Welcome to the digital age of radio streaming! In a world where technology continues to advance at a rapid pace, traditional radio has evolved to meet the demands of an increasingly connected audience. Streaming a radio station not only allows you to reach a wider audience but also gives you the freedom to showcase your content to listeners around the globe.
Gone are the days when radio stations were restricted to transmitting their signals through airwaves. With the help of streaming platforms and software, you can now broadcast your radio station online, making it accessible to anyone with an internet connection.
In this article, we will guide you through the process of streaming a radio station. Whether you are a seasoned radio professional looking to expand your reach or a passionate individual eager to share your love for music and talk shows, this step-by-step guide will help you get started.
Streaming a radio station involves a few key steps, including choosing a streaming platform, setting up your streaming software, configuring your audio settings, connecting your streaming platform to your radio station, testing your stream, and promoting your radio station’s stream.
While it may seem like a daunting task, rest assured that with the right tools and guidance, you’ll be up and streaming in no time. So, let’s dive in and discover how you can bring your radio station into the digital realm and connect with a worldwide audience.
Step 1: Choose a streaming platform
The first step in streaming your radio station is to choose a suitable streaming platform. There are several options available, each offering its own set of features and benefits. Here are a few popular streaming platforms to consider:
- Spreaker: Spreaker is a user-friendly platform that allows you to stream live and pre-recorded shows. With its built-in tools, you can easily manage your content, engage with your audience, and monetize your broadcasts.
- Shoutcast: Shoutcast is a popular choice among radio station owners. It provides reliable streaming services and supports a wide range of audio formats. Shoutcast also offers detailed analytics and the ability to monetize your broadcasts through advertising.
- Icecast: Icecast is an open-source streaming platform known for its flexibility and scalability. It supports multiple audio formats and can handle a large number of simultaneous listeners. Icecast also offers detailed statistics and allows you to customize your streaming experience.
When choosing a streaming platform, consider factors such as ease of use, cost, available features, and the specific needs of your radio station. You may also want to explore platforms that offer integration with popular podcasting directories, allowing you to reach a wider audience.
Once you have selected a streaming platform, sign up for an account and familiarize yourself with its interface. Take some time to explore the features and settings to ensure it meets your requirements.
Remember, the streaming platform you choose will be the foundation of your online radio station, so it’s essential to make the right choice. Consider reaching out to other radio station owners or joining online forums to get recommendations and insights from experienced broadcasters.
Now that you have chosen a streaming platform, let’s move on to the next step: setting up your streaming software.
Step 2: Set up your streaming software
After selecting a streaming platform, the next step is to set up your streaming software. The streaming software serves as the bridge between your audio source and the streaming platform, allowing you to transmit your radio station’s content online.
There are several streaming software options available, but two popular choices are:
- Open Broadcaster Software (OBS): OBS is a free and open-source software widely used for live streaming. It offers a range of features, including scene transitions, audio mixing, and customizable layouts. OBS supports various streaming platforms and is compatible with different operating systems.
- Wirecast: Wirecast is a professional-grade streaming software that provides advanced features for producing high-quality streams. With Wirecast, you can create professional-looking broadcasts by adding graphics, overlays, and multiple camera inputs. It supports integration with major streaming platforms, making it a popular choice for professional broadcasters.
Once you have chosen your streaming software, download and install it on your computer. Follow the software’s installation instructions, and make sure your computer meets the recommended system requirements.
After installing the software, you’ll need to configure it to work with your streaming platform. This involves entering your streaming platform’s server information, such as the stream URL and stream key. You can usually find these details in your streaming platform’s account settings or documentation.
Additionally, you may need to adjust other settings, such as video and audio bitrate, resolution, and encoder settings. These settings will depend on the capabilities of your computer and the requirements of your streaming platform.
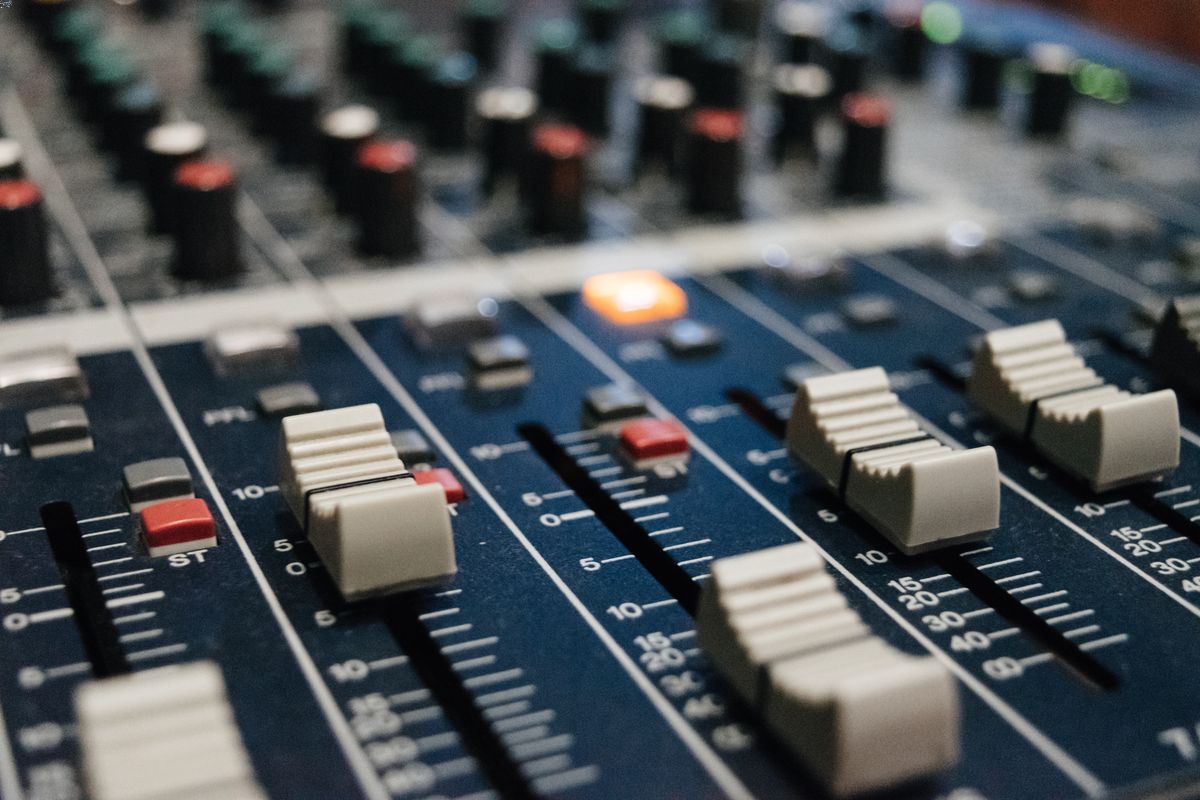
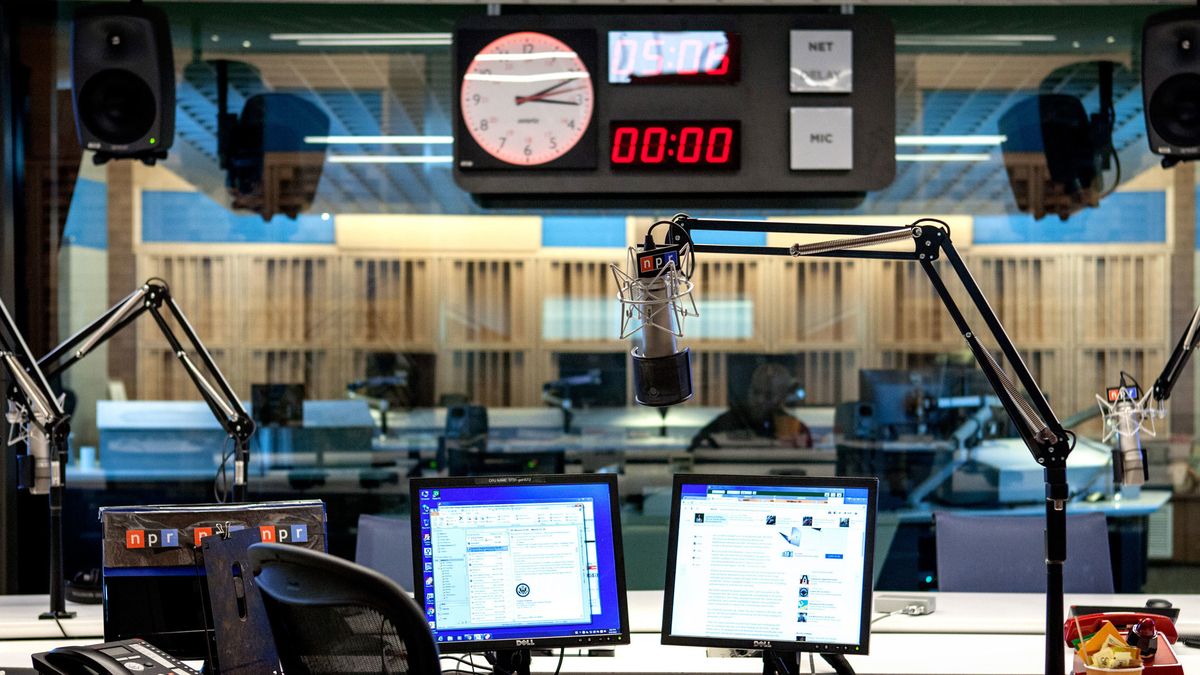
Once you have configured your streaming software, you’ll need to set up your audio source. This can be your computer’s soundcard, an external mixer, or an audio interface connected to your microphone and other audio equipment.
Ensure that your audio source is correctly connected to your computer and recognized by your streaming software. Test the audio levels and make any necessary adjustments to ensure a clear and balanced sound for your stream.
With your streaming software set up and your audio source connected, you are now ready to move on to the next step: configuring your audio settings.
Step 3: Configure your audio settings
Configuring your audio settings properly is essential for delivering high-quality sound to your listeners. This step involves adjusting various audio parameters to optimize the audio quality and ensure a smooth streaming experience.
Here are some key aspects to consider when configuring your audio settings:
- Bitrate: The bitrate refers to the amount of data transmitted per second and determines the audio quality of your stream. Higher bitrates result in better audio quality but require a faster internet connection. It’s important to find the right balance based on your target audience’s internet speeds and your streaming platform’s bitrate limitations.
- Sampling Rate: The sampling rate determines the number of samples taken per second to represent the audio. The standard sampling rate for streaming is 44.1 kHz, which provides CD-quality audio. However, you can also consider using a higher sampling rate for better fidelity if your streaming platform supports it.
- Audio Format: Choose the appropriate audio format for your stream, such as MP3 or AAC. These formats offer good compression and compatibility with most devices. Make sure to check your streaming platform’s recommended audio format to ensure compatibility.
- Audio Levels: Adjust the audio levels to ensure a balanced mix and prevent audio distortion. Use audio meters in your streaming software to monitor the levels and make adjustments as needed. It’s important to avoid audio clipping, where the levels exceed the maximum capacity and result in distorted sound.
Additionally, consider the use of audio processing techniques to improve the sound quality. This may include using dynamic range compression to even out audio levels, equalization to enhance specific frequencies, and noise reduction to minimize background noise.
Take the time to test your audio settings by streaming a sample broadcast and monitoring the sound quality. Make adjustments as needed to achieve the desired audio clarity and balance.
Once you are satisfied with your audio settings, you are ready to move on to the next step: connecting your streaming platform to your radio station.
Step 4: Connect your streaming platform to your radio station
Now that you have your streaming software and audio settings configured, it’s time to connect your streaming platform to your radio station. This step involves establishing the link between your streaming software and the streaming platform, allowing your audio content to be transmitted online.
Here are the general steps to connect your streaming platform to your radio station:
- Get your stream key: Your streaming platform will provide you with a unique stream key. This key acts as a password, allowing your streaming software to connect to your specific radio station on the platform. Locate and copy this stream key from your streaming platform’s account settings or documentation.
- Enter the stream key in your streaming software: Open your streaming software and navigate to the settings or preferences section. Locate the area where you can input the stream key. Paste the copied stream key into the appropriate field. This step establishes the connection between your streaming software and your radio station on the streaming platform.
- Configure any additional settings: Depending on your streaming platform and streaming software, there may be additional settings to configure. This could include selecting the appropriate server location, specifying the bitrate, enabling metadata, or setting up advanced options for stream monitoring.
- Verify the connection: Once you have entered the stream key and configured the necessary settings, it’s time to test the connection. Start your streaming software and initiate a test stream. Check your streaming platform’s dashboard or interface to ensure that your radio station is successfully streaming and that the audio is being transmitted as expected.
It’s important to periodically monitor the connection between your streaming software and your streaming platform to ensure uninterrupted broadcasting. In case of any issues, refer to the documentation and support resources provided by your streaming platform and streaming software.
With the connection established and verified, you are now ready to move on to the next step: testing your stream.
Step 5: Test your stream
Testing your stream is a crucial step to ensure that your radio station’s broadcast is being properly transmitted and received by your audience. This step allows you to identify any potential issues or audio quality concerns before officially going live.
Here are some steps to follow when testing your stream:
- Check audio levels: Start by checking the audio levels in your streaming software. Make sure that the levels are balanced and that the audio is clear without any distortion or clipping.
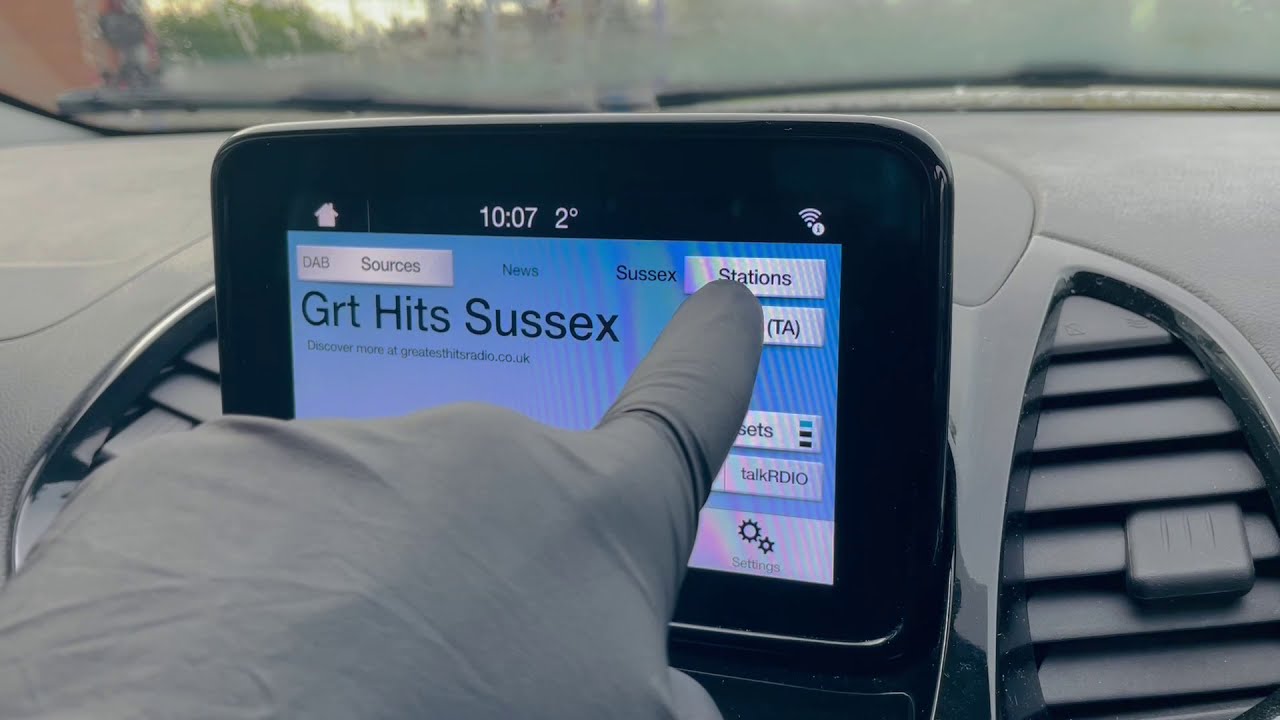
- Test different devices and platforms: Verify that your stream is accessible and compatible with different devices and platforms. Test it on various web browsers, mobile devices, and streaming apps to ensure a seamless experience for your audience.
- Confirm metadata and song information: If your streaming platform allows for metadata and song information, verify that this data is being properly transmitted and displayed to your listeners. Check that the artist name, song title, and other relevant information are accurate and up-to-date.
- Monitor stream stability: Pay attention to the stability of your stream. Check for any interruptions, buffering issues, or dropouts in the audio. Monitor the stream for an extended period to ensure that it remains consistent and reliable.
- Solicit feedback: Seek feedback from trusted individuals or a small group of listeners who can provide constructive criticism. Ask for their opinions on the audio quality, stream stability, and overall user experience. This feedback can help you make any necessary adjustments before broadcasting to a larger audience.
During the testing phase, keep a close eye on any error messages or warnings from your streaming software or platform. If you encounter any issues, refer to the documentation and support resources available to troubleshoot and resolve the problem.
Remember, testing your stream allows you to identify and address any potential issues proactively. Taking the time to thoroughly test your stream will result in a smoother broadcasting experience for both you and your listeners.
With your stream successfully tested and optimized, it’s time for the final step: promoting your radio station’s stream.
Step 6: Promote your radio station’s stream
Once your radio station’s stream is up and running smoothly, it’s time to promote it and attract listeners to tune in. Promoting your stream is essential for building an audience and increasing the reach and visibility of your radio station.
Here are some effective strategies to promote your radio station’s stream:
- Create a dedicated website: Build a website for your radio station where you can showcase your stream, provide information about your shows and DJs, and engage with your audience. Optimize your website for search engines to improve its visibility.
- Utilize social media: Leverage social media platforms to promote your stream and engage with your audience. Create dedicated profiles for your radio station and regularly share updates, behind-the-scenes content, and live-stream notifications.
- Collaborate with influencers: Team up with influencers or popular individuals in your niche who can help promote your stream to their followers. Consider hosting guest shows or interviews with industry experts to attract new listeners.
- Participate in radio directories: Submit your radio station’s stream to online radio directories and platforms dedicated to streaming services. This will help increase your visibility and attract listeners who are actively searching for new radio stations to listen to.
- Create compelling content: Focus on delivering high-quality and engaging content to keep your audience entertained and coming back for more. Consider hosting special live events, interviews, or exclusive shows to create buzz and generate interest.
- Engage with your audience: Foster a sense of community by actively engaging with your audience. Respond to comments, messages, and song requests to show that you value their feedback and involvement.
Remember to consistently promote your stream using a mix of these strategies. Monitor the effectiveness of different promotional tactics and adjust your approach accordingly based on the feedback and data you receive.
Additionally, consider leveraging email marketing, investing in paid advertising, partnering with local businesses or events, or running giveaways and contests to further amplify your stream’s promotion and attract new listeners.
By actively promoting your radio station’s stream, you can expand your audience, increase listener engagement, and establish a strong presence in the digital landscape.
Congratulations! You have successfully gone through all the steps to stream your radio station. Now it’s time to start broadcasting and sharing your passion for music, talk shows, or any other content you bring to the airwaves.
Good luck, and happy streaming!
Conclusion
Congratulations on completing the step-by-step process of streaming your radio station! In this article, we covered the essential steps to get your radio station up and running online. By selecting a streaming platform, setting up your streaming software, configuring your audio settings, connecting to your chosen platform, testing your stream, and promoting your radio station, you are well on your way to reaching a wider audience and sharing your content with the world.
Streaming your radio station opens up new opportunities for growth and engagement. With the ability to broadcast online, you can now reach listeners beyond the limitations of traditional radio waves. Whether you are an established radio station looking to expand your reach or an individual passionate about sharing your love for music or talk shows, streaming provides a platform to connect with a global audience.
This process may require some initial setup and learning, but with the right tools and guidance, you can navigate this digital landscape and successfully stream your radio station. Remember to choose a suitable streaming platform, configure your streaming software and audio settings, test your stream for quality assurance, and promote your stream to attract listeners.
Streaming technology continues to evolve, offering more advanced features and possibilities for radio broadcasters. Stay updated on the latest trends, innovations, and best practices to continuously enhance your streaming experience and keep your listeners engaged.
Now that you have mastered the art of streaming a radio station, it’s time to embark on this new digital journey. Embrace the opportunities that streaming brings and enjoy the ability to connect with a diverse audience from around the world. So, get ready to hit the virtual airwaves and share your passion, creativity, and unique content with your listeners. Happy streaming!