Home>Devices & Equipment>Radio>How To Remove Preset Radio Stations
Radio
How To Remove Preset Radio Stations
Modified: January 22, 2024
Learn how to remove preset radio stations and personalize your listening experience. Follow our step-by-step guide to easily customize your radio settings
(Many of the links in this article redirect to a specific reviewed product. Your purchase of these products through affiliate links helps to generate commission for AudioLover.com, at no extra cost. Learn more)
Table of Contents
Introduction
Radio stations provide us with a wonderful source of entertainment, news, and music. However, sometimes the preset radio stations on our devices may not align with our personal preferences. Whether you have recently purchased a new car with preset stations that don’t suit your taste or you simply want to declutter the preset list on your home radio, this article will guide you through the process of removing preset radio stations.
Removing preset radio stations is a simple and straightforward task that can be done on most radio devices. By taking a few simple steps, you can customize your radio experience and create a list of preset stations that reflects your interests and preferences.
In this article, we will provide you with a step-by-step guide on how to remove preset radio stations. Whether you have a car radio, a portable radio, or a home stereo system, rest assured that we will cover all the necessary instructions to help you accomplish this task.
So, if you’re ready to clear out those unwanted preset radio stations and create a personalized list that resonates with your taste in music, news, and entertainment, let’s dive right in!
Step 1: Accessing the Radio Settings
The first step in removing preset radio stations is to access the radio settings on your device. The exact method may vary depending on the type of radio you are using, such as a car radio, a portable radio, or a home stereo system. Here are some general instructions to help you with this step:
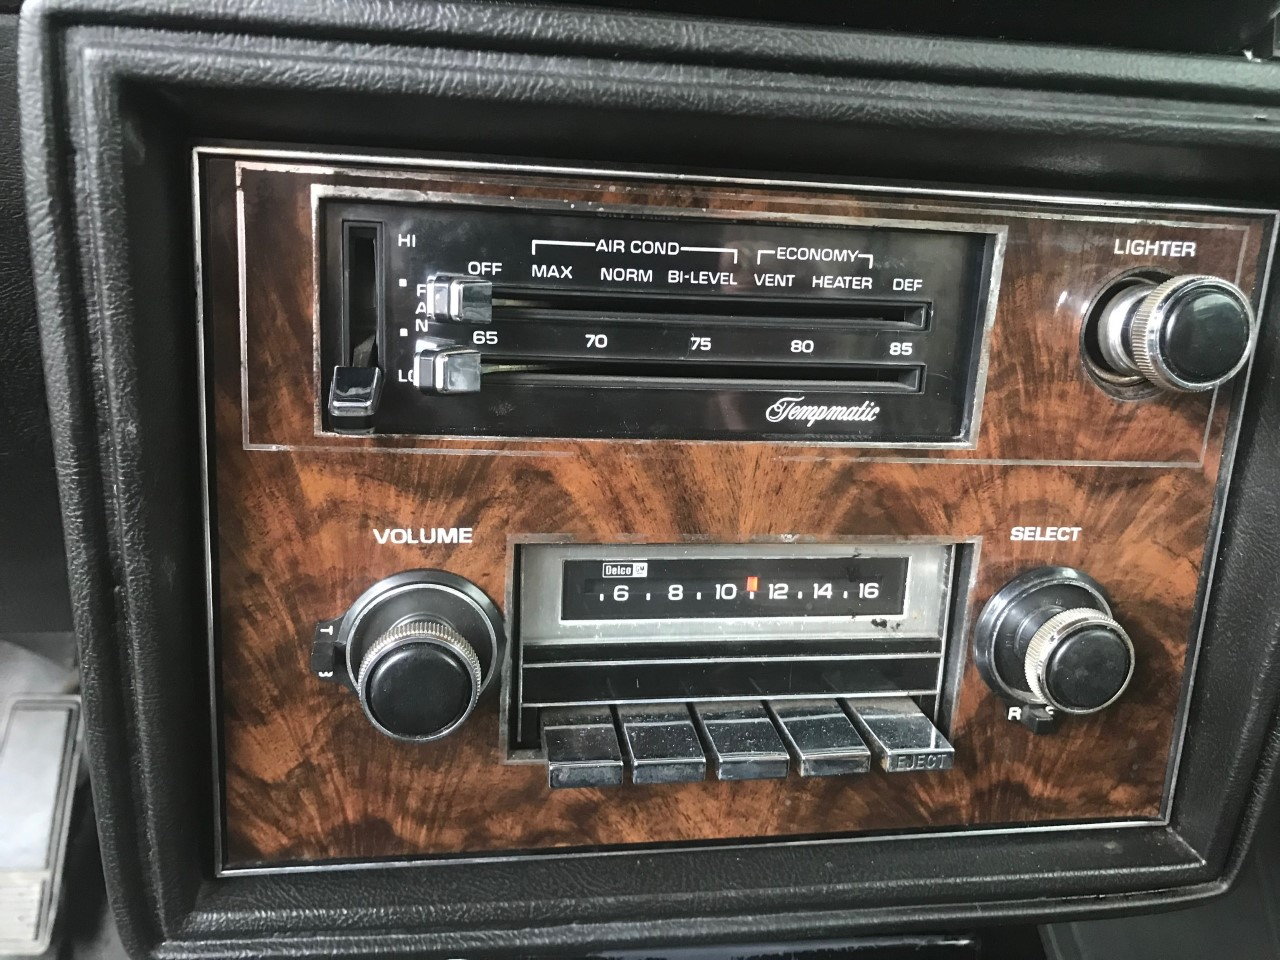
- Car Radio: Start by turning on your car radio. Look for a button or menu option labeled “Menu” or “Settings” on the radio’s control panel. Press this button or navigate to the settings menu using the corresponding controls. Once you have accessed the settings, you will be ready to proceed to the next step.
- Portable Radio: Turn on your portable radio and locate the button or switch labeled “Settings,” “Menu,” or “Options.” Press this button or switch to enter the settings menu. On some portable radios, you may need to press and hold a specific button or combination of buttons to access the settings. Refer to your device’s user manual if you encounter any difficulties.
- Home Stereo System: Power on your home stereo system and locate the control panel. Look for a button or knob labeled “Settings,” “Menu,” or something similar. Press this button or rotate the knob to access the settings menu on your home stereo system. If you’re unsure about the specific steps, consult the user manual for your device.
Remember to take note of any specific instructions provided by the manufacturer of your radio. Different radio models may have different methods of accessing the settings menu.
Once you have successfully accessed the radio settings, you are ready to proceed to the next step of removing preset radio stations. Keep reading to find out how!
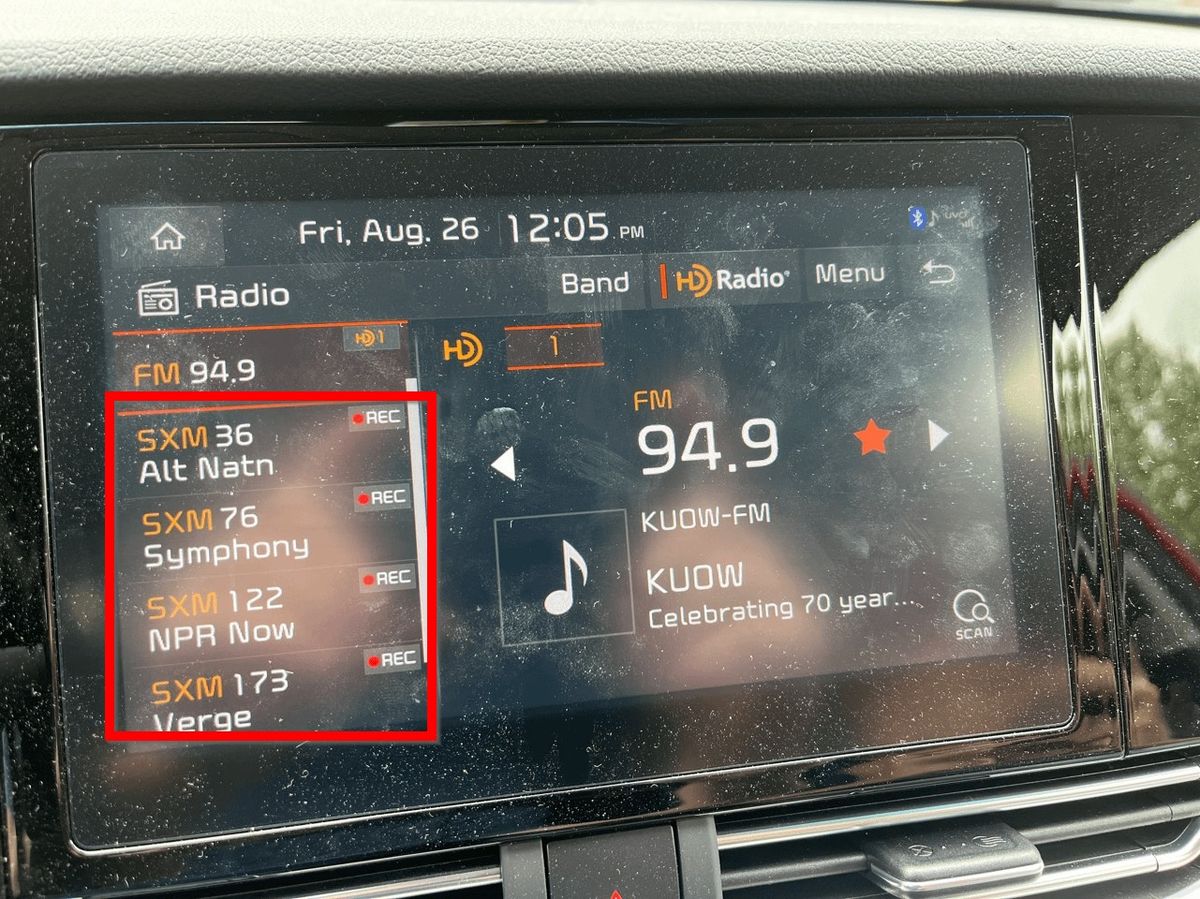
Step 2: Locating the Preset Radio Stations
After accessing the radio settings, the next step in removing preset radio stations is to locate the list of preset stations on your device. The process may vary depending on the type of radio you are using, but the general principles remain the same. Here are some guidelines to help you find the preset radio stations:
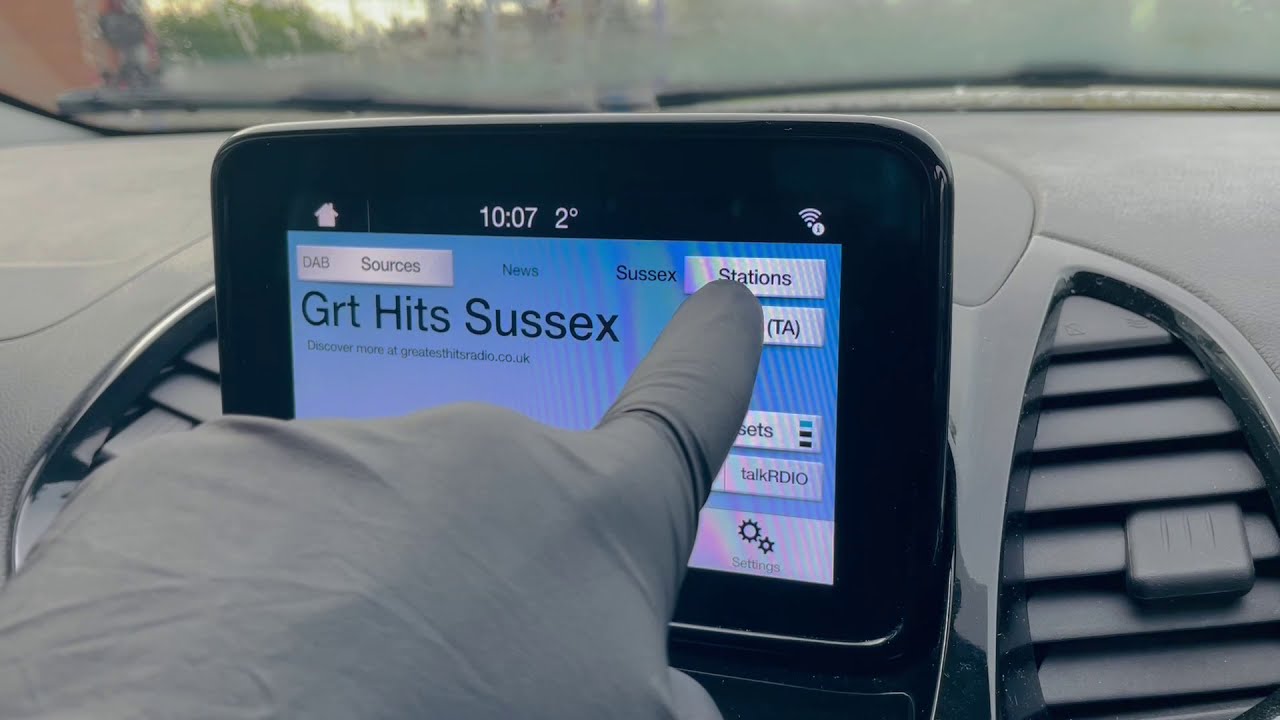
- Car Radio: In the settings menu of your car radio, look for an option such as “Preset Stations,” “Saved Stations,” or “Favorites.” Select this option to access the list of preset radio stations. On some car radios, the preset stations may be displayed on the main screen or accessed through a dedicated button labeled “Preset” or “Station List.”
- Portable Radio: In the settings menu of your portable radio, search for a section titled “Preset Stations,” “Stored Stations,” or something similar. Navigate to this section to view the list of preset radio stations. On some portable radios, you can directly access the preset stations by pressing the “Preset” or “Station List” button.
- Home Stereo System: In the settings menu of your home stereo system, locate an option labeled “Preset Stations,” “Memory,” or “Stored Stations.” Select this option to access the list of preset radio stations. On some home stereo systems, you can directly access the preset stations by pressing a dedicated button on the control panel.
Remember that the specific terminology and menu options may differ based on the make and model of your radio. If you are unsure about locating the preset stations, refer to the user manual provided by the manufacturer.
Once you have successfully located the preset radio stations, you are ready to proceed to the next step of removing them. Stay tuned to find out how!
Step 3: Removing Preset Radio Stations
Now that you’ve accessed the list of preset radio stations, it’s time to remove the ones you no longer want. The process may vary depending on the type of radio you are using, but the general steps are fairly straightforward. Here’s how you can remove preset radio stations:
- Car Radio: When you are viewing the preset stations list on your car radio, look for an option to delete or remove stations. This option may be indicated by a trash bin icon or a “Delete” button. Select the station you wish to remove and then follow the on-screen prompts to confirm and remove it from the preset list. Repeat the process for each station you want to delete.
- Portable Radio: On your portable radio, navigate to the preset stations list and find an option to delete or remove stations. This option will vary depending on the specific model. Select the station you want to remove and follow the instructions on the screen to delete it from the preset list. Repeat these steps for any additional stations you want to remove.
- Home Stereo System: On your home stereo system, access the preset stations list and look for an option to delete or erase stations. This option may be labeled differently depending on the manufacturer. Select the station you wish to remove and follow the prompts provided by your system to confirm the deletion. Repeat the process for each station you want to remove.
It’s important to note that some radios may have a maximum number of preset stations, so you may need to delete existing stations in order to add new ones. Also, be cautious when removing stations, as the process is usually irreversible.
Once you have successfully removed the preset radio stations, let’s move on to the next step to ensure the changes are saved properly.
Step 4: Saving the Changes
After removing the preset radio stations, it’s important to save the changes that you have made. This step ensures that the deleted stations are permanently removed from the preset list and that the radio device recognizes the updated settings. Here’s what you need to do to save the changes:
- Car Radio: On your car radio, navigate to the options or settings menu and locate a “Save” or “Apply” button. Press this button to save the changes you made to the preset radio stations. Some car radios automatically save the changes as you delete the stations, while others require a manual confirmation.
- Portable Radio: Most portable radios automatically save the changes when you delete preset stations. However, if you are prompted to save the changes, select the appropriate option to confirm and save the updated preset list. Make sure to follow any on-screen instructions to ensure the changes are saved successfully.
- Home Stereo System: On your home stereo system, navigate to the settings or options menu. Look for a “Save Changes” or “Confirm” button and press it to save the modifications you made to the preset radio stations. Some home stereo systems may save the changes automatically, while others may require manual confirmation.
Remember to carefully follow the instructions provided by your specific radio device to ensure that the changes are saved correctly. This will ensure that your newly customized preset radio station list remains intact even if the device is turned off or restarted.
Now that you have saved the changes, let’s move on to the final step to confirm that the preset radio stations have been successfully removed.
Step 5: Confirming the Removal of Preset Radio Stations
After saving the changes to your radio’s preset list, it’s important to confirm that the unwanted stations have been successfully removed. This step ensures that you have a clean and customized preset radio station list that reflects your preferences. Here’s how you can confirm the removal:
- Car Radio: Take a moment to navigate through the preset radio station list on your car radio. Make sure the stations you deleted are no longer present. Use the radio’s controls to scroll through the available preset stations. If you don’t see the deleted stations, then the removal process was successful.
- Portable Radio: Similarly, go through the preset radio station list on your portable radio. Confirm that the deleted stations are no longer displayed. If the removed stations are not visible, then the removal process was successful, and you now have a customized preset list.
- Home Stereo System: On your home stereo system, access the preset radio station list, and verify that the deleted stations are no longer present. Use the controls to navigate through the list and ensure that the unwanted stations are not included. If the deleted stations are no longer visible, then the removal process was successful.
By confirming the removal of preset radio stations, you can be confident that your radio is now personalized to your liking. You no longer have to endure unwanted stations cluttering your preset list, and you can easily access your favorite stations without any distractions.
If you find that any unwanted presets are still present, double-check your radio’s settings and repeat the removal process if necessary. Remember to save the changes once again to ensure they are correctly applied.
Congratulations! You have successfully removed preset radio stations from your device, leaving you with a customized and personalized radio experience. Enjoy exploring new stations and creating a preset list that suits your preferences perfectly.
Conclusion
Removing preset radio stations is a simple task that allows you to customize your radio experience and create a list of stations that cater to your preferences. Whether you’re using a car radio, portable radio, or home stereo system, the process generally involves accessing the radio settings, locating the preset stations, removing the unwanted ones, saving the changes, and confirming the removal.
By following the step-by-step guide outlined in this article, you can easily clear out preset radio stations that no longer align with your interests. This will help declutter your preset list and make it easier to navigate and find the stations you enjoy the most.
Remember to consult your device’s user manual for specific instructions, as the process may vary depending on the make and model of your radio. Additionally, be cautious when deleting stations, as the process may be irreversible, and some radios have a maximum number of presets.
With your newly cleared and customized preset radio station list, you can now embark on an enjoyable radio experience tailored to your liking. Whether it’s listening to your favorite music, catching up on the latest news, or discovering new stations, the possibilities are endless.
So, go ahead and take control of your radio settings. Remove those preset stations that don’t resonate with your preferences, save the changes, and enjoy a radio experience that is personalized just for you.