Home>Events & Info>Podcast>What Do I Need For A Podcast
Podcast
What Do I Need For A Podcast
Modified: February 18, 2024
Discover everything you need to start your own podcast, from equipment to software. Get expert tips and advice to launch your successful podcast today.
(Many of the links in this article redirect to a specific reviewed product. Your purchase of these products through affiliate links helps to generate commission for AudioLover.com, at no extra cost. Learn more)
Table of Contents
Introduction
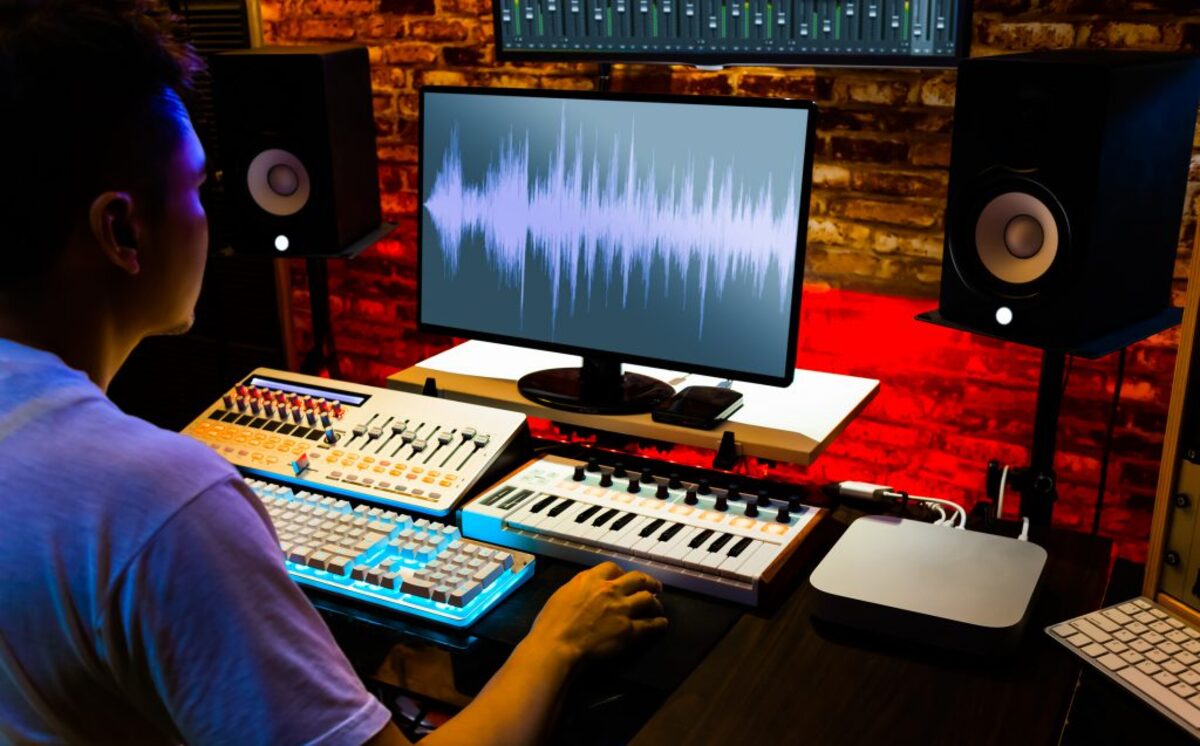
Welcome to the world of podcasting! Whether you’re a seasoned podcaster or just starting out, having the right equipment is essential to create high-quality, engaging content. From capturing clear audio to editing and hosting your episodes, there are several key pieces of equipment you’ll need to ensure a successful podcasting journey.
In this article, we’ll explore the must-have equipment for a podcast and dive into the details of each item. From microphones to audio editing software, we’ve got you covered. So, without further ado, let’s get started on building your ultimate podcasting setup.
But before we delve into the equipment, it’s important to note that podcasting is not just about the tools you use. It’s about creating compelling content and connecting with your audience. The equipment we discuss here will help you achieve professional sound quality, but remember that content is king. So make sure to focus on delivering meaningful and captivating episodes.
Now, let’s take a closer look at the essential equipment you’ll need to kickstart your podcasting journey:
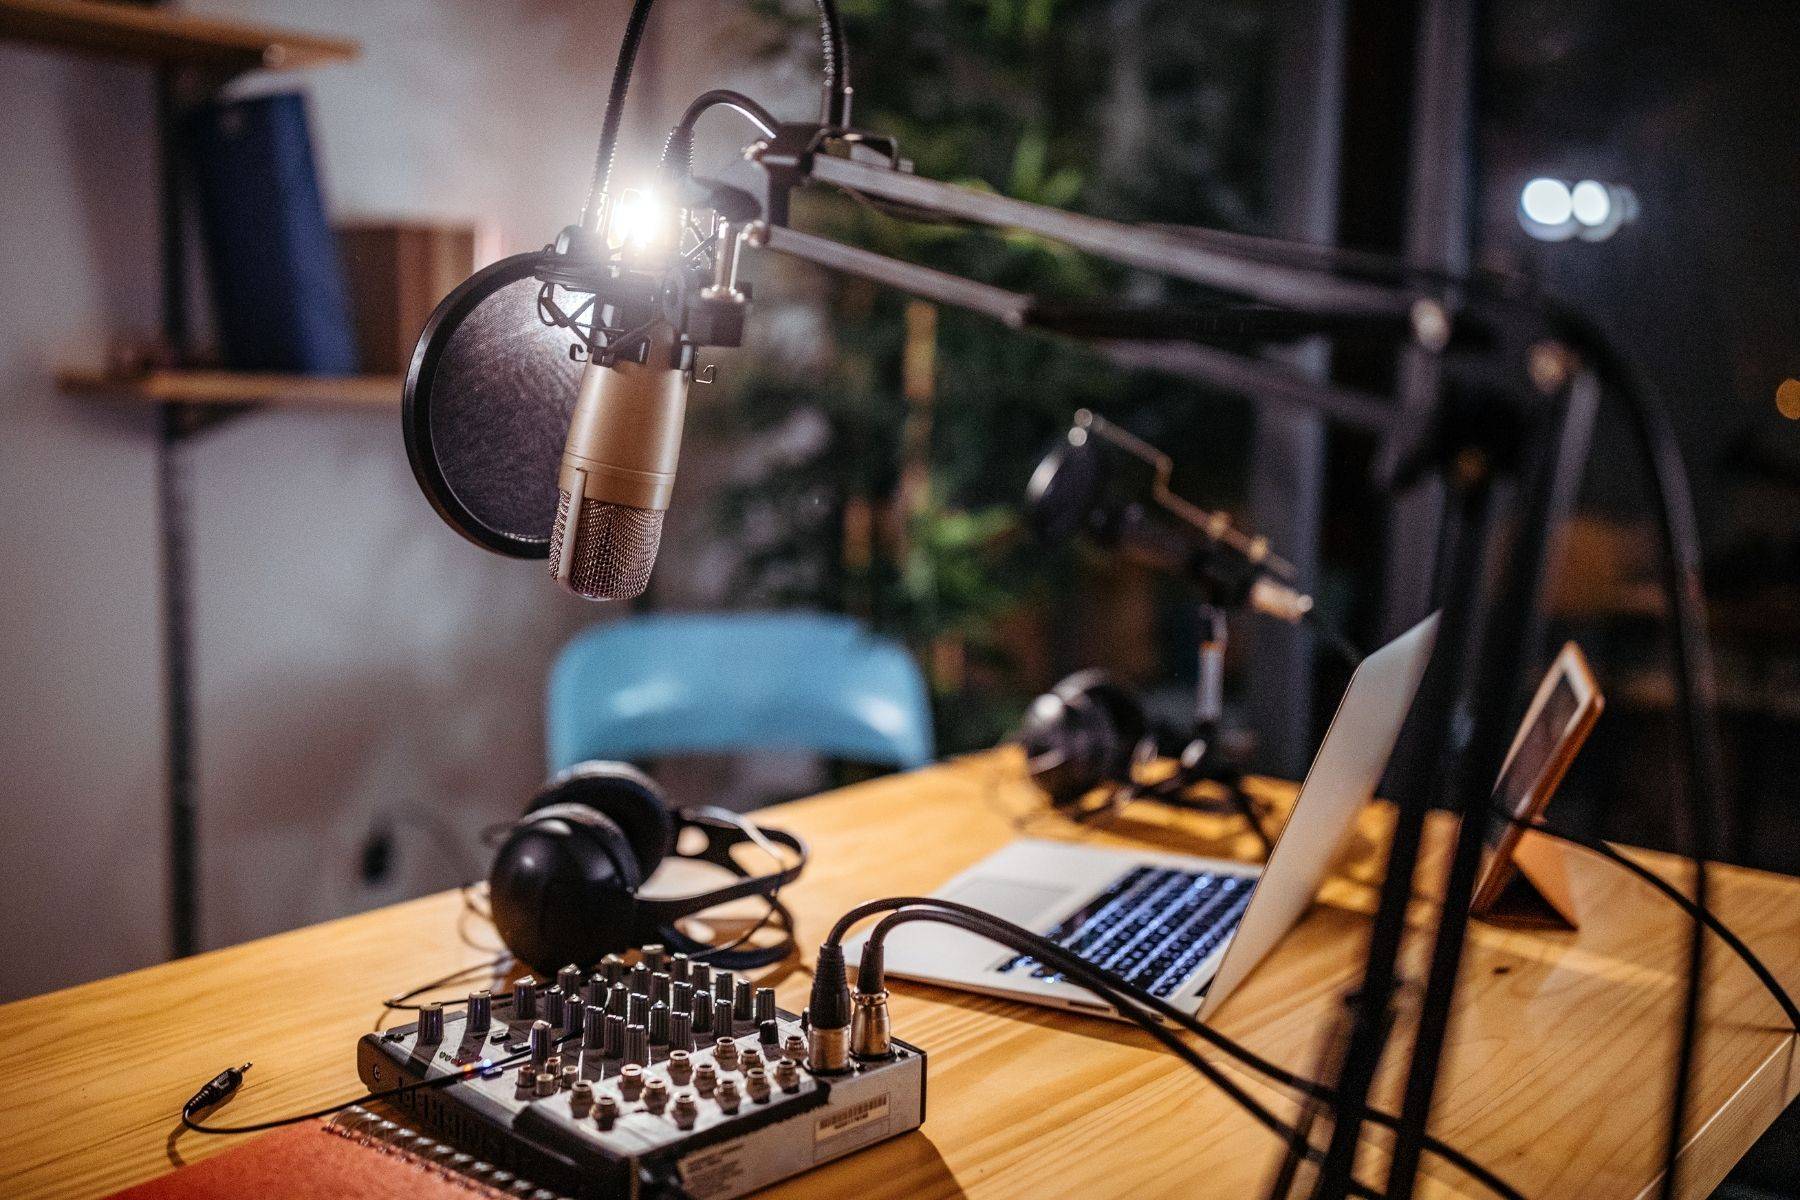
Equipment Needed for a Podcast
When it comes to podcasting, having the right equipment is crucial to ensure that your audio is crisp, clear, and professional-sounding. Let’s explore the essential equipment you’ll need:
- Microphone: A good quality microphone is the most important piece of equipment for podcasting. It’s essential to invest in a microphone that captures your voice accurately and minimizes background noise.
- Pop Filter: A pop filter is a mesh screen that is placed in front of your microphone to reduce plosive sounds (like “p” and “b” sounds) that can cause distortion in the audio. It helps to maintain a consistent level of sound quality throughout your episodes.
- Headphones: A pair of closed-back headphones are essential for monitoring your audio while recording and editing. They help you catch any background noise, echo, or other issues that might affect the overall quality of your recordings.
- Audio Interface/Recorder: An audio interface or recorder is required to connect your microphone to your computer and convert the analog signal to digital. It provides better sound quality and control over your audio settings.
- Boom Arm/Stand: A boom arm or microphone stand ensures that your microphone is properly positioned and stable during recordings. It helps to minimize handling noise and allows you to adjust the microphone’s height and angle for optimal sound capture.
- Shock Mount: A shock mount is used to suspend your microphone, isolating it from any vibrations or bumps that might occur during recordings. It helps to eliminate unwanted noise and ensures a clean audio signal.
- XLR Cables: XLR cables are used to connect your microphone, audio interface, and other audio equipment. They provide a balanced audio connection, minimizing interference and noise.
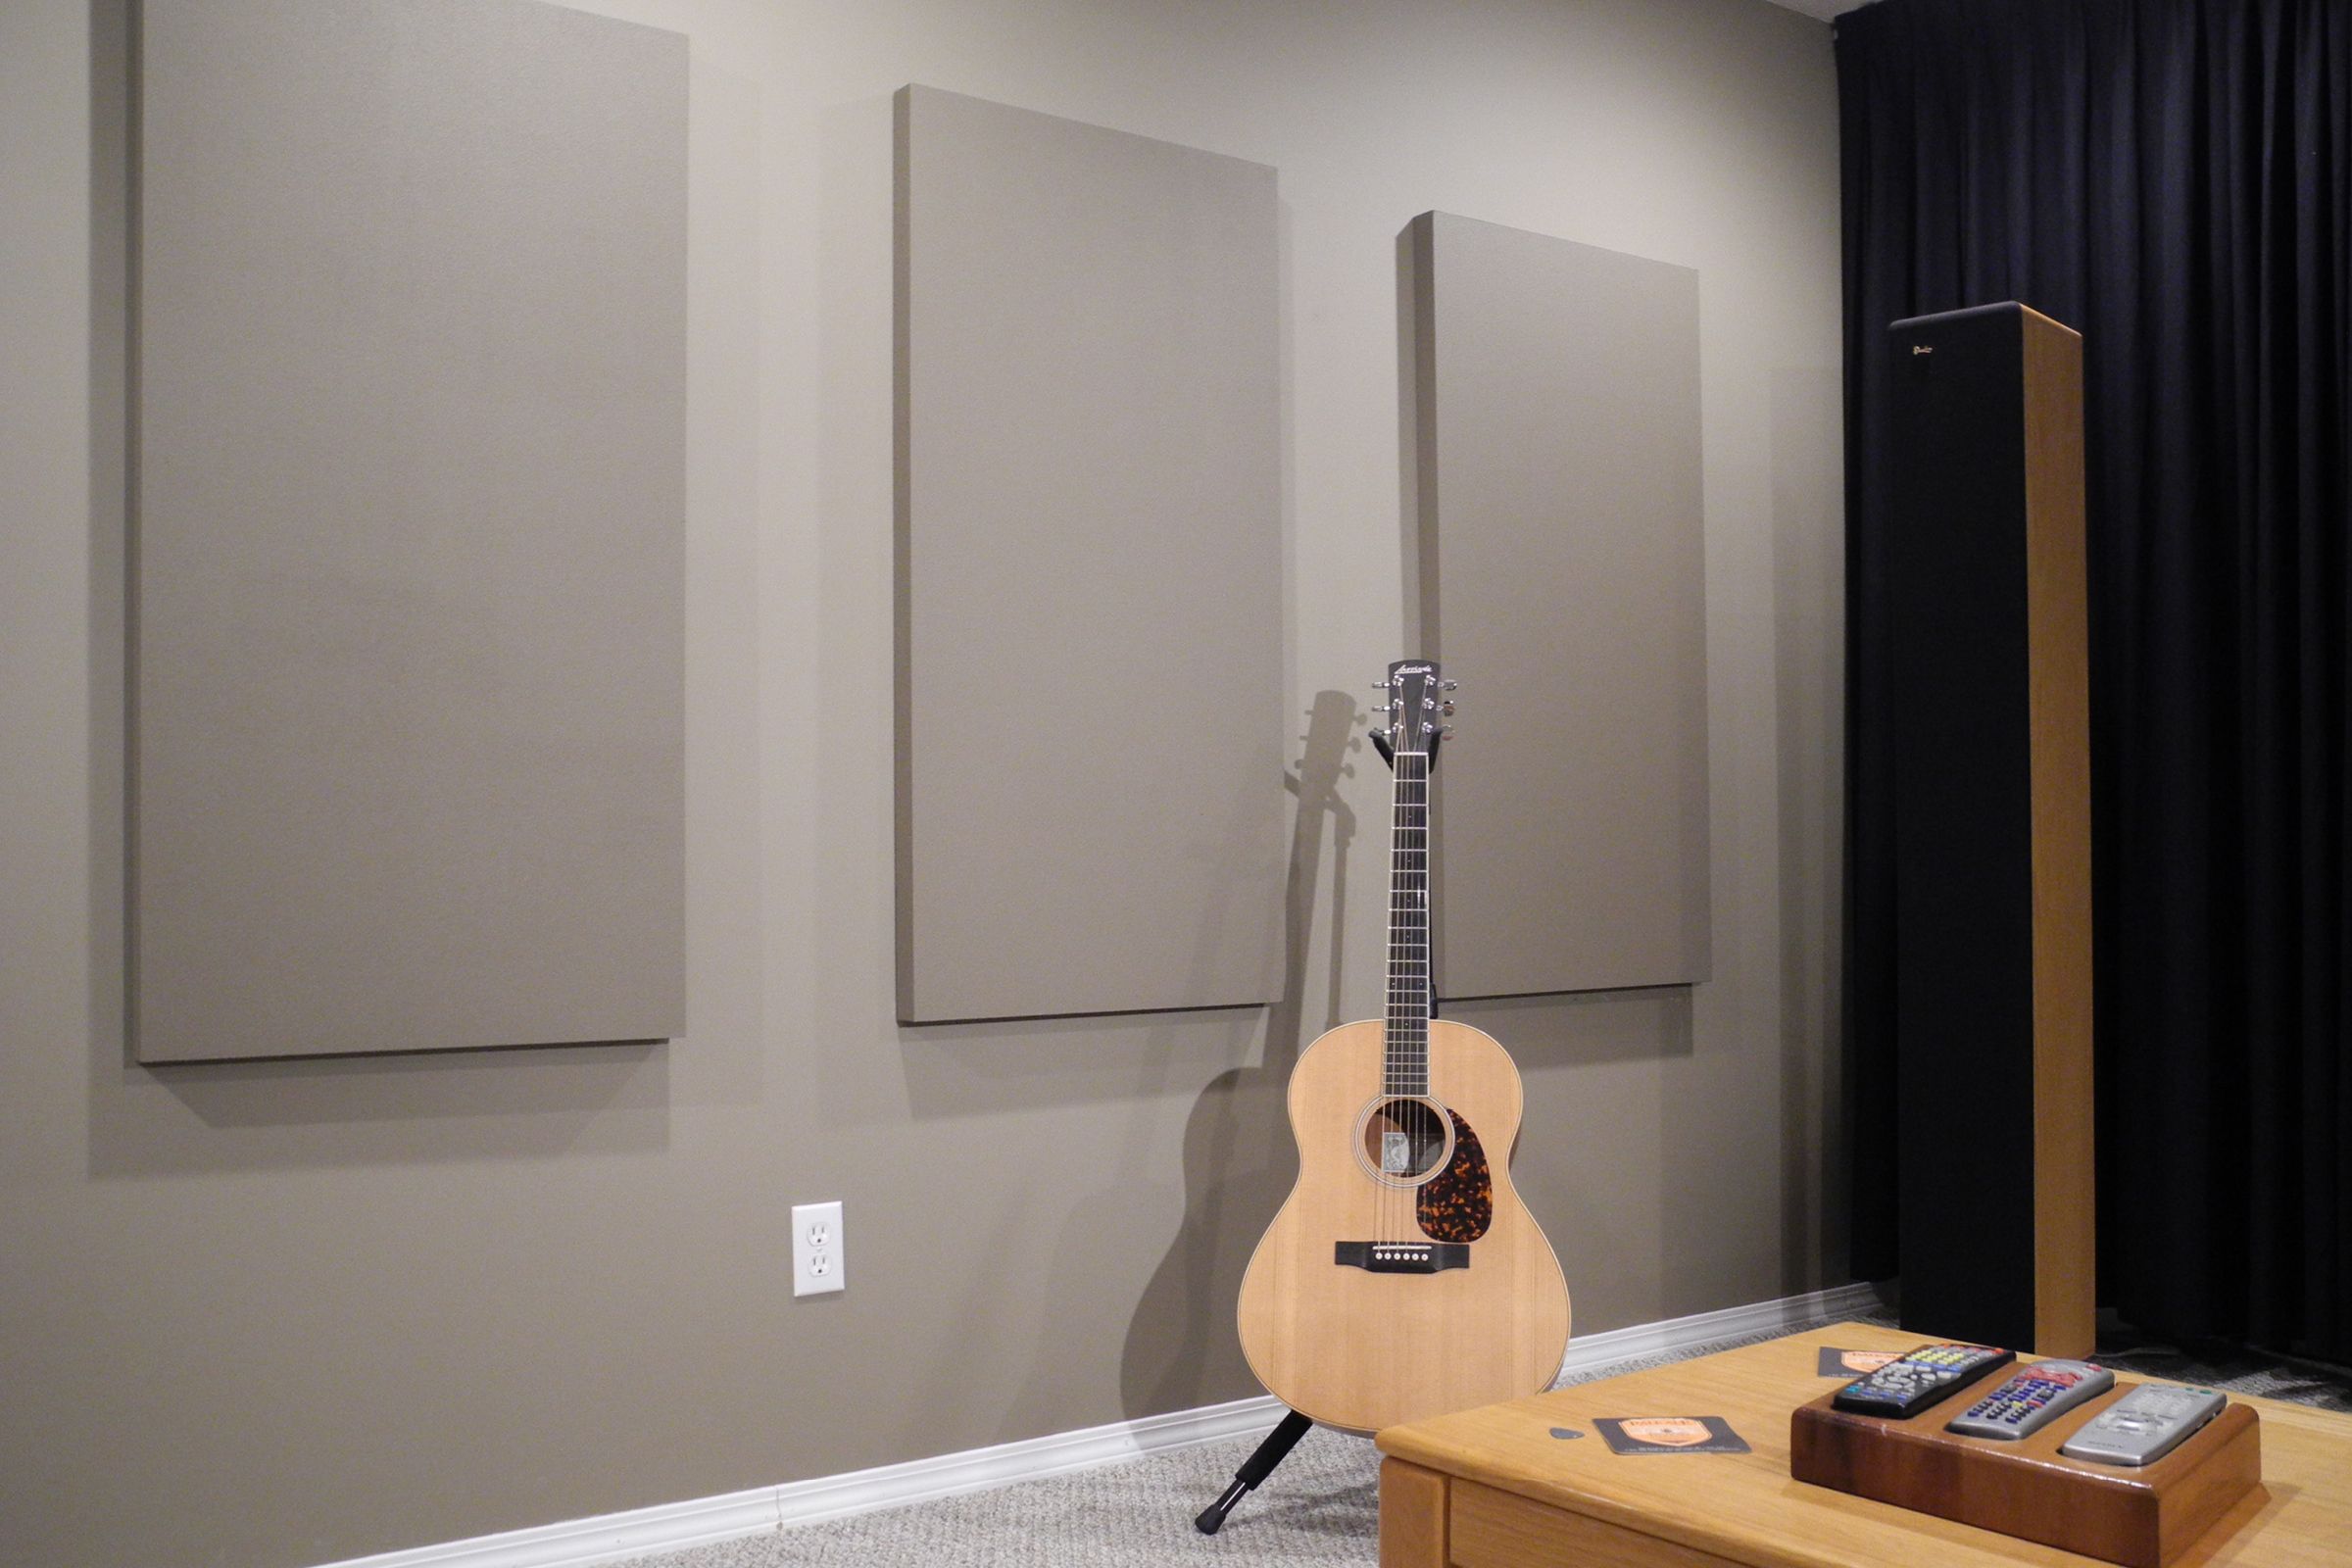
- Acoustic Treatment: To achieve a professional sound, it’s important to minimize echo and reverberation in your recording space. Acoustic treatment includes foam panels, bass traps, and diffusers that help improve sound absorption and create a controlled recording environment.
- Sound Mixer (optional): A sound mixer allows you to adjust the volume levels, apply effects, and control audio inputs from multiple sources. It’s an optional piece of equipment that provides more flexibility and control over your sound.
- Portable Recorder (optional): If you plan on recording your podcast outside of a traditional studio setting, a portable recorder can be handy. It allows you to capture high-quality audio on-the-go and is ideal for interviews, field recordings, or remote podcasting.
- Computer/Laptop: A reliable computer or laptop is essential for recording, editing, and hosting your podcast episodes. Make sure it meets the necessary system requirements and has enough storage space for your audio files and editing software.
- Audio Editing Software: To edit and polish your podcast episodes, you’ll need audio editing software. There are several options available, ranging from free to professional-grade software, offering features like noise reduction, mixing, and exporting in various formats.
- Cloud Storage/Hosting Platform: To store and distribute your podcast episodes, you’ll need a reliable cloud storage and hosting platform. It simplifies the process of sharing your episodes with listeners and ensures that your podcast is available on various podcast directories.
These are the essential pieces of equipment you’ll need to create a professional-quality podcast. Remember, while it’s crucial to invest in good equipment, it’s equally important to focus on delivering valuable content that resonates with your audience. With the right tools and engaging content, you’ll be well on your way to podcasting success!
Microphone
When it comes to podcasting, the microphone is the most crucial piece of equipment. It’s responsible for capturing your voice accurately and ensuring that your listeners have a pleasant listening experience. While there are various types of microphones available, here are a few popular options to consider:
- Dynamic Microphones: Dynamic microphones are popular among podcasters due to their durability, affordability, and ability to handle high sound pressure levels. They are resistant to handling noise and can deliver a warm and rich sound. The Shure SM58 and Audio-Technica ATR2100x are two examples of reliable dynamic microphones suitable for podcasting.
- Condenser Microphones: Condenser microphones are known for their sensitivity and ability to capture a wide range of frequencies. They are often used in professional recording studios and can produce a more detailed and accurate sound. However, they are more sensitive to background noise and require phantom power. The Rode NT1 and Audio-Technica AT2020 are popular condenser microphones for podcasting.
- USB Microphones: USB microphones are a convenient option for podcasters who want a plug-and-play solution. These microphones can directly connect to your computer via USB, eliminating the need for additional audio interfaces or recorders. They are easy to use and suitable for beginners. The Blue Yeti and Rode NT-USB Mini are well-regarded USB microphones in the podcasting community.
When choosing a microphone, consider factors such as your budget, recording environment, and intended use. It’s also important to test different microphones to find the one that suits your voice and preferences. Remember, selecting the right microphone can significantly improve the overall sound quality of your podcast.
Additionally, it’s worth investing in a microphone that includes features like adjustable gain control, built-in shock mounts, and low-cut filters. These features can help optimize the audio recording process and ensure that your voice is captured with clarity.
Lastly, it’s important to use proper microphone technique to achieve the best sound quality. Maintain an optimal distance from the microphone (usually around 6-12 inches), speak directly into it, and avoid excessive plosive sounds by utilizing a pop filter.
By choosing the right microphone and following good recording practices, you’ll be well on your way to creating professional-sounding podcasts that captivate your audience.
Pop Filter
When it comes to podcasting, a pop filter is an essential accessory for your microphone. It helps to eliminate plosive sounds, such as the “p” and “b” sounds, that can cause distortion and make your audio unpleasant to listen to. A pop filter is a simple screen or shield that is placed in front of your microphone to diffuse the air bursts created by these sounds and prevent them from hitting the microphone directly.
There are two main types of pop filters available:
- Nylon Mesh Pop Filter: This is the more common and widely used type of pop filter. It consists of a fine mesh screen that catches the plosive sounds while allowing the rest of your voice to pass through clearly. The nylon mesh pop filter is affordable, durable, and easy to clean, making it a popular choice among podcasters.
- Metal or Wire Pop Filter: Metal or wire pop filters are made of a frame with a metal or wire grid. They provide similar protection against plosive sounds, but some podcasters prefer them for their sturdiness and the ability to adjust the distance between the pop filter and the microphone. However, they can slightly affect the high-frequency response of the microphone.
Regardless of the type you choose, a pop filter helps to ensure a consistent sound quality throughout your podcast episodes by reducing unwanted plosive sounds. It also helps in reducing spit and saliva from reaching and potentially damaging your microphone.
When setting up your pop filter, position it about two to three inches in front of your microphone, ensuring that it covers the area where you speak. It should be placed at a slight angle to divert the air bursts away from the microphone while allowing your voice to pass through unhindered.
Remember to maintain a consistent distance between your mouth, pop filter, and microphone to achieve the best results. Experiment with different positions and angles to find the optimal setup that minimizes plosive sounds while capturing your voice clearly.
With a pop filter in place, you can confidently record your podcast episodes knowing that your audio will be free from distracting plosive sounds, resulting in a more professional and enjoyable listening experience for your audience.
Headphones
When it comes to podcasting, a good pair of headphones is an essential piece of equipment for monitoring your audio while recording and editing. They help you catch any background noise, echo, or other issues that might affect the overall quality of your recordings. Here’s what you need to know about choosing the right headphones for your podcast:
1. Closed-Back Headphones: Closed-back headphones are the most common choice for podcasting due to their ability to isolate sound. They have sealed ear cups that prevent sound leakage, reducing interference from external noises. These headphones are ideal for monitoring and editing because they provide a more accurate representation of the recorded audio without external distractions.
2. Over-Ear or On-Ear: Over-ear or on-ear headphones provide a comfortable fit and are suitable for extended podcasting sessions. Over-ear headphones have larger cups that enclose your ears, providing better noise isolation and a more immersive audio experience. On-ear headphones rest on your ears and are generally more portable.
3. Frequency Response: Look for headphones that offer a wide frequency response range, typically spanning from 20Hz to 20kHz. This ensures that you can accurately hear the full spectrum of audio frequencies, capturing both low and high-frequency details.
4. Balanced Sound: It’s essential to choose headphones that provide a balanced sound signature. This means the bass, mids, and treble should be represented accurately without being overly emphasized. Balanced sound allows you to hear your audio as it truly is, helping you make better decisions during the editing process.
5. Comfort and Durability: Since you’ll likely be wearing headphones for extended periods, it’s crucial to choose a pair that is comfortable and well-built. Look for cushioned ear cups, an adjustable headband, and a lightweight design. Additionally, consider headphones made with durable materials that can withstand regular use.
6. Wired vs. Wireless: While wireless headphones provide convenience and freedom of movement, wired headphones are more reliable for monitoring audio during podcast recording and editing. Wired connectivity ensures a stable and uninterrupted connection to your recording equipment or computer, minimizing latency and potential interference.
7. Price Range: The price of headphones can vary significantly depending on the brand, features, and build quality. Set a budget and prioritize the features that are most important to your podcasting needs, such as sound quality, comfort, and durability.
Remember to test your headphones with different audio sources and compare the sound quality to ensure accurate representation. Additionally, adjust the volume level to a comfortable level that allows you to hear the details without causing fatigue or potential hearing damage.
With a reliable pair of headphones, you can confidently monitor and edit your podcast episodes, ensuring that your audio is free from unwanted noise and delivering the best possible listening experience for your audience.
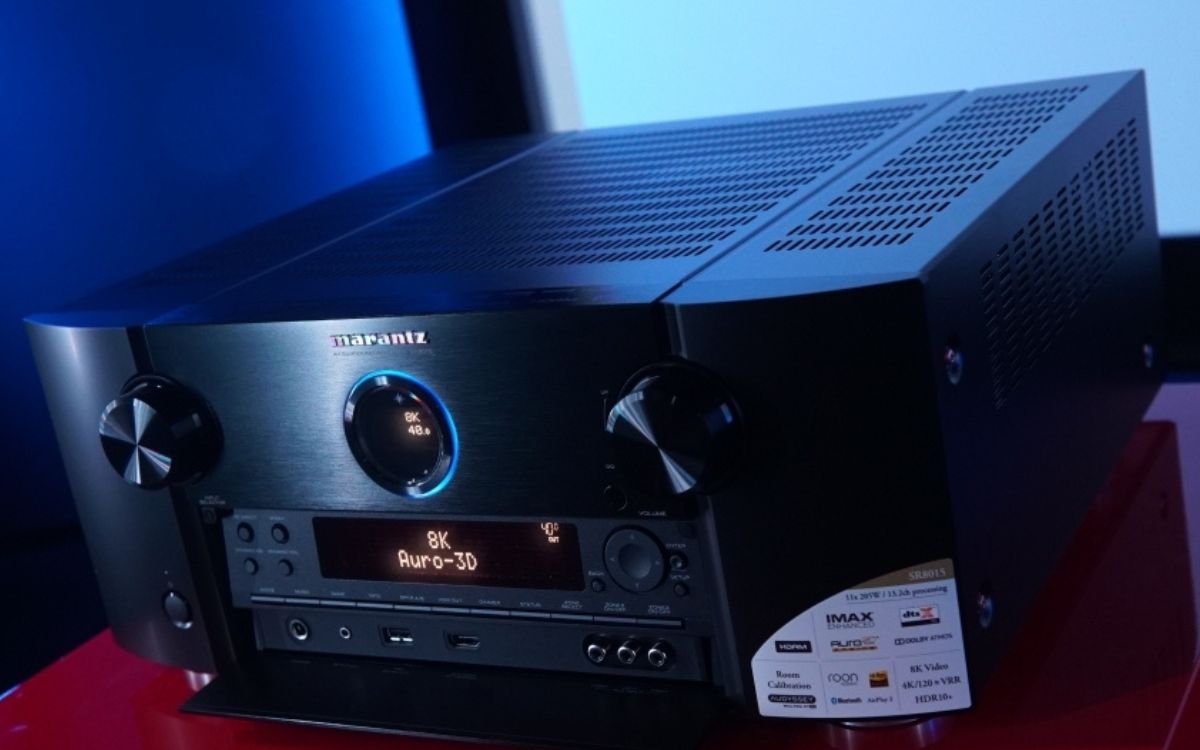
Audio Interface/Recorder
An audio interface or recorder is an essential component of your podcasting setup as it allows you to connect your microphone to your computer and convert the analog audio signal into a digital format. This device plays a crucial role in ensuring high-quality sound recording. Here’s what you need to know:
1. Audio Interface: An audio interface acts as the bridge between your microphone and your computer. It typically connects to your computer via USB, Thunderbolt, or FireWire, depending on the interface’s specifications and your computer’s connectivity options. The audio interface provides better sound quality, low-latency monitoring, and control over your audio settings, such as gain, phantom power, and headphone output.
2. USB Microphone as an Interface: If you’re using a USB microphone, it already includes a built-in audio interface. In this case, you do not need a separate audio interface for connecting your microphone to your computer. Simply connect the USB microphone directly to your computer, and it will handle the analog-to-digital conversion internally.
3. Audio Recorder: An audio recorder is an alternative to an audio interface, especially if you plan on recording your podcast episodes outside of a traditional studio setting. Portable recorders, such as the Zoom H5 or Tascam DR-40X, allow you to capture high-quality audio on-the-go. They have built-in microphones and XLR inputs for connecting external microphones. Audio recorders are battery-operated, lightweight, and offer features like adjustable gain, built-in effects, and storage options.
4. Considerations: When choosing an audio interface or recorder, consider the number of inputs and outputs you require. If you plan on conducting interviews or have multiple hosts, you will need an interface with multiple XLR inputs. Additionally, pay attention to the available sample rates and bit depths, as this affects the audio quality and file size. Look for interfaces or recorders that offer reliable drivers and compatibility with your operating system.
5. Computer Compatibility: Ensure that the audio interface or recorder you choose is compatible with your computer’s operating system. Check the manufacturer’s specifications and recommended system requirements to ensure compatibility and avoid any potential compatibility issues during recording and editing processes.
6. Setup and Configuration: Once you have your audio interface or recorder, follow the manufacturer’s instructions for proper setup and configuration. This may include installing necessary drivers or software, connecting cables, and adjusting settings to optimize your audio recording settings.
With a reliable audio interface or recorder, you can ensure optimal sound quality and control over your audio settings. Whether you’re recording in the comfort of your home studio or on the go, an audio interface or recorder is a crucial tool for achieving professional-sounding podcast episodes.
Boom Arm/Stand
A boom arm or microphone stand is a vital accessory for any podcaster to keep their microphone stable, properly positioned, and easily adjustable during recordings. It ensures that your microphone remains in the optimal position, improving sound capture and reducing handling noise. Here’s what you need to know about boom arms and microphone stands:
1. Boom Arm: A boom arm is a flexible and adjustable arm that attaches to your desk or table. It allows you to position your microphone at the desired height, angle, and distance. The adjustable nature of a boom arm enables you to find the perfect microphone placement, whether you are sitting or standing during recording. This helps prevent strain and discomfort during long podcasting sessions.
2. Desk-Mounted Stand: A desk-mounted stand is a more compact option compared to a boom arm. It typically features a fixed-height stand that attaches directly to your desk or table. While it offers less flexibility in positioning, it can still provide stability and convenience for podcasting setups with limited space.
3. Floor-Standing Tripod Stand: If you prefer to stand while recording or have a setup that requires mobility, a floor-standing tripod stand is a suitable option. These stands feature three adjustable legs with a central pole to hold the microphone. They are versatile and easily adjustable, allowing you to position the microphone at the desired height and distance from your mouth.
4. Shock Mount Compatibility: When selecting a boom arm or stand, consider its compatibility with your microphone’s shock mount. A shock mount helps isolate the microphone from handling noise and vibrations. Ensure that the boom arm or stand is compatible with your microphone’s shock mount size and design to ensure a secure and stable setup.
5. Cable Management: Look for boom arms or stands that offer cable management features. These include clips or channels for routing cables, helping to keep your setup organized and tidy. Proper cable management not only reduces the risk of accidentally pulling on cables but also promotes a clean and professional look.
6. Installation and Adjustments: Follow the manufacturer’s instructions to properly install and adjust your boom arm or stand. Ensure that it is securely attached to your desk or floor and that the microphone is positioned at the optimal distance and angle. Take the time to experiment with different positions to find the setup that provides the best sound quality and comfort for your podcasting sessions.
Remember, a stable and adjustable boom arm or stand is essential for maintaining consistent audio quality and reducing unwanted noise during your podcast recordings. Take your time to find the right boom arm or stand that suits your needs and provides the flexibility and stability necessary for a comfortable and professional recording experience.
Shock Mount
A shock mount is a crucial accessory for podcasting that helps isolate your microphone from handling noise and vibrations. It ensures that any movements or bumps on your desk or stand do not transfer to the microphone, resulting in cleaner and clearer audio recordings. Here’s what you need to know about shock mounts:
1. How does it work: Shock mounts use an elastic suspension system to keep the microphone suspended and isolated from external vibrations. The microphone is held in place by elastic bands or a spider-like structure that absorbs and dampens any vibrations that could reach the microphone, such as keyboard typing, desk bumps, or footsteps.
2. Benefits: The primary benefit of using a shock mount is to minimize handling noise and mechanical vibrations. By reducing these unwanted sounds, you can achieve clearer and more professional audio recordings. Shock mounts are particularly useful if you have a boom arm or stand, as they further isolate the microphone from any movements or vibrations caused by adjusting the position.
3. Compatibility: Not all microphones are compatible with shock mounts, as the mount must match the microphone’s shape and size. Most microphones have specific shock mount models designed for them. Before purchasing a shock mount, ensure that it is compatible with your microphone model to guarantee a proper fit and secure attachment.
4. Installation: Installing a shock mount is relatively straightforward. Most shock mounts have screw threads that allow you to attach them to the microphone stand or boom arm. Simply screw the shock mount into the threaded connection, ensuring it is tightly secured. Then, carefully place the microphone into the shock mount’s cradle or spider-like structure. Be cautious not to force or damage any delicate components of the microphone.
5. Adjustments: Once the shock mount is properly installed, you can make minor adjustments to position the microphone at the desired angle. Experiment with different positions to find the optimal placement for capturing your voice accurately and minimizing any potential reflections or room resonances.
6. Maintenance: Regularly inspect the condition of your shock mount, including its rubber bands or suspension system. Over time, the rubber bands may stretch or become worn. If you notice any signs of wear or damage, it’s essential to replace them to maintain the shock mount’s effectiveness. Additionally, keep the shock mount clean by gently wiping it with a soft cloth to remove any dirt or dust that may accumulate over time.
A shock mount is a valuable investment to improve the audio quality of your podcast recordings. By isolating your microphone from handling noise and vibrations, you can ensure that your listeners will enjoy clear and professional-sounding audio throughout your episodes.
XLR Cables
XLR cables are an integral part of any professional podcasting setup, allowing you to connect your microphone and audio interface or recorder. XLR cables offer several advantages over other types of cables, ensuring reliable, high-quality audio transmission. Here’s what you need to know about XLR cables for podcasting:
1. Balanced Audio: XLR cables are known for their ability to carry balanced audio signals. Unlike unbalanced cables, which are more susceptible to interference and signal degradation, balanced cables use three separate wires: one for the ground, one for the positive signal, and one for the negative signal. This balanced configuration helps cancel out any noise or interference that is picked up along the cable, resulting in cleaner and higher-quality audio.
2. Durability: XLR cables are designed to be robust and withstand frequent use. They have sturdy connectors, usually made of metal, that provide a secure and reliable connection. The cables themselves are thick and shielded to protect against physical damage and electromagnetic interference, making them suitable for professional audio applications.
3. Length and Quality: Consider the length of XLR cables you’ll need for your podcasting setup. It’s important to ensure that the cables are long enough to reach comfortably from your microphone to your audio interface or recorder without putting strain on the cable. Opt for high-quality XLR cables to maintain signal integrity and minimize the risk of signal loss or degradation over longer distances.
4. Connector Types: XLR cables can have different connector types, such as XLR-3 or XLR-5. Most podcasting microphones and equipment use XLR-3 connectors, which have three pins. Ensure that the connectors on your cables match the connectors on your microphone and audio interface or recorder to ensure proper compatibility and functionality.
5. Cable Management: Proper cable management is essential for a neat and organized podcasting setup. Use cable ties, clips, or cable management tools to keep your XLR cables organized and prevent them from tangling or getting in the way during recordings.
6. Backup Cables: It’s always a good idea to have spare XLR cables on hand. Having backups ensures that you’re prepared for any cable failures or emergencies that may arise. This way, you can continue recording your podcast without interruptions or delays.
7. Cable Testing: Periodically check your XLR cables for any signs of wear, such as loose connectors or frayed cables. If you notice any issues, replace the cables promptly to maintain reliable audio transmission. It’s also a good practice to test your XLR cables before each recording session to ensure they are in proper working condition.
With their balanced audio transmission, durability, and reliability, XLR cables are a must-have for podcasters looking to achieve professional-grade sound quality. Invest in high-quality cables and take proper care of them to ensure that your podcast episodes are recorded with crystal-clear audio.
Acoustic Treatment
Acoustic treatment is an essential consideration for any podcaster who wants to achieve optimal sound quality in their recordings. It involves creating a controlled recording environment by managing reflections, echoes, and background noise. By implementing acoustic treatment, you can reduce unwanted sound artifacts and create a more professional and pleasant listening experience for your audience. Here’s what you need to know:
1. Reflections and Echoes: Reflections and echoes can negatively impact your recordings by causing sound waves to bounce off surfaces and create unwanted reverb or flutter echoes. To address this, you can use acoustic panels and sound diffusers to absorb or scatter sound waves, minimizing reflections and creating a more sonically controlled space.
2. Absorption Panels: Acoustic absorption panels are designed to absorb sound energy and reduce reflections. They are typically made of materials like foam or fiberglass and can be installed on walls, ceilings, or even placed strategically around your recording area. Absorption panels help minimize room resonances and create a more acoustically balanced environment, resulting in cleaner and more focused recordings.
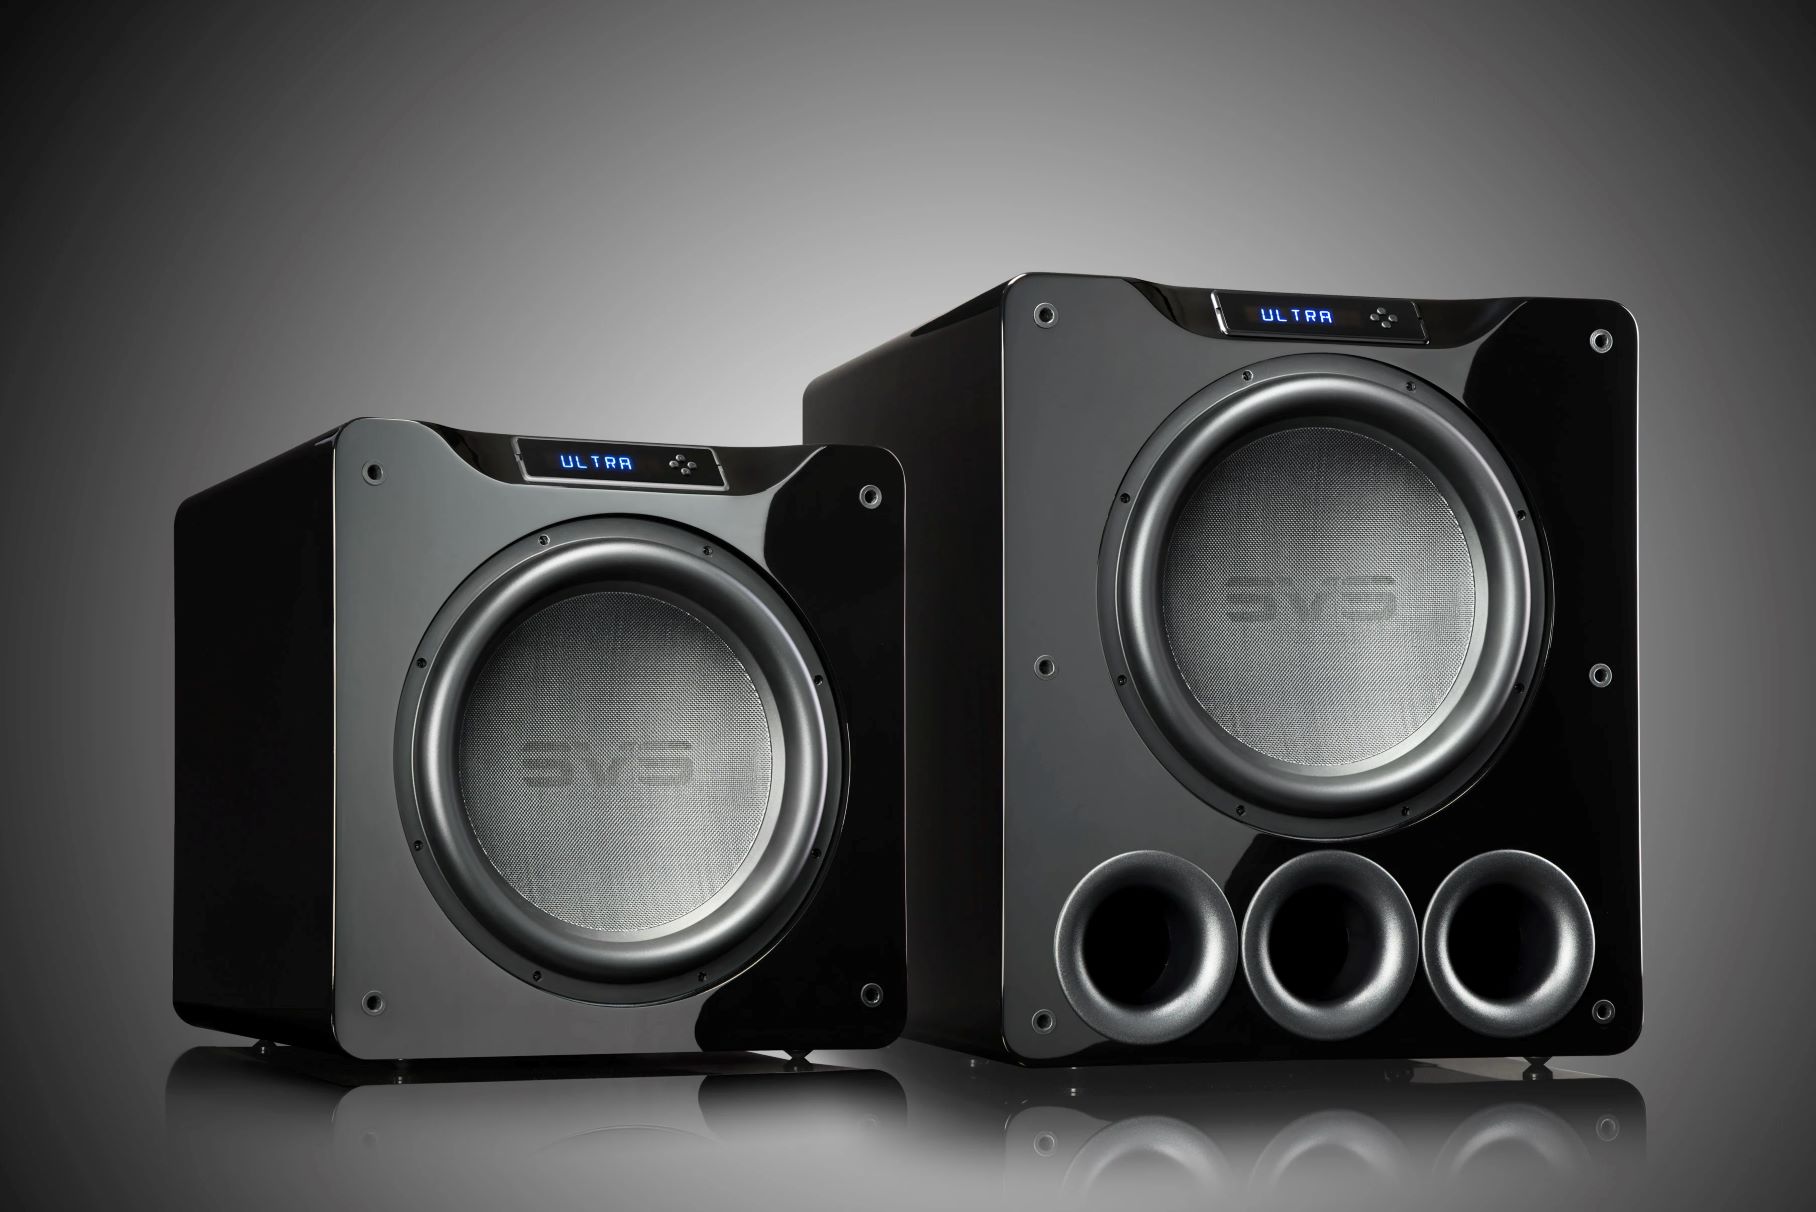
3. Bass Traps: Bass traps are specifically designed to address low-frequency sound waves that can build up in corners and cause an imbalanced bass response. They are dense foam or fiberglass panels that absorb low-frequency energy, reducing room resonance and improving the overall low-end clarity in your recordings.
4. Diffusion Panels: Sound diffusers are used to scatter sound waves in different directions, preventing them from reflecting directly back into the microphone. Diffusion panels can help create a sense of spaciousness in your recordings by breaking up reflections and creating a more even distribution of sound throughout the room.
5. Reflection Points: Identify the primary reflection points in your recording space, such as the walls directly facing your microphone. Placing absorption panels or diffusers at these points can significantly reduce early reflections and improve the clarity of the recorded sound.
6. Portable Options: If you have a mobile recording setup or need flexibility in your acoustic treatment, consider using portable options such as portable vocal booths or reflection filters. These portable solutions can help isolate your microphone and reduce background noise, allowing you to capture cleaner recordings, even in less-than-ideal recording environments.
7. Experiment and Fine-tuning: Every recording space is unique, and the optimal placement of acoustic treatment panels may vary. Experiment with the position and number of panels to find the configuration that works best for your specific recording environment. Monitor your recordings and make adjustments as needed to achieve the desired sound quality.
8. Beyond the Recording Space: Keep in mind that acoustic treatment should extend beyond just your recording area. Consider the soundproofing and acoustic properties of the room as a whole. Properly insulating doors and windows, using heavy curtains, or adding carpeting can help reduce external noise and further improve sound quality.
9. DIY vs. Professional Solutions: Acoustic treatment can be a DIY project, with various online resources and tutorials available for making your acoustic panels. However, professional acoustic treatment solutions are also available, offering higher-grade materials and expertise in designing and optimizing your recording space.
By implementing acoustic treatment techniques, you can significantly improve the sound quality of your podcast recordings. Creating a controlled and acoustically balanced environment ensures that your voice is accurately captured, free from unwanted reflections and background noise, resulting in a more polished and professional podcast.
Sound Mixer (optional)
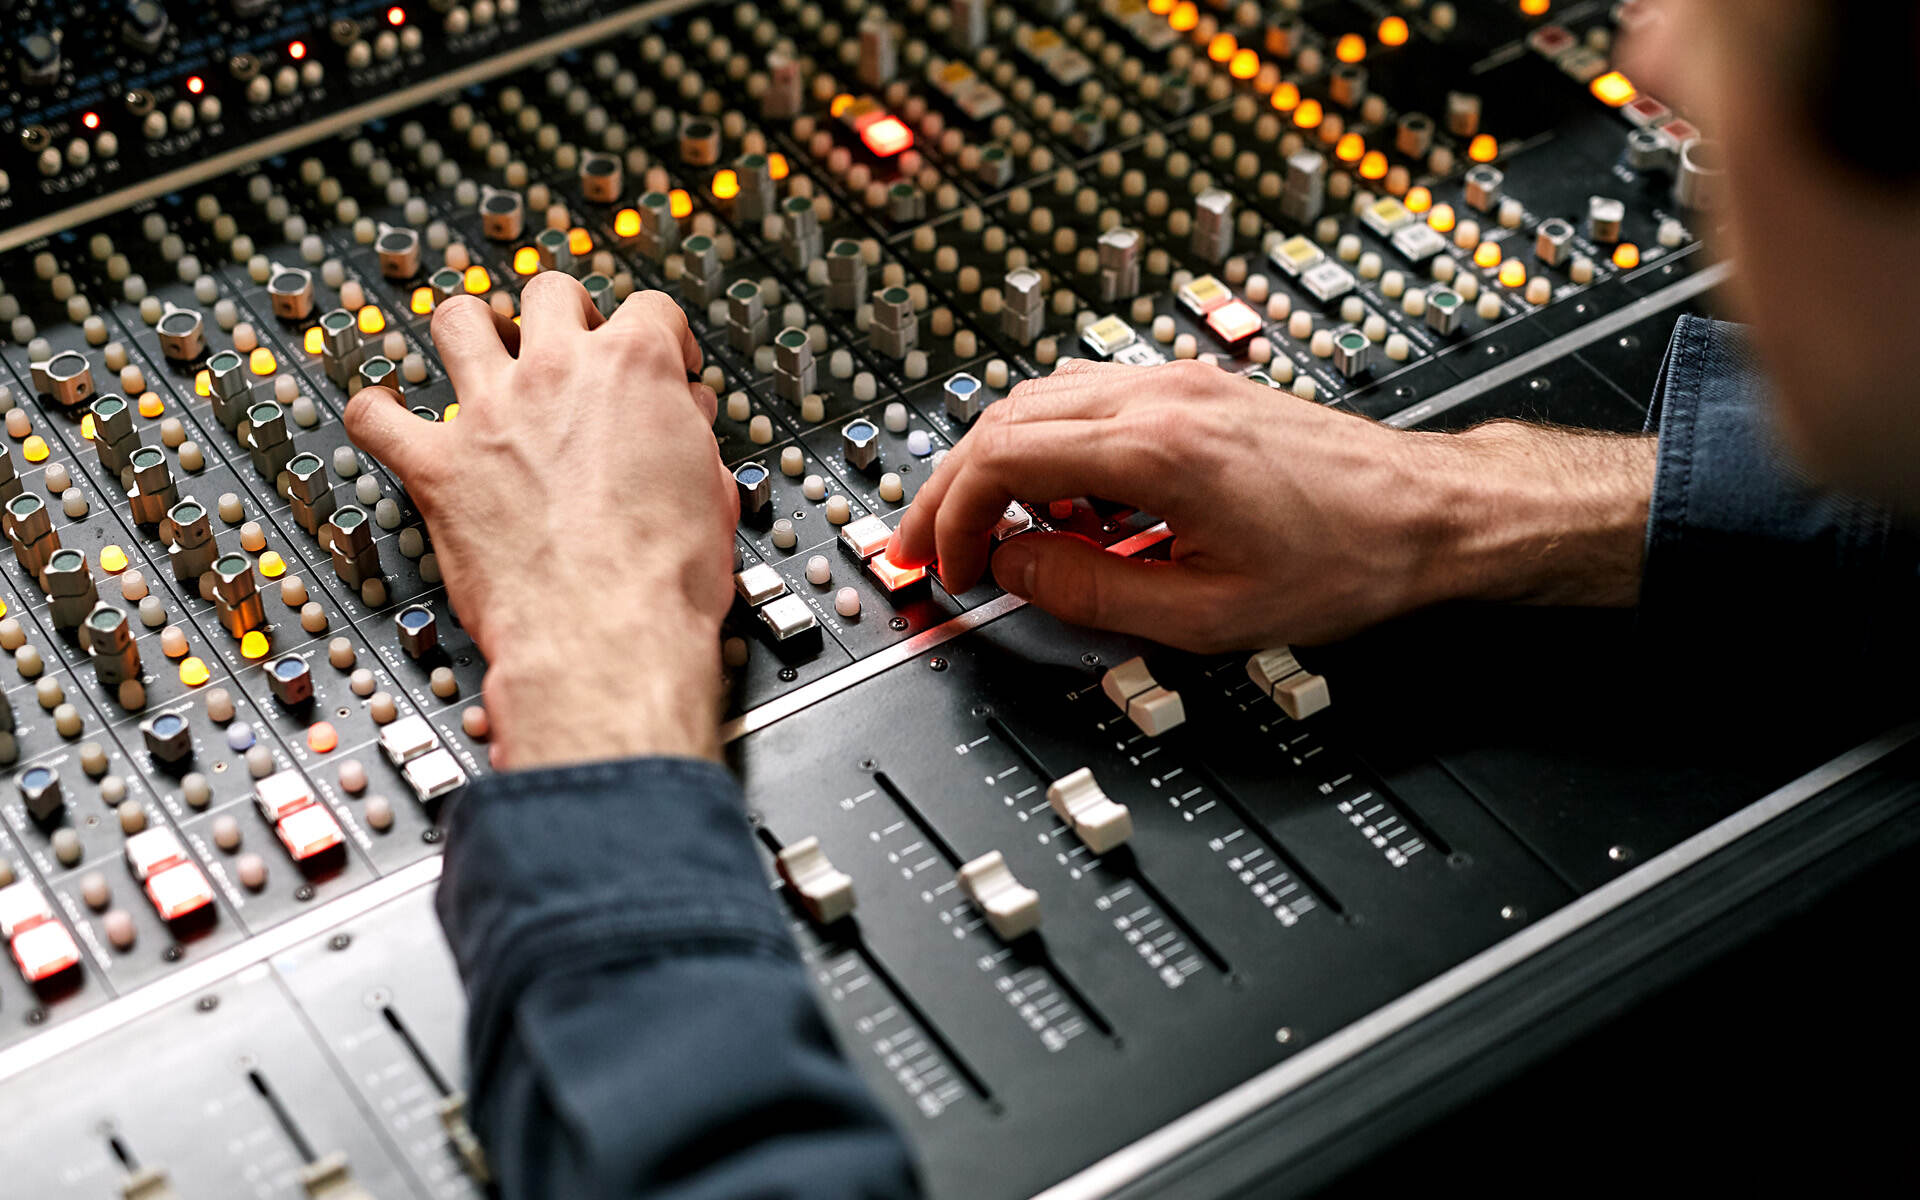
A sound mixer, also known as an audio mixer or mixing console, is an optional but valuable piece of equipment for podcasters seeking more control over their audio levels and overall sound. It allows you to adjust and balance multiple audio sources, apply effects, and fine-tune your audio. Here’s what you need to know about sound mixers for podcasting:
1. Multiple Input Control: If you have multiple audio sources, such as microphones, music players, or sound effects, a sound mixer provides dedicated controls for each input. It allows you to adjust the volume levels, apply EQ (equalization) settings, and add effects independently, ensuring that each source is properly balanced within your podcast mix.
2. Control Over Audio Levels: With a sound mixer, you have precise control over the audio levels of each input. This is particularly useful when recording a podcast with multiple hosts or guests, as you can adjust their microphone levels individually, ensuring everyone’s voice is heard clearly and consistently throughout the episode.
3. EQ and Effects: Sound mixers often include built-in equalizers (EQs) that allow you to shape and enhance the audio. EQs help adjust the tonal balance by controlling the frequencies of the audio, compensating for any deficiencies or enhancing specific aspects of the sound. Additionally, some mixers offer built-in effects like reverb, compression, or delay that can add depth and character to your podcast audio.
4. Monitoring Abilities: Sound mixers typically have headphone outputs that allow you to monitor your audio in real-time. This helps you catch any potential issues, such as background noise or audio distortions, before they make it into the final recording. Proper monitoring ensures that you have full control over the quality and consistency of your podcast audio.
5. Flexibility and Routing Options: Sound mixers provide flexibility in routing audio signals. You can send audio to different output destinations, such as your recording device, computer, or external speakers, depending on your needs. This allows for easy integration with various recording setups and gives you the ability to use the mixer for live streaming or other audio applications beyond podcasting.
6. Consideration of Learning Curve: Using a sound mixer does involve a learning curve, as it requires an understanding of audio signal flow and various controls. However, many mixers offer user-friendly interfaces and presets that make it easier for beginners to get started. Taking the time to learn and experiment with the features of your mixer can greatly enhance your podcast audio production skills.
7. Budget and Future Growth: The cost of sound mixers can vary depending on their features and capabilities. Consider your budget and potential future growth when choosing a sound mixer. Determine the number of inputs and outputs you need for your podcasting setup and find a mixer that fits within your budget while offering room for expansion if necessary.
While a sound mixer is not an essential item for every podcaster, it can greatly enhance your control over audio levels, enable creative sound design possibilities, and facilitate a more professional-sounding podcast. Assess your specific podcasting needs and goals to determine whether a sound mixer will be a valuable addition to your setup.
Portable Recorder (optional)
A portable recorder is an optional but valuable piece of equipment for podcasters who need the flexibility to record on location or outside of a traditional studio setup. It allows you to capture high-quality audio in various environments, making it an excellent tool for interviews, field recordings, or remote podcasting. Here’s what you need to know about portable recorders:
1. On-the-Go Recording: Portable recorders are designed for mobile recording. They are compact, lightweight, and battery-powered, allowing you to record high-quality audio anywhere you go. Whether you’re conducting interviews in a café or capturing ambient sounds in nature, a portable recorder offers the flexibility to record professional-grade audio on location.
2. Built-in Microphones: Most portable recorders come equipped with built-in microphones. These microphones are specifically designed to capture audio in a variety of situations and environments, such as omnidirectional or stereo microphones. They allow you to record without the need for external microphones, making setup quick and convenient.
3. XLR Inputs: Some portable recorders also offer XLR inputs, allowing you to connect external microphones for improved audio quality and flexibility. This feature is particularly useful if you prefer using dedicated microphones or require multiple audio sources during your recordings.
4. Adjustable Settings: Portable recorders provide adjustable settings such as gain control, sample rate, and bit depth. These settings allow you to optimize your recordings based on the environment, ensuring that you capture clear and accurate audio without distortion or noise.
5. Memory and Storage: Portable recorders use memory cards or internal storage to save audio files. Consider the storage capacity and the type of memory card supported by the recorder. It’s recommended to have spare memory cards available to avoid running out of storage during crucial recordings.
6. Monitoring and Headphone Output: Built-in headphone outputs on portable recorders allow you to monitor your recordings in real-time. This feature ensures that you can listen for any potential issues and make adjustments as necessary, ensuring the quality of your recordings on the go.
7. File Formats and Connectivity: Check the file formats supported by the portable recorder to ensure compatibility with your editing software. Additionally, consider the connectivity options available, such as USB or Wi-Fi, for transferring files to your computer or broadcasting them directly for live streaming.
8. Durability and Build Quality: Since portable recorders are designed for on-the-go use, it’s important to choose one that is built to withstand travel and potential rough handling. Look for recorders with sturdy constructions and protective features to ensure longevity and reliability.
9. Budget Considerations: Portable recorders come in a range of prices, with varying features and capabilities. Consider your budget and the specific recording needs of your podcast to find a recorder that offers the right balance of affordability and functionality for your requirements.
While a portable recorder is not essential for all podcasters, it provides the flexibility and convenience to record professional-quality audio in any location. Assess your podcasting needs and determine if a portable recorder will be a valuable addition to your podcasting toolkit.
Computer/Laptop
A reliable computer or laptop is an essential component of your podcasting setup. It serves as the hub for recording, editing, and managing your podcast episodes. When choosing a computer or laptop for podcasting, consider the following factors:
1. Processing Power: Podcasting involves running audio editing software, which can be resource-intensive. Look for a computer or laptop with a powerful processor, such as an Intel Core i5 or i7, or an AMD Ryzen processor. A fast processor will ensure smooth performance while editing and processing audio files.
2. RAM (Random Access Memory): Adequate RAM is important for handling large audio files and running multiple applications simultaneously. Aim for at least 8 GB of RAM for smooth podcasting. If you plan on using heavier audio editing software or multitasking heavily, consider opting for 16 GB or more of RAM.
3. Storage Space: Podcast episodes can take up a significant amount of storage space, especially if they include uncompressed or high-quality audio files. Choose a computer or laptop with ample storage capacity, such as a solid-state drive (SSD) or a large hard drive (HDD), to accommodate your files and ensure smooth workflow.
4. Connectivity: Check the connectivity options of the computer or laptop. Ensure that it has enough USB ports to connect your microphone, audio interface, or other peripherals. Additionally, consider other connectivity options such as Thunderbolt, HDMI, or SD card slots, depending on your specific needs.
5. Operating System: Select a computer or laptop with an operating system compatible with the software you plan to use for recording and editing your podcast. Both Mac OS X and Windows have audio editing software options available, so choose the one that you are most comfortable with or that best suits your specific requirements.
6. Monitor/Display: A larger monitor or display can provide more screen real estate for your audio editing software, making it easier to navigate and work efficiently. Consider connecting an external monitor if your computer or laptop supports it, or choose a laptop with a larger display for improved workflow.
7. Portability: If you plan to record your podcast episodes on the go or from various locations, consider a laptop for its portability. Laptops allow you to easily transport your podcasting setup and work from different environments without sacrificing performance.
8. Audio Output: Ensure that your computer or laptop has a reliable audio output, such as a headphone jack or dedicated audio ports. Connect your headphones or speakers to accurately monitor your audio during recording and editing.
9. Maintenance and Upgrades: Regularly update your computer or laptop’s operating system and software to ensure compatibility and security. Additionally, consider future upgrades such as adding more RAM or storage if needed to meet the growing demands of your podcasting workflow.
Overall, choose a computer or laptop that provides the necessary processing power, storage, and connectivity options for your podcasting needs. It should be compatible with your chosen operating system and audio editing software, allowing for seamless podcast production and an enjoyable editing experience.
Audio Editing Software
Audio editing software is an essential tool for podcasting as it allows you to refine your recordings, remove background noise, add effects, and create a polished final product. When choosing audio editing software for your podcast, consider the following factors:
1. Ease of Use: Look for audio editing software that has a user-friendly interface and intuitive controls. Being able to navigate and operate the software efficiently will save you time and make the editing process more enjoyable.
2. Editing Capabilities: Ensure that the software provides essential editing features such as cutting, trimming, and rearranging audio clips. Look for features like multitrack editing, which allows you to work with multiple audio tracks simultaneously, and the ability to easily adjust volumes and transitions between tracks.
3. Noise Reduction and Enhancement: Podcasts often involve removing unwanted background noise, hums, or clicks. Look for software that provides noise reduction tools or features like spectral editing that allow you to visually identify and remove or minimize noise from your recordings. Additionally, the software should offer equalization (EQ) controls for adjusting frequencies and enhancing the overall sound quality of your podcast.
4. Effects and Plugins: Consider whether you want to incorporate sound effects, music, or other audio elements into your podcast. Look for software that allows you to easily add and manipulate effects, such as reverb or compression, to enhance the audio and create a more immersive listening experience.
5. Export and File Formats: Check that the software supports the file formats required for your podcast. Most commonly, you will need to export your audio files as MP3 or WAV formats. Ensure that the software provides options for exporting in these formats with customizable settings for bitrate and quality.
6. Compatibility: Consider the compatibility of the software with your computer’s operating system. Check whether it is compatible with both Windows and Mac OS X, and ensure that it meets the system requirements of your computer to avoid any performance issues.
7. Learning Resources and Community: Look for software that provides ample learning resources, tutorials, and a supportive community where you can seek guidance and connect with fellow podcasters. Having access to educational materials and a community of like-minded individuals can help you improve your editing skills and troubleshoot any issues that may arise.
8. Price and Budget: Audio editing software comes in a variety of price ranges, from free options to professional-grade software with advanced features. Consider your budget and the specific needs of your podcast when choosing a software that offers the right balance between affordability and functionality.
Ultimately, choose audio editing software that suits your skill level, offers the necessary tools and features for your podcasting needs, and provides a seamless editing experience. With the right software, you can refine your recordings, add professional touches, and create a well-produced podcast that engages and captivates your audience.
Cloud Storage/Hosting Platform
A cloud storage and hosting platform is an essential component for your podcasting workflow. It allows you to store, manage, and distribute your podcast episodes to various podcast directories and platforms. When choosing a cloud storage and hosting platform, consider these factors:
1. Storage Capacity: Opt for a platform that offers sufficient storage capacity for your podcast episodes. Consider the size of your episodes, the frequency of your podcast releases, and whether the platform offers scalable storage options as your podcast grows.
2. Bandwidth and Download Speeds: Ensure that the platform can handle the bandwidth required for streaming and downloading your podcast episodes. Fast download speeds are crucial to provide a smooth and seamless listening experience for your audience.
3. Podcast Management: Look for features that streamline the management of your podcast episodes. This can include the ability to schedule and automate episode releases, customize podcast metadata (title, description, artwork, etc.), and manage multiple podcasts if you have more than one show.
4. RSS Feed Generation: The platform should provide an RSS feed for your podcast, which is required for submission to podcast directories like Apple Podcasts, Spotify, and Google Podcasts. The feed should automatically update when new episodes are added, ensuring that your podcast is easily discoverable and accessible to listeners.
5. Analytics and Insights: Look for a platform that offers detailed analytics and insights into your podcast’s performance. This includes information like episode downloads, subscriber numbers, and listener demographics. Analytics can help you understand your audience, track the success of your episodes, and make informed decisions to improve your podcast content.
6. Integration with Podcast Directories: Ensure that the platform seamlessly integrates with major podcast directories and platforms. This simplifies the submission process and ensures that your podcast episodes reach the widest possible audience.
7. Customization and Branding: Consider whether the platform allows you to customize your podcast’s website or embed players on your own website. Customization options allow you to align your podcast branding, personalize your podcast’s online presence, and provide a cohesive brand experience for your listeners.
8. Monetization Options: If you plan to monetize your podcast through advertising or listener support, look for a platform that offers monetization features like dynamic advertising insertion, affiliate marketing integration, or listener donation capabilities. These features can help you generate revenue from your podcast.
9. Cost and Pricing Structure: Consider the cost and pricing structure of the platform. Some platforms offer free options with limited features, while others have tiered pricing plans based on storage capacity, bandwidth, and additional features. Choose a plan that fits within your budget and aligns with the needs of your podcast.
By choosing a reliable cloud storage and hosting platform, you can ensure that your podcast episodes are securely stored, easily distributed, and accessible to your audience across different platforms and podcast directories. Evaluate your podcasting requirements and explore the available options to find the platform that best fits your needs and supports the growth and success of your podcast.
Conclusion
Building a successful podcast starts with having the right equipment and tools in your arsenal. From microphones to cloud storage platforms, each piece plays a crucial role in delivering high-quality, engaging content to your audience.
In this comprehensive guide, we covered the essential equipment needed for a podcast, including microphones, pop filters, headphones, audio interfaces or recorders, boom arms or stands, shock mounts, XLR cables, acoustic treatment, sound mixers, portable recorders, computers or laptops, audio editing software, and cloud storage/hosting platforms.
By investing in a quality microphone, you ensure that your voice is captured accurately, while a pop filter helps minimize plosive sounds. Good headphones allow for precise audio monitoring, and an audio interface or recorder ensures reliable signal conversion. A boom arm or stand keeps your microphone stable, and a shock mount eliminates unwanted handling noise. XLR cables provide balanced audio transmission, while acoustic treatment minimizes reflections and echoes. Sound mixers offer control over levels and effects, and portable recorders provide flexibility for remote recording. Computers or laptops handle the editing process, audio editing software refines your recordings, and cloud storage/hosting platforms simplify distribution.
Remember, creating valuable and engaging content is equally crucial to the success of your podcast. While the right equipment enhances your sound quality, the heart of your podcast lies in the stories you tell, the insights you provide, and the connections you build with your audience.
Choose equipment that suits your podcasting goals, budget, and recording environment. Experiment, learn, and refine your skills. Stay up to date with the latest technology and trends in the podcasting industry. Connect with fellow podcasters for insights and inspiration. Most importantly, enjoy the process and have fun as you carve out your space in the exciting world of podcasting!