Home>Events & Info>Podcast>How To Setup A Podcast Studio
Podcast
How To Setup A Podcast Studio
Modified: January 26, 2024
Learn how to setup your own podcast studio with our step-by-step guide. Start recording, editing, and launching your podcast today!
(Many of the links in this article redirect to a specific reviewed product. Your purchase of these products through affiliate links helps to generate commission for AudioLover.com, at no extra cost. Learn more)
Table of Contents
- Introduction
- Designing the Podcast Studio
- Selecting the Right Equipment
- Setting Up the Recording Area
- Configuring Audio Interfaces and Mixers
- Choosing the Best Microphones
- Understanding Acoustic Treatment
- Installing Soundproofing Materials
- Establishing a Recording Workflow
- Setting Up Recording Software
- Editing and Post-Production Process
- Creating a Podcast Hosting Account
- Distributing and Promoting Your Podcast
- Conclusion
Introduction
Welcome to the exciting world of podcasting! Podcasting has become a popular medium for sharing information, entertaining audiences, and connecting with like-minded individuals around the globe. With the rise in podcast consumption, many individuals and businesses are jumping on the podcasting bandwagon to express their thoughts, showcase their expertise, or even monetize their content.
However, to produce a high-quality podcast, having a well-equipped podcast studio is crucial. A podcast studio allows you to create professional-sounding episodes with clear audio, engaging content, and a captivating listening experience. Whether you are an aspiring podcaster or an established one looking to upgrade your studio setup, this article will guide you through the process of setting up a podcast studio from scratch.
Designing an effective and functional podcast studio involves several key considerations. You need to select the right equipment, set up the recording area, configure audio interfaces and mixers, choose the best microphones, understand acoustic treatment, and install soundproofing materials. Additionally, establishing a recording workflow, setting up recording software, and learning about the editing and post-production process are crucial steps in producing professional podcasts.
Once you have recorded, edited, and produced your podcast episodes, the next step is to distribute and promote your podcast effectively. Creating a podcast hosting account and submitting your podcast to various directories will ensure maximum exposure. Finally, engaging in marketing strategies such as social media promotion, collaborations, guest appearances, and leveraging your existing audience can help you to grow your podcast’s reach and audience base.
Now that we have given you a brief overview, let’s dive deeper into each topic, providing you with the necessary guidance and knowledge to set up your own podcast studio. Remember, your podcast studio is your creative space, so make it comfortable and conducive to inspiring great content.
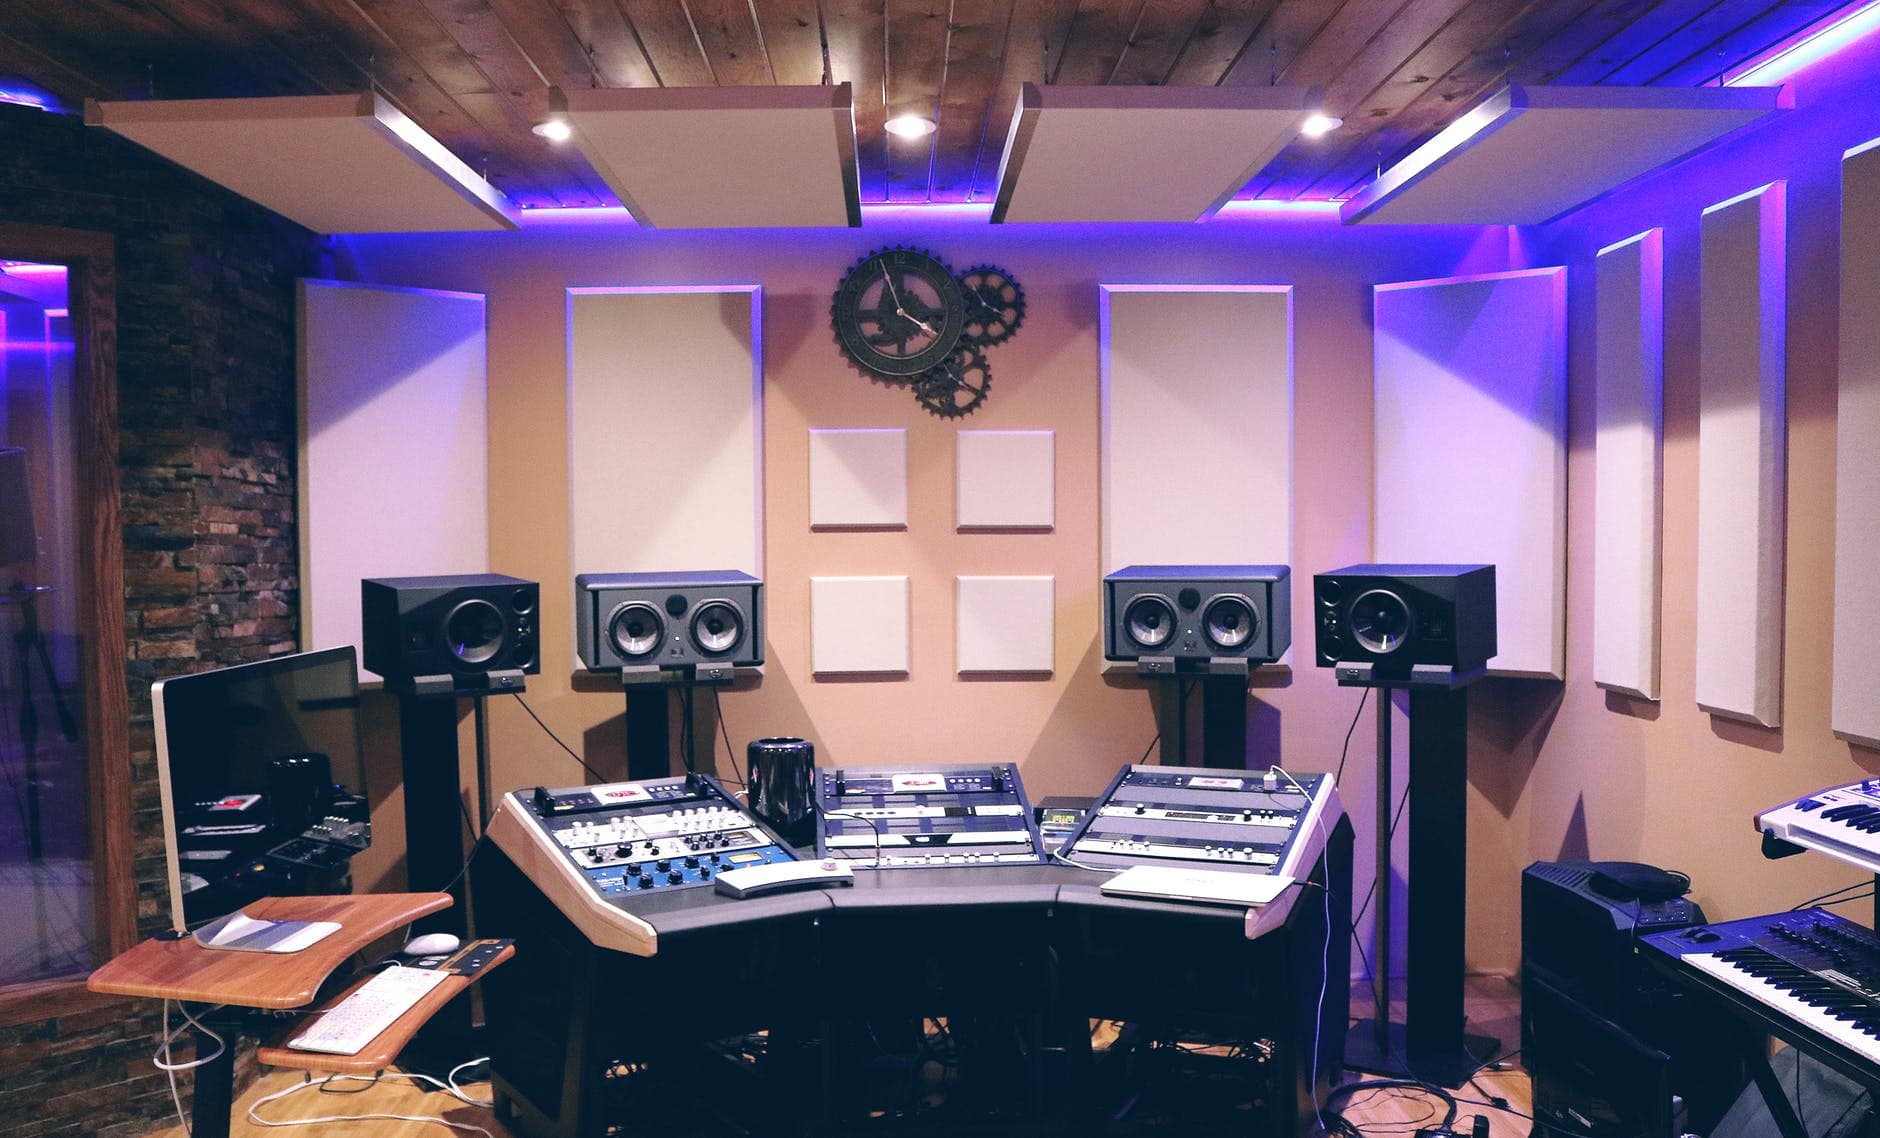
Designing the Podcast Studio
The first step in setting up your podcast studio is designing the layout and overall aesthetics. Creating a well-organized and visually appealing space will not only enhance your recording experience but also contribute to the professional image of your podcast. Here are some considerations to keep in mind:
- Space: Find a dedicated area in your home, office, or studio that can be exclusively used for podcasting. Ideally, choose a room or corner that is quiet, away from distractions, and has enough space for equipment and comfortable seating.
- Furniture and seating: Invest in a sturdy desk or table to hold your equipment, computer, and any other accessories. Choose a comfortable chair that allows you to sit for extended periods without discomfort.
- Lighting: Proper lighting is essential for creating videos or live streams alongside your podcast. Natural lighting is ideal, so position your recording area near a window. If that’s not possible, invest in good-quality LED lights that can be adjusted to suit your needs.
- Backdrop: Consider creating a backdrop for your recording area. It can be a branded banner, a bookshelf, or a simple decorative element. The backdrop adds professionalism and visual appeal to your podcast videos.
- Comfort: Make sure the temperature of your studio is comfortable, and the room is well-ventilated. Consider adding some plants, artwork, or personal touches to make the space feel inviting and inspiring.
Remember, the design of your podcast studio should reflect your brand and personality. It should be a creative space that motivates and inspires you to produce great content. Take the time to plan and design your studio carefully, considering both functionality and aesthetics.
Selecting the Right Equipment
Choosing the right equipment for your podcast studio is crucial for achieving high-quality sound and a professional production. Here are some key considerations when selecting your equipment:
- Microphones: Invest in good-quality microphones that suit your needs. Dynamic microphones are popular for podcasting due to their versatility and ability to reduce background noise. Consider options like the Shure SM58 or the Audio-Technica ATR2100x.
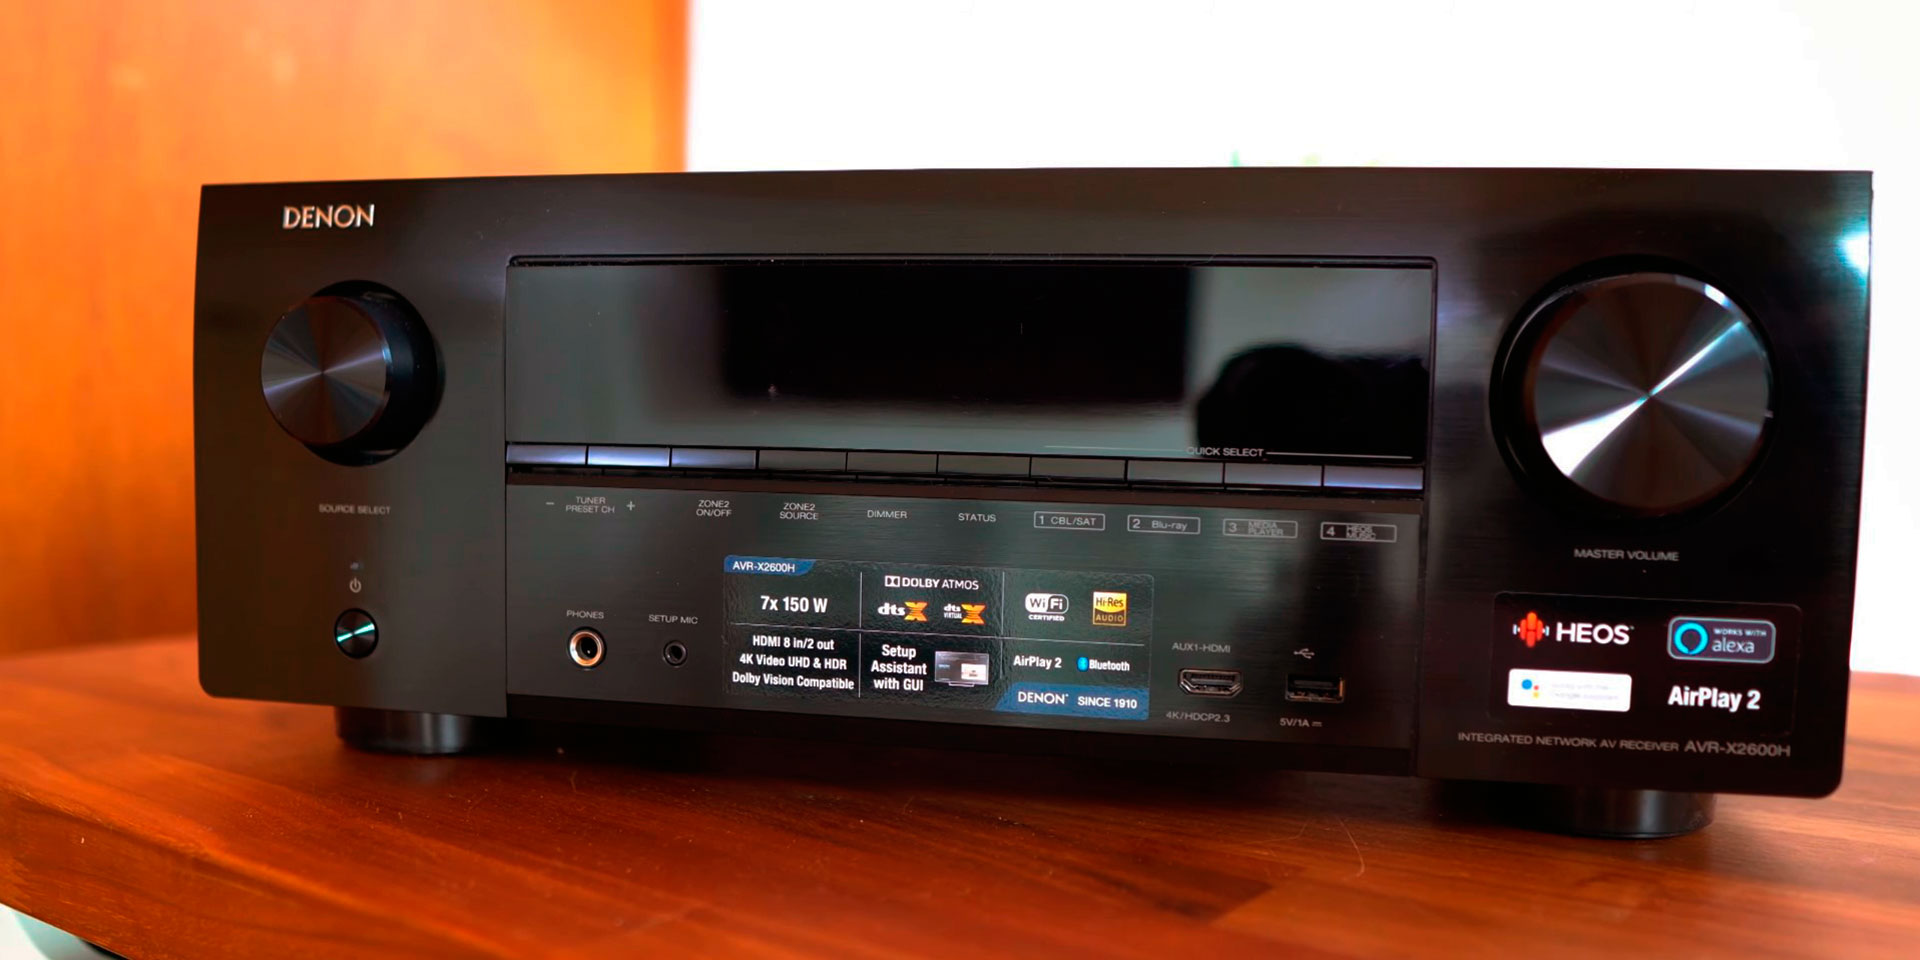
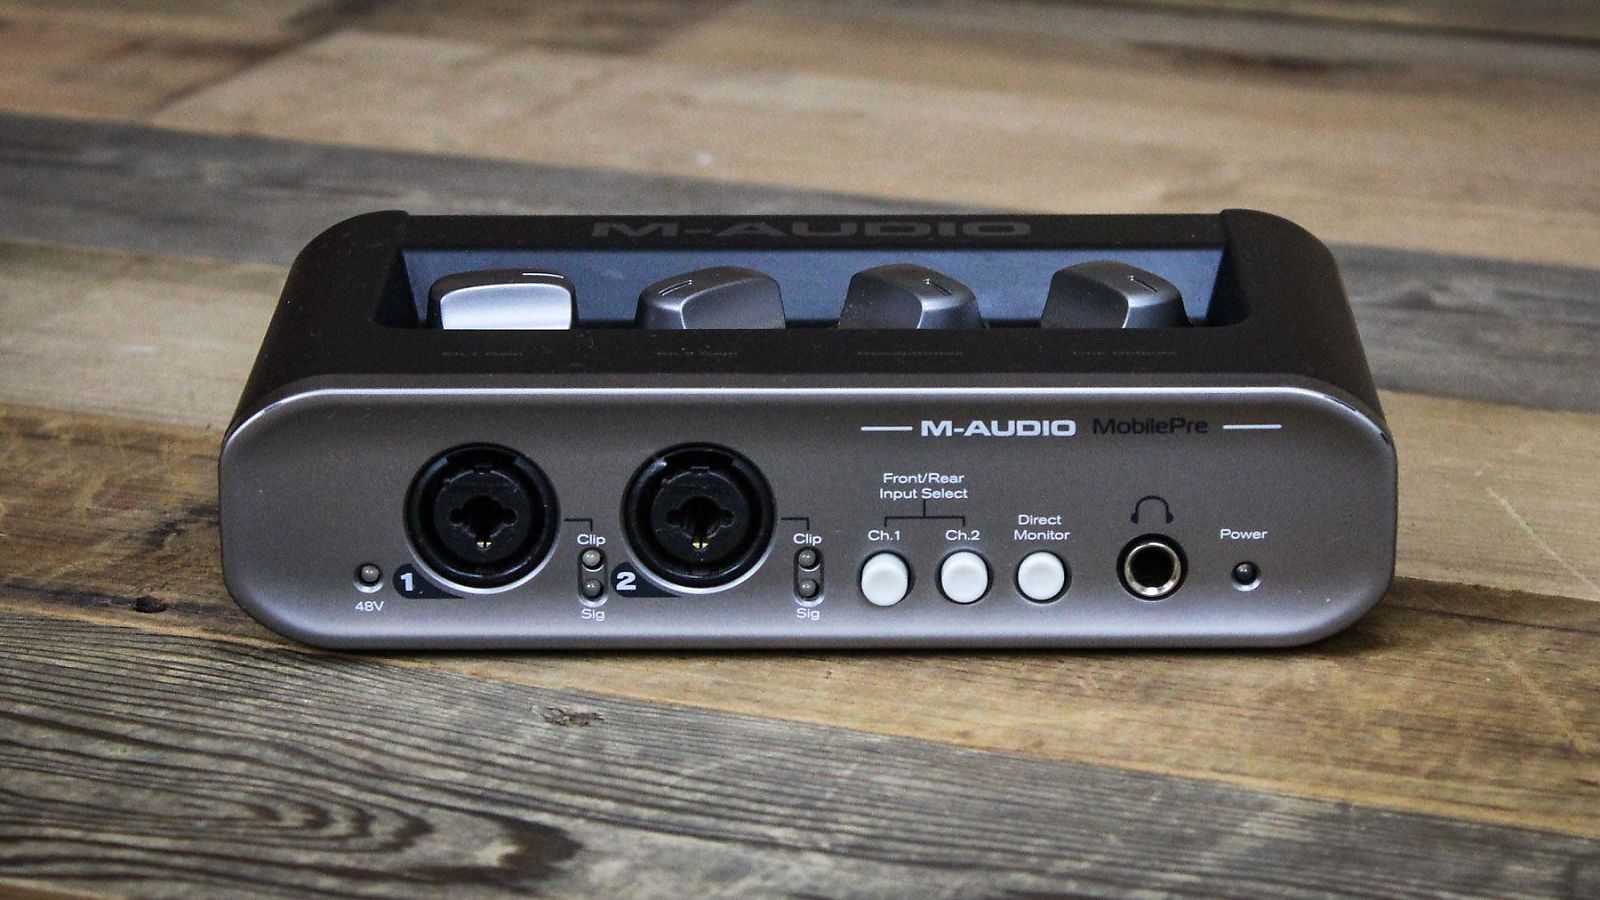
- Audio Interface: An audio interface is necessary to connect your microphones to your computer. Look for an interface with good preamps and sufficient inputs for your podcast setup. Popular options include the Focusrite Scarlett 2i2 or the PreSonus AudioBox USB 96.
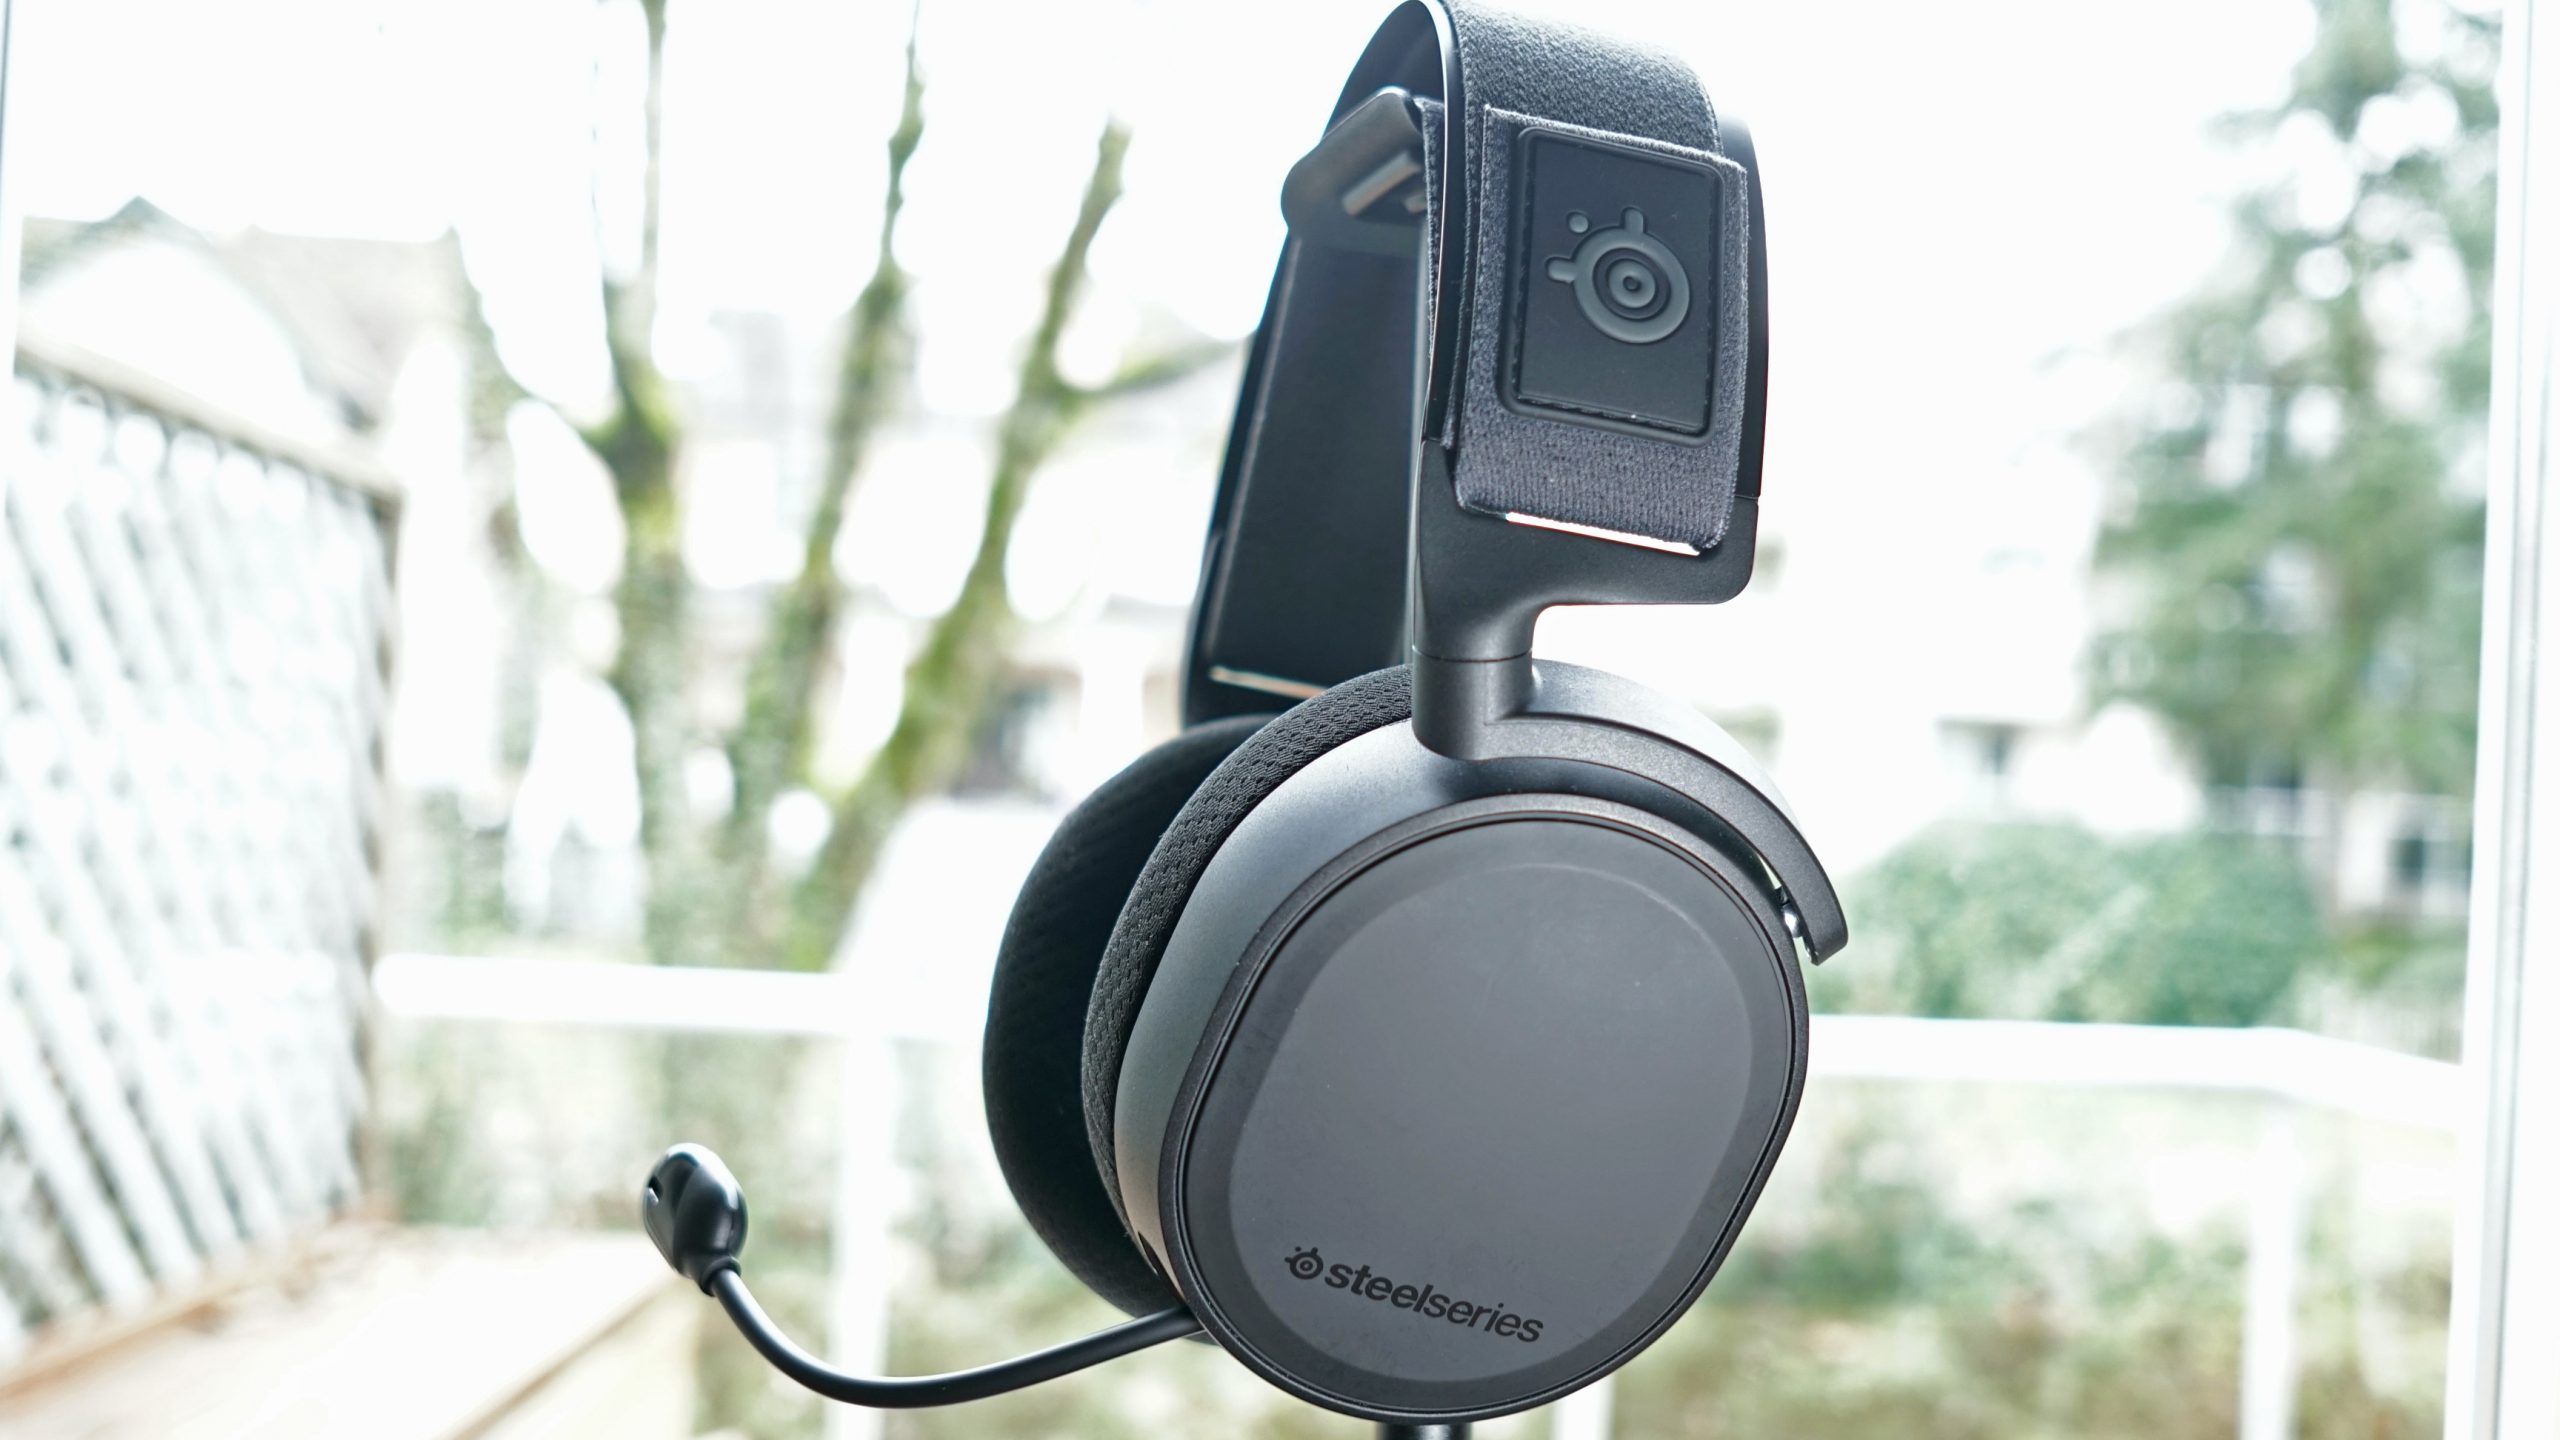
- Headphones: A reliable pair of closed-back headphones is essential for monitoring your audio while recording and editing. Look for headphones with accurate sound reproduction and good isolation, such as the Audio-Technica ATH-M50x or the Sennheiser HD 280 PRO.
- Mixer: If you have multiple microphones or want more control over your audio levels, consider adding a mixer to your setup. Mixers like the Behringer Xenyx Q802USB or the Yamaha MG10XU offer flexibility and additional audio processing options.
- Computer: A reliable computer is necessary for recording, editing, and producing your podcast episodes. Look for a computer with a fast processor, sufficient RAM, and ample storage space to handle audio processing tasks effectively.
- Pop filters and shock mounts: Pop filters reduce plosive sounds in your recordings, while shock mounts isolate your microphones from handling noise. Both accessories are affordable and can significantly improve the quality of your audio.
- Cables and accessories: Don’t forget to stock up on XLR cables, USB cables, and any other necessary accessories like boom arms, microphone stands, and cable organizers.
When selecting your equipment, it’s crucial to consider your budget, the specific requirements of your podcast, and the scalability of your setup. It’s always a good idea to read reviews, consult with professionals, or seek recommendations from experienced podcasters to make informed decisions.
Remember, your podcast studio setup will likely evolve over time as you gain experience and expand your podcasting ambitions. Start with the essentials and upgrade or add equipment as needed. Focus on obtaining equipment that provides good value for your investment and helps you achieve professional-quality sound for your podcast.
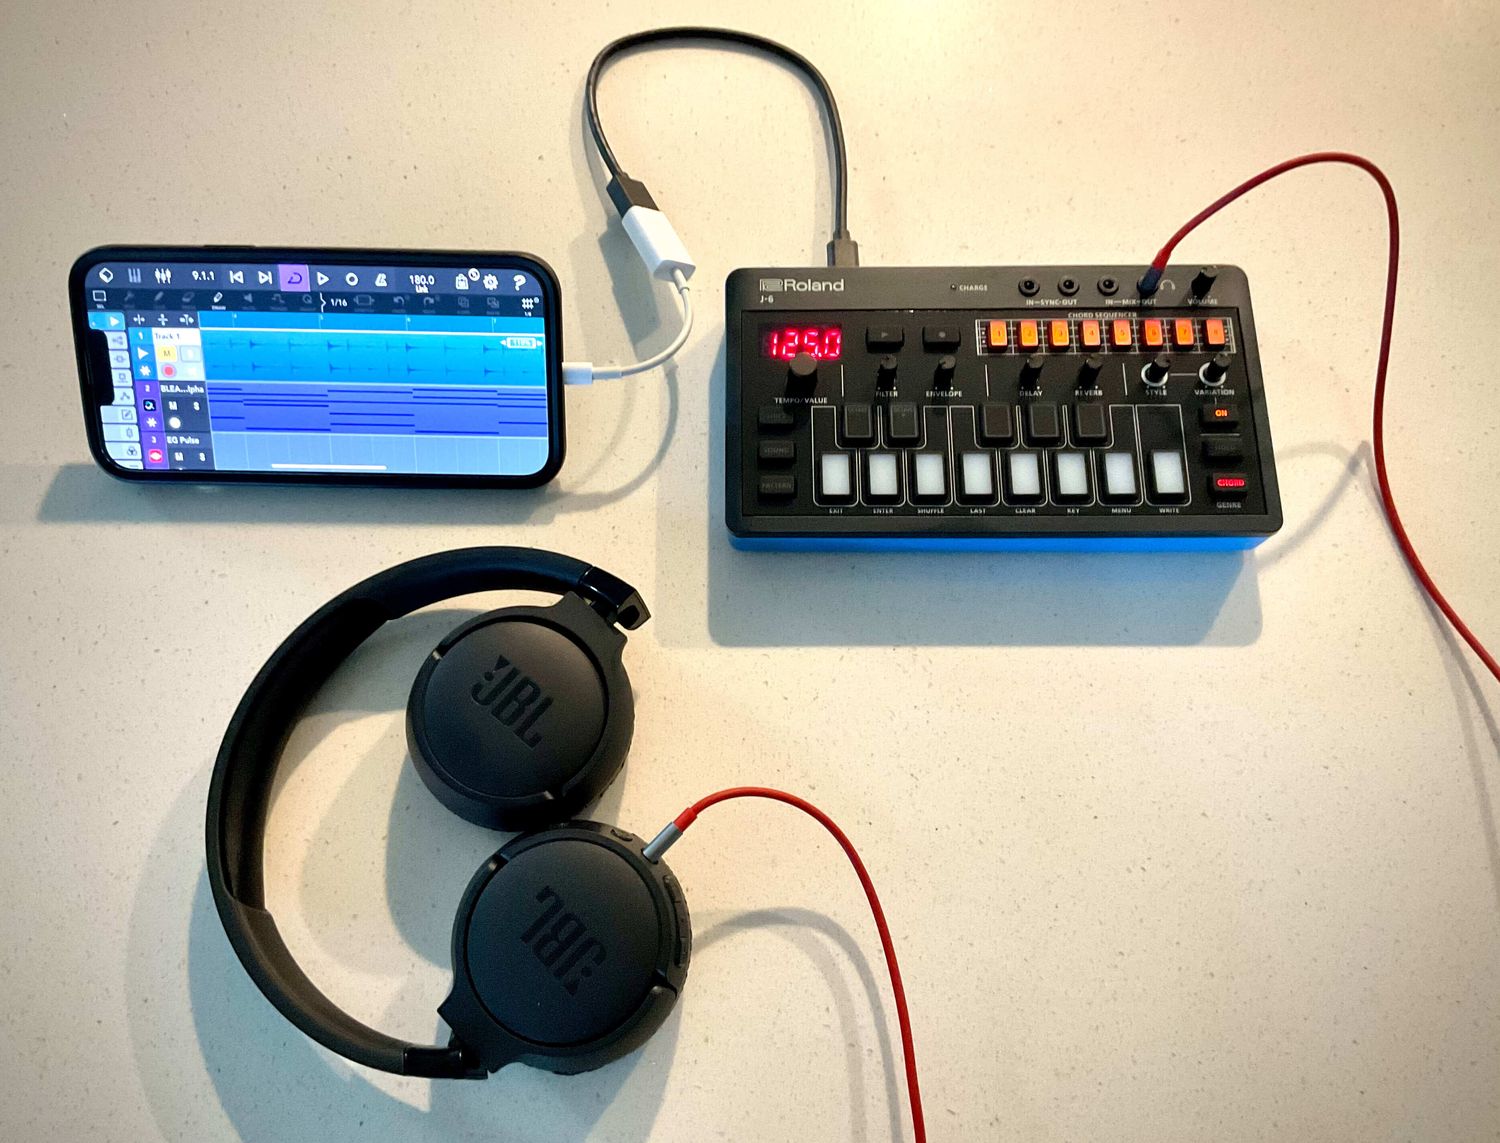
Setting Up the Recording Area
Creating a suitable recording area is crucial for capturing clear and high-quality audio for your podcast episodes. Here are some essential steps to set up your recording area:
- Choose the right location: Select a space in your podcast studio that is free from excessive background noise. Avoid areas near windows, busy streets, or other rooms that may introduce unwanted sounds into your recordings.
- Avoid echo and reverberation: Large empty rooms or rooms with hard, reflective surfaces can create echo and reverberation, negatively impacting the quality of your recordings. Consider using rugs, curtains, or acoustic panels to absorb sound reflections and reduce echo in the room.
- Position your microphones: Experiment with microphone placement to find the optimal position for capturing clear audio. Microphones should be positioned at an appropriate distance from the host or guests to balance volume levels and reduce plosive sounds.
- Test and adjust audio levels: Use your chosen recording software or audio interface to monitor and adjust audio levels. Ensure that the volume levels are balanced and that there is no distortion or clipping in your recordings.
- Eliminate background noise: Minimize background noise as much as possible by closing doors and windows, turning off fans or air conditioning, and alerting others in the vicinity to minimize noise disruption during recording sessions.
- Use a reflection filter: Reflection filters, also known as vocal shields, can help reduce room reflections and isolate your microphone for cleaner recordings. Attach the reflection filter to your microphone stand, positioning it between the microphone and any reflective surfaces.
- Monitor with headphones: Wear your headphones during recording to accurately monitor the audio quality and detect any potential issues or unwanted noise.
Remember, the goal of setting up the recording area is to create a quiet and controlled space where you can capture high-quality audio for your podcasts. Experiment with different setups, techniques, and equipment placement to find the ideal configuration that works for you and your specific recording environment.
Configuring Audio Interfaces and Mixers
Configuring your audio interfaces and mixers is a crucial step in achieving optimal sound quality and control over your podcast recordings. Here are some key considerations when setting up and configuring these devices:
- Connectivity: Ensure that your audio interface or mixer is properly connected to your computer or recording device using the appropriate cables. Typically, USB or Thunderbolt connections are used for audio interfaces, while mixers may have multiple output options.
- Driver installation: Install the necessary drivers and software for your audio interface or mixer as per the manufacturer’s instructions. These drivers will allow your computer to communicate effectively with the device and enable proper audio routing and control.
- Input and output settings: Access the control panel or software for your audio interface or mixer and configure the input and output settings. Set the sample rate, bit depth, and buffer size to suitable values for your specific recording needs.
- Gain staging: Proper gain staging is crucial for achieving clear and distortion-free audio recordings. Adjust the input gain settings on your audio interface or mixer to ensure that the signal level from your microphones is neither too low nor too high.
- Level monitoring: Use the level meters on your audio interface or mixer to monitor and adjust the volume levels of your microphones. Ensure that the audio levels are adequately balanced and that you are not clipping or distorting the input signal.
- Signal routing: Explore the routing options on your audio interface or mixer to determine how the audio signal is sent to your recording software or DAW (Digital Audio Workstation). You may need to configure auxiliary sends, monitor mixes, or direct outputs depending on your specific setup.
- Audio processing: Some audio interfaces or mixers come with built-in EQ (equalization) and compression options. Experiment with these settings to enhance the sound of your microphones and ensure a more polished final product.
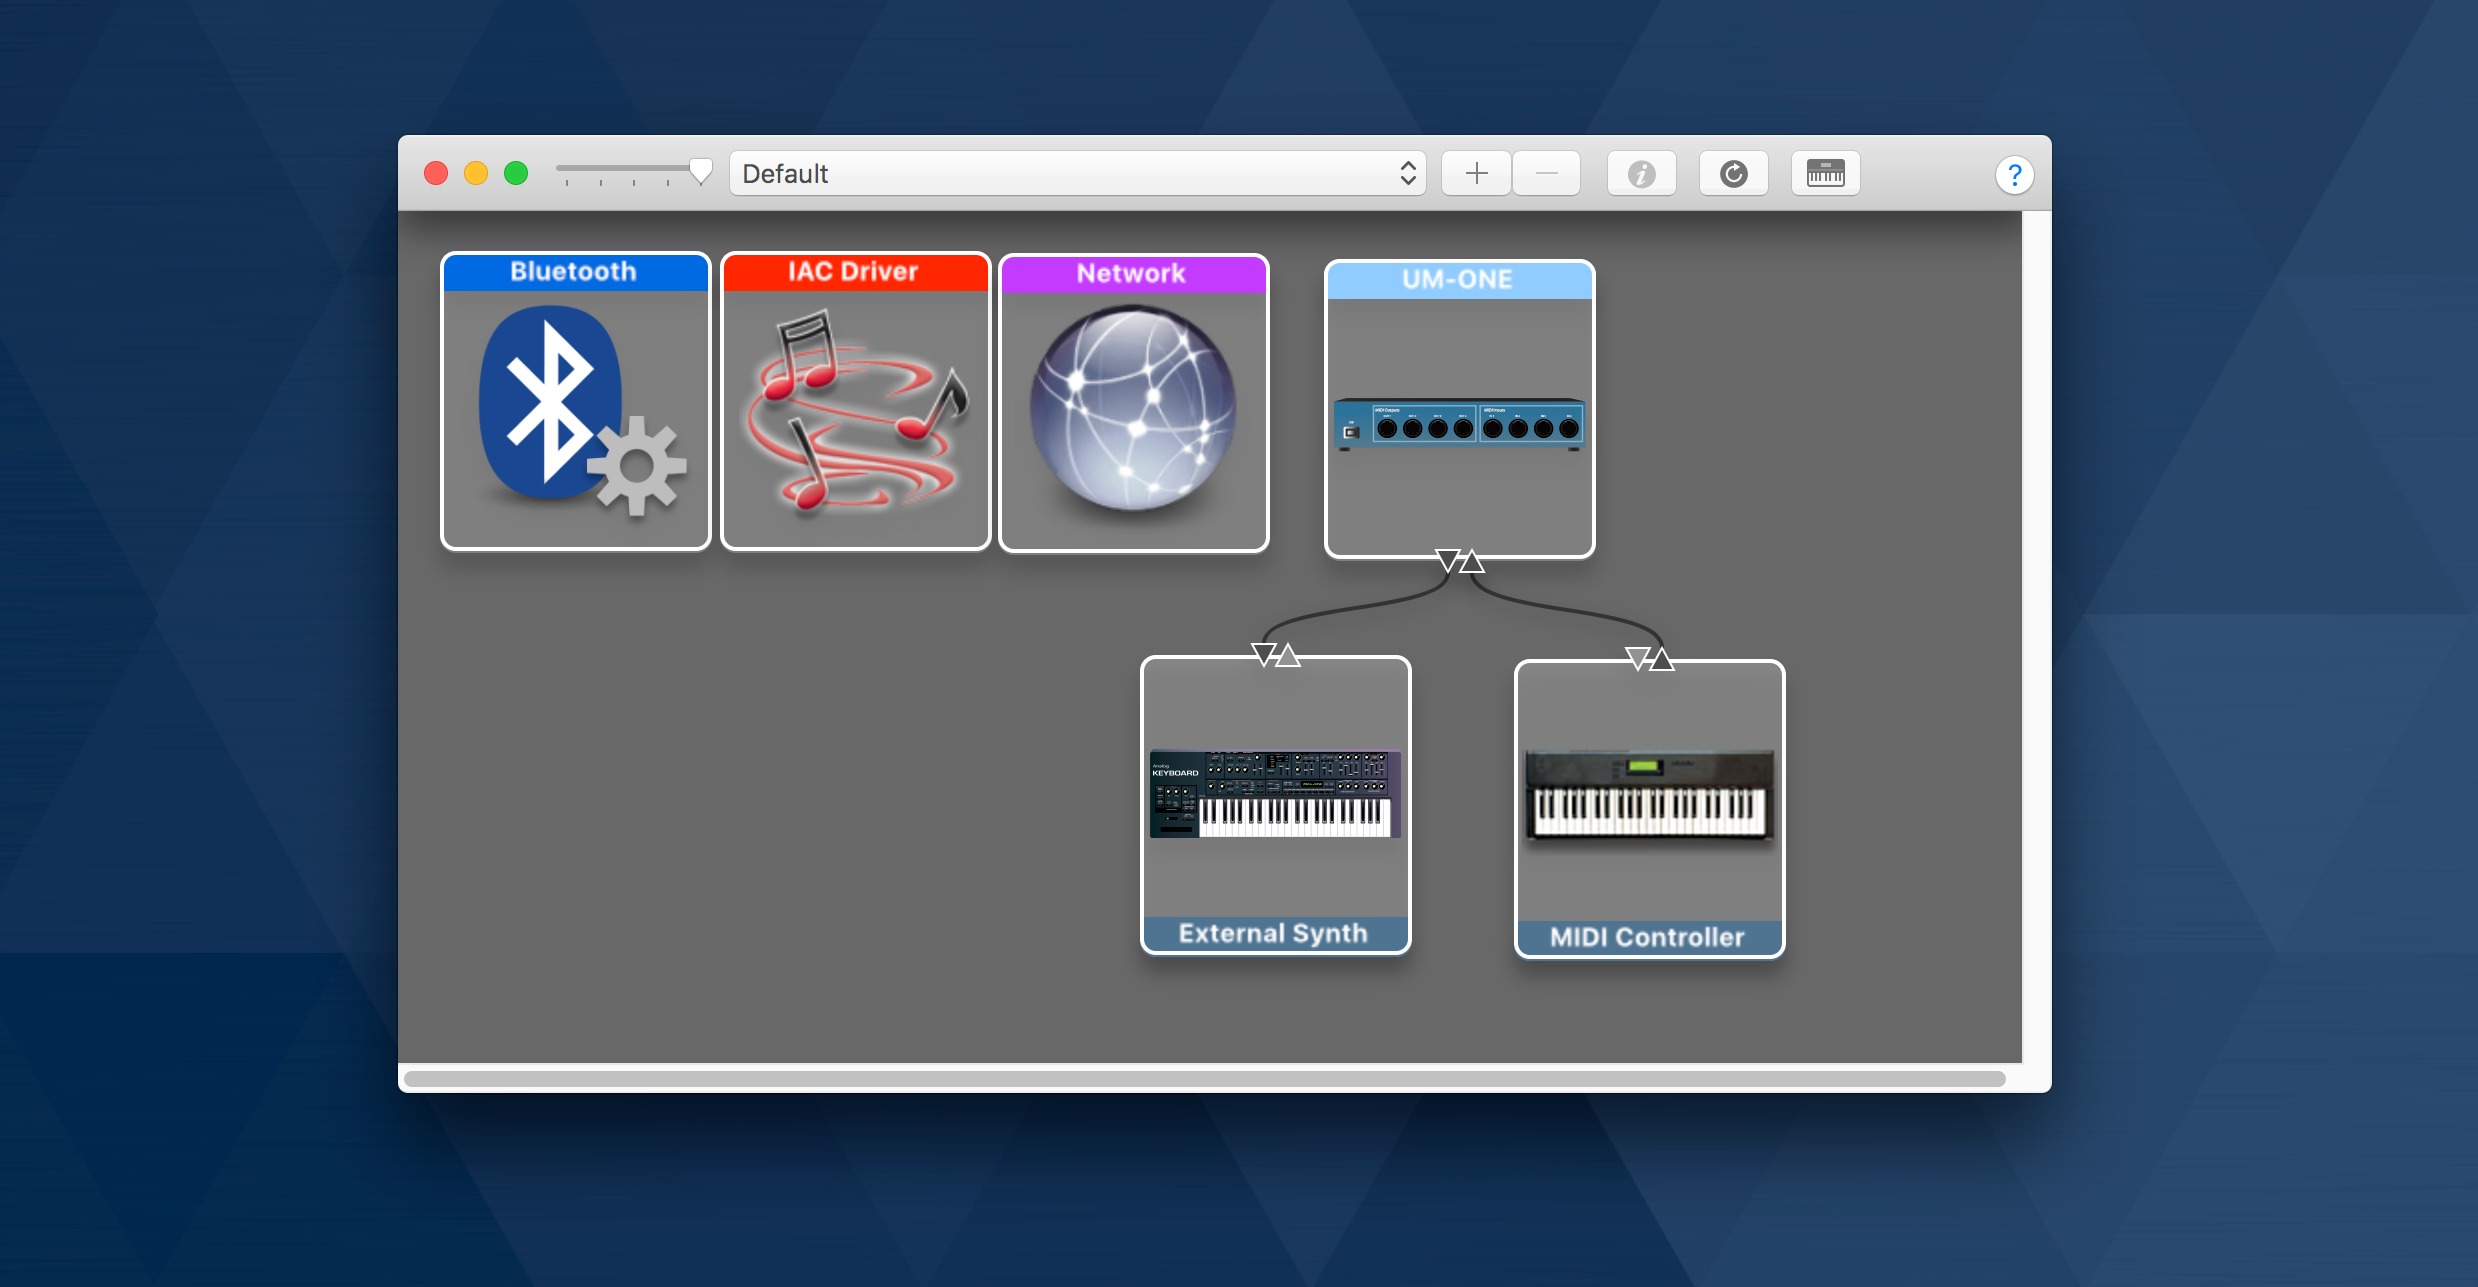
- MIDI control: If you are using a mixer with MIDI capabilities, you can map certain functions or parameters in your recording software to physical knobs or faders on the mixer, providing convenient hands-on control while editing or mixing your podcast.
- Practice and experimentation: Take the time to familiarize yourself with the features and functionality of your audio interface or mixer. Practice adjusting settings, routing audio, and experimenting with different configurations to find the setup that works best for your podcast.
Configuring audio interfaces and mixers may seem daunting at first, but with some patience and practice, you will become comfortable managing all the necessary settings. Remember to consult the user manual or online resources provided by the manufacturer for specific guidance on configuring your particular device.
Choosing the Best Microphones
Choosing the right microphone is one of the most important decisions you’ll make when setting up your podcast studio. The microphone you select will have a significant impact on the overall sound quality and clarity of your recordings. Here are some factors to consider when choosing the best microphone for your podcast:
- Microphone type: There are several types of microphones commonly used in podcasting, including dynamic, condenser, and ribbon microphones. Dynamic microphones, such as the popular Shure SM58 or Audio-Technica ATR2100x, are versatile and can handle various recording environments with ease.
- Directionality: Microphones have different polar patterns that dictate how they capture sound. For podcasting, a cardioid polar pattern is often preferred as it picks up sound mainly from the front, reducing unwanted background noise and room reflections.
- Frequency response: Look for a microphone with a frequency response that suits your vocal range and desired sound. A microphone with a flat frequency response will provide a more accurate representation of your voice, while some microphones may have a slight boost in certain frequencies for added warmth or presence.
- Budget: Consider your budget and the value you are getting for your investment. While there are high-end microphones with advanced features and superior sound quality, there are also more affordable options that can still deliver excellent results for podcasting.
- USB vs. XLR: USB microphones are plug-and-play devices that connect directly to your computer, making them convenient for beginners or those on a tight budget. XLR microphones, on the other hand, require an audio interface or mixer for proper connection, but they offer higher audio quality and more versatility in terms of customization and control.
- Popularity and recommendations: Research microphones that are popular among podcasters and highly recommended by industry professionals. Reading reviews and seeking recommendations from experienced podcasters can help you narrow down your options and make an informed decision.
- Try before you buy: If possible, try out different microphones before making a purchase. Visit a local audio equipment store or attend industry events where you can test various microphones to find the one that best suits your voice and podcasting style.
Remember that selecting a microphone is a personal choice, and what works for one person may not work for another. Consider your unique needs, preferences, and recording environment when choosing the best microphone for your podcast. Don’t be afraid to experiment and find the perfect microphone that captures the true essence of your voice.
Understanding Acoustic Treatment
Acoustic treatment plays a vital role in creating a clean and professional sound in your podcast recordings. It helps control unwanted echoes, reverberation, and background noises, allowing your voice to be clear and intelligible. Here are some key points to understand about acoustic treatment:
- Absorption vs. diffusion: Acoustic treatment involves using materials that either absorb or diffuse sound waves. Absorption materials, such as foam panels, fiberglass, or acoustic panels, reduce echoes and reverberation by absorbing sound energy. Diffusion materials, like diffuser panels or bookshelves, scatter sound waves to create a more balanced and natural acoustic environment.
- Reflection points: Identify the reflection points in your recording area – the surfaces where sound waves from your voice bounce back into the microphone. Treat these areas with absorption materials to minimize reflections and prevent audio distortion.
- First reflection points: The first reflection points are the spots where sound waves from your voice hit the walls, ceiling, or floor before reaching the microphone. By placing absorptive panels or diffusers at these points, you can reduce early reflections and enhance the clarity of your recordings.
- Bass traps: Bass traps are acoustic treatment devices designed to address low-frequency issues. Placed in corners or other areas where bass frequencies tend to accumulate, bass traps absorb excessive bass energy and create a more balanced sound in your recordings.
- Absorption panel placement: Experiment with the placement of absorption panels to achieve the best results. They can be placed behind the microphones, on the walls, or even on the ceiling to effectively control reflections and improve the overall sound quality.
- Room size and shape: The size and shape of your room can affect the acoustics. Small, square rooms tend to have more pronounced standing waves and resonance issues. Acoustic treatment can help mitigate these problems and create a more neutral and balanced listening environment.
- Combining absorption and diffusion: A combination of absorption and diffusion is often recommended for optimal acoustic treatment. While absorption materials control reflections and reverberation, diffusers help disperse sound waves and create a more natural, spacious sound.
- Professional consultation: For larger or more complex podcast studios, seeking professional consultation from an acoustics expert can be beneficial. They can analyze your room’s specific acoustic characteristics and recommend the most effective acoustic treatment solutions tailored to your needs.
Understanding and implementing proper acoustic treatment in your podcast studio is essential for achieving professional-sounding recordings. It helps create a controlled sound environment, reduces unwanted noise and reverberation, and ensures that your audience can hear your content clearly. Experiment with different acoustic treatment options to find the best balance for your particular space and recording needs.
Installing Soundproofing Materials
Installing soundproofing materials in your podcast studio is crucial for minimizing external noise and creating a quiet environment for recording. Here are some important considerations when it comes to soundproofing your space:
- Identify noise sources: Start by identifying the primary sources of noise that can disrupt your recordings. This could be traffic outside, noisy neighbors, or other appliances or equipment in your vicinity.
- Seal gaps and cracks: Inspect your recording area for any gaps or cracks in windows, doors, or walls that can allow sound to leak in. Use weatherstripping, acoustic caulk, or door sweeps to seal these areas and prevent noise from entering.
- Soundproof doors and windows: If external noise is a significant issue, consider upgrading or reinforcing your doors and windows with soundproofing materials. Double-paned windows, acoustic curtains, or window inserts can help reduce noise transmission.
- Acoustic panels: Install acoustic panels on your walls to absorb sound reflections and reduce echo within your studio. These panels are designed to trap and attenuate sound waves, improving the overall sound quality of your recordings.
- Bass traps: Address low-frequency issues by installing bass traps in the corners of the room. Bass traps absorb excessive bass energy and reduce room resonance, allowing for a more accurate and balanced sound.
- Use soundproof curtains: Hang soundproof curtains or heavy drapes over windows to help block external noise and reduce sound reflections within the room. The dense fabric of these curtains absorbs and dampens sound waves.
- Consider acoustic insulation: If you have access to the walls, ceiling, or floor, consider adding acoustic insulation. This insulation material helps absorb and reduce noise transmission between rooms and from external sources.
- Isolate equipment vibrations: Equipment vibrations can be transferred to the surrounding structure, resulting in unwanted noise. Use isolation pads or mounts for your microphones, speakers, and other equipment to minimize their vibrations and prevent them from affecting your recordings.
- Create a vocal booth: If you have the space and budget, consider building a dedicated vocal booth within your studio. A vocal booth provides an enclosed and isolated space for recording, offering maximum soundproofing and acoustic control.
Remember that complete soundproofing is often challenging and may require professional assistance, especially if you are dealing with significant noise issues. However, implementing these soundproofing measures can greatly reduce external noise and improve the overall recording quality of your podcast.
Establishing a Recording Workflow
Establishing a well-defined recording workflow is essential for maintaining consistency, efficiency, and organization in your podcasting process. A clear workflow ensures that your recording sessions run smoothly and that you can produce high-quality episodes. Here are the key steps to consider when establishing a recording workflow:
- Preparation: Before each recording session, ensure that you have prepared adequately. This includes planning your episode content, outlining a script or talking points, and gathering any necessary research or materials.
- Equipment check: Before hitting the record button, perform an equipment check to verify that all your microphones, headphones, audio interfaces, and other devices are properly connected and functioning correctly. Check audio levels and make any necessary adjustments.
- Recording environment: Set up and prepare your recording area, ensuring that it is soundproofed and properly configured. Adjust lighting, position your microphone(s) correctly, and conduct a quick sound check to ensure optimal audio quality.
- Recording software setup: Open your recording software or DAW (Digital Audio Workstation) and configure the necessary settings, such as sample rate, bit depth, and input sources. Create a new project or session, label and organize tracks, and set up any recording templates or presets to streamline the process.
- Warm-up and test recordings: Spend a few moments doing warm-up exercises to loosen up your voice, and then do a quick test recording. Listen back to the test recording to ensure that everything sounds as expected and make any necessary adjustments to audio levels or microphone positioning.
- Recording session: When you’re ready to start recording, follow your outline or script, and maintain a steady and confident pace. Pay attention to your delivery, enunciation, and any specific instructions or cues you’ve prepared.
- Monitoring and quality control: Use headphones to monitor your audio quality and performance during the recording. Keep an eye on the audio levels to avoid clipping or distortion. If necessary, pause or redo sections if there are any mistakes or issues.
- Post-recording process: After the recording is complete, save your project or session and make a backup copy. Organize and label your audio files properly, and begin the post-production process, including editing, adding music or sound effects, cleaning up noise, and enhancing the overall audio quality.
- Review and revisions: Take the time to review your edited episode and make any necessary revisions or adjustments. Listen critically and ensure that the content and audio quality meet your standards.
- File management: Finally, organize your episode files, export the final edited version, and save it in the appropriate format for distribution. Properly label your files, including episode numbers, titles, and metadata, for easy identification and retrieval.
Each podcasting workflow may vary, so it’s important to establish a process that works best for you and your specific needs. Adapt and refine your workflow as you gain experience and identify areas that can be optimized or streamlined.
Setting Up Recording Software
Choosing the right recording software or Digital Audio Workstation (DAW) is essential for capturing and editing your podcast episodes with precision and professionalism. Here are the key steps to consider when setting up your recording software:
- Research and choose a suitable recording software: There are various recording software options available, both free and paid. Research and choose a software that aligns with your needs, preferences, budget, and technical requirements. Popular options include Audacity (free), Adobe Audition, GarageBand (for Mac users), and Reaper.
- Install and update the recording software: Once you’ve selected your recording software, download and install it on your computer. Make sure to keep the software up to date with the latest versions and updates to ensure you have access to new features and bug fixes.
- Audio interface and driver settings: Configure your audio interface settings within the recording software. This may involve selecting the appropriate audio driver, sample rate, buffer size, and input/output devices. Ensure that your audio interface is properly recognized and set as the default recording device.
- Set up your recording preferences: Customize the recording preferences to suit your specific needs. Adjust settings such as file format (WAV or MP3), bit depth, and quality settings to achieve the desired audio quality and file size.
- Create session templates: If possible, create session templates within your recording software to save time for future episodes. Templates can include pre-configured tracks, effects, or plugins, saving you from manually setting up the same elements for each recording.
- Configure track settings: Set up your tracks within the recording software to match the number of microphones or audio sources you are using. Assign appropriate input sources to each track and adjust levels, pan settings, and effects as needed.
- Plugins and effects: Explore the available plugins and effects within your recording software. Familiarize yourself with basic audio editing tools such as equalizers, compressors, noise reduction tools, and reverb or delay effects. These can help enhance your recordings and improve the overall audio quality.
- Keyboard shortcuts and workflow optimization: Learn and customize keyboard shortcuts to speed up your editing process. Familiarize yourself with the various tools and features of the recording software to optimize your workflow and make editing more efficient.
- Backup and storage: Establish a backup and storage system for your recorded files. Regularly save and backup your projects to prevent any loss of data or work in case of technical issues. Consider using external hard drives, cloud storage, or other reliable backup solutions.
- Tutorials and resources: Take advantage of tutorials, online forums, and resources provided by the recording software’s community. These can help you explore advanced features, learn new techniques, and troubleshoot any issues you may encounter.
Setting up your recording software is a crucial step in ensuring a smooth and efficient podcasting process. Take the time to familiarize yourself with the software’s features, experiment with various settings, and continually improve your editing skills. With practice and exploration, you’ll be able to harness the full potential of your recording software and produce professional-quality podcast episodes.
Editing and Post-Production Process
The editing and post-production process is where your raw podcast recordings transform into polished and engaging episodes. It involves refining the audio, removing mistakes or unwanted elements, and adding any necessary enhancements. Here are the key steps to consider in the editing and post-production process:
- Organize your raw audio files: Import your recorded audio files into your chosen editing software or Digital Audio Workstation (DAW). Create a new session or project folder and organize your audio files for easy access during the editing process.
- Listen and select the best takes: Review your recorded content and listen to each segment. Select the best takes or sections to include in your final podcast episode. Remove any mistakes, long pauses, or irrelevant content that may disrupt the flow.
- Trim and edit audio: Use your editing software’s tools to trim and edit the chosen audio segments. Cut out any unwanted portions, adjust the timing, and ensure smooth transitions between different parts of your podcast episode.
- Enhance audio quality: Apply audio processing techniques to enhance the overall sound quality. Use equalization to balance frequency levels, compression to even out volume dynamics, and noise reduction tools to remove background noise or distractions.
- Add intros, outros, and music: Incorporate pre-recorded intros and outros to create a consistent branding for your podcast. Additionally, consider adding background music or sound effects to enhance the listening experience, be mindful of copyright restrictions when using music.
- Ensure a balanced audio mix: Adjust the volume levels and panning of different audio elements to achieve an even and balanced mix. Ensure that your voice is clear and prominent, and that any background music or sound effects are appropriately balanced in relation to your voice.
- Insert transitions and edits: Smooth out any abrupt transitions or cuts in the audio by adding fade-ins, fade-outs, or crossfades. This helps create a seamless listening experience and avoids jarring jumps between sections.
- Review and revise: Listen to the edited episode in its entirety and make any necessary revisions or adjustments. Pay attention to pacing, overall flow, and the coherence of the content. Ensure that the episode meets your quality standards and aligns with your podcast’s unique style.
- Export the final episode: When you are satisfied with the editing and post-production, export the final episode in the desired file format and quality. Check for any additional metadata or tagging requirements based on your podcast hosting platform’s guidelines.
- Backup and archive: Archive a copy of the final edited episode along with the raw audio files and any project files associated with it. This ensures that you have a backup of your work and can easily access and make revisions if needed in the future.
Remember to regularly seek feedback from trusted listeners or fellow podcasters to further improve your editing and post-production skills. By investing time and effort in this process, you can transform your raw recordings into compelling and professional-sounding podcast episodes.
Creating a Podcast Hosting Account
Creating a podcast hosting account is a crucial step in getting your podcast episodes out into the world. A podcast hosting platform provides the infrastructure and tools necessary to store, distribute, and track your podcast episodes. Here’s what you need to know about creating a podcast hosting account:
- Research hosting platforms: Explore different podcast hosting platforms and compare their features, pricing, storage limits, analytics, and ease of use. Some popular podcast hosting platforms include Libsyn, Podbean, Buzzsprout, and Anchor.
- Sign up for an account: Once you’ve selected a hosting platform, visit their website and sign up for an account. You may need to provide your email address, podcast name, description, and other basic information.
- Upload your episodes: After creating an account, access your podcast dashboard or account settings. Follow the instructions provided to upload your podcast episodes to the hosting platform. This typically involves selecting the file, adding episode titles, descriptions, and other metadata.
- Set up your podcast feed: Your podcast hosting platform will generate a unique RSS feed for your podcast. This feed is what distributes your episodes to podcast directories like Apple Podcasts, Spotify, and Google Podcasts. Ensure that your feed is properly set up and includes accurate, up-to-date information about your podcast.
- Enter podcast details: In your hosting account settings, enter your podcast’s details such as artwork, episode descriptions, show notes, and relevant keywords. This information helps potential listeners discover and understand your podcast.
- Submit to podcast directories: Your podcast hosting platform will provide instructions on how to submit your podcast to various directories. Make sure to submit your podcast to popular platforms like Apple Podcasts, Spotify, and Google Podcasts to maximize your reach and audience.
- Customize your podcast website: Many podcast hosting platforms offer customizable podcast website templates. Take advantage of this feature to create a professional-looking website for your podcast. Customize the design, add show notes, embed episodes, and provide additional information about your podcast and yourself.
- Review analytics and statistics: Most hosting platforms provide analytics and statistics to track your podcast’s performance. Monitor the number of downloads, geographic distribution, and listener engagement to gain insights into your audience and make informed decisions for future episodes and promotional efforts.
- Monetization options: Some podcast hosting platforms offer monetization options such as integrating advertisements, sponsorships, or listener support features. Explore these opportunities if you are interested in generating revenue from your podcast.
- Regularly update your hosting account: Keep your podcast hosting account up to date as you release new episodes. Upload each new episode, update the podcast feed, and ensure that your podcast details, artwork, and show notes are always accurate and relevant.
Creating a podcast hosting account is a crucial step towards publishing and sharing your episodes with the world. Take the time to select the right platform for your needs, follow the guidelines provided by the hosting platform, and carefully manage and update your podcast information throughout its lifecycle. With a well-managed hosting account, you can reach a wider audience and build a loyal listener base for your podcast.
Distributing and Promoting Your Podcast
Once your podcast episodes are uploaded and your hosting account is set up, it’s time to focus on distributing and promoting your podcast to reach a wider audience. By implementing effective distribution and promotion strategies, you can increase visibility, attract new listeners, and build a loyal community around your podcast. Here’s what you need to know:
- Submit to podcast directories: Submit your podcast’s RSS feed to popular podcast directories like Apple Podcasts, Spotify, Google Podcasts, and Stitcher. These directories are the go-to platforms for listeners searching and discovering new podcasts.
- Share on social media: Leverage the power of social media platforms to promote your podcast. Create dedicated accounts for your podcast and share episodes, behind-the-scenes content, episode highlights, and engage with your audience.
- Create a podcast website or blog: Build a dedicated website or blog for your podcast. Share show notes, transcriptions, episode details, links to subscribe, and additional resources related to your episodes. This serves as a central hub for your podcast and improves discoverability through search engines.
- Guest appearances and collaborations: Seek opportunities to appear as a guest on other podcasts or collaborate with other content creators in your niche. This exposes you to new audiences and can lead to cross-promotion and audience growth.
- Engage with your audience: Interact with your listeners through social media, comments, emails, or live Q&A sessions. Encourage them to leave reviews, provide feedback, and share your episodes with their own networks.
- Utilize email marketing: Build an email list of interested listeners and send regular updates, episode announcements, and exclusive content. Email marketing helps you nurture a loyal audience and provides a direct avenue for communication.
- Optimize for search engines: Implement basic search engine optimization (SEO) strategies to improve your podcast’s visibility in search results. Use relevant keywords in your podcast title, description, and episode titles, and ensure your podcast website is properly optimized.
- Attend industry events and conferences: Participate in podcasting industry events, conferences, and meetups. Network with other podcasters, share experiences, and gain insights into the latest trends and strategies.
- Consider paid advertising: Explore paid advertising options to reach your target audience more effectively. Platforms like Facebook Ads or Google Ads can help you target specific demographics or interests, increasing your podcast’s exposure.
- Cross-promote with other podcasts: Form partnerships with complementary podcasts to cross-promote each other’s shows. This helps you tap into new audiences that have similar interests and increases your podcast’s visibility.
- Continually market and promote: Don’t stop promoting your podcast after the initial launch. Continue to market and promote your episodes regularly through various channels and actively seek new opportunities to expand your audience reach.
Remember, promoting your podcast is an ongoing process. Be consistent with your efforts, stay active in engaging with your audience, and explore different avenues to attract new listeners. With a proactive approach to distribution and promotion, you can grow your podcast’s reach and build a dedicated listener base over time.
Conclusion
Setting up a podcast studio and launching a podcast can be an incredibly rewarding and fulfilling journey. By following the steps outlined in this guide, you can create a professional and engaging podcast that captivates your audience and showcases your unique voice and content.
Designing your podcast studio with careful consideration of the space, furniture, and lighting sets the stage for a comfortable and inspiring environment. Selecting the right equipment, such as microphones, audio interfaces, and headphones, ensures excellent sound quality and a seamless recording process.
Acoustic treatment and soundproofing materials help create an optimal recording environment, reducing unwanted noise and improving the overall sound quality. Establishing a clear recording workflow streamlines your process and ensures consistency in your podcast episodes.
Investing time in setting up recording software and mastering editing and post-production techniques allows you to refine your recordings, enhance audio quality, and create polished and professional episodes. Creating a podcast hosting account, along with effective distribution and promotion strategies, is essential for reaching a wider audience and building a loyal listener base.
Remember, podcasting is not only about the technical aspects but also about connecting with your audience and sharing your passion and expertise. Dedicate time to engage with your listeners, continuously improve your skills, and explore new opportunities for growth and collaboration within the thriving podcasting community.
As you embark on your podcasting journey, embrace creativity, authenticity, and perseverance. Stay committed to delivering valuable and compelling content to your audience. With determination and a genuine love for podcasting, your podcast has the potential to make a meaningful impact and create a lasting impression in the podcasting world.