Home>Events & Info>Podcast>What Equipment Do You Need To Podcast

Podcast
What Equipment Do You Need To Podcast
Modified: February 17, 2024
Discover the essential equipment needed to start podcasting with this comprehensive guide. From microphones to mixers, we've got you covered.
(Many of the links in this article redirect to a specific reviewed product. Your purchase of these products through affiliate links helps to generate commission for AudioLover.com, at no extra cost. Learn more)
Table of Contents
Introduction
Podcasting has become an increasingly popular medium for sharing content, whether it’s interviews, storytelling, educational discussions, or entertainment. With its rise in popularity, more and more people are looking to start their own podcasts.
However, in order to produce a high-quality podcast that engages listeners and stands out from the competition, you need the right equipment. The right gear can make a significant difference in the overall sound and production value of your podcast.
In this article, we will explore the essential equipment you need to get started on your podcasting journey. From microphones and headphones to audio interfaces and recording software, we will cover everything you need to create professional-grade podcasts.
Keep in mind that the equipment you choose will depend on your specific needs and budget. While it’s always best to invest in high-quality gear, there are options available for different budget ranges.
So, whether you’re a solo podcaster or have a panel of guests, let’s dive into the essential equipment you need to bring your podcast to life.
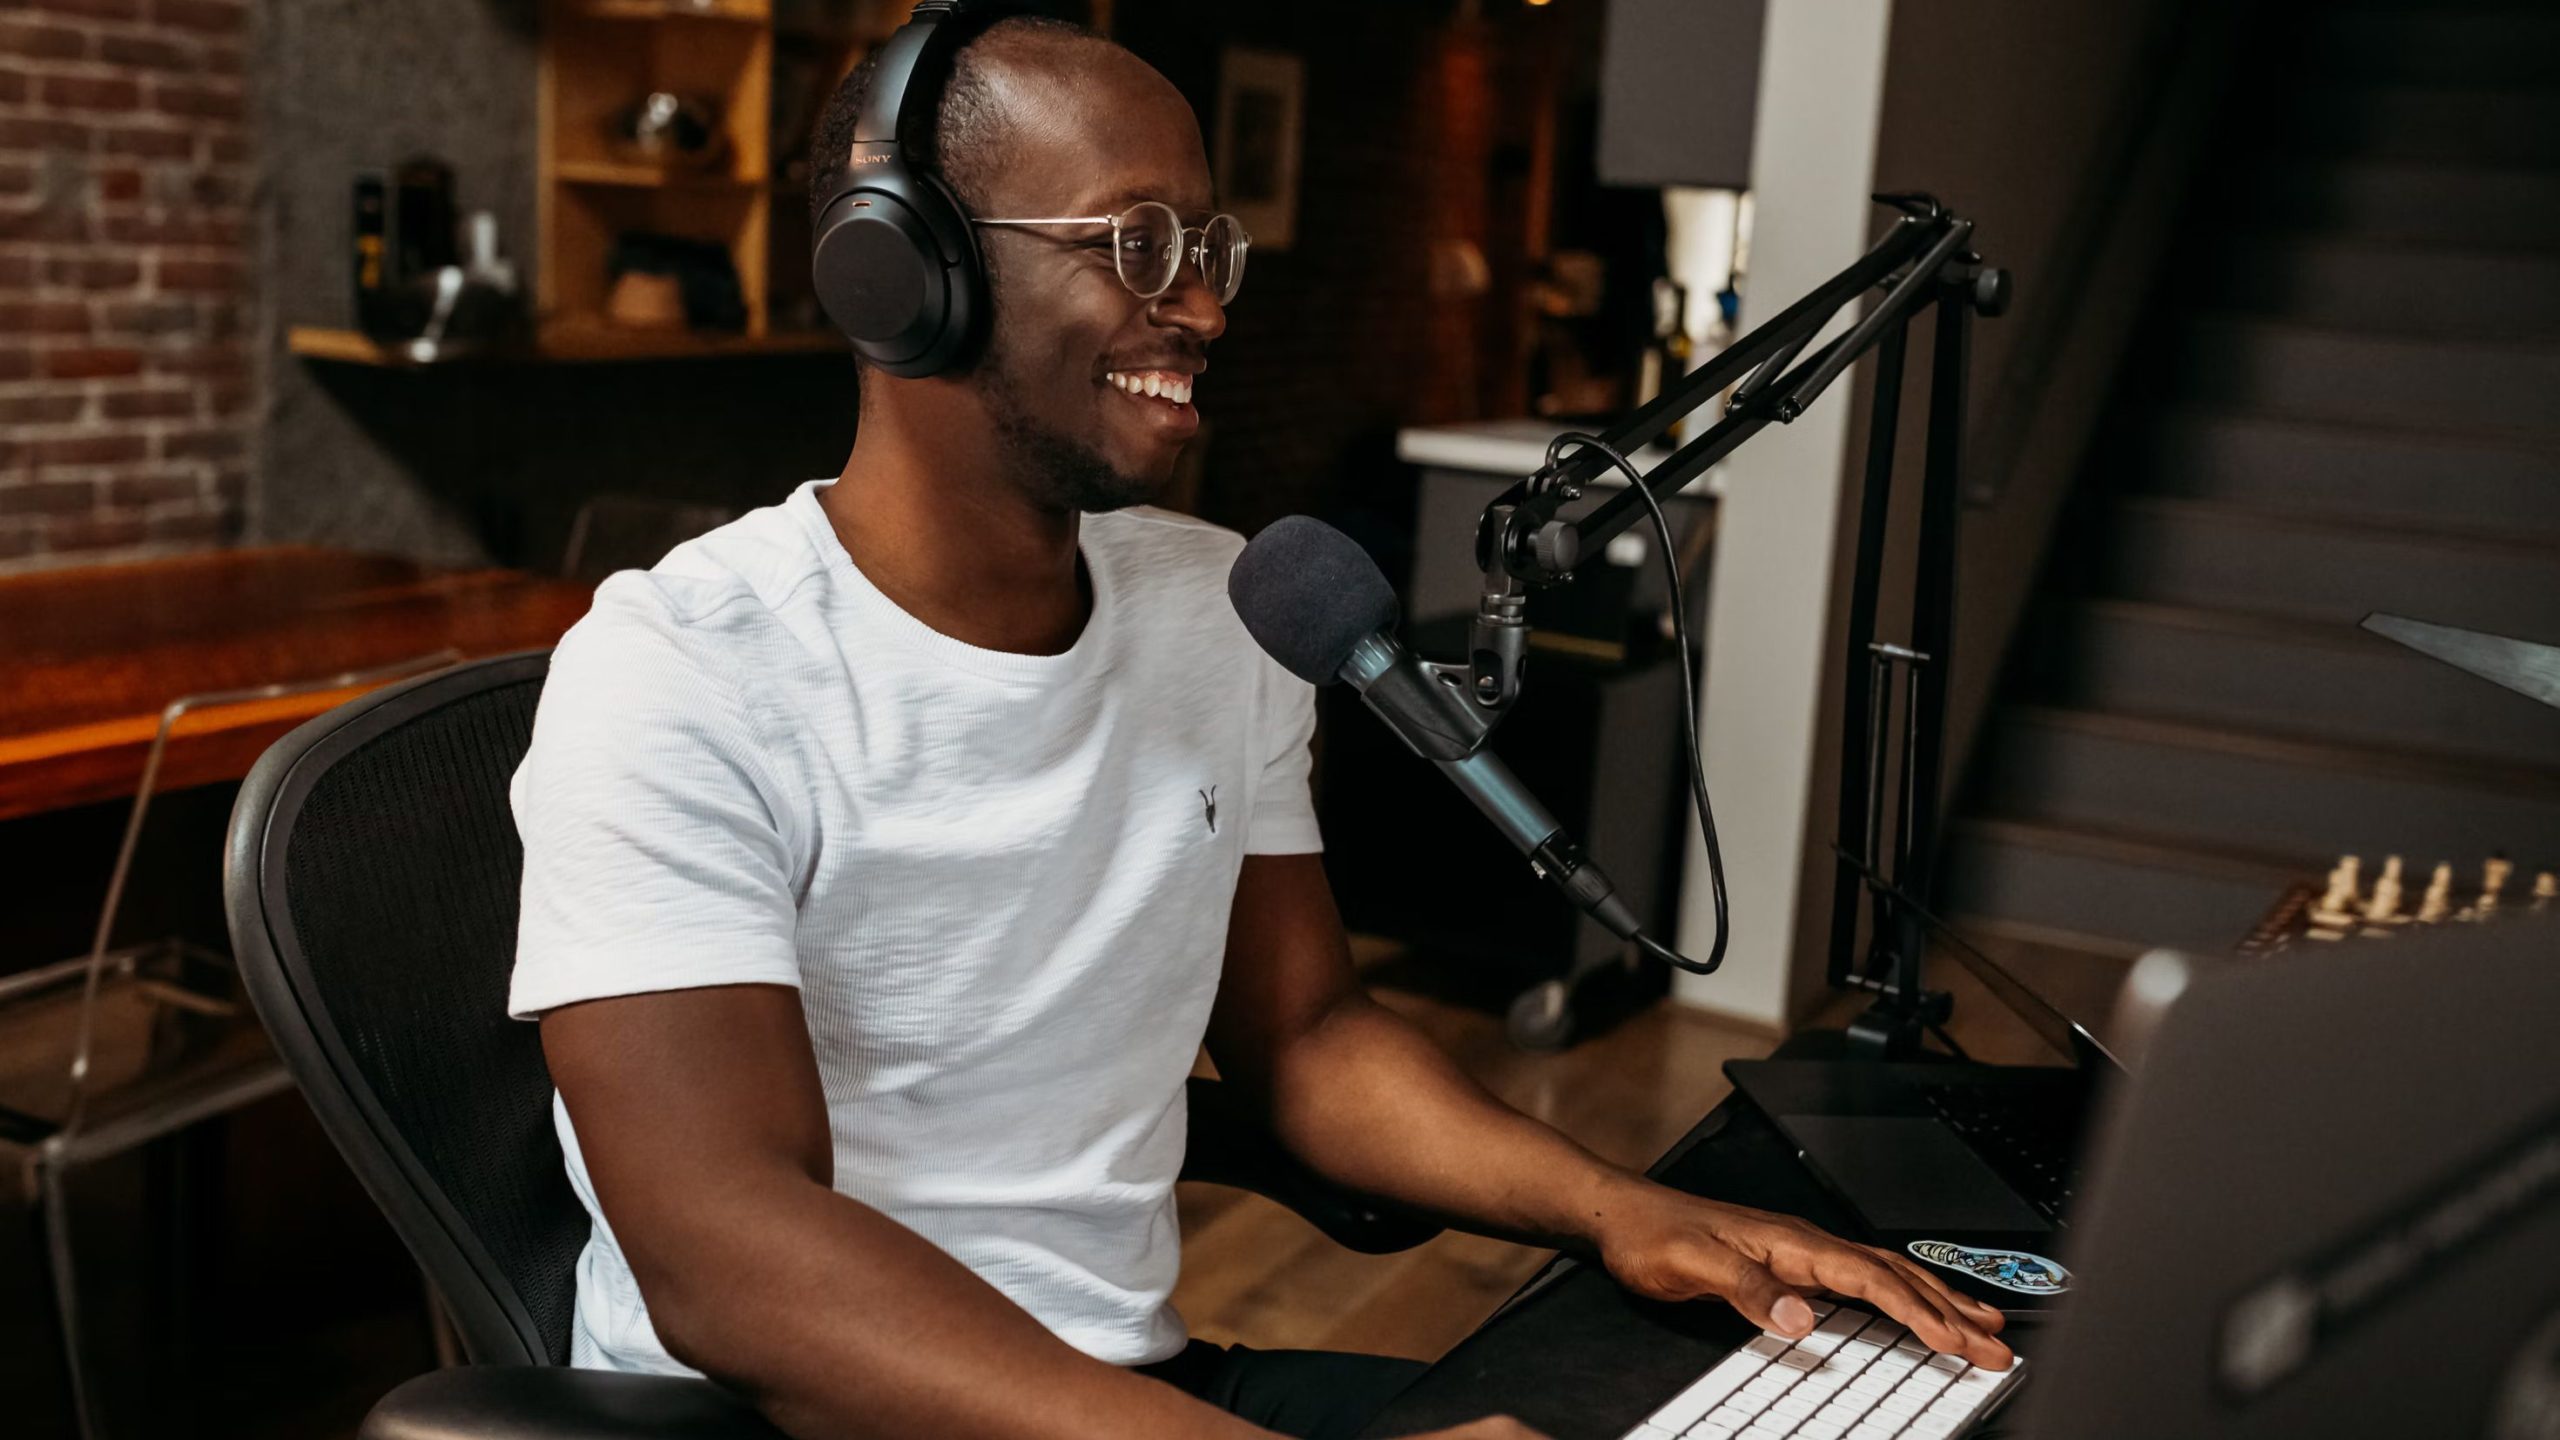
Microphones
When it comes to podcasting, a quality microphone is the most essential piece of equipment. It’s what captures your voice and ensures clear and crisp audio for your listeners. There are two main types of microphones commonly used in podcasting: USB microphones and XLR microphones.
USB microphones are easy to set up and use since they connect directly to your computer without the need for an additional audio interface. They are ideal for beginners or podcasters on a budget. USB microphones like the Blue Yeti or Audio-Technica ATR2100x offer excellent sound quality and versatility.
On the other hand, XLR microphones require an audio interface to connect to your computer. XLR microphones are typically used by professional podcasters or those seeking maximum audio quality. They offer more customization options and allow for better control of sound input levels. Some popular XLR microphones include the Shure SM58 and the Audio-Technica AT2020.
When choosing a microphone, consider the type of podcast you’ll be recording. If you’ll be hosting solo episodes or have a single person talking at a time, a cardioid microphone will suffice. If you plan on having multiple people on your podcast, a microphone with a wider pickup pattern, such as a condenser microphone, may be more appropriate.
It’s important to note that different microphones have different frequency responses, and it’s worth considering your vocal characteristics and environment when selecting one. Some microphones emphasize certain frequencies, which can affect how your voice is interpreted by listeners.
Remember, the key is to find a microphone that suits your voice, recording environment, and budget. Take the time to research and read reviews to make an informed decision.
In addition to the microphone itself, it’s also a good idea to invest in a pop filter. A pop filter is a screen placed in front of the microphone to reduce plosive sounds, such as “p” and “b” sounds, that can cause distortion in the audio. It’s a simple and inexpensive accessory that can significantly improve the overall sound quality of your recordings.
In summary, choosing the right microphone is crucial for capturing clear and professional-grade audio for your podcast. Whether you opt for a USB or XLR microphone, consider your podcast format, vocal characteristics, and budget to make an informed decision.
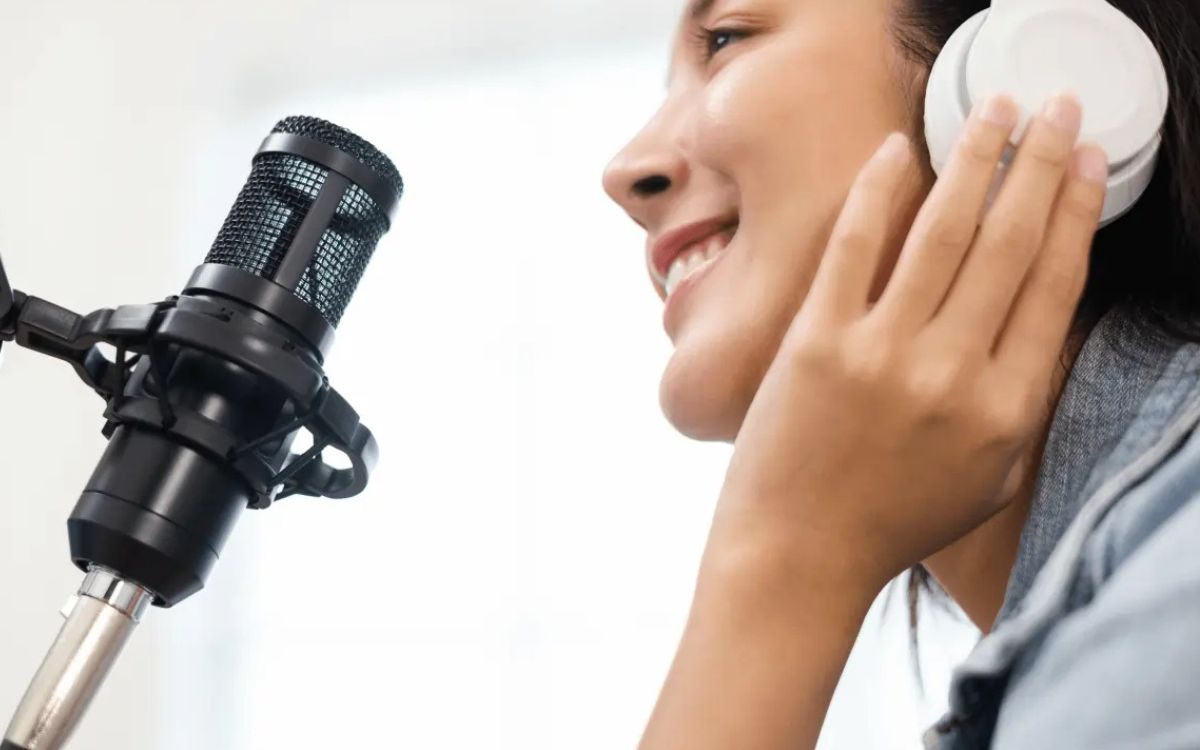
Headphones
When it comes to podcasting, having a good pair of headphones is just as important as having a quality microphone. Headphones allow you to monitor, edit, and fine-tune the audio while recording and post-production.
When selecting headphones for podcasting, there are a few key factors to consider. The first is comfort. Since podcasting often involves long recording sessions, it’s important to choose headphones that you can wear comfortably for extended periods. Look for headphones with cushioned ear cups and an adjustable headband.
The second factor is closed-back design. Closed-back headphones help to isolate external sounds and prevent audio leakage, which is particularly important if you are recording in a noisy environment or if you are recording with other people nearby.
Next, consider the frequency response of the headphones. The frequency response represents the range of audio frequencies that the headphones can reproduce. Look for headphones that have a wide frequency range to ensure accurate representation of the full audio spectrum, from low bass tones to high-frequency details.
Another important feature to consider is the impedance of the headphones. Impedance refers to the resistance of electric current flow in the headphones and is measured in ohms. For podcasting, headphones with a low impedance level are generally preferred, as they can be driven by any audio device without the need for additional amplification.
It’s worth mentioning that there are two main types of headphones: closed-back and open-back. Closed-back headphones, as mentioned earlier, offer better isolation and are suitable for recording in noisy environments. On the other hand, open-back headphones provide a more natural soundstage, but they may not be ideal if you require isolation.
Some popular headphones for podcasting include the Audio-Technica ATH-M50x, Sony MDR-7506, and Beyerdynamic DT 770 Pro. These headphones offer a good balance between comfort, sound quality, and affordability.
Ultimately, choosing the right headphones for podcasting is a personal preference. It’s recommended to try out different models and read reviews to find the ones that suit your preferences and budget.
In summary, having a good pair of headphones that are comfortable, provide accurate sound reproduction, and offer isolation is essential for podcasting. Consider factors such as comfort, closed-back design, frequency response, and impedance when selecting headphones that meet your needs.
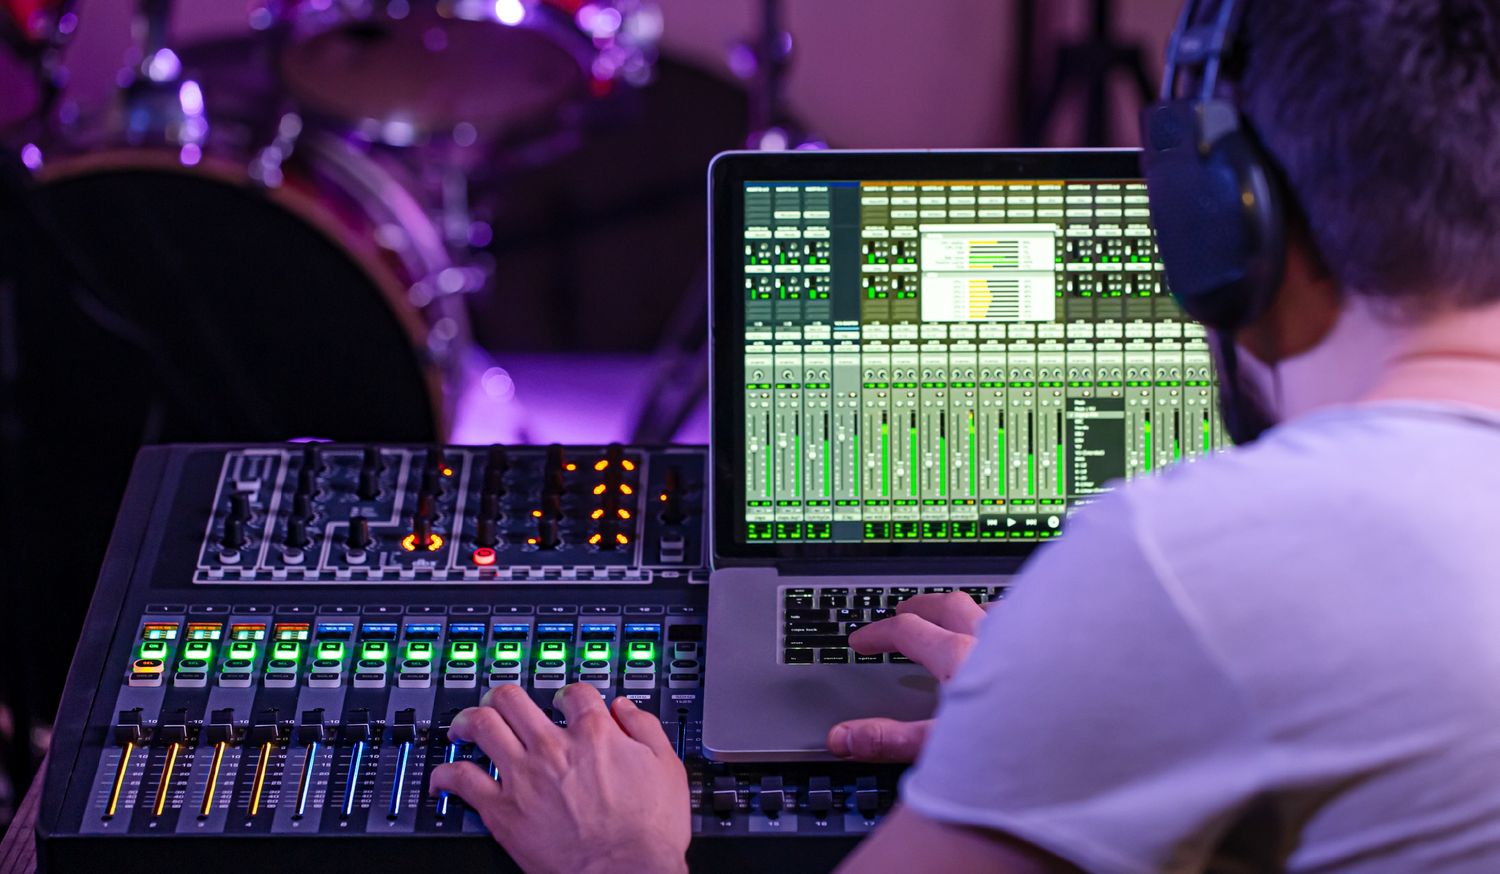
Audio Interface
An audio interface is a crucial piece of equipment for podcasters using XLR microphones. It serves as the bridge between your microphone and your computer, converting analog audio signals into digital data that can be recorded and edited on your computer.
When choosing an audio interface, there are a few important factors to consider. Firstly, make sure it has the necessary inputs to accommodate the number of microphones you’ll be using. If you plan to have multiple hosts or guests on your podcast, look for an interface with multiple XLR inputs.
Another important consideration is the audio interface’s preamp quality. The preamp is responsible for boosting the microphone signal to a usable level. A high-quality preamp will provide clean gain and minimize noise, resulting in better sound quality. Popular audio interfaces with good preamps include the Focusrite Scarlett series and the PreSonus AudioBox series.
It’s also crucial to consider the compatibility of the audio interface with your computer. Check if it supports your operating system (Windows or macOS) and if it has the necessary drivers for smooth operation. Compatibility issues can hinder the recording process and cause unnecessary frustration.
Furthermore, pay attention to the connectivity options offered by the audio interface. USB connections are common and provide a straightforward setup, while Thunderbolt connections offer faster data transfer speeds for more demanding recording setups. Choose an interface that aligns with your computer’s available ports and capabilities.
Additionally, some audio interfaces offer extra features like built-in headphone outputs, volume control knobs, and phantom power for condenser microphones. These additional features can enhance your podcasting experience and workflow.
Keep in mind that your audio interface is an investment that can significantly impact the sound quality of your podcast episodes. It’s worth considering your podcasting goals, budget, and long-term scalability when choosing an audio interface.
Remember, the audio interface acts as the heart of your recording setup, ensuring that high-quality audio signals are captured and transferred to your computer. Take the time to research and read reviews to find an audio interface that meets your specific needs.
In summary, if you’re using XLR microphones for your podcast, an audio interface is essential. Look for an interface with the appropriate number of inputs, high-quality preamps, compatibility with your computer, and the necessary connectivity options. Choose an audio interface that fits your budget and aligns with your podcasting goals for optimal sound quality.
Pop Filter
A pop filter is a small accessory that can make a big difference in the quality of your podcast’s audio. It is a screen placed in front of the microphone to reduce plosive sounds, such as “p” and “b” sounds, that can cause distortion and undesirable noise in the recording.
When you speak into a microphone, certain sounds can create bursts of air that hit the microphone’s diaphragm directly, causing a popping sound. This can be distracting for listeners and compromise the overall quality of your podcast.
A pop filter helps to diffuse the air before it reaches the microphone, effectively avoiding the impact of these plosive sounds. By placing the pop filter approximately a few inches away from the microphone, it acts as a barrier, dispersing the air and reducing the intensity of the plosives.
The result is a cleaner and more professional sound, free from the harsh bursts of air that can be distracting to listeners. Pop filters are particularly useful for podcasters who are prone to producing strong plosive sounds or those who have a microphone that is sensitive to such sounds.
When choosing a pop filter, there are a few options to consider. The most common type is the nylon mesh pop filter. This type of filter effectively diffuses the air and prevents plosive sounds from reaching the microphone. Another option is a metal pop filter, which is often more durable and can provide slightly better sound quality.
It’s important to note that the size of the pop filter should match the size of your microphone. Most pop filters come with flexible goosenecks that allow you to position them at the desired distance and angle in front of the microphone. This flexibility ensures proper alignment and effectiveness in reducing plosive sounds.
While a pop filter may seem like a simple accessory, it can have a significant impact on the overall sound quality of your podcast. It’s a relatively inexpensive investment that can greatly improve the professional feel of your recordings.
In summary, a pop filter is an essential accessory for podcasters looking to achieve clear and professional audio quality. By reducing plosive sounds, the pop filter helps to eliminate distractions and create a more enjoyable listening experience for your audience. Whether you opt for a nylon mesh or metal pop filter, always remember to position it properly in front of your microphone to maximize its effectiveness.
Boom Arm or Microphone Stand
When it comes to recording your podcast, having a stable and adjustable mounting solution for your microphone is essential. This is where a boom arm or a microphone stand comes into play.
A boom arm is a popular choice among podcasters as it provides flexibility in positioning your microphone. It typically consists of a long, adjustable arm that attaches to your desk or table. With a boom arm, you can easily position your microphone at the desired height, angle, and distance from your mouth, providing optimal audio capture.
One of the main advantages of a boom arm is that it frees up valuable desk space. It eliminates the need for a bulky microphone stand and allows you to position your microphone out of the way when not in use. This is especially beneficial if you have limited workspace or if you frequently need to adjust your microphone during recording sessions.
Additionally, boom arms often come with built-in cable management systems. These systems help keep your microphone cable tidy and prevent it from tangling or getting in the way. This not only improves the aesthetic of your recording setup but also helps to avoid unnecessary noise caused by cable movement.
On the other hand, a traditional microphone stand is a more basic and stationary option. It consists of a sturdy base and a telescoping stand, allowing you to adjust the height of your microphone. While it may not offer the same level of flexibility as a boom arm, a microphone stand can still provide a stable and reliable mounting solution for your microphone.
When choosing between a boom arm and a microphone stand, consider factors such as your recording setup, available space, and personal preference. If you require frequent adjustments or have limited desk space, a boom arm may be the better option. However, if you prefer a simpler and more stationary setup, a microphone stand can still serve you well.
Some popular options for boom arms include the Heil Sound PL-2T Overhead Broadcast Boom, Rode PSA1 Swivel Mount Studio Microphone Boom Arm, and the Samson MBA38 Microphone Boom Arm. For microphone stands, the On-Stage MS7701B Tripod Microphone Stand and the Hercules MS533B EZ Clutch Tripod Microphone Stand are great choices.
Ultimately, the choice between a boom arm and a microphone stand comes down to personal preference and the specific needs of your podcasting setup. Both options provide stability and support for your microphone, allowing you to focus on delivering quality content to your listeners.
Shock Mount
When it comes to recording your podcast, minimizing unwanted noise and vibrations is crucial for achieving high-quality audio. A shock mount is a vital accessory that helps isolate your microphone from vibrations and handling noise, ensuring clean and professional sound.
A shock mount is a suspension mechanism that holds your microphone securely while providing a layer of isolation from external vibrations. It typically consists of elastic bands or rubberized materials that absorb and dampen vibrations before they reach the microphone. This is particularly useful if you have a desk-mounted microphone or if you are recording in a location with potential sources of vibration, such as a noisy environment or a room with heavy foot traffic.
By isolating the microphone, a shock mount helps reduce various types of noise, including low-frequency rumble, mechanical vibrations, and handling noise caused by the movement or adjustment of the microphone. This greatly improves the clarity and fidelity of your recordings.
When selecting a shock mount, it’s important to consider compatibility with your microphone model. Not all shock mounts are universally compatible, so make sure to choose one that fits your microphone’s specific size and design. Many microphones come with compatible shock mounts, but there are also universal options available that can accommodate a range of microphone sizes.
It’s worth mentioning that some microphones, especially high-end condenser microphones, come with an integrated shock mount or built-in shock absorption technology. In such cases, a separate shock mount may not be necessary.
Aside from providing vibration isolation, some shock mounts also offer features like adjustable positioning and angle adjustments. These features allow you to position the microphone precisely and achieve optimal sound capture. Some popular shock mounts include the Rode PSM1 Shock Mount, the Heil PRSM-B Shock Mount, and the Aston SwiftShield Universal Shock Mount and Pop Filter Bundle.
Investing in a shock mount can significantly elevate the quality of your podcast recordings by reducing unwanted noise and vibration. It ensures that your microphone captures only the sound you want to transmit, resulting in clearer and more professional audio.
In summary, a shock mount is a valuable accessory that helps isolate your microphone from vibrations and handling noise. By reducing unwanted noise, a shock mount improves the quality and clarity of your podcast recordings. Consider compatibility with your microphone and look for additional features like adjustable positioning when selecting a shock mount for your podcasting setup.
XLR Cables
When it comes to podcasting with XLR microphones, having high-quality XLR cables is crucial for maintaining clear and reliable audio signal transmission. XLR cables are commonly used in professional audio setups, delivering balanced audio signals with low noise and interference.
An XLR cable consists of three pins: a positive conductor, a negative conductor, and a ground wire. This balanced configuration helps minimize external electromagnetic interference and ensures a clean signal transfer from your microphone to the audio interface or mixer.
When selecting XLR cables for your podcasting setup, there are a few key factors to consider. Firstly, it’s essential to choose cables with good shielding. Shielding helps protect the audio signal from electromagnetic interference, preventing unwanted noise from entering your recordings. Look for cables with braided shielding or a foil shield to ensure optimal signal integrity.
Cable length is also an important consideration. It’s important to choose cables that are long enough to accommodate your specific recording setup, but not excessively long to avoid unnecessary cable clutter. Consider the distance between your microphone and the audio interface or mixer, and select cables of appropriate length to suit your needs.
Furthermore, pay attention to the build quality of the cables. Look for cables with sturdy connectors that securely lock into place, ensuring a reliable connection and minimizing the risk of accidental disconnection during recording. Reinforced strain relief at the connector ends is also beneficial, as it enhances the durability and longevity of the cables.
Some popular and reputable brands for XLR cables include Mogami, Canare, and Hosa. These brands offer cables of varying lengths and quality, allowing you to choose the ones that best suit your budget and requirements.
Remember to handle your XLR cables with care, avoiding bending them excessively or subjecting them to unnecessary strain. Proper cable management can help prevent tangling and prolong the lifespan of your cables.
In summary, investing in high-quality XLR cables is vital for maintaining a clear and interference-free audio signal in your podcast recordings. Look for cables with good shielding, appropriate length, and reliable connectors. By choosing durable and well-built XLR cables, you can ensure optimal sound quality and a seamless recording experience for your podcast.
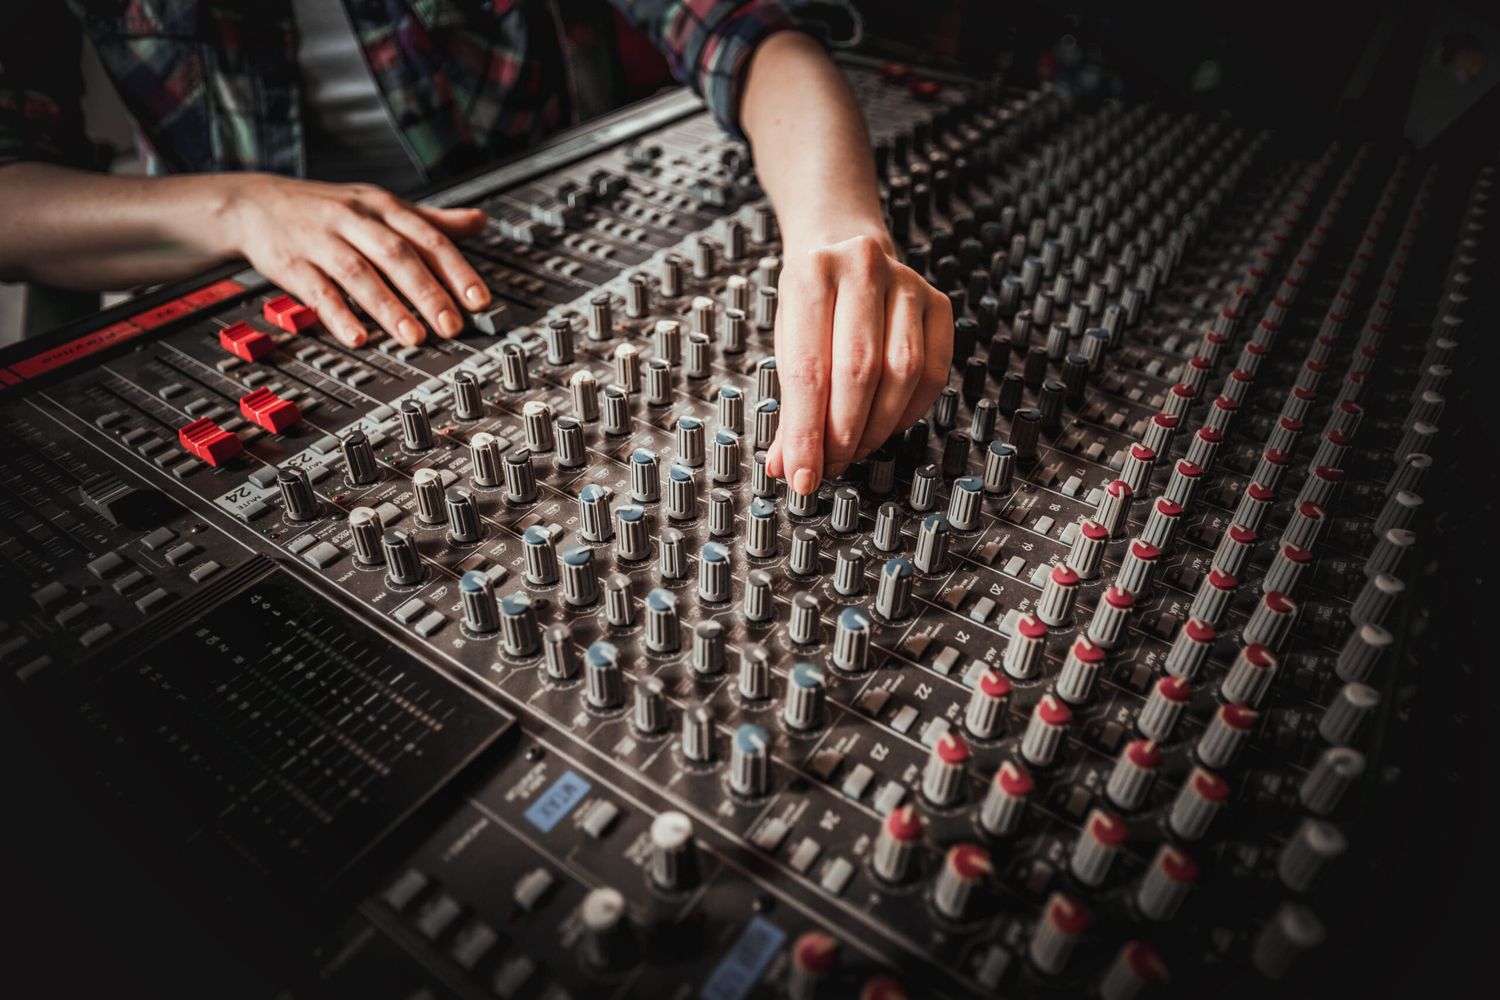
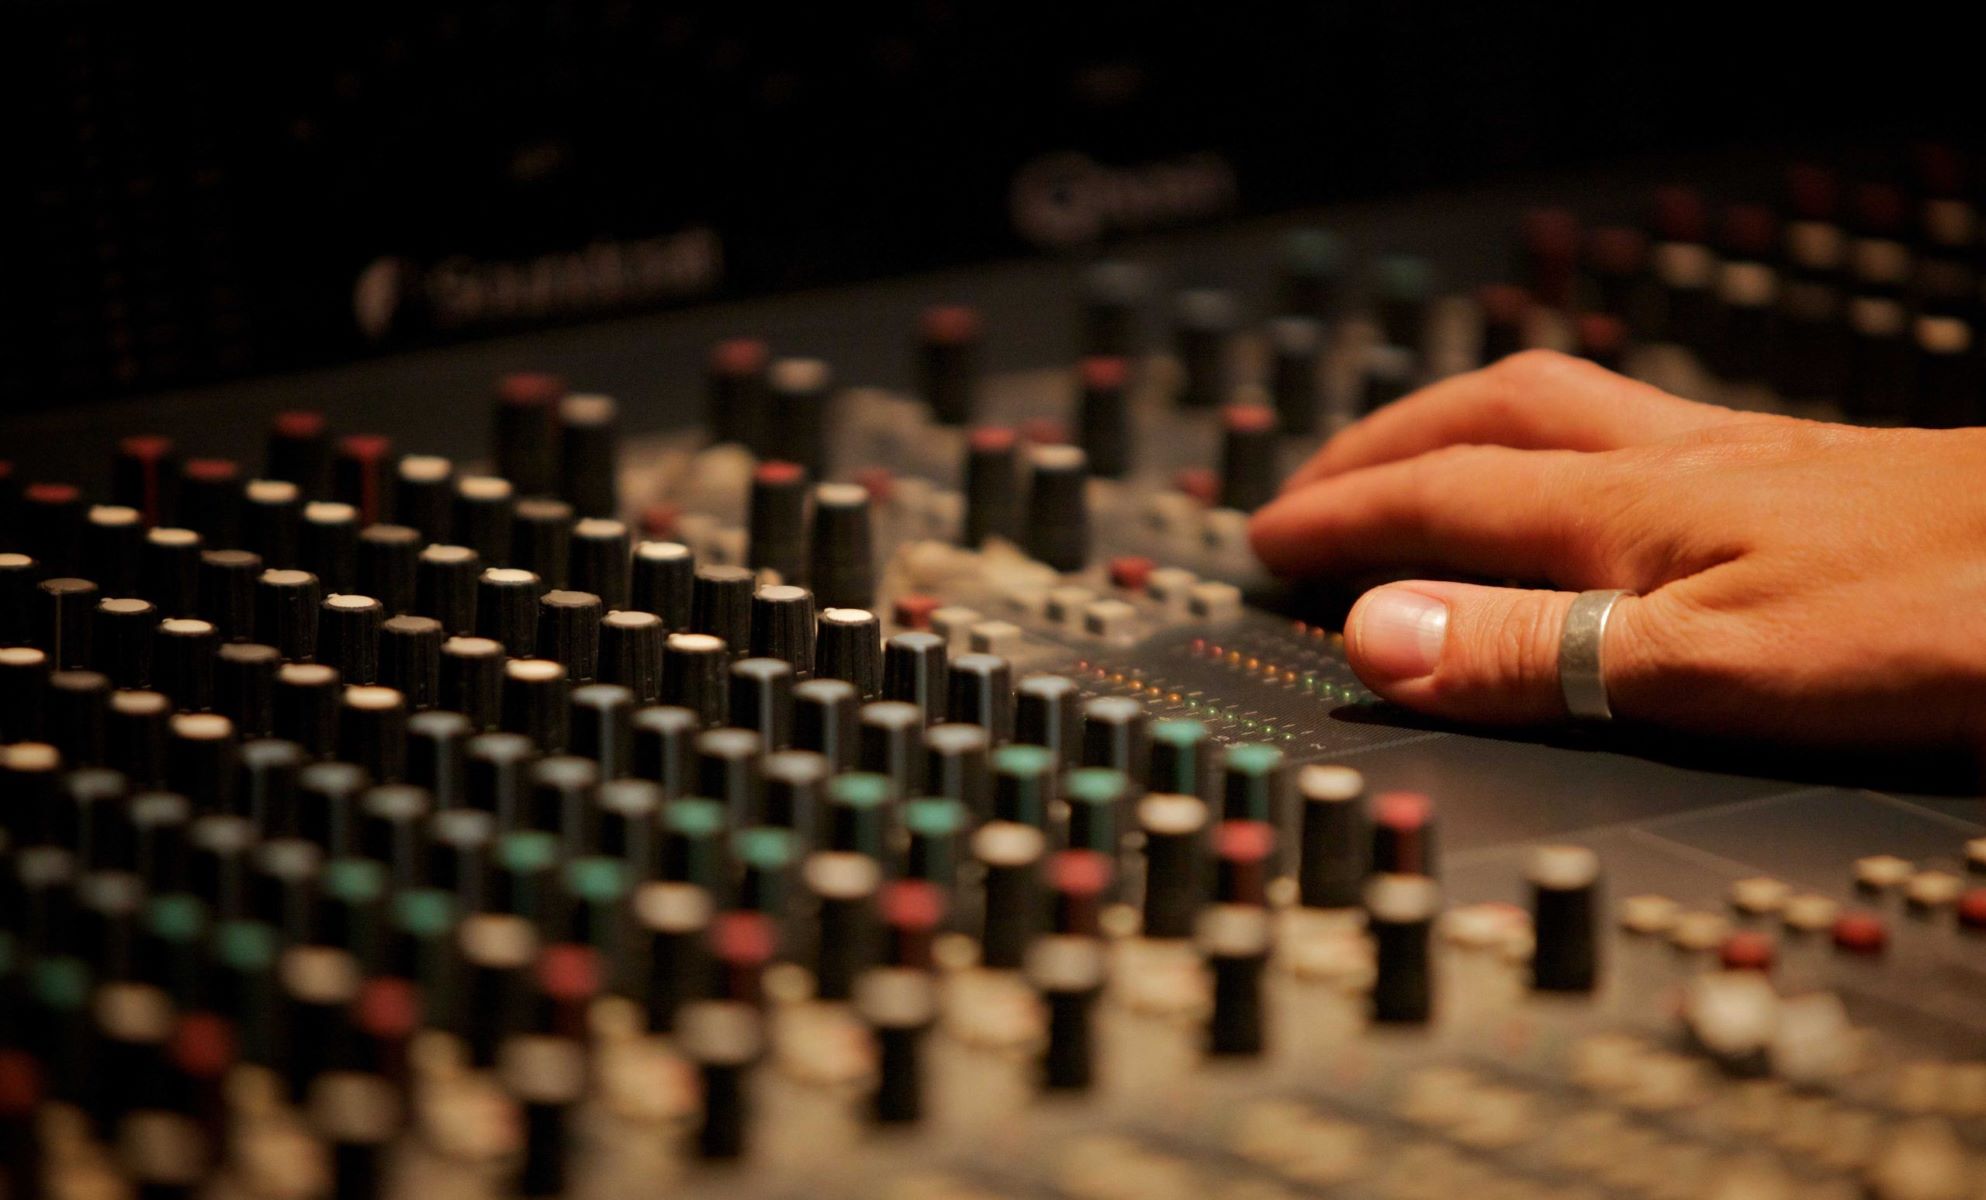
Mixer (Optional)
A mixer is an optional but highly beneficial piece of equipment for podcasters who require more advanced audio control and customization. A mixer allows you to adjust audio levels, apply effects, and blend multiple audio sources together, resulting in a polished and professional sound.
One of the main advantages of using a mixer for podcasting is the ability to have more control over your audio inputs and outputs. With a mixer, you can connect multiple microphones, additional audio sources such as soundboards or music players, and even integrate phone or Skype calls into your podcast. This flexibility enables you to create a dynamic and engaging podcast with various audio elements.
By using a mixer, you can adjust the volume levels of each audio source independently. This ensures that all voices and sounds are balanced and properly mixed, creating a cohesive listening experience for your audience. You can fade in and out background music or sound effects, emphasize certain voices during interviews, and control the overall audio dynamics of your podcast.
Additionally, a mixer provides various EQ (equalization) and audio processing options. You can shape the tone of your audio, reduce unwanted noises, or add effects such as reverb or compression. These capabilities allow you to enhance the sound quality of your podcast and present it in a more professional and polished manner.
When choosing a mixer, consider the number of inputs and outputs you require based on your podcasting setup. If you plan to have multiple hosts or guests on your show, opt for a mixer with enough XLR or microphone inputs to accommodate them. If you incorporate phone or Skype calls, look for a mixer that has dedicated channels for these inputs.
Popular mixers for podcasting include the Behringer Xenyx Q802USB, the Yamaha MG10XU, and the Zoom LiveTrak L-8. These mixers offer a range of features suitable for podcasters of different levels of expertise.
While a mixer is not essential for every podcaster, it can greatly enhance your audio production capabilities and provide more creative control over your podcast. It allows you to create a professional and tailored sound, ensuring that your podcast stands out and captures the attention of your listeners.
In summary, a mixer is an optional but valuable tool for podcasters seeking advanced control and customization of their audio. With features like multiple inputs, independent level adjustments, and audio processing options, a mixer can take your podcast’s sound quality to the next level. Consider your podcasting needs and budget when choosing a mixer that suits your requirements.
Acoustic Treatment
Acoustic treatment is an often overlooked but essential aspect of podcasting that can significantly improve the sound quality of your recordings. It involves minimizing unwanted echoes, reflections, and reverberations in your recording space, creating a more controlled and professional environment for podcasting.
When recording audio, the sound waves produced by your voice bounce off the surrounding surfaces, such as walls, floors, and ceilings. If these sound waves are not properly managed, they can cause reflections and echoes that degrade the clarity and intelligibility of your recordings.
Acoustic treatment aims to reduce these reflections and echoes by utilizing various techniques and materials. One common method is to use acoustic panels or foam. These panels are designed to absorb sound waves and prevent them from bouncing back into the recording space. They come in different sizes, shapes, and thicknesses and can be strategically placed on walls, ceilings, and even behind the microphone to minimize unwanted reflections.
Bass traps are another type of acoustic treatment often used in podcasting and recording spaces. These are designed to absorb low-frequency energy that tends to accumulate in corners. Placing bass traps in the corners of your recording area can help to balance out the sound and prevent bass build-up, resulting in a more even and controlled acoustic response.
Diffusers are yet another type of acoustic treatment that can be used to scatter sound waves, reducing harsh reflections and creating a more natural and balanced sonic environment. These diffusers can be placed on walls or ceilings to break up sound waves and create a more even distribution of sound throughout the room.
Before investing in acoustic treatment, it’s important to assess your recording space and understand its unique acoustic characteristics. Consider the size and shape of the room, the types of surfaces present, and any potential sources of noise or interference.
While a completely soundproofed room may not be necessary for podcasting, implementing basic acoustic treatment can greatly improve the quality of your recordings. It helps create a more controlled and pleasing acoustic environment, reducing unwanted reflections, echoes, and reverberations that can negatively impact your podcast’s sound.
When it comes to purchasing acoustic treatment materials, there are numerous options available from various manufacturers. Some popular brands include Auralex, Primacoustic, and GIK Acoustics. Be sure to research and select materials that suit your specific needs and budget.
In summary, implementing acoustic treatment in your podcasting space is essential for achieving high-quality audio recordings. By reducing reflections, echoes, and reverberations, acoustic treatment creates a more controlled and professional environment. Consider your room’s acoustic characteristics and invest in appropriate materials such as acoustic panels, bass traps, and diffusers to enhance the sound quality of your podcast.
Recording Software
Recording software, also known as digital audio workstations (DAWs), is an essential tool for recording, editing, and producing your podcast episodes. It provides the platform for capturing your audio, editing out any errors or interruptions, and adding additional elements like music or sound effects.
When selecting recording software for your podcast, there are a few important factors to consider. Firstly, compatibility with your operating system is crucial. Ensure that the software supports your Windows or macOS version to avoid any compatibility issues.
Next, look for a software that offers a user-friendly interface and intuitive features. This will make the recording and editing process more efficient and enjoyable. Beginner-friendly options include GarageBand (for macOS) and Audacity (for both Windows and macOS), which offer basic recording and editing capabilities without a steep learning curve.
If you’re looking for more advanced features and professional-grade audio editing capabilities, consider software like Adobe Audition, Reaper, or Logic Pro X. These programs provide a wider range of audio editing tools, effects, and mixing capabilities, allowing you to fine-tune your recordings to perfection.
Another aspect to consider is the workflow and organization capabilities of the software. Look for software that allows you to easily manage and organize your podcast episodes, audio files, and project files. Being able to save and access your recordings in a structured and organized manner can help streamline your podcasting process.
Additionally, it’s beneficial to choose software that supports third-party plugins and effects. This enables you to add enhancements and tailor the sound of your podcast with a wide range of audio plugins, such as EQs, compressors, and reverbs.
Furthermore, if you plan to record interviews or remote guests, consider software that supports remote recording capabilities or integrates well with communication tools like Skype or Zoom.
Lastly, affordability is a crucial factor to consider, especially if you’re just starting out. There are free recording software options like Audacity, which offer basic recording and editing functionalities. However, if you’re willing to invest in more advanced features, paid software options offer additional benefits and professional-grade capabilities.
In summary, selecting the right recording software is essential for capturing and editing your podcast episodes. Consider factors like compatibility, user-friendly interface, organization features, third-party plugin support, remote recording capabilities, and affordability. Whether you choose a free option like Audacity or invest in a more advanced software package, finding a recording software that suits your needs and enhances your podcasting workflow is key to producing high-quality episodes.
Hosting Platform
Once you’ve recorded and edited your podcast episodes, you need a hosting platform to store and distribute your content to various podcast directories and platforms. A hosting platform is essentially a storage space for your podcast files, as well as a service that generates an RSS feed, which allows your podcast to be syndicated and accessed by listeners.
When choosing a hosting platform for your podcast, there are a few important factors to consider. Firstly, make sure the hosting platform provides sufficient storage space for your episodes. Consider the frequency of your podcast and the file sizes of your episodes to determine how much storage space you’ll need. Most hosting platforms offer different plans with varying levels of storage capacity.
Ease of use is another crucial consideration. Look for a hosting platform that offers a user-friendly interface and intuitive uploading and management features. It should be easy to upload new episodes, update episode details, and manage your podcast’s metadata.
Compatibility with major podcast directories is also essential. Your hosting platform should generate a valid RSS feed that is compatible with platforms like Apple Podcasts, Spotify, Google Podcasts, and other popular podcast directories. This ensures that your podcast can be easily discovered and accessed by listeners across different platforms.
Consider additional features offered by the hosting platform, such as analytics and statistics tracking. These features provide valuable insights into your podcast’s performance, including listening trends, audience demographics, and geographical distribution. Analytics can help you understand your audience better and make informed decisions to optimize your podcasting strategy.
Another factor to consider is the platform’s pricing structure. While some hosting platforms offer free plans with limited features or storage, it may be worth investing in a paid plan that provides more robust features and scalability options as your podcast grows.
Popular hosting platforms in the podcasting community include Libsyn, Podbean, Buzzsprout, and Anchor. Each offers different features, pricing plans, and storage options, so it’s important to research and compare them based on your specific needs and budget.
In summary, a hosting platform is crucial for storing and distributing your podcast episodes. Consider factors such as storage capacity, ease of use, compatibility with podcast directories, analytics features, and pricing structure when selecting a hosting platform. Choosing a reliable and user-friendly hosting platform ensures that your podcast episodes are readily available to listeners and helps you track and analyze your podcast’s performance.
Conclusion
Starting a podcast can be an exciting and rewarding endeavor, and having the right equipment is crucial for producing high-quality and engaging content. In this article, we’ve explored the essential equipment you need to get started on your podcasting journey.
We began by discussing the importance of a quality microphone for capturing clear and crisp audio. Whether you choose a USB microphone or an XLR microphone with an audio interface, finding the right microphone for your voice and recording environment is essential.
We then moved on to headphones, which allow you to monitor and fine-tune your audio while recording and editing. Selecting comfortable, closed-back headphones with a wide frequency response ensures accurate representation of your podcast’s audio.
An audio interface provides the necessary connection between your microphone and computer, offering control and customization options for your audio. Choose an interface with the appropriate number of inputs and high-quality preamps to ensure clean and professional sound.
A pop filter is a simple but effective accessory that helps reduce plosive sounds and improve the overall sound quality of your recordings. By placing a pop filter in front of your microphone, you can achieve clearer and more pleasant audio for your listeners.
For a stable and adjustable microphone setup, consider investing in a boom arm or microphone stand. These tools allow you to position your microphone properly and optimize its performance during recording.
A shock mount helps isolate your microphone from vibrations and handling noise, ensuring clean and uninterrupted audio capture. By reducing unwanted noise, a shock mount greatly enhances the overall sound quality of your podcast.
Acoustic treatment plays a vital role in creating a controlled and professional recording space. Whether it’s using acoustic panels, bass traps, or diffusers, implementing acoustic treatment can significantly improve the clarity and quality of your podcast’s audio.
Recording software, or a digital audio workstation (DAW), provides the platform for recording, editing, and producing your podcast episodes. Choose a software that is compatible with your operating system, offers a user-friendly interface, and meets your specific recording and editing needs.
Once your podcast episodes are ready for distribution, a hosting platform allows you to store and syndicate your files to various podcast directories. Consider storage capacity, ease of use, compatibility, and any additional features offered by the hosting platform when making your choice.
In conclusion, by investing in the essential equipment discussed in this article and leveraging the power of recording software and a hosting platform, you can produce professional-grade podcasts that engage and captivate your audience. Remember, finding the right equipment for your podcasting needs may require a bit of research, but the investment in quality gear will greatly enhance the overall sound and production value of your podcast.