Home>Instruments>Drums>How To Make Udu Drums
Drums
How To Make Udu Drums
Published: February 9, 2024
Learn how to make Udu drums at home with our step-by-step guide. Discover the joy of crafting your own unique drums and unleash your rhythmic creativity.
(Many of the links in this article redirect to a specific reviewed product. Your purchase of these products through affiliate links helps to generate commission for AudioLover.com, at no extra cost. Learn more)
Table of Contents
Introduction
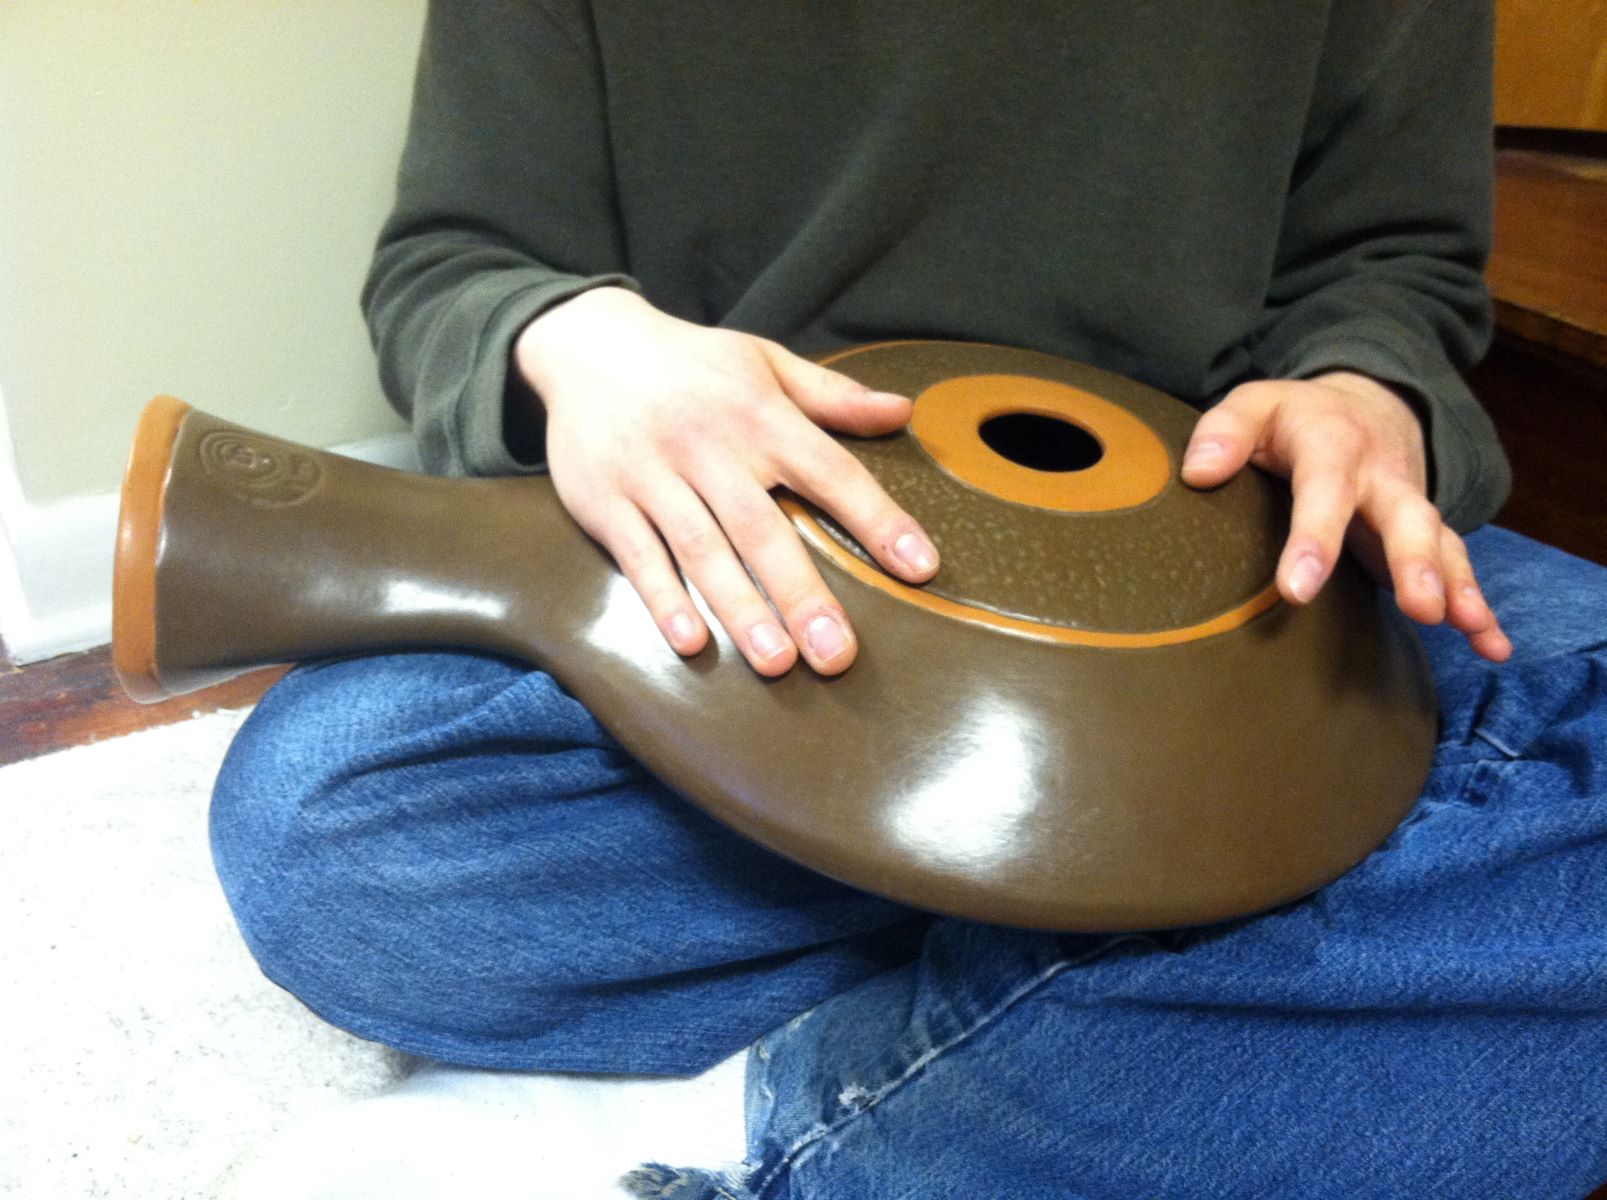
The udu drum is a traditional percussion instrument originating from the Igbo people of Nigeria. It is a vessel drum with a small hole in the side that produces a deep, resonant sound when struck. The word "udu" translates to "pottery" in the Igbo language, and the drum is traditionally handcrafted using clay.
In this comprehensive guide, we will explore the intricate process of making a udu drum from scratch. From sourcing the materials to shaping the clay and adding the signature sound hole, each step contributes to the unique character and acoustics of the instrument. Additionally, we will delve into the techniques for drying, firing, and decorating the udu drum, providing insights into the cultural significance and artistic expression associated with this ancient craft.
Crafting a udu drum is not only a creative endeavor but also a profound connection to tradition and heritage. By understanding the meticulous craftsmanship involved in making this instrument, we gain a deeper appreciation for its cultural roots and the skillful artistry of the craftsmen who have upheld this tradition for generations.
Join us on this enriching journey as we uncover the art of making udu drums, celebrating the fusion of craftsmanship, culture, and musical expression. Whether you are a percussion enthusiast, a craftsperson, or simply curious about the art of instrument making, this guide will provide valuable insights into the captivating world of udu drum craftsmanship.
Materials and Tools Needed
Creating a udu drum requires a selection of specific materials and tools to ensure the quality and authenticity of the final instrument. Here’s a comprehensive list of what you’ll need:
- Clay: The primary material for crafting the udu drum is clay. It’s essential to use high-quality clay that can withstand the firing process and produce a rich, resonant sound.
- Water: Water is crucial for preparing the clay and achieving the right consistency for shaping the drum.
- Modeling Tools: Various sculpting and shaping tools are necessary for molding the clay into the desired udu drum shape. These tools aid in achieving precise contours and smooth surfaces.
- Firing Kiln: Access to a kiln or firing facility is essential for hardening and strengthening the clay to transform it into a durable, functional drum.
- Decorative Elements: If desired, decorative elements such as paints, glazes, or carving tools can be used to adorn the udu drum, adding aesthetic appeal and personalization.
- Protective Gear: When working with clay and firing processes, protective gear such as gloves, aprons, and goggles are essential for safety.
These materials and tools form the foundation for crafting a udu drum, ensuring that each step of the process can be executed with precision and artistry. With these in hand, you’re ready to embark on the captivating journey of creating your very own udu drum, a testament to tradition and craftsmanship.
Preparing the Clay
Before shaping the udu drum, the clay must be carefully prepared to achieve the ideal consistency and workability. Here’s a detailed look at the process of preparing the clay for crafting the udu drum:
1. Clay Selection: Begin by selecting a high-quality clay suitable for pottery and instrument making. The clay should have excellent plasticity and be able to withstand the firing process without cracking or warping.
2. Wedge the Clay: Wedging the clay is a crucial step to remove air pockets and ensure uniform consistency. This process involves kneading and pressing the clay to create a smooth, homogenous texture, free from any lumps or imperfections.
3. Add Water: Gradually introduce water to the clay while kneading it to achieve the desired pliability. The addition of water should be carefully controlled to prevent the clay from becoming too wet or sticky.
4. Consistency Check: The prepared clay should have a balanced consistency, not too dry or too wet. It should be malleable enough to be shaped and molded without losing its structural integrity.
5. Resting Period: After preparing the clay, allow it to rest for a brief period to attain uniform moisture distribution. This resting period helps the clay reach an optimal state for shaping and prevents excessive cracking during the molding process.
By meticulously preparing the clay with attention to detail and craftsmanship, you lay the foundation for creating a udu drum of exceptional quality. The next step involves shaping the prepared clay into the distinctive form of the udu drum, marking the transition from raw materials to a refined musical instrument.
Shaping the Udu Drum
Shaping the clay into the iconic form of the udu drum requires precision and a deep understanding of the instrument’s structure. Here’s a step-by-step guide to shaping the udu drum:
1. Forming the Body: Begin by molding the clay into a hollow, vessel-like shape, which serves as the main body of the udu drum. Pay close attention to the curvature and thickness of the walls to ensure structural integrity and optimal acoustics.
2. Creating the Neck: Extend a portion of the clay upward to form the neck of the drum, where the sound hole will be added. The neck contributes to the resonance and tonal qualities of the udu drum, making it a critical element in the shaping process.
3. Refining the Contours: Use sculpting tools to refine the contours of the drum, smoothing out any imperfections and achieving a seamless, elegant form. The exterior surface should be meticulously shaped to enhance both aesthetics and functionality.
4. Ensuring Stability: Verify that the udu drum stands stably on a flat surface without any wobbling or imbalance. This step is essential for guaranteeing the drum’s stability during the drying and firing stages.
5. Fine-Tuning the Dimensions: Check the dimensions of the drum, ensuring that it aligns with traditional udu drum proportions. Attention to detail in size and shape contributes to the authenticity and sonic characteristics of the instrument.
As the clay is expertly shaped and molded, the udu drum begins to take on its characteristic form, embodying the craftsmanship and artistry of the maker. The next crucial step involves adding the sound hole, a defining feature that profoundly influences the drum’s sound and resonance.
Adding the Sound Hole
The addition of the sound hole is a pivotal stage in crafting the udu drum, as it significantly influences the instrument’s tonal characteristics and resonance. Here’s a detailed overview of the process of adding the sound hole to the udu drum:
1. Strategic Placement: Carefully determine the ideal location for the sound hole, traditionally positioned on the side of the drum’s neck. The size and placement of the sound hole directly impact the instrument’s sound projection and timbre.
2. Precision Cutting: Use specialized tools to meticulously cut a precise, circular opening for the sound hole. The diameter and shape of the hole are critical factors that contribute to the udu drum’s unique sound profile.
3. Refinement and Smoothing: After cutting the sound hole, refine the edges and interior surface to ensure a smooth, uniform finish. This step is essential for maintaining structural integrity and preventing any irregularities that may affect the drum’s acoustic properties.
4. Acoustic Considerations: Assess the impact of the sound hole on the drum’s resonance and tonal qualities, making any necessary adjustments to achieve the desired sound characteristics. The sound hole serves as a crucial element in shaping the udu drum’s distinctive timbre and projection.
5. Functional and Aesthetic Integration: Ensure that the sound hole seamlessly integrates into the overall design of the udu drum, complementing its visual appeal while enhancing its sonic capabilities. The harmonious fusion of functionality and aesthetics is a hallmark of masterfully crafted udu drums.
With the addition of the sound hole, the udu drum begins to embody its unique identity as a vessel for producing captivating rhythms and resonant tones. The next stages of drying and firing are essential for solidifying the clay and transforming the shaped vessel into a durable, functional instrument ready for use and artistic expression.
Drying and Firing
Once the udu drum has been meticulously shaped and the sound hole added, the next critical phases involve drying and firing the clay to transform it into a durable and resonant instrument. Here’s a comprehensive look at the drying and firing process:
1. Air Drying: Allow the shaped udu drum to air dry gradually in a controlled environment. This slow drying process is essential for minimizing the risk of cracking or warping, ensuring that the clay uniformly loses moisture without compromising its structural integrity.
2. Low-Heat Drying: After the initial air drying, subject the udu drum to a low-heat drying process to further eliminate residual moisture. This gradual drying approach prevents sudden temperature changes that could lead to clay deformation or flaws in the drum’s form.
3. Firing Preparation: Once the udu drum is thoroughly dried, it is ready for the firing process. Prepare the kiln for firing, ensuring that the temperature and duration of the firing cycle are suitable for the type of clay used and the desired strength and resonance of the instrument.
4. Firing the Udu Drum: Place the dried udu drum in the kiln and initiate the firing process, gradually raising the temperature to the optimal level for vitrification. This stage transforms the clay into a hardened, durable material, essential for producing the resonant tones characteristic of the udu drum.
5. Cooling and Inspection: After the firing cycle is complete, allow the udu drum to cool inside the kiln before carefully inspecting it for any imperfections or irregularities. The firing process should result in a structurally sound and acoustically vibrant instrument.
The meticulous combination of drying and firing processes is fundamental to the transformation of raw clay into a functional and expressive udu drum. As the fired udu drum emerges from the kiln, it embodies the culmination of craftsmanship, tradition, and artistic ingenuity, ready to resonate with captivating rhythms and cultural significance.
Decorating the Udu Drum
Once the udu drum has been shaped, dried, and fired, the opportunity for artistic expression through decoration arises. Decorating the udu drum not only adds visual allure but also serves as a means of personalization and cultural representation. Here’s a detailed exploration of the process of decorating the udu drum:
1. Surface Preparation: Before applying any decorative elements, ensure that the surface of the udu drum is clean and free from any residues or imperfections. A smooth, even surface provides an ideal canvas for creative embellishments.
2. Painting and Glazing: One approach to decorating the udu drum involves painting intricate designs or patterns using high-quality ceramic paints. Additionally, applying a protective glaze not only enhances the visual appeal but also safeguards the surface from wear and tear.
3. Carving and Etching: For a more tactile and textured embellishment, consider carving or etching designs into the surface of the udu drum. This technique allows for the creation of intricate patterns and motifs that add depth and character to the instrument.
4. Cultural Motifs: Incorporate cultural motifs and symbols that hold significance within the context of the udu drum’s origin or the maker’s heritage. These motifs serve as a testament to tradition and a means of preserving cultural identity through artistic expression.
5. Personalization: Embrace the opportunity to infuse the udu drum with personal touches, such as initials, meaningful symbols, or personalized designs. This adds a unique and individualized dimension to the instrument, reflecting the maker’s creativity and connection to the craft.
By adorning the udu drum with decorative elements, the instrument becomes not only a vessel for producing captivating rhythms but also a visual representation of artistry and cultural heritage. The harmonious fusion of craftsmanship and creativity culminates in a udu drum that resonates with both sonic allure and visual enchantment.
Conclusion
The art of crafting a udu drum is a profound journey that intertwines tradition, craftsmanship, and creative expression. From the meticulous preparation of the clay to the shaping, drying, firing, and decorating processes, each step contributes to the transformation of raw materials into a resonant and visually captivating instrument.
Throughout this comprehensive guide, we’ve delved into the intricate techniques and considerations involved in making a udu drum from scratch. The careful selection of materials, the precise shaping of the drum’s form, and the addition of the sound hole all play crucial roles in defining the instrument’s unique character and sonic qualities.
Furthermore, the drying and firing processes solidify the clay, transforming it into a durable and acoustically vibrant udu drum. The culmination of these stages sets the stage for the final embellishment and personalization of the instrument through decorative elements that honor cultural heritage and individual creativity.
Crafting a udu drum is not merely a technical endeavor; it is a celebration of cultural identity, artistic expression, and the enduring legacy of traditional craftsmanship. The udu drum stands as a testament to the fusion of creativity and tradition, resonating with captivating rhythms and visual allure.
As we conclude this exploration of the art of making udu drums, we invite you to embark on your own journey of craftsmanship and cultural appreciation. Whether you are drawn to the rhythmic allure of percussion instruments, the art of pottery and clay crafting, or the preservation of cultural heritage, the udu drum embodies a rich tapestry of tradition and artistry.
May the knowledge and insights shared in this guide inspire you to explore the captivating world of udu drum craftsmanship, fostering a deeper connection to the cultural significance and artistic ingenuity encapsulated in this timeless instrument.