Home>Production & Technology>MIDI>How To Make A MIDI Drum Rack In FL Studio
MIDI
How To Make A MIDI Drum Rack In FL Studio
Published: February 20, 2024
Learn how to create a MIDI drum rack in FL Studio with our step-by-step guide. Discover tips and tricks for using MIDI in your music production.
(Many of the links in this article redirect to a specific reviewed product. Your purchase of these products through affiliate links helps to generate commission for AudioLover.com, at no extra cost. Learn more)
Table of Contents
Introduction
Creating a MIDI drum rack in FL Studio can significantly enhance your music production capabilities. A MIDI drum rack serves as a virtual drum kit, allowing you to trigger various drum sounds and samples using a MIDI controller or your computer keyboard. This versatile tool empowers you to craft dynamic and rhythmically complex drum patterns, making it an indispensable asset for producers across diverse genres.
By harnessing the power of MIDI technology, you can elevate your drum programming to new heights, infusing your tracks with infectious grooves and percussive flair. Whether you're a seasoned beatmaker or a budding music enthusiast, mastering the art of constructing a MIDI drum rack opens up a world of creative possibilities within your digital audio workstation.
In this comprehensive guide, we'll delve into the intricacies of setting up, customizing, and utilizing a MIDI drum rack in FL Studio. From selecting and assigning drum sounds to tailoring the rack to suit your unique preferences, you'll gain invaluable insights into optimizing your drum programming workflow.
So, grab your favorite pair of headphones, fire up FL Studio, and get ready to embark on a rhythmic journey as we unravel the art of crafting a MIDI drum rack that seamlessly integrates with your music production endeavors. Whether you're aiming to lay down thunderous hip-hop beats, intricate electronic rhythms, or lively pop grooves, the knowledge and techniques shared in this guide will empower you to sculpt drum tracks that resonate with energy and character.
Without further ado, let's dive into the realm of MIDI drum racks and unleash the full potential of your drum programming prowess within FL Studio.
Setting Up the MIDI Drum Rack
Setting up a MIDI drum rack in FL Studio is the initial step towards harnessing the rhythmic prowess of this versatile tool. To embark on this journey, launch FL Studio and create a new project or open an existing one where you intend to integrate the MIDI drum rack.
-
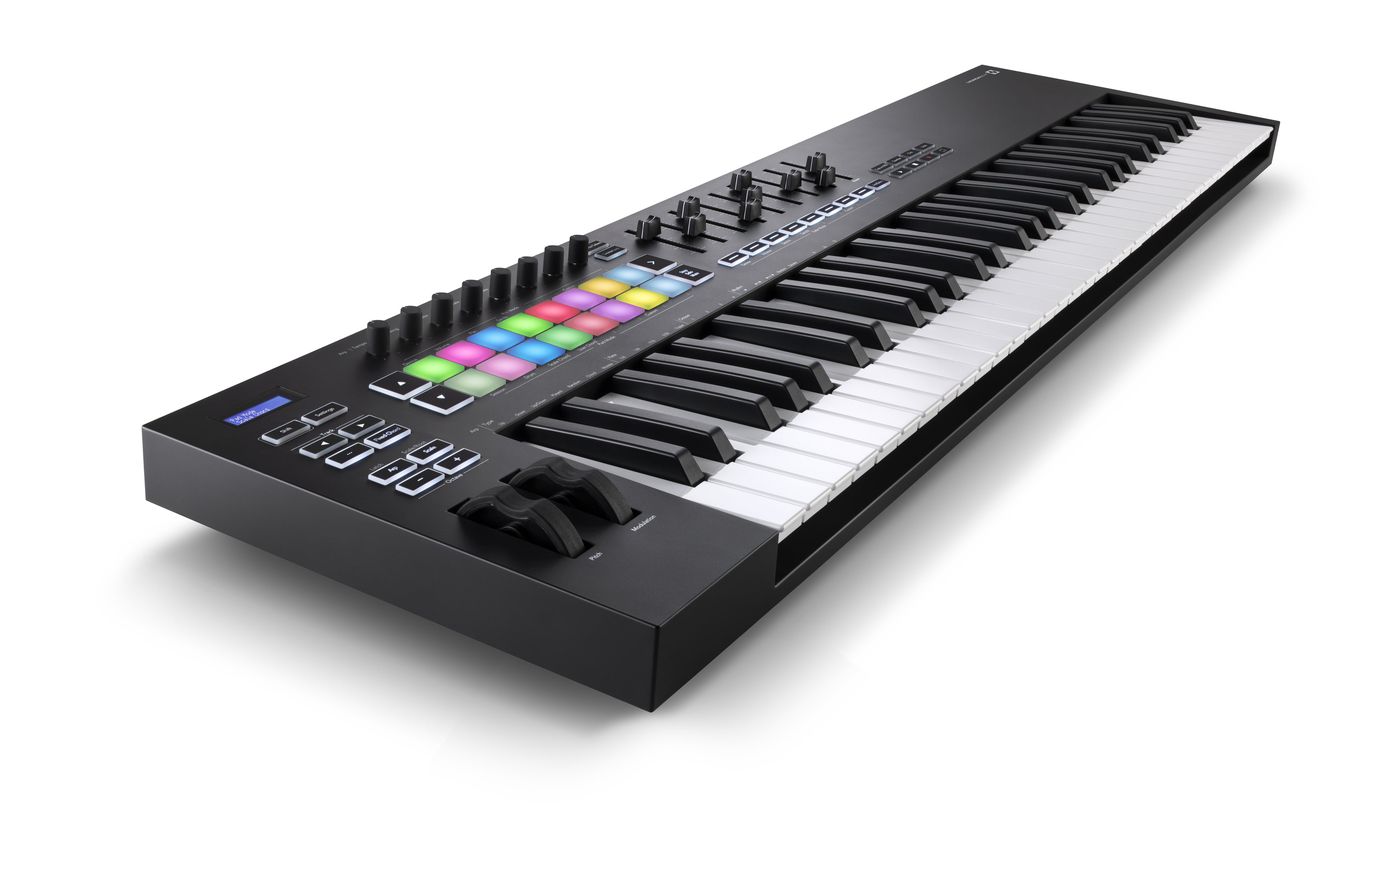
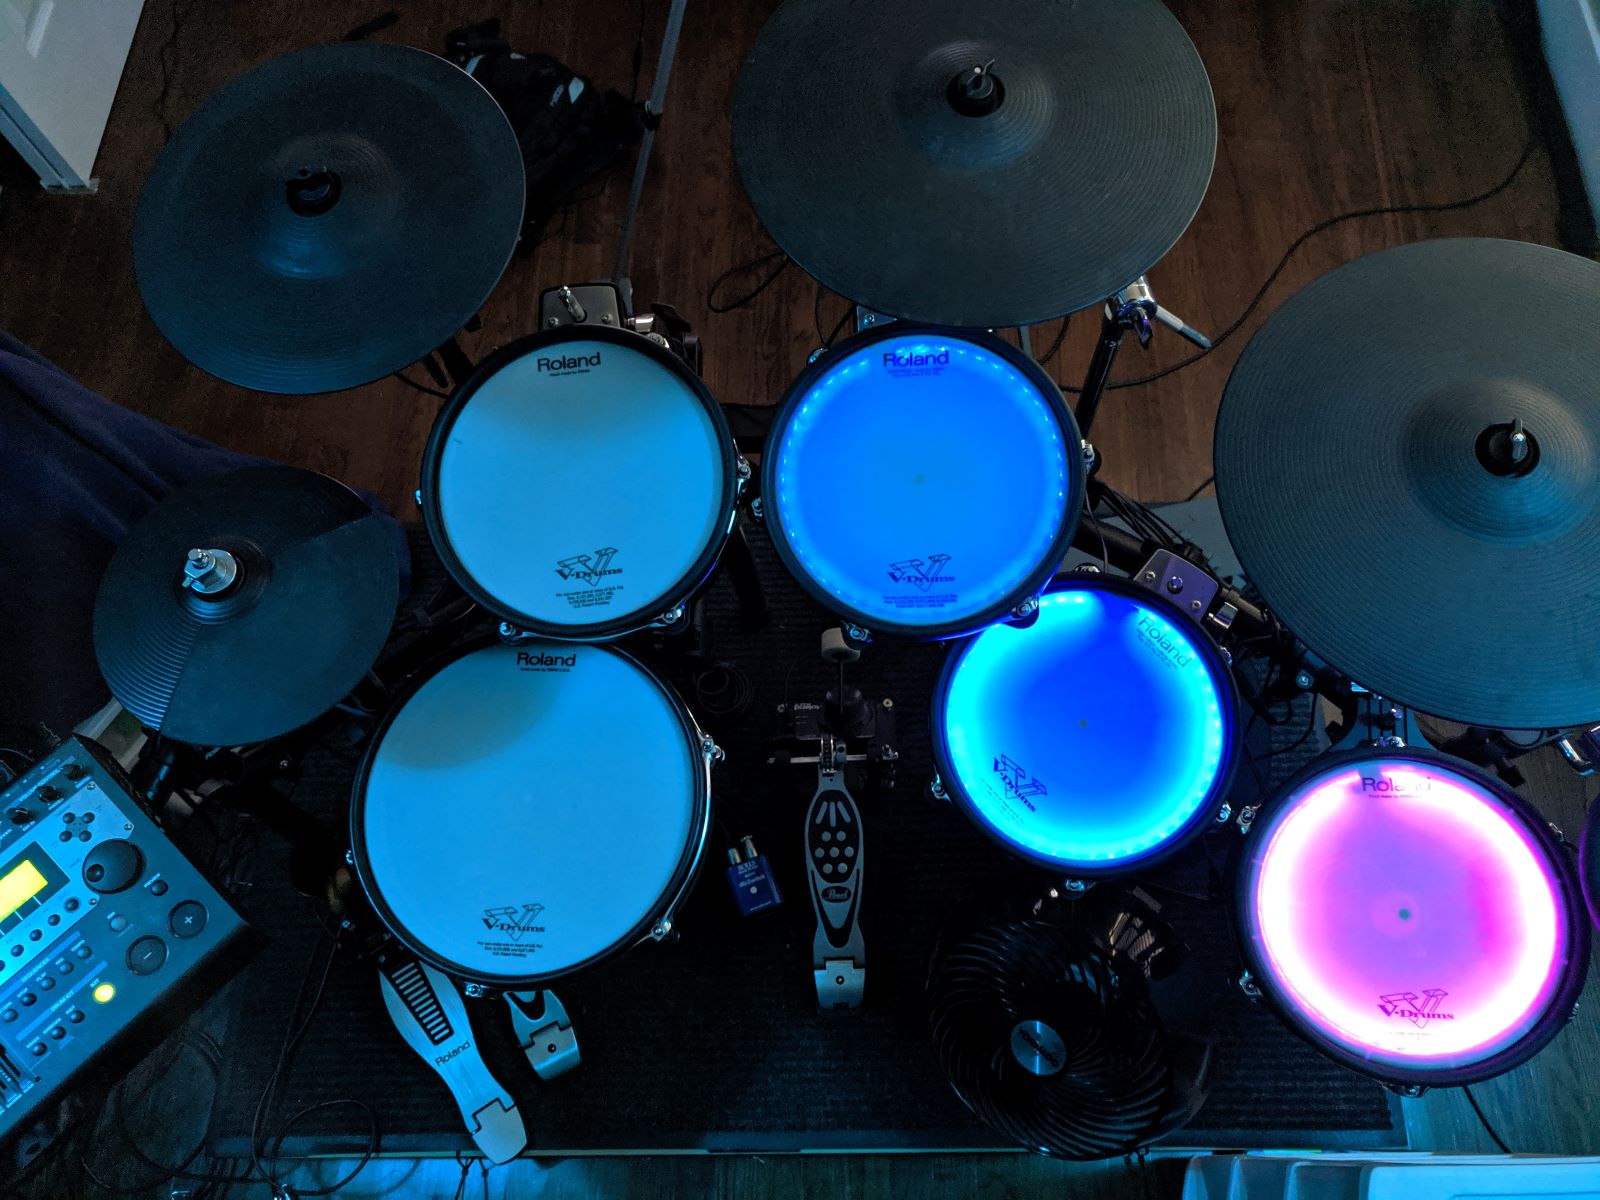
Selecting the Drum Rack: Begin by navigating to the Channel Rack or Step Sequencer, where you'll be working with your drum sounds. Right-click on an empty space within the Channel Rack and choose 'Insert' from the context menu. Then, select 'FPC' from the list of available options. FPC (Fruity Pad Controller) serves as the foundation for constructing your MIDI drum rack, providing a robust platform for organizing and triggering drum samples.
-
Configuring the FPC Plugin: Once the FPC plugin is inserted into your project, you'll be presented with a grid interface comprising multiple pads, each representing a potential slot for a drum sound. To streamline your workflow, consider organizing the pads according to your preferred drum kit layout. This could involve arranging the pads to align with the standard layout of a physical drum kit or customizing the arrangement to suit your unique playing style.
-
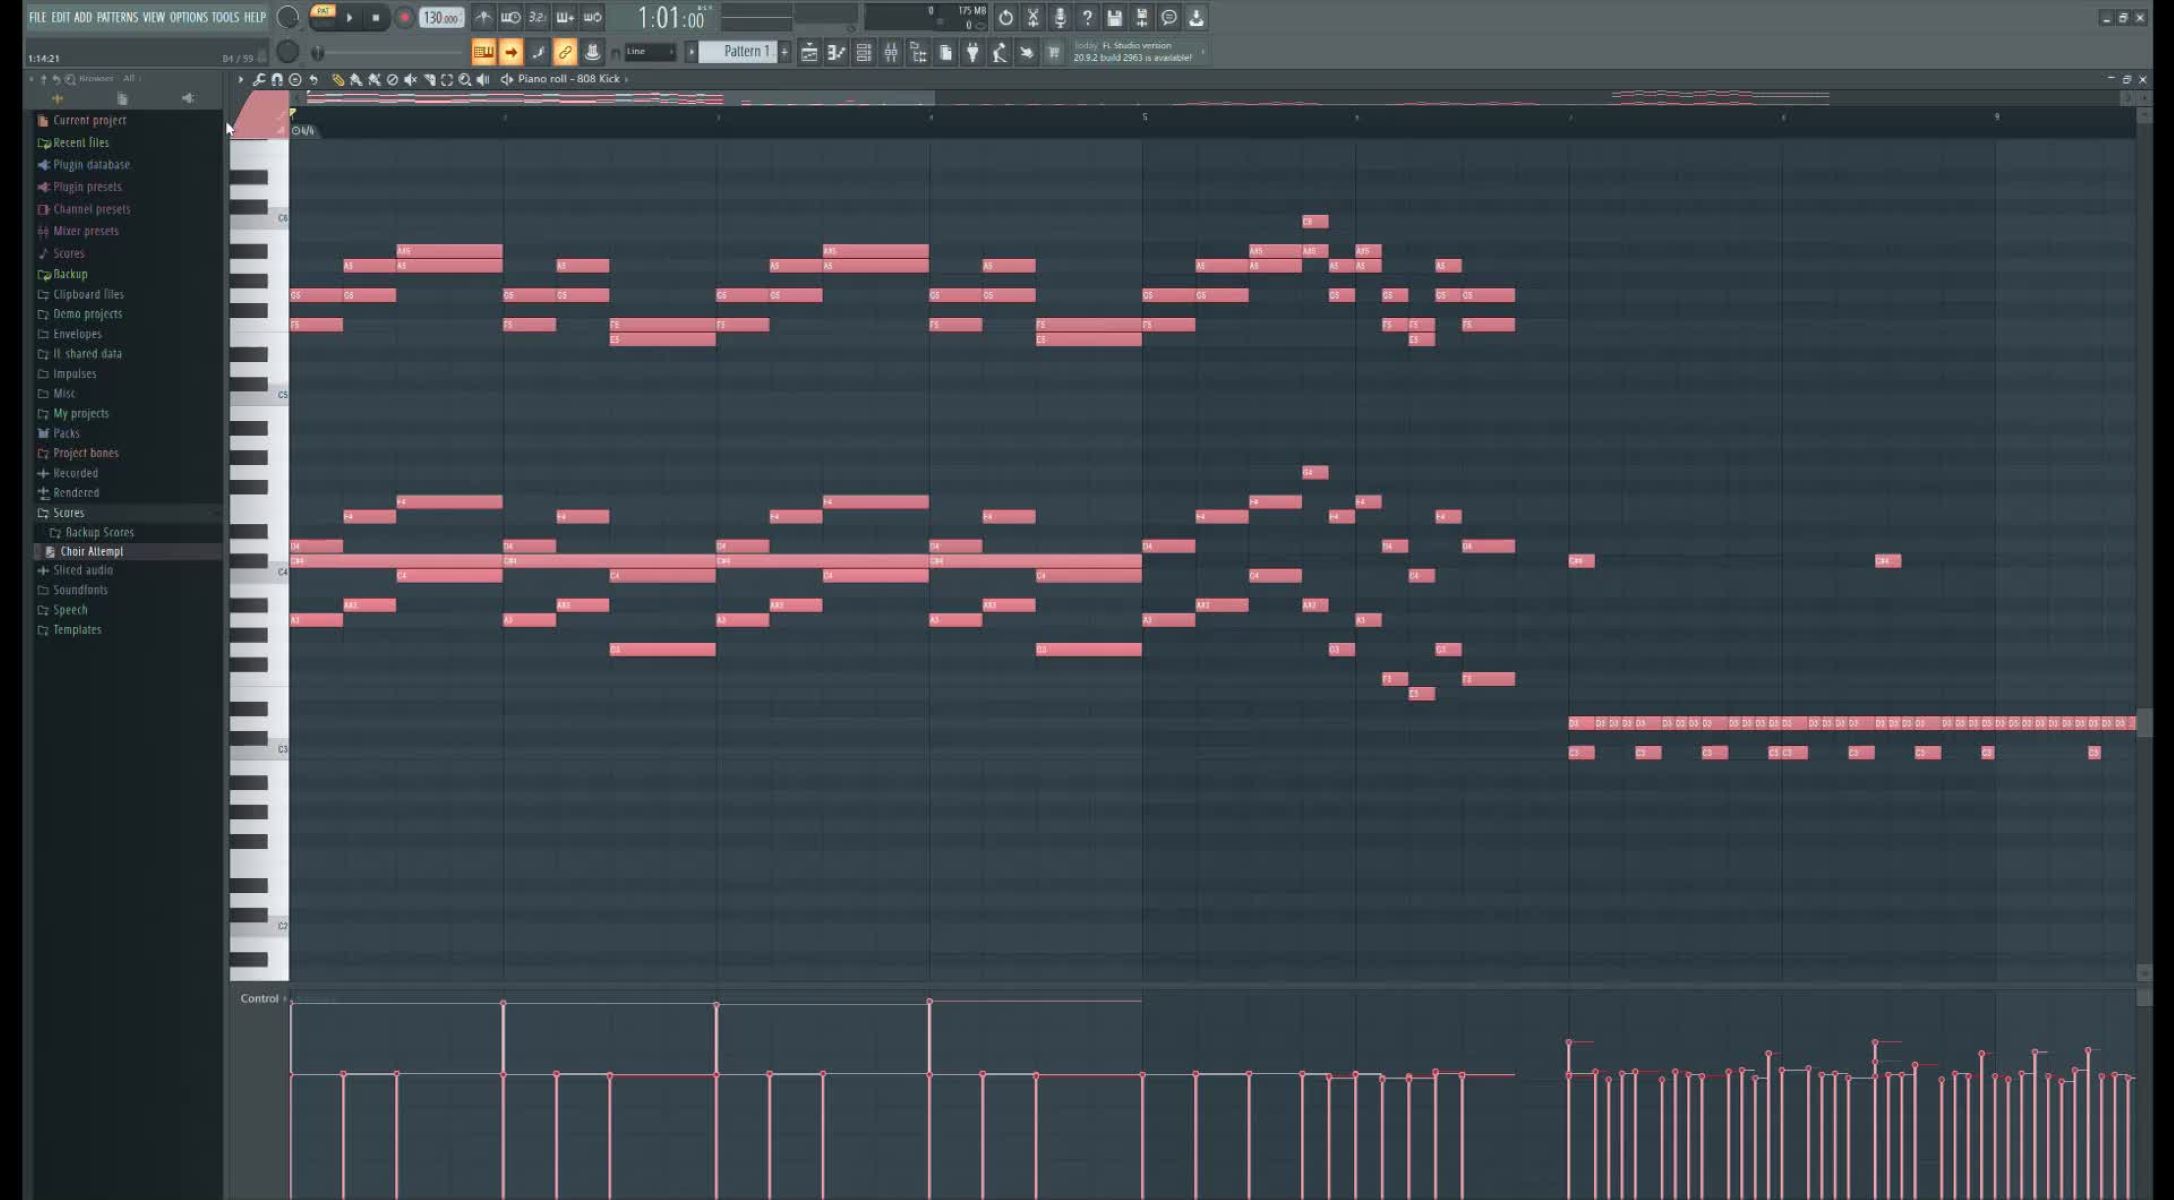
Assigning MIDI Notes to Pads: With the FPC plugin in place, it's time to assign MIDI notes to the individual pads. This crucial step enables you to trigger the corresponding drum sounds using a MIDI controller or your computer keyboard. To achieve this, simply right-click on a pad, select 'Note' from the context menu, and then choose the desired MIDI note from the dropdown list. Repeat this process for each pad, ensuring that every drum sound is mapped to a distinct MIDI note for seamless triggering during playback.
-
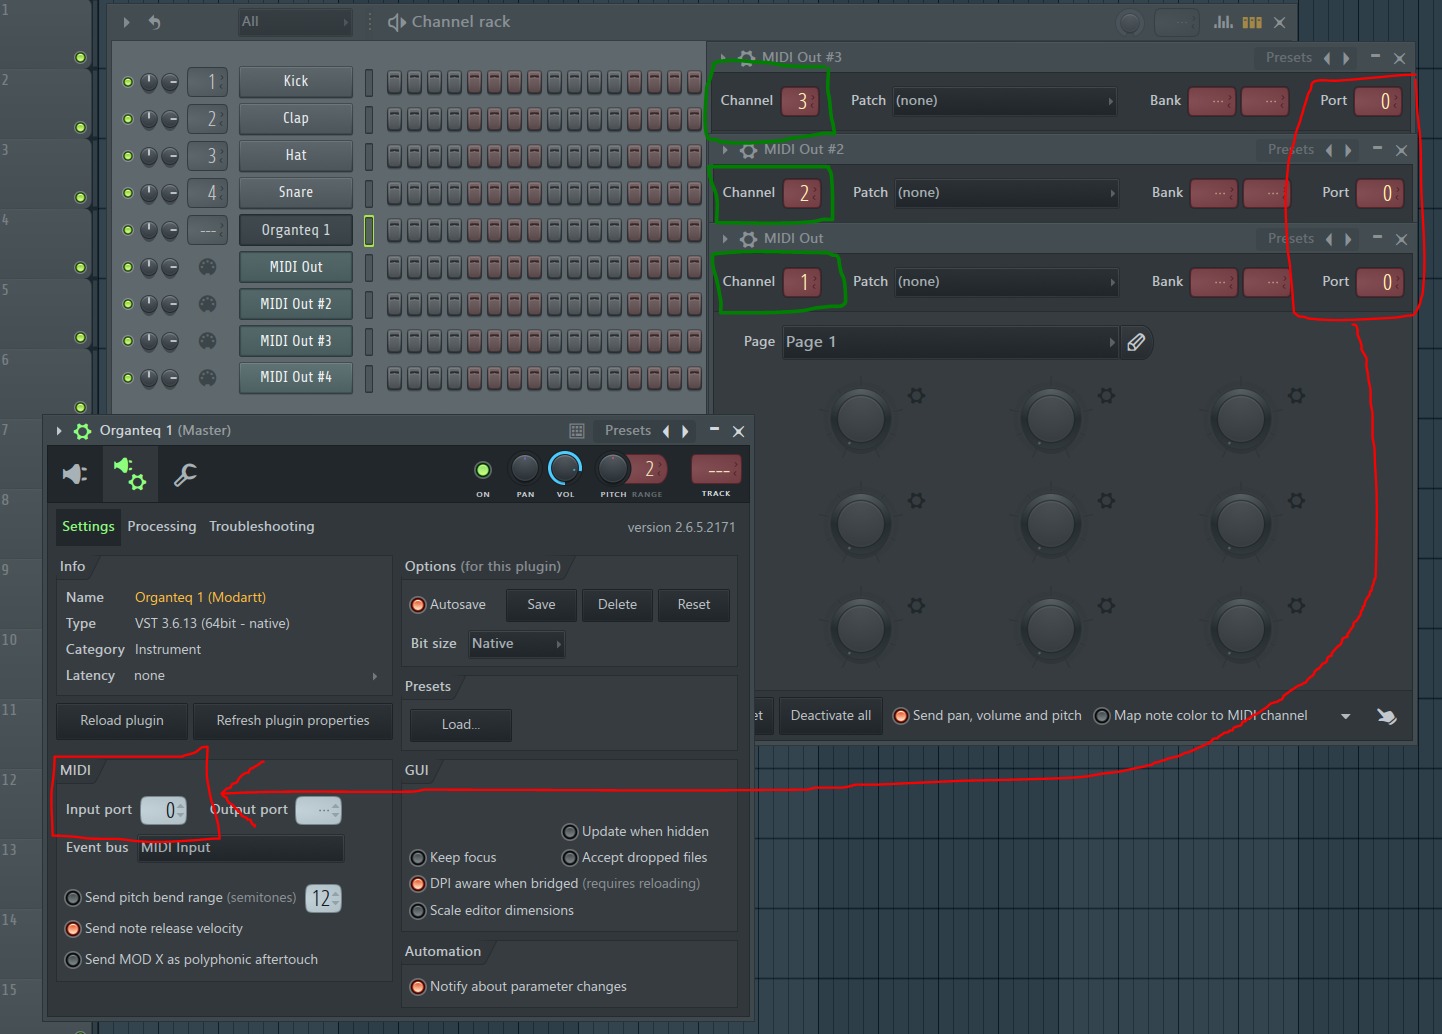
Mapping the MIDI Drum Rack to a Mixer Track: To facilitate independent mixing and processing of the drum sounds, it's essential to route the MIDI drum rack to a dedicated mixer track. This allows you to apply effects, adjust levels, and sculpt the overall sound of the drum kit with precision. To accomplish this, right-click on the FPC plugin within the Channel Rack, select 'Channel Routing,' and then choose 'Route to this track only.' This action links the MIDI drum rack to a designated mixer track, establishing a direct audio pathway for further manipulation.
By following these fundamental steps, you'll lay a solid foundation for your MIDI drum rack within FL Studio, setting the stage for seamless integration with your creative workflow. With the drum rack primed and ready, you're now equipped to populate it with an array of captivating drum sounds and embark on a rhythmic odyssey that transcends musical boundaries.
Assigning Drum Sounds to the MIDI Drum Rack
Once the MIDI drum rack framework is established within FL Studio, the next pivotal phase involves populating the pads with an assortment of drum sounds to fuel your rhythmic endeavors. This process of assigning drum sounds to the MIDI drum rack is where the sonic character and expressive potential of your virtual drum kit truly come to life.
Curating Drum Sounds
Before delving into the assignment process, it's paramount to curate a diverse selection of drum sounds that resonate with your artistic vision. Whether you're drawn to punchy kick drums, snappy snares, shimmering cymbals, or an eclectic range of percussive elements, curating a well-rounded palette of drum sounds lays the groundwork for a dynamic and engaging MIDI drum rack.
Drag-and-Drop Integration
In FL Studio, integrating drum sounds into the MIDI drum rack is a seamless endeavor. Begin by locating your desired drum samples within the browser or sample library of FL Studio. With the FPC plugin interface open, simply drag and drop each drum sample onto the corresponding pad within the grid. This intuitive process allows you to swiftly populate the MIDI drum rack with an array of sonic textures, creating a cohesive and versatile drum kit tailored to your sonic preferences.
Fine-Tuning Parameters
Upon assigning drum sounds to the MIDI drum rack, it's advantageous to explore the various parameters and editing capabilities offered by the FPC plugin. This includes adjusting the volume, panning, and tuning of individual drum samples, enabling you to sculpt the tonal characteristics and spatial placement of each sound within the virtual drum kit. Additionally, exploring the built-in envelope controls, such as decay and release, empowers you to refine the transient response and sustain of the drum sounds, further enhancing their expressive potential.
MIDI Note Mapping
With the drum sounds seamlessly integrated into the MIDI drum rack, it's essential to verify that the MIDI note assignments align with your intended triggering mechanism. By referencing the MIDI note mappings within the FPC plugin, you can ensure that each drum sound is accurately mapped to a distinct MIDI note, facilitating intuitive and responsive triggering during the creative process.
Sonic Exploration and Iteration
As you assign and tailor the drum sounds within the MIDI drum rack, embrace a spirit of sonic exploration and iteration. Experiment with layering complementary drum samples, blending acoustic and electronic elements, and infusing the kit with distinctive sonic textures to forge a drum palette that resonates with depth and character. This iterative approach fosters a dynamic and personalized drum kit that serves as a catalyst for inspired rhythmic compositions.
By meticulously curating, integrating, and refining the drum sounds within the MIDI drum rack, you pave the way for a rhythmic playground brimming with expressive potential and sonic diversity. This phase of the process sets the stage for fluid and captivating drum programming within FL Studio, empowering you to craft evocative rhythms that elevate your musical productions to new heights.
Customizing the Drum Rack
Customizing the MIDI drum rack within FL Studio is a pivotal stage that empowers you to tailor the sonic characteristics, performance parameters, and visual layout of the virtual drum kit to align with your creative vision. This phase of the process transcends mere technical adjustments, delving into the realm of artistic expression and user-centric optimization, ultimately shaping the drum rack into a personalized and intuitive instrument for rhythmic exploration.
Sound Sculpting and Layering
One of the primary avenues for customization lies in the realm of sound sculpting and layering. By delving into the individual pad settings within the FPC plugin, you can fine-tune the sonic attributes of each drum sound, adjusting parameters such as EQ, compression, and transient shaping to imbue the sounds with depth and impact. Furthermore, exploring the potential for layering multiple samples on a single pad opens up a world of sonic amalgamation, allowing you to fuse complementary textures and create rich, nuanced drum timbres that resonate with character and presence.
Performance Mapping and Dynamics
Customizing the MIDI drum rack extends beyond sonic manipulation, encompassing the realm of performance mapping and dynamics. Within the FPC plugin, you have the flexibility to assign performance parameters to MIDI controllers, enabling expressive modulation of parameters such as pitch, filter cutoff, and resonance in real-time. This dynamic mapping empowers you to infuse your drum performances with nuanced articulation and emotive qualities, fostering a deeper connection between your rhythmic expressions and the sonic palette of the drum rack.
Visual Layout and Organization
In addition to sonic and performance customization, the visual layout and organization of the MIDI drum rack play a pivotal role in streamlining your workflow and enhancing user experience. FL Studio offers intuitive options for customizing the visual representation of the drum rack, allowing you to arrange pads, assign color-coded labels, and categorize drum sounds according to your preferred layout. This visual customization not only enhances the aesthetic appeal of the drum rack but also contributes to efficient navigation and seamless interaction during the creative process.
Macro Controls and Automation
Harnessing the power of macro controls and automation further amplifies the customization potential of the MIDI drum rack. By assigning macro knobs to specific parameters within the FPC plugin, you can create macro-driven sound shaping and performance modulation, streamlining complex adjustments into intuitive and dynamic control interfaces. Furthermore, leveraging automation within FL Studio enables you to craft evolving rhythmic textures and expressive drum performances, infusing your compositions with a dynamic and evolving sonic landscape.
Iterative Refinement and Personalization
As you delve into the realm of customizing the MIDI drum rack, embrace an iterative approach that prioritizes refinement and personalization. Experiment with diverse sonic treatments, explore unconventional performance mappings, and fine-tune the visual layout to align with your creative preferences. This iterative refinement process nurtures a sense of ownership and artistic resonance, fostering a drum rack that embodies your sonic identity and seamlessly integrates with your music production endeavors.
In essence, customizing the MIDI drum rack within FL Studio transcends technical adjustments, evolving into a canvas for sonic exploration, expressive performance, and user-centric optimization. By embracing the multifaceted aspects of customization, you sculpt a drum rack that not only resonates with sonic depth and expressive potential but also aligns seamlessly with your creative workflow, empowering you to unleash rhythmic compositions that embody your artistic vision.
Saving and Using the MIDI Drum Rack
Once you have meticulously crafted and customized your MIDI drum rack within FL Studio, it's imperative to safeguard your creative endeavors by saving the drum rack as a dedicated preset for future use. This preservation process not only ensures the retention of your meticulously curated drum sounds and performance mappings but also streamlines the integration of the drum rack into subsequent projects, fostering a seamless and efficient music production workflow.
Preset Saving and Organization
Upon finalizing the customization of your MIDI drum rack, navigate to the FPC plugin interface within FL Studio and access the preset management options. Here, you can save the configured drum rack as a dedicated preset, encapsulating the sonic, performance, and visual customizations into a cohesive and reusable entity. It's advisable to employ a systematic approach to naming and organizing your drum rack presets, facilitating intuitive retrieval and integration in future projects. By categorizing presets based on sonic characteristics, genre compatibility, or thematic elements, you cultivate a curated library of MIDI drum racks that cater to diverse creative contexts.
Exporting and Sharing
In addition to local preservation, consider the potential for exporting and sharing your MIDI drum rack presets with fellow producers and collaborators. FL Studio offers seamless export functionalities, enabling you to encapsulate the drum rack and its associated settings into a portable format that can be shared across different music production environments. By leveraging this export capability, you contribute to a collaborative ecosystem where creative resources and sonic palettes can be exchanged and integrated, fostering a collective synergy within the music production community.
Integration into Future Projects
As you embark on new music production endeavors, the saved MIDI drum rack presets serve as invaluable assets, expediting the integration of dynamic and meticulously crafted drum kits into your projects. Whether you're initiating a fresh composition, collaborating on a remix, or exploring diverse sonic territories, the ability to seamlessly import and utilize your customized drum rack presets empowers you to maintain creative continuity and harness the sonic identity cultivated through previous endeavors. This streamlined integration not only enhances efficiency but also nurtures a sense of sonic cohesion across your music production portfolio.
By embracing the practice of saving, exporting, and utilizing MIDI drum rack presets, you establish a resilient and adaptable infrastructure for your rhythmic explorations within FL Studio. This preservation and integration approach not only honors the creative investments made in crafting the drum rack but also amplifies the potential for sonic innovation and collaborative synergy within the broader music production landscape.