Home>Instruments>Drums>How To Wrap Drums
Drums
How To Wrap Drums
Published: February 8, 2024
Learn how to wrap drums with our step-by-step guide. Discover the best techniques and materials for wrapping drums at home. Master the art of drum wrapping today!
(Many of the links in this article redirect to a specific reviewed product. Your purchase of these products through affiliate links helps to generate commission for AudioLover.com, at no extra cost. Learn more)
Table of Contents
Introduction
Introduction
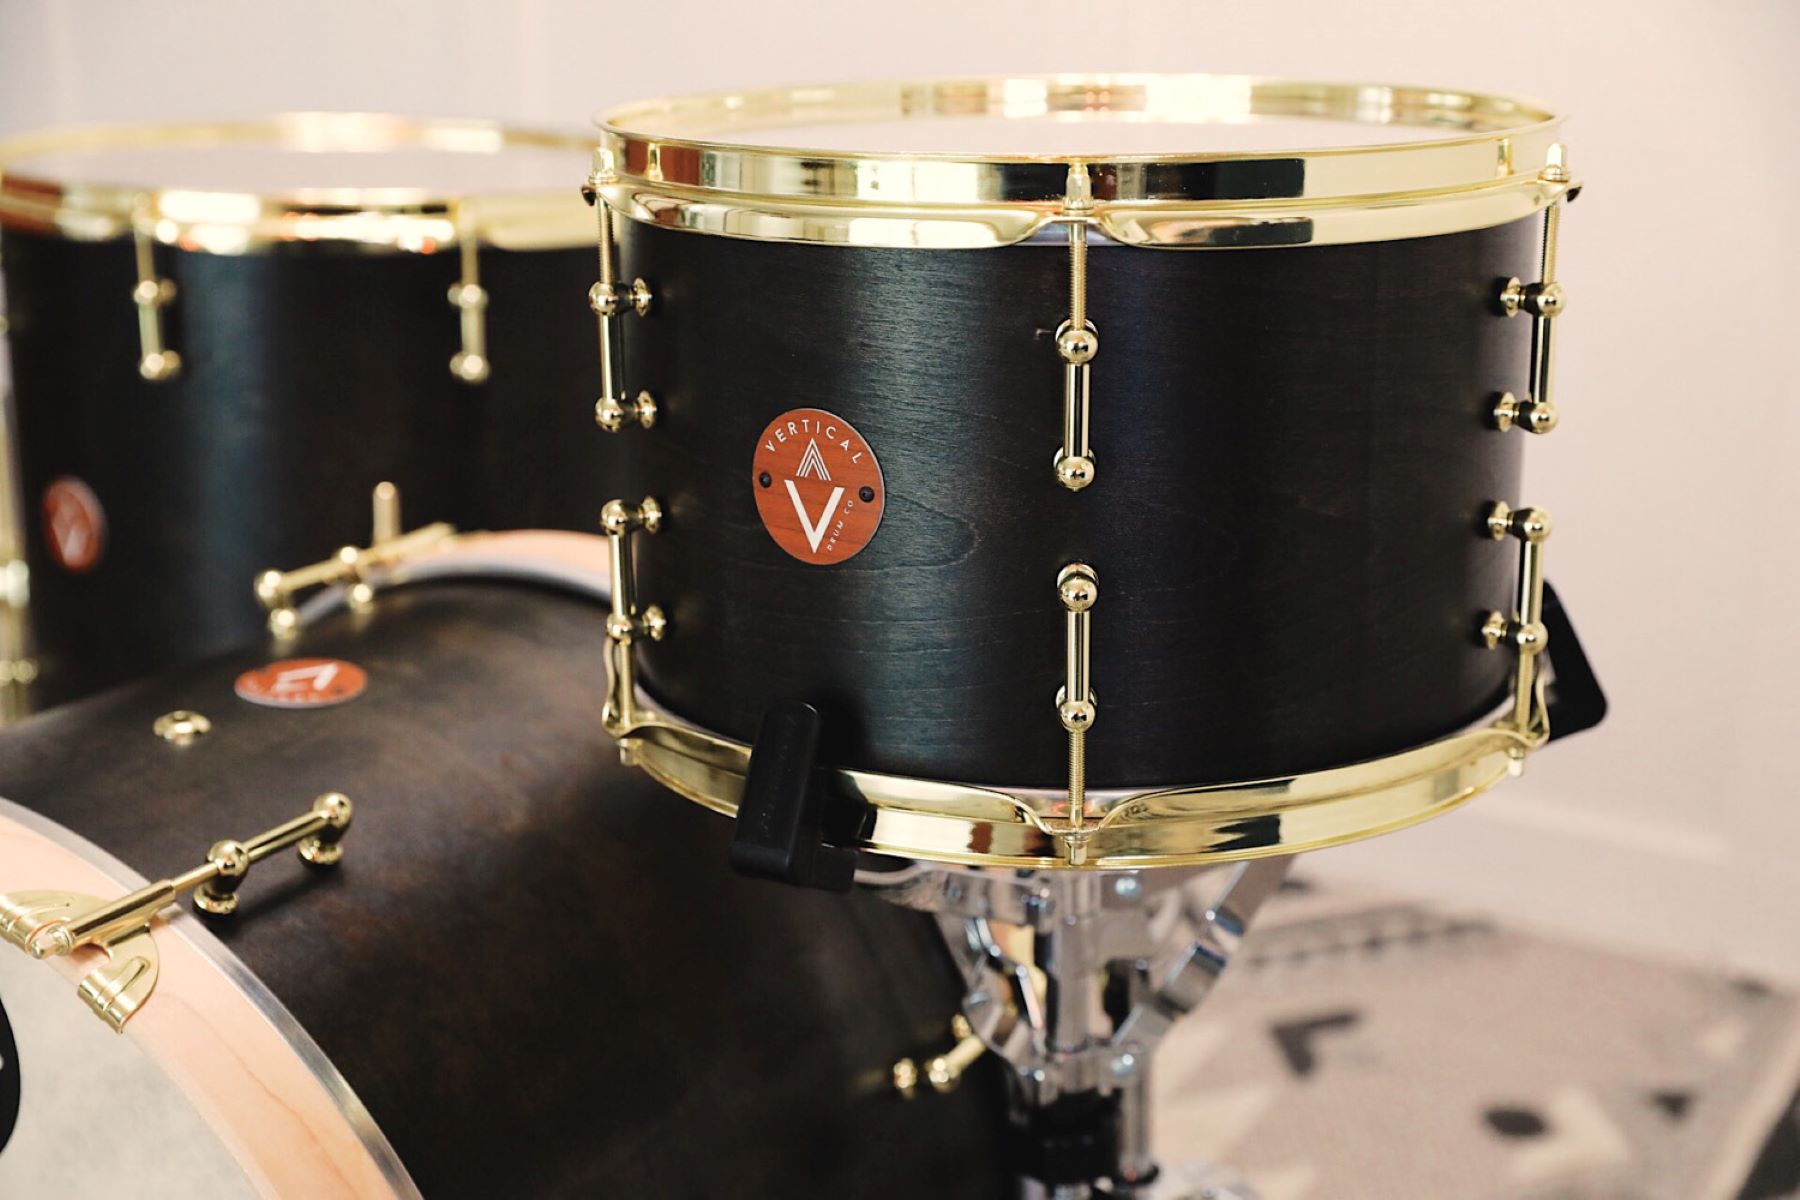
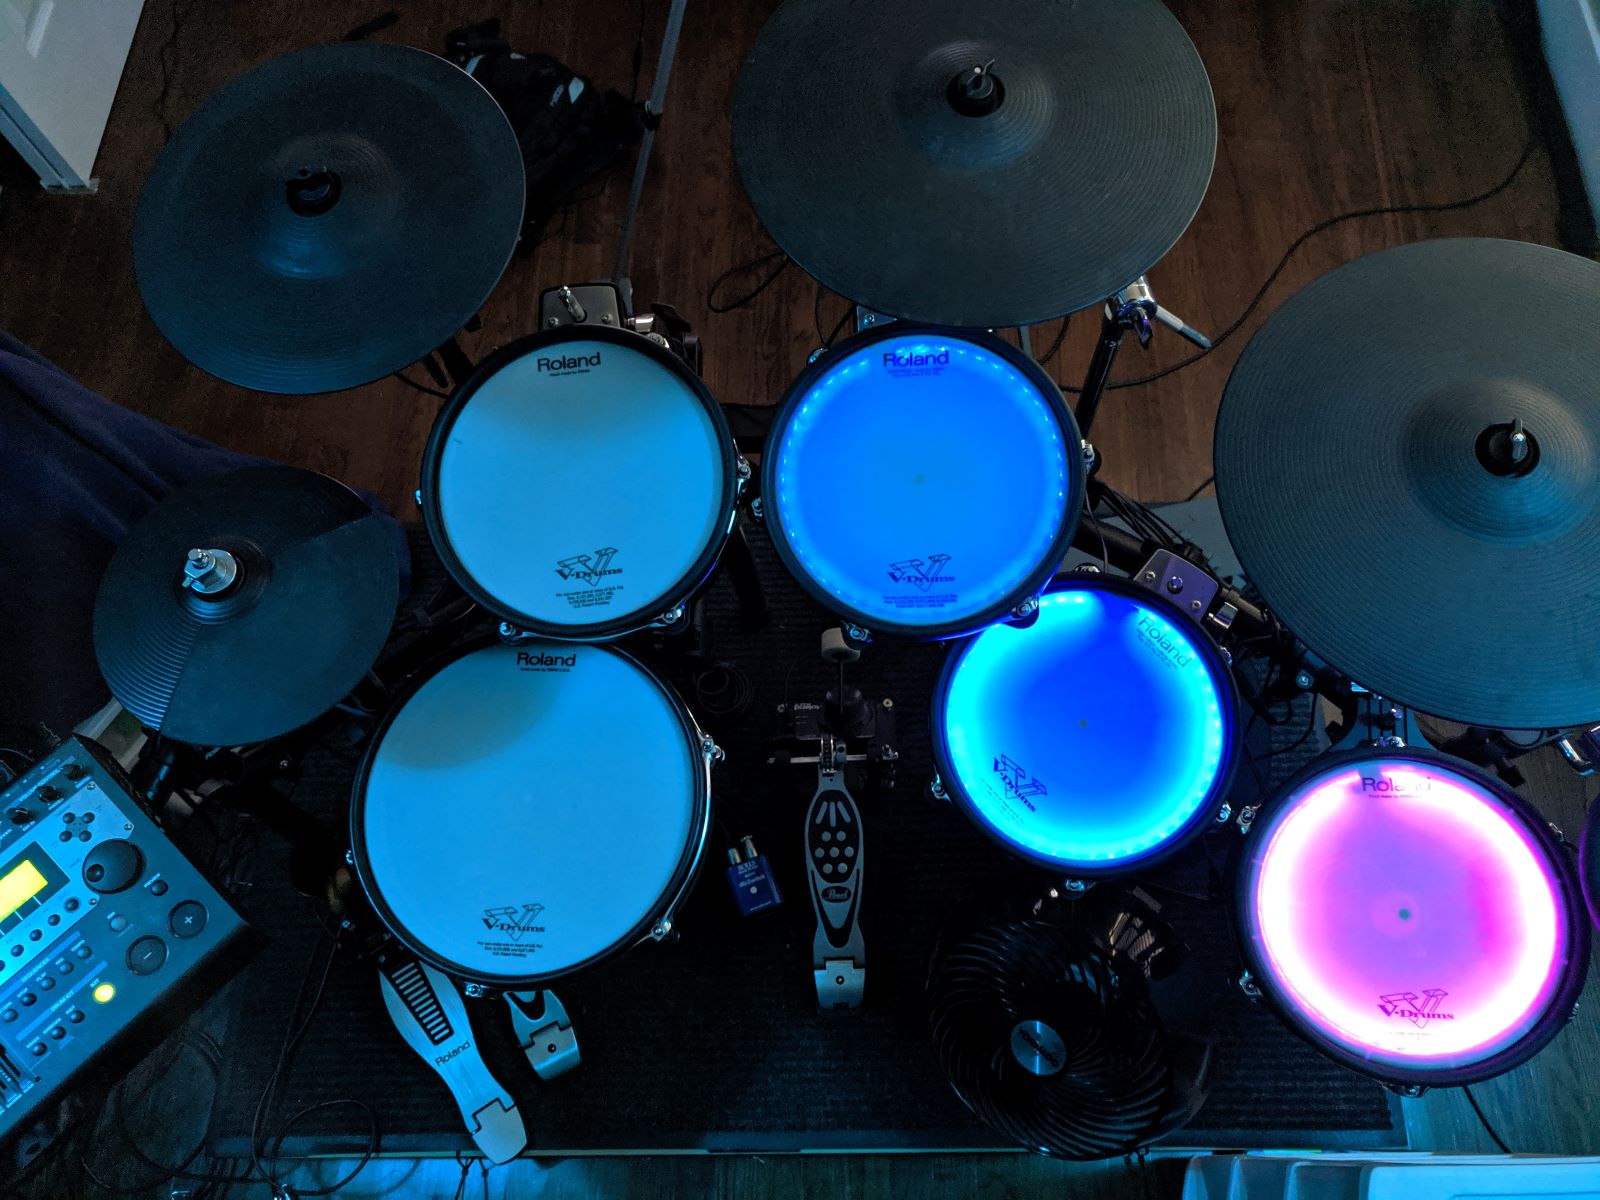
Drums are not only a vital component of music but also a reflection of personal style and creativity. Whether you’re a professional musician, a hobbyist, or simply looking to revamp your drum set, wrapping your drums can add a unique flair and protect the surface from wear and tear. The process of wrapping drums involves careful preparation, precise application, and a keen eye for detail. In this comprehensive guide, we will explore the step-by-step process of wrapping drums, from gathering the necessary materials to adding the finishing touches.
Whether you’re aiming for a sleek, modern look or a vibrant, eye-catching design, wrapping your drums allows for endless possibilities. It provides an opportunity to express your individuality and make a bold statement on stage or in the studio. Additionally, drum wrapping can breathe new life into older drum sets, giving them a fresh and contemporary appearance.
As we delve into the art of drum wrapping, we will provide valuable tips and insights to ensure a smooth and successful wrapping process. From selecting the right materials to achieving a flawless finish, this guide will equip you with the knowledge and confidence to transform your drums into personalized works of art. Let’s embark on this creative journey and discover the transformative power of drum wrapping.
Necessary Materials
Necessary Materials
Before embarking on the drum wrapping process, it’s essential to gather the necessary materials to ensure a seamless and professional outcome. Here’s a comprehensive list of the essential items you’ll need:
- Drum Wrap: Choose a high-quality drum wrap material in the color or design of your preference. Whether you opt for a solid color, a striking pattern, or a textured finish, ensure that the wrap is durable and specifically designed for drum application.
- Drum Shells: The drums you intend to wrap, whether they are individual drums or a complete drum set.
- Adhesive: Select a strong adhesive that is suitable for drum wrap application. Ensure that the adhesive is compatible with the drum wrap material to guarantee a secure and long-lasting bond.
- Cutting Tools: Sharp scissors or a precision knife for cutting the drum wrap to the appropriate size and shape for each drum shell.
- Measuring Tape: A measuring tape will aid in accurately determining the dimensions of the drum shells and the corresponding wrap pieces.
- Heat Gun or Hair Dryer: A heat gun or hair dryer will be used to activate the adhesive on the drum wrap, allowing for proper adhesion and a smooth finish.
- Roller: A soft roller is essential for removing air bubbles and ensuring the drum wrap adheres uniformly to the drum shell surface.
- Clean Cloth and Rubbing Alcohol: These items are necessary for thoroughly cleaning the drum shells before applying the wrap, ensuring a pristine surface for optimal adhesion.
- Protective Gear: Gloves and eye protection are crucial for personal safety during the wrapping process, especially when handling adhesive and cutting tools.
By assembling these essential materials, you’ll be well-equipped to commence the drum wrapping process with confidence and precision. Each item plays a crucial role in achieving a professional and visually stunning result, allowing you to transform your drums into personalized masterpieces.
Preparing the Drum
Preparing the Drum
Before applying the drum wrap, it’s imperative to prepare the drum shells meticulously to ensure optimal adhesion and a flawless finish. Follow these essential steps to prepare the drums for wrapping:
- Clean the Drum Shells: Start by thoroughly cleaning the drum shells using a clean cloth and rubbing alcohol. This step is crucial for removing any dirt, dust, or residue that could hinder the adhesion of the drum wrap.
- Remove Hardware: If applicable, carefully remove any hardware attached to the drum shells, such as lugs, tension rods, and drum mounts. This will facilitate a smoother wrapping process and allow for precise application of the drum wrap.
- Measure and Cut the Drum Wrap: Measure the dimensions of each drum shell and use the measuring tape to determine the corresponding wrap pieces. With the measurements in hand, carefully cut the drum wrap material to the appropriate size and shape for each drum shell, ensuring a precise fit.
- Preheat the Drum Wrap: If using a heat-activated adhesive, gently preheat the drum wrap material with a heat gun or hair dryer. This will prepare the wrap for application and enhance the activation of the adhesive.
By diligently preparing the drum shells, you’ll create an ideal foundation for the application of the drum wrap. This meticulous approach will contribute to a professional and long-lasting result, ensuring that the drum wrap adheres seamlessly to the drum shells without any imperfections or irregularities.
Wrapping the Drum
Wrapping the Drum
Now that the drum shells are meticulously prepared, it’s time to embark on the transformative process of wrapping the drums. Follow these step-by-step guidelines for a successful and visually striking drum wrap application:
- Apply Adhesive: Begin by applying a thin, even layer of adhesive to the back of the drum wrap material. Ensure complete coverage while avoiding excessive adhesive that could lead to seepage or bubbling.
- Position the Drum Wrap: Carefully align the drum wrap with the drum shell, starting at one end and gradually pressing the wrap onto the surface. Exercise caution to prevent air bubbles and ensure a smooth, wrinkle-free application.
- Activate the Adhesive: If using a heat-activated adhesive, gently heat the applied drum wrap using a heat gun or hair dryer. The heat will activate the adhesive, facilitating a secure bond between the wrap and the drum shell.
- Trim Excess Wrap: Once the drum wrap is firmly adhered to the drum shell, use sharp scissors or a precision knife to carefully trim any excess wrap material along the edges of the drum shell. Take care to achieve clean and precise cuts for a polished finish.
- Smooth and Secure: Utilize a soft roller to gently smooth out the drum wrap, ensuring that it adheres uniformly to the drum shell surface. This step is crucial for eliminating air bubbles and guaranteeing a flawless final result.
By following these meticulous steps, you’ll achieve a professional and visually captivating drum wrap application. The careful execution of each stage is essential for ensuring that the drum wrap adheres securely and uniformly to the drum shell, resulting in a stunning transformation of your drums.
Finishing Touches
Finishing Touches
As the drum wrap application nears completion, it’s time to add the finishing touches to elevate the visual appeal and ensure a professional outcome. Paying attention to the final details will contribute to a polished and impressive result. Here are the essential steps for completing the drum wrapping process:
- Reattach Hardware: If hardware components were removed during the preparation phase, carefully reattach them to the drum shells. This includes lugs, tension rods, drum mounts, and any additional hardware specific to your drum set.
- Inspect and Refine: Thoroughly inspect the wrapped drums to identify any imperfections or irregularities. If necessary, make any minor adjustments to ensure that the drum wrap is impeccably applied and free from defects.
- Clean and Polish: Use a clean cloth to gently clean the drum wrap surface, removing any residual adhesive or marks. Additionally, consider applying a drum-specific polish to enhance the visual appeal and protect the wrap from wear and tear.
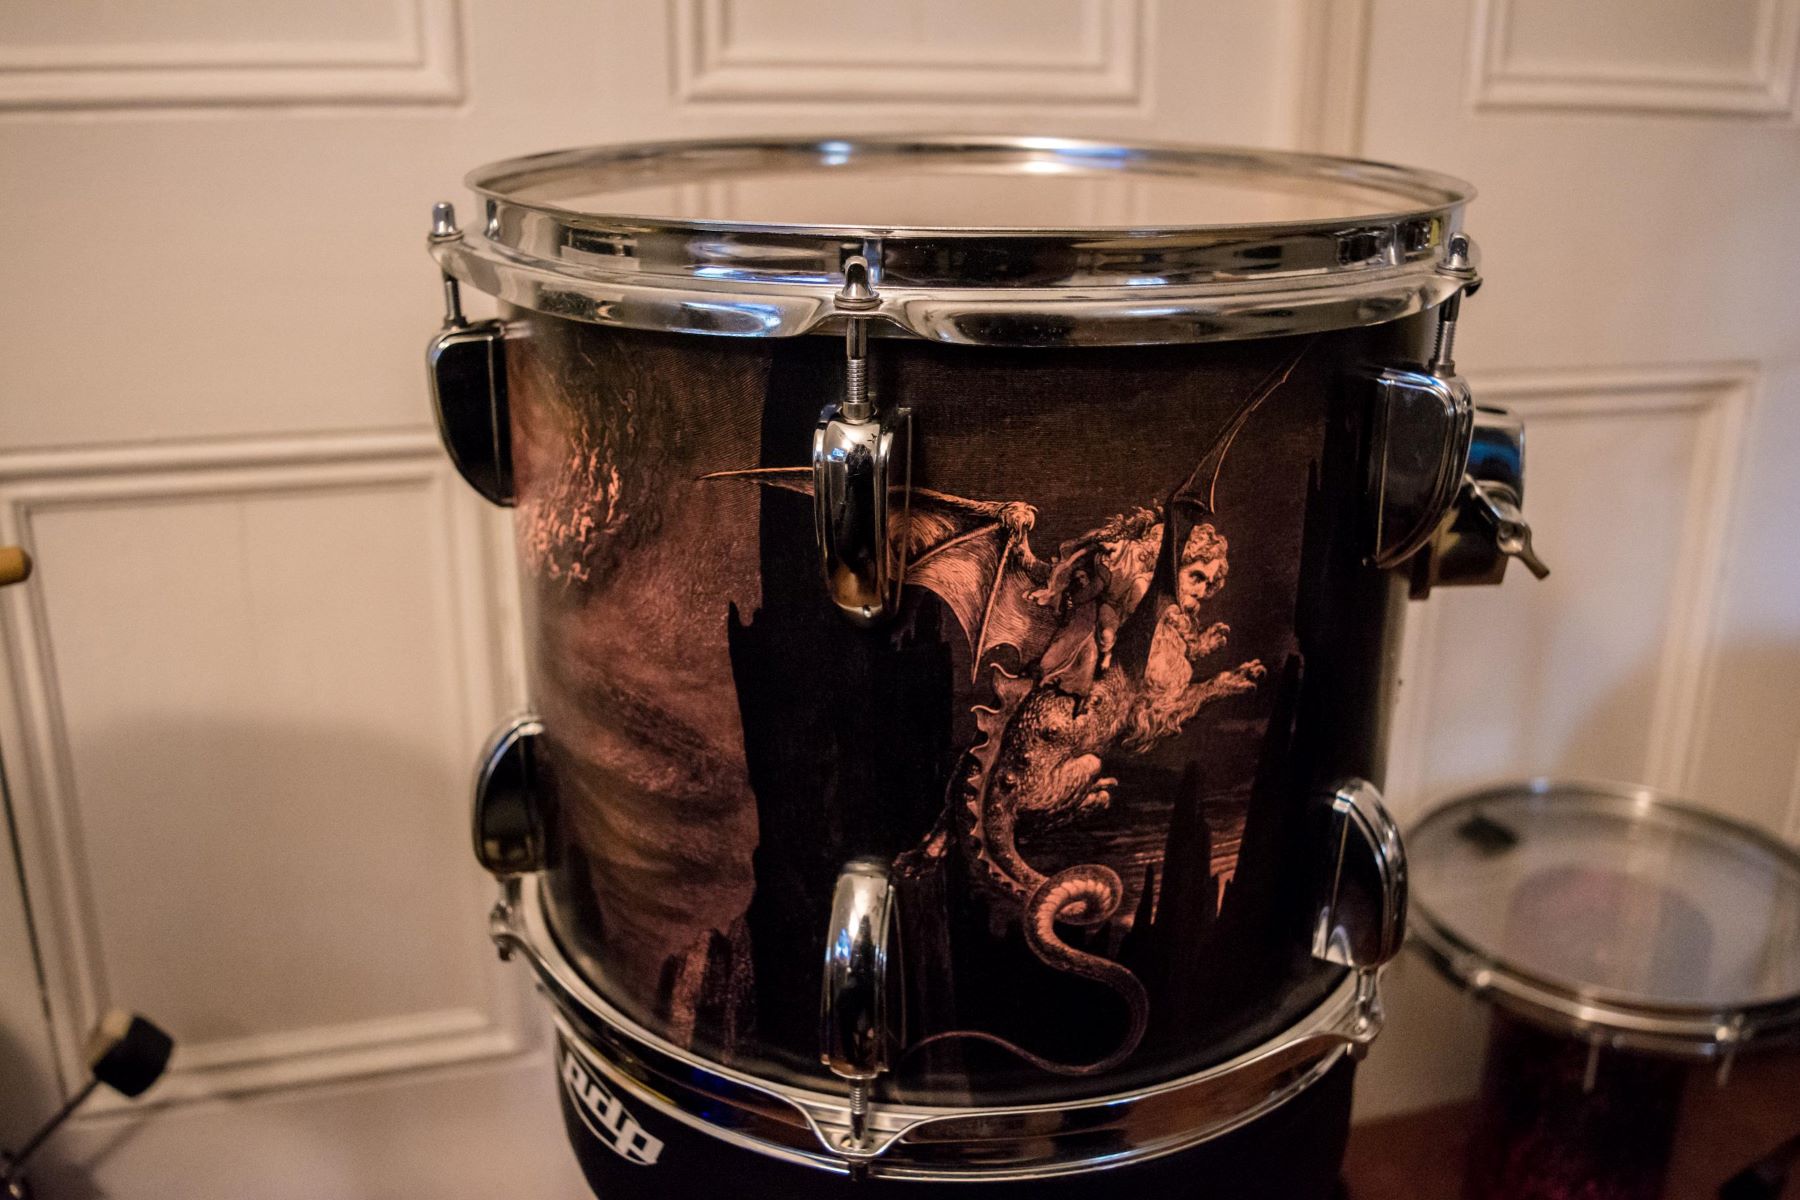
- Admire the Transformation: Take a moment to appreciate the remarkable transformation of your drums. Whether you’ve opted for a bold new design or a sleek, modern finish, the freshly wrapped drums are a testament to your creativity and attention to detail.
By meticulously attending to these finishing touches, you’ll ensure that your wrapped drums exude professionalism and visual allure. The combination of precision, care, and a keen eye for detail will result in a drum set that stands out as a personalized and captivating centerpiece of any musical performance or studio environment.
Conclusion
Conclusion
The process of wrapping drums is a transformative and creatively fulfilling endeavor that allows musicians and enthusiasts to infuse their personal style into their instruments. By following the comprehensive steps outlined in this guide, you’ve gained valuable insights into the art of drum wrapping, from meticulous preparation to the application of the finishing touches.
Wrapping your drums opens up a world of possibilities, enabling you to express your individuality through unique designs, vibrant colors, and striking patterns. Whether you’re rejuvenating an existing drum set or customizing a new one, the drum wrapping process empowers you to make a bold statement and showcase your artistic vision.
Furthermore, the attention to detail and precision involved in drum wrapping exemplify the dedication and craftsmanship that define the world of drumming. Each step, from cleaning the drum shells to smoothing out the wrap and reattaching hardware, contributes to a visually stunning and professional result.
As you admire the freshly wrapped drums, take pride in the creativity and effort invested in this transformative process. Your drums now stand as personalized works of art, ready to enhance your musical performances and reflect your unique identity as a musician.
Embrace the endless creative possibilities that drum wrapping offers, and let your imagination guide you as you embark on this captivating journey of self-expression and musical innovation.