Home>Instruments>Drums>How To Stain Drums
Drums
How To Stain Drums
Published: February 8, 2024
Learn how to stain drums and give them a fresh new look with our step-by-step guide. Discover the best techniques for staining drums at home.
(Many of the links in this article redirect to a specific reviewed product. Your purchase of these products through affiliate links helps to generate commission for AudioLover.com, at no extra cost. Learn more)
Table of Contents
Introduction
Introduction
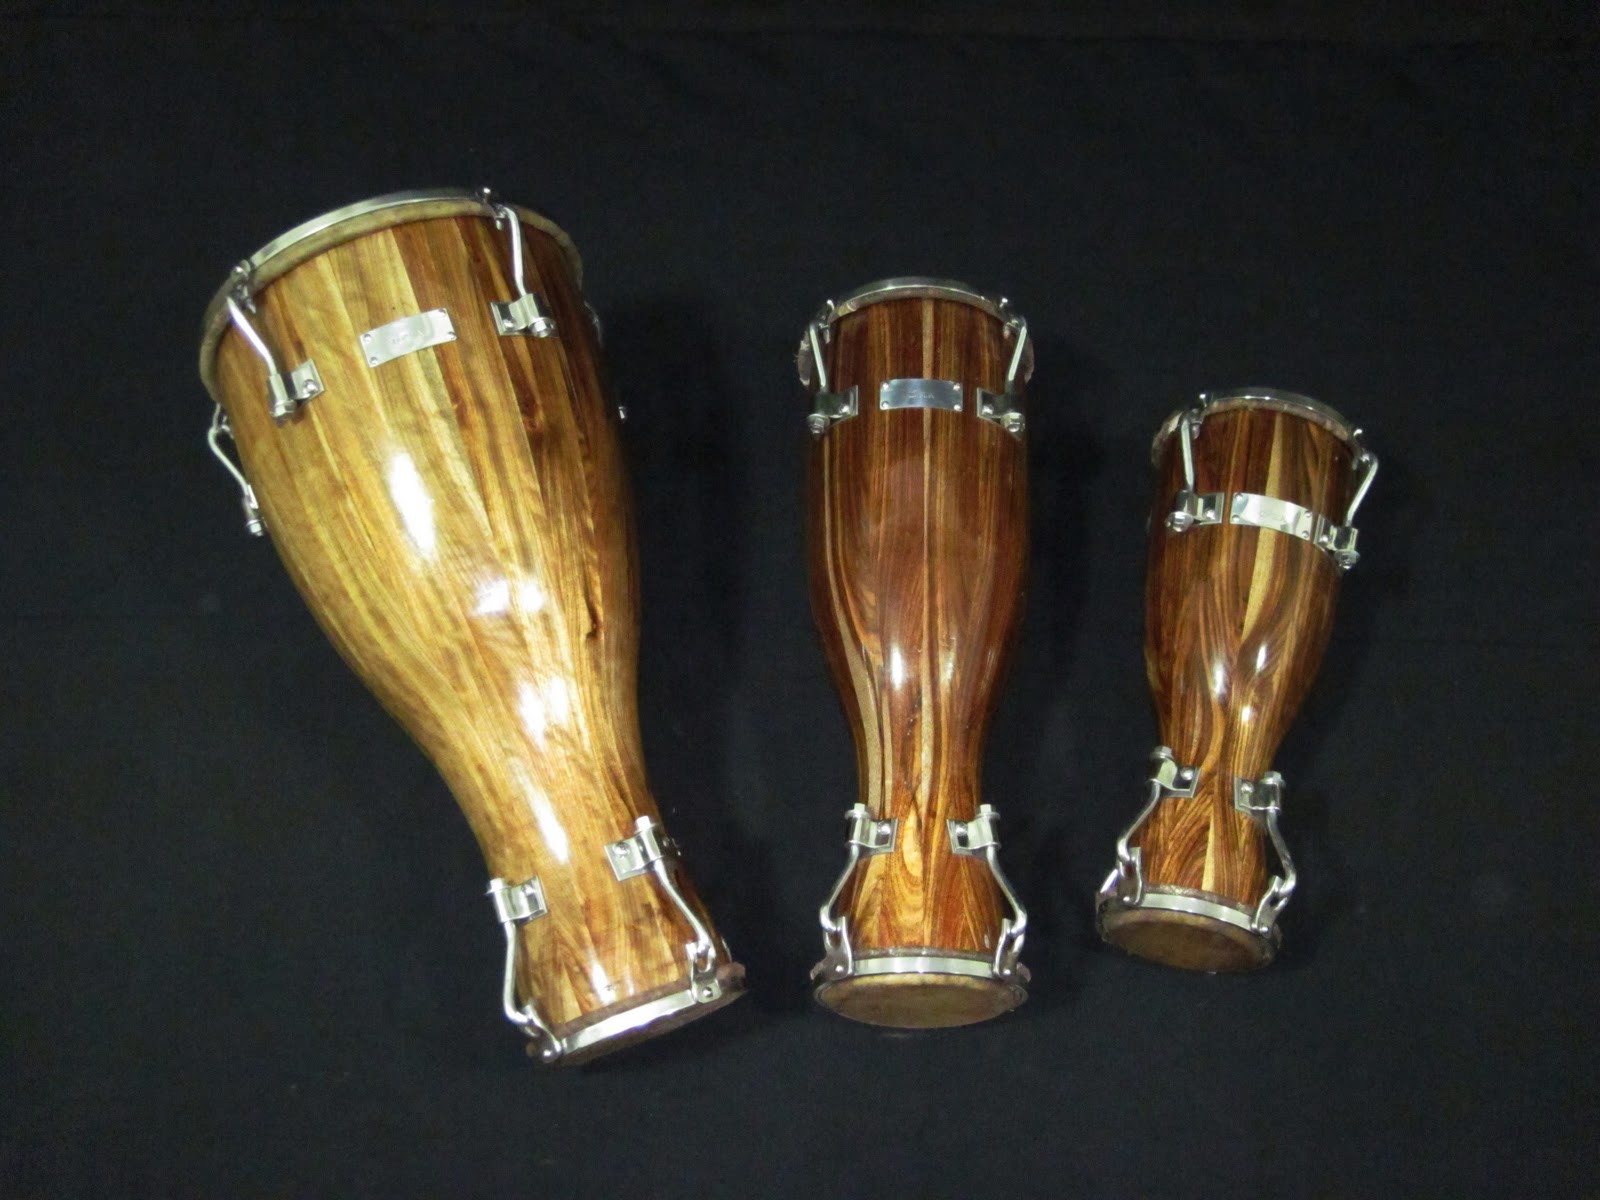
Staining drums is an excellent way to enhance the visual appeal of these musical instruments while also protecting the wood. Whether you have a drum set that needs a fresh look or a custom drum that requires a personalized touch, staining can elevate the aesthetic and add a layer of durability. In this guide, we'll explore the step-by-step process of staining drums, from choosing the right stain to applying it effectively and sealing the finished product.
Staining drums is a creative endeavor that allows musicians and enthusiasts to infuse their personalities into their instruments. It's a chance to make a statement, whether through a classic wood finish or a bold, vibrant color. By taking the time to stain your drums properly, you can ensure that they not only sound great but also look stunning on stage or in your practice space.
In the following sections, we'll delve into the essential considerations for staining drums, including selecting the right stain, preparing the drum surface, applying the stain, and sealing and protecting the finished product. Each step plays a crucial role in achieving a professional-looking result that will withstand the test of time.
Whether you're a seasoned drummer looking to revamp your kit or a hobbyist eager to personalize your instrument, mastering the art of staining drums will open up a world of creative possibilities. Let's embark on this journey to discover the techniques and insights that will empower you to transform your drums into personalized works of art.
Choosing the Right Stain
Choosing the Right Stain
When it comes to staining drums, selecting the right stain is a critical first step. The choice of stain not only determines the color and finish of the drum but also influences its overall aesthetic and durability. Here are essential factors to consider when choosing the right stain for your drums:
- Wood Type: Different wood species absorb stains differently. For example, maple and birch may produce different results when stained with the same product. Consider the type of wood used in your drum construction to select a stain that complements its natural characteristics.
- Color and Transparency: Stains come in a variety of colors and levels of transparency. Whether you prefer a rich, dark tone or a light, natural finish, there are numerous options to suit your preferences. Consider the existing color of the drum and the desired outcome when selecting a stain.
- Compatibility: Ensure that the chosen stain is compatible with the type of finish or sealer you plan to use. Some stains may be oil-based, while others are water-based, and each type may interact differently with sealants. It’s important to choose products that work harmoniously together to achieve the desired result.
- Testing: Before applying the stain to the entire drum, it’s advisable to test it on a small, inconspicuous area. This allows you to assess how the wood reacts to the stain and whether it produces the desired color and finish. It’s a crucial step in ensuring that the final result meets your expectations.
- Environmental Impact: For environmentally conscious drum enthusiasts, there are eco-friendly and low-VOC (volatile organic compounds) stains available. These products minimize harmful emissions and reduce the environmental footprint of the staining process.
By carefully considering these factors, you can choose a stain that aligns with your aesthetic preferences, the characteristics of the drum’s wood, and your environmental values. The right stain will not only enhance the visual appeal of your drums but also contribute to their longevity and resilience.
Preparing the Drum Surface
Preparing the Drum Surface
Before applying the stain, it’s essential to prepare the drum surface adequately to ensure optimal adhesion and a smooth, professional finish. The following steps will guide you through the preparation process:
- Disassembly: If possible, disassemble the drum to access all its components. Removing hardware such as lugs, tension rods, and drumheads allows for thorough and uniform staining of the drum shell.
- Cleaning: Clean the drum shell and all components meticulously to remove any dust, dirt, or residue. Use a gentle wood cleaner or a mixture of mild soap and water to ensure a clean and debris-free surface. Allow the drum to dry completely before proceeding.
- Sanding: Lightly sand the drum shell with fine-grit sandpaper to smooth out any imperfections and create a slightly rough surface for the stain to adhere to. Be mindful not to oversand, as this can affect the integrity of the wood. Wipe away the sanding dust with a clean, dry cloth.
- Tape and Protect: If there are any areas of the drum that you do not want to stain, such as bearing edges or hardware mounting areas, use painter’s tape to mask off these sections. This will ensure that only the intended areas receive the stain, maintaining a clean and professional look.
- Ventilation and Safety: When sanding and preparing the drum surface, ensure that you work in a well-ventilated area and use appropriate safety gear, such as a dust mask and protective eyewear. Proper ventilation and safety measures are crucial for a safe and comfortable working environment.
By meticulously preparing the drum surface, you set the stage for a successful staining process. Proper preparation ensures that the stain adheres uniformly, resulting in a visually appealing and long-lasting finish. Taking the time to prepare the drum surface demonstrates a commitment to achieving professional results and showcases the care and attention given to the instrument’s maintenance and appearance.
Applying the Stain
Applying the Stain
Once the drum surface is meticulously prepared, it’s time to apply the stain. This step requires attention to detail and a methodical approach to ensure an even and attractive finish. Here’s a guide to effectively applying stain to your drums:
- Stirring and Straining: Before application, thoroughly stir the stain to ensure an even consistency. If the stain has been sitting for a while, it’s advisable to strain it through a fine-mesh strainer to remove any lumps or impurities that may affect the application.
- Application Method: Stains can be applied using a variety of methods, including brushes, rags, or foam applicators. Choose a method that suits the size and shape of the drum, ensuring that you can apply the stain evenly and reach all areas of the surface.
- Even Coating: Apply the stain in smooth, even strokes, working with the grain of the wood. Avoid allowing the stain to pool or drip, as this can result in uneven coloring and streaking. Maintain a consistent application to achieve a uniform finish.
- Controlled Saturation: Depending on the desired depth of color, you may need to apply multiple coats of stain. Allow each coat to penetrate the wood for a few minutes before wiping off any excess with a clean, dry cloth. This process allows you to control the level of saturation and build up the desired color gradually.
- Drying Time: After applying the stain, allow the drum to dry completely according to the manufacturer’s recommendations. Ensure that the drying area is well-ventilated to facilitate the evaporation of solvents and minimize odors.
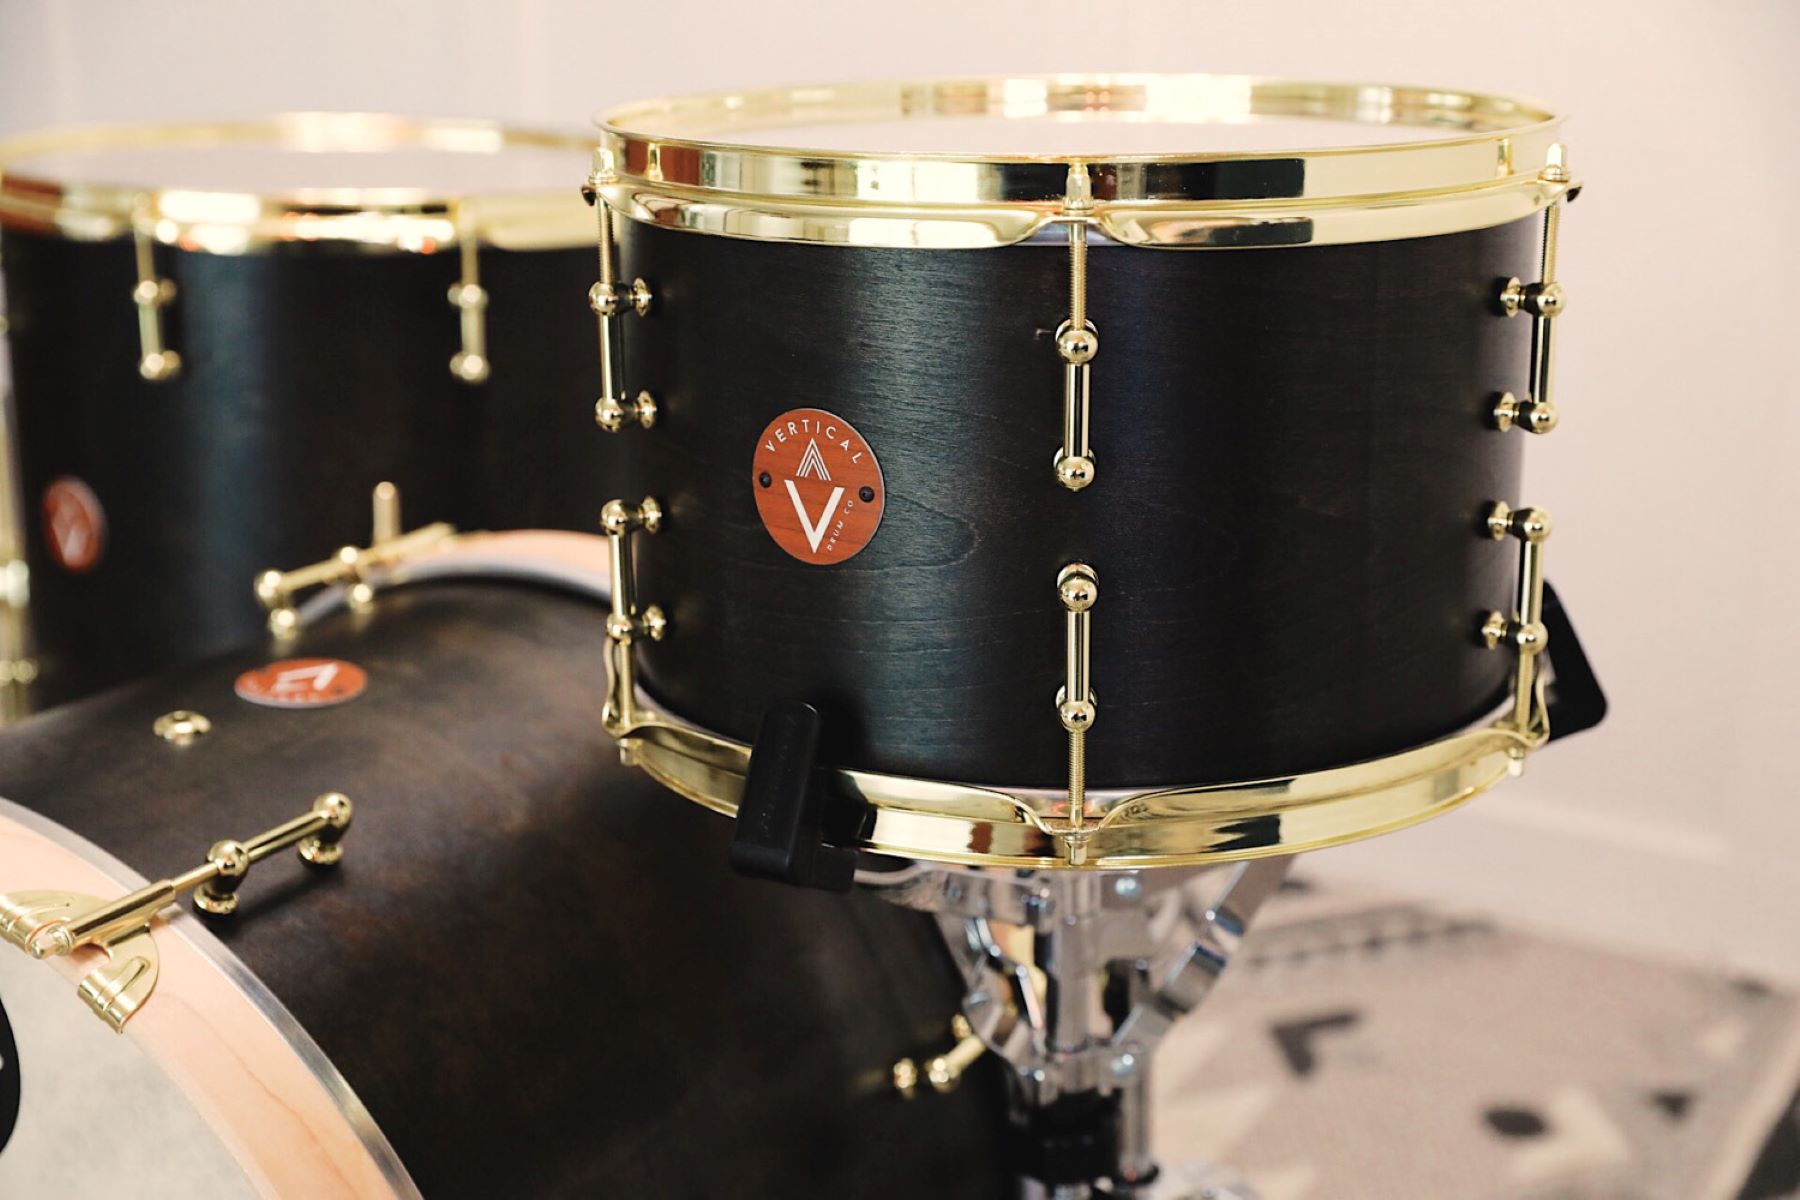
By following these steps, you can achieve a beautifully stained drum that highlights the natural grain and character of the wood. The application process demands patience and precision, but the rewarding outcome is a visually striking drum that reflects your personal style and attention to detail.
Sealing and Protecting the Stained Drum
Sealing and Protecting the Stained Drum
After applying the stain and allowing it to dry, the final step in the drum staining process involves sealing and protecting the stained surface. Proper sealing not only enhances the visual appeal of the drum but also safeguards the finish from wear and tear. Here’s how to effectively seal and protect your stained drum:
- Choosing a Sealant: Select a high-quality sealant that is compatible with the type of stain used. Polyurethane, lacquer, and shellac are popular options for sealing drums, each offering unique characteristics such as durability, sheen, and ease of application.
- Application Method: Apply the sealant using a brush, foam applicator, or spray gun, depending on the product’s recommended application technique. Ensure even coverage and smooth application to create a uniform protective layer over the stained surface.
- Multiple Coats: Depending on the type of sealant and the level of protection desired, multiple coats may be necessary. Allow each coat to dry completely before applying the next, following the manufacturer’s instructions for drying times and sanding between coats if required.
- Sanding Between Coats: For a smooth and professional finish, lightly sand the sealed surface between coats using fine-grit sandpaper. This helps to remove any imperfections and promotes adhesion between layers, resulting in a flawless final finish.
- Curing Time: Once the final coat of sealant is applied, allow the drum to cure fully according to the product’s specifications. Curing time ensures that the sealant hardens and reaches its maximum protective capability, providing long-term durability for the stained drum.
- Maintenance and Care: After the sealant has cured, your stained drum is ready for use. To maintain its appearance and protection, regularly clean the drum with a gentle wood cleaner and avoid harsh chemicals or abrasive materials that may compromise the sealed finish.
By sealing and protecting the stained drum, you not only preserve the beauty of the finish but also extend the life of the stain, ensuring that your drums maintain their striking appearance for years to come. This final step completes the staining process, culminating in a visually captivating and resilient instrument that reflects your craftsmanship and dedication to maintaining its aesthetic appeal.
Conclusion
Conclusion
Staining drums is a rewarding endeavor that allows drummers and enthusiasts to infuse their instruments with personal style and character. By following the step-by-step process of choosing the right stain, preparing the drum surface, applying the stain, and sealing and protecting the finished product, you can transform a standard drum into a personalized work of art.
Choosing the right stain sets the tone for the entire process, influencing the color, transparency, and compatibility with the drum’s wood type. It’s a decision that reflects your aesthetic preferences and environmental considerations, shaping the visual identity of the finished drum.
Preparing the drum surface is a crucial step that ensures the stain adheres uniformly and results in a professional finish. Disassembly, cleaning, sanding, and meticulous attention to detail set the stage for a successful staining process, demonstrating a commitment to achieving exceptional results.
Applying the stain demands patience and precision, with careful consideration given to stirring, straining, application methods, controlled saturation, and drying time. The result is a beautifully stained drum that showcases the natural grain and character of the wood, reflecting your dedication to craftsmanship.
Sealing and protecting the stained drum completes the process, enhancing the visual appeal and safeguarding the finish from wear and tear. The choice of sealant, application method, and maintenance considerations contribute to a durable and striking finish that withstands the test of time.
By mastering the art of staining drums, you can elevate the aesthetic appeal of your instruments and make a statement on stage or in your practice space. Each step in the staining process reflects a dedication to craftsmanship and attention to detail, resulting in personalized and visually captivating drums that resonate with your individuality.
Embark on this journey of creativity and transformation, and discover the techniques and insights that will empower you to create stunning, personalized works of art through the art of staining drums.