Home>Instruments>Drums>How To EQ Drums

Drums
How To EQ Drums
Published: February 7, 2024
Learn how to EQ drums like a pro with our comprehensive guide. Enhance the sound and impact of your drum tracks for a powerful mix.
(Many of the links in this article redirect to a specific reviewed product. Your purchase of these products through affiliate links helps to generate commission for AudioLover.com, at no extra cost. Learn more)
Table of Contents
Introduction
Equalization, commonly known as EQ, is an essential tool for shaping the sound of drums in a mix. When done effectively, EQ can bring out the best qualities of each drum component, enhancing their impact and clarity within the overall sound. Whether you’re a seasoned audio engineer or a passionate drummer looking to elevate your recordings, understanding how to EQ drums can significantly improve the quality of your music.
In this comprehensive guide, we will explore the intricacies of EQ as it pertains to drums, delving into the frequency spectrum, setting up your EQ, and specific techniques for EQing different drum elements. By mastering these techniques, you’ll be equipped to sculpt the perfect drum sound for any musical genre, from the thunderous punch of a rock kit to the crisp precision of a jazz ensemble.
Whether you’re working with live drum recordings or virtual drum software, the principles of EQ remain consistent. By the end of this guide, you’ll have a solid foundation in drum EQ techniques, allowing you to harness the full potential of your drum tracks and achieve professional-level sound quality.
Understanding the Frequency Spectrum
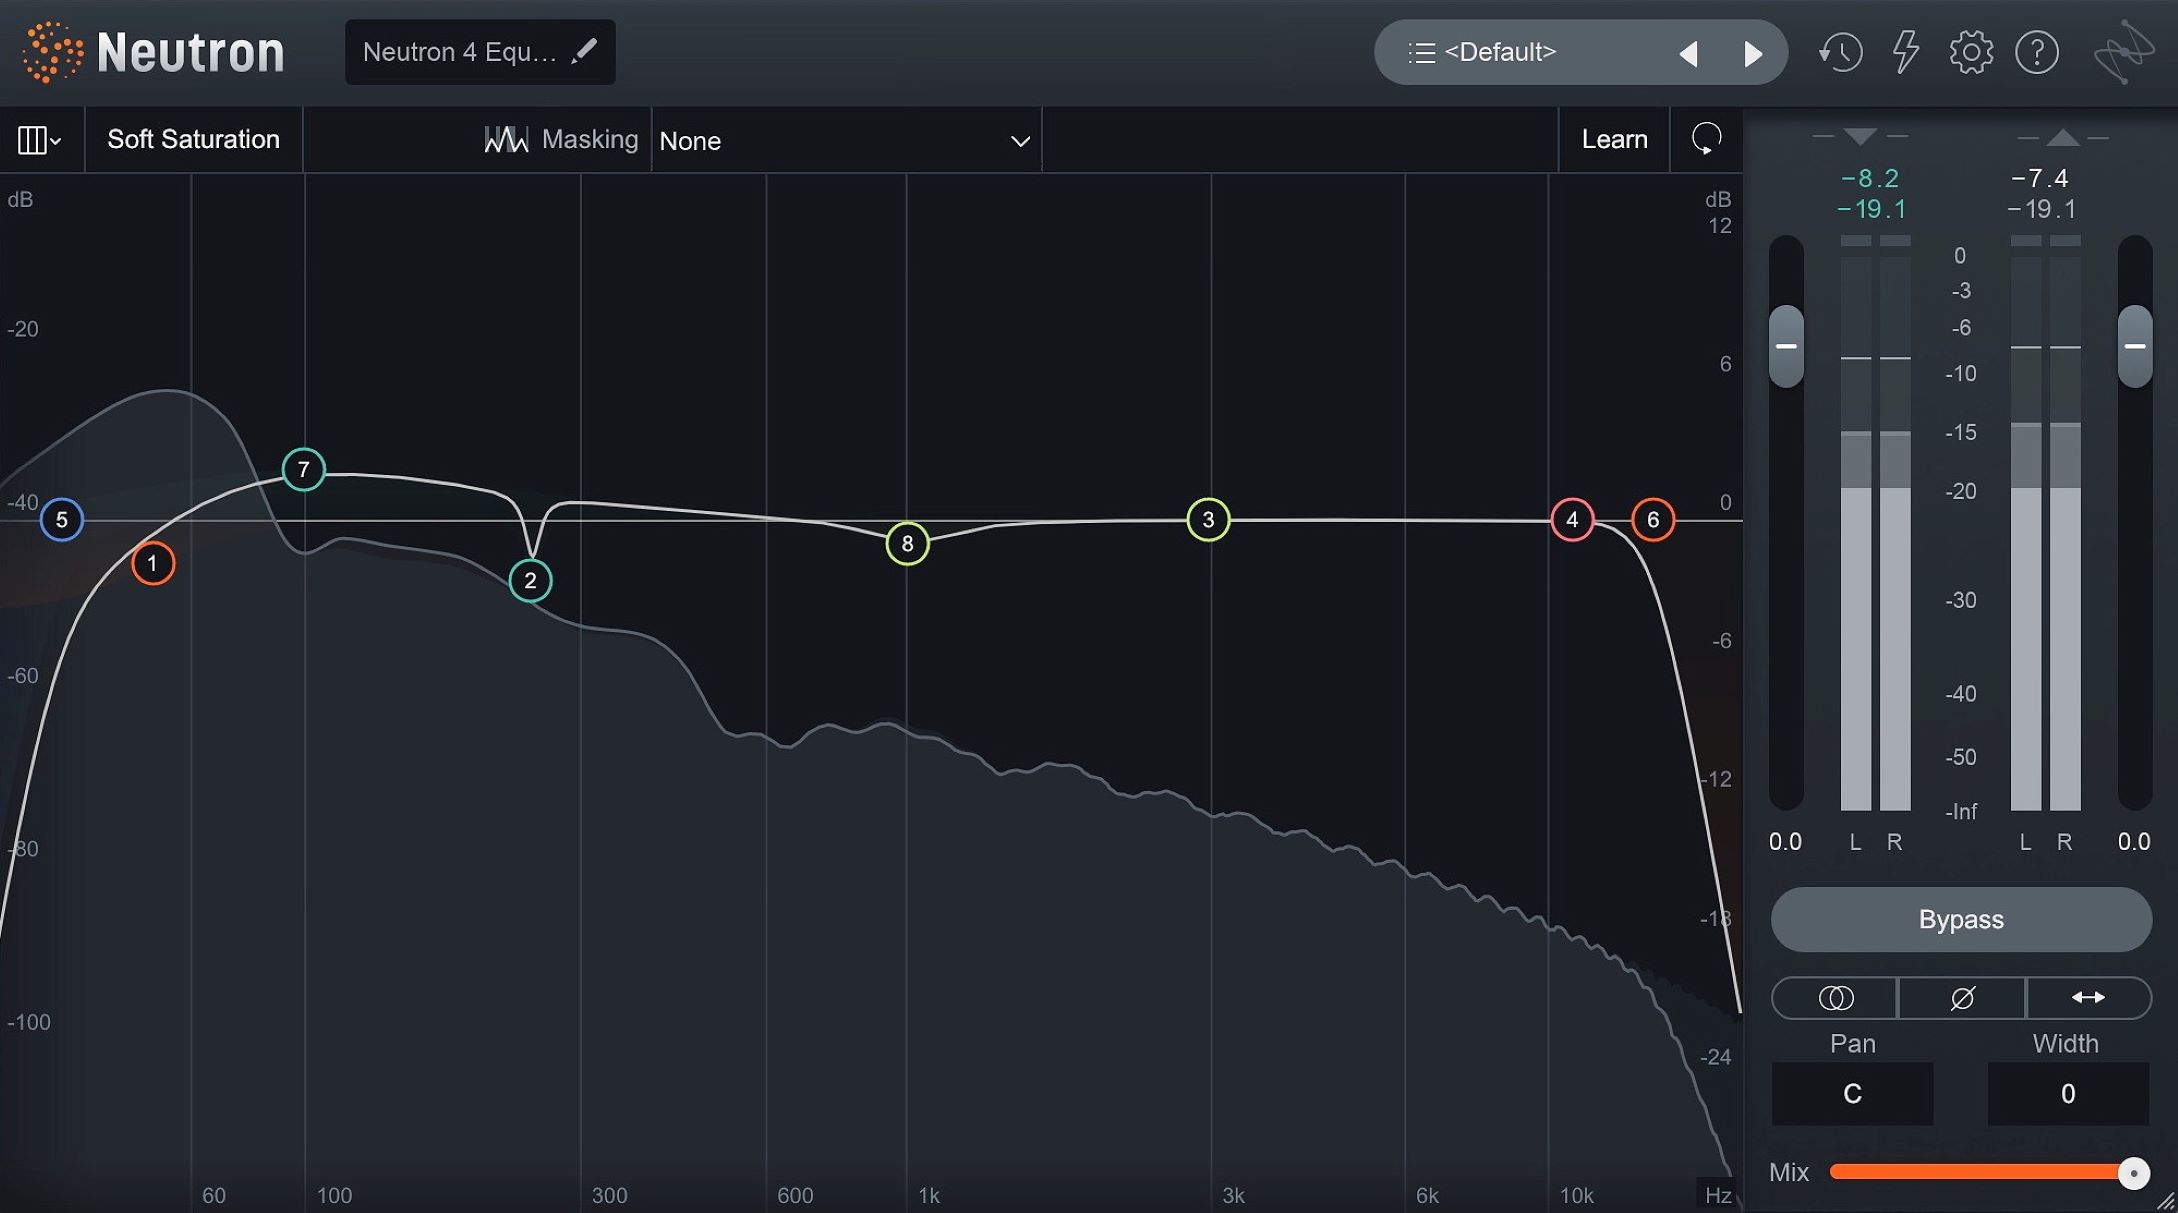
Before delving into the art of EQing drums, it’s crucial to grasp the concept of the frequency spectrum. Sound is comprised of various frequencies, each contributing to the overall sonic character of a drum. The frequency spectrum is typically divided into three main ranges: lows, mids, and highs.
The low frequencies, ranging from approximately 20Hz to 250Hz, provide the fundamental weight and power of the drums. This is where the thump of the kick drum and the resonance of the toms reside. In contrast, the mid frequencies, spanning from 250Hz to 4kHz, encompass the body and warmth of the drums, including the punch of the snare and the presence of the toms. Finally, the high frequencies, from 4kHz to 20kHz, contribute to the clarity and brightness of the drums, capturing the shimmer of cymbals and the snap of the snare wires.
Understanding the frequency spectrum empowers you to identify and address specific sonic characteristics within each drum component. For instance, if the kick drum lacks punch, you may need to boost the lower frequencies. If the snare sounds dull, a boost in the midrange can bring out its presence. By honing your perception of frequency ranges, you can effectively pinpoint and address sonic imbalances in your drum mix.
Furthermore, recognizing the frequency ranges of other instruments in the mix is crucial for creating a balanced and cohesive sound. EQ adjustments made to the drums should complement the tonal qualities of other instruments, ensuring that each element occupies its rightful sonic space without clashing or overpowering the mix.
As we proceed, keep in mind that EQ is a powerful tool for sculpting the frequency spectrum of drums, allowing you to enhance their individual characteristics and blend them seamlessly into the overall mix.
Setting Up Your EQ
Before diving into specific EQ techniques for drums, it’s essential to understand how to set up your EQ effectively. Whether you’re using hardware or software-based EQ, the fundamental principles remain consistent.
Begin by listening to the raw drum tracks and identifying the sonic qualities that require enhancement or correction. This critical listening phase allows you to discern which frequencies need adjustment for each drum component. For example, you might notice that the kick drum lacks definition in the low end, or the snare drum exhibits an excess of midrange frequencies.
Once you’ve identified areas for improvement, it’s time to engage the EQ. Start by applying broad strokes before delving into finer adjustments. For instance, if the toms sound muddy, consider applying a gentle cut in the low-mid frequencies to reduce muddiness and enhance clarity.
When adjusting the EQ, it’s crucial to exercise restraint and avoid excessive boosting or cutting. Overzealous EQ adjustments can lead to an unnatural and unbalanced sound. Aim for subtle yet impactful changes that enhance the natural character of the drums without overshadowing their authenticity.
Additionally, consider the overall mix when setting up your EQ. The EQ adjustments made to the drums should complement the tonal qualities of other instruments, fostering a harmonious blend within the mix. For instance, if the guitars occupy a prominent space in the midrange, you may need to carve out room in that frequency range for the drums to ensure clarity and separation.
Lastly, don’t overlook the importance of bypassing the EQ periodically to compare the modified sound with the original. This A/B comparison allows you to discern whether the EQ adjustments are genuinely enhancing the drum sound or inadvertently detracting from it. Trust your ears and make adjustments based on how the EQ alterations contribute to the overall sonic impact.
By mastering the art of setting up your EQ, you lay the groundwork for implementing targeted EQ techniques that elevate the sonic characteristics of each drum component with precision and finesse.
EQ Techniques for Kick Drum
The kick drum serves as the rhythmic foundation of a drum kit, providing the low-end thump that drives the music forward. When applying EQ to the kick drum, it’s essential to enhance its weight and definition while ensuring that it cuts through the mix with clarity and impact.
Begin by addressing the low frequencies, typically ranging from 20Hz to 80Hz, to bolster the kick drum’s fundamental power. A gentle boost in this range can enrich the low-end presence, adding depth and warmth to the kick without muddying the mix. Be mindful not to overemphasize these frequencies, as excessive boosting can lead to a boomy and indistinct sound.
Next, consider the attack and beater sound of the kick drum, which resides in the higher frequency range. Frequencies between 2kHz and 5kHz encompass the beater impact and high-frequency click that lend definition to the kick drum. A subtle boost in this range can enhance the kick’s attack, allowing it to punch through the mix without becoming overly sharp or piercing.
Conversely, if the kick drum exhibits an undesirable boxiness or muddiness, a narrow cut in the low-mid frequencies, typically around 300Hz to 500Hz, can mitigate these sonic issues, resulting in a tighter and more focused low end.
It’s important to note that the EQ adjustments for the kick drum should align with the genre and overall mix. For genres that demand a thunderous and weighty kick, a more pronounced boost in the low frequencies may be warranted. In contrast, genres that prioritize a tight and punchy kick may benefit from a more restrained low-frequency boost and a nuanced emphasis on the attack and beater sound.
By implementing these EQ techniques, you can sculpt the kick drum’s sonic profile to suit the specific musical context, enhancing its impact and articulation while seamlessly integrating it into the rhythmic tapestry of the mix.
EQ Techniques for Snare Drum
The snare drum plays a pivotal role in defining the groove and character of a drum kit. When applying EQ to the snare drum, the goal is to accentuate its body, snap, and sizzle while ensuring that it cuts through the mix with clarity and presence.
Start by addressing the body of the snare drum, which resides in the midrange frequencies. Boosting the frequencies between 200Hz and 400Hz can enhance the snare’s warmth and fullness, allowing it to assert its fundamental tonality within the mix. This boost contributes to the snare’s body and imparts a sense of richness and depth to its sound.
To bring out the snare’s crispness and attack, focus on the higher midrange frequencies, typically ranging from 1kHz to 2kHz. A subtle boost in this range can emphasize the snare’s sharpness and articulation, accentuating the stick impact and defining the snare’s cutting edge without overwhelming the mix with excessive high-end frequencies.
If the snare drum exhibits an overly resonant or boxy quality, a targeted cut in the lower midrange frequencies, around 300Hz to 500Hz, can help mitigate these issues, resulting in a more controlled and focused sound. This adjustment can effectively reduce muddiness and tighten the snare’s overall tonal response.
Furthermore, consider the snare wires and snares’ rattle, which contribute to the drum’s overall texture and character. Frequencies in the upper range, approximately 5kHz to 8kHz, encompass the sizzle and brightness of the snare wires. A gentle boost in this range can enhance the snare’s presence and add a shimmering quality to its sound, elevating its sonic impact within the mix.
It’s important to approach snare drum EQ with a discerning ear, considering the genre and context in which the drum will be featured. For genres that demand a punchy and aggressive snare, a more pronounced emphasis on the midrange and high-mid frequencies may be suitable. In contrast, genres that call for a more subdued and vintage snare sound may benefit from a more restrained approach, focusing on enhancing the snare’s warmth and body while maintaining a balanced tonal profile.
By employing these EQ techniques, you can sculpt the snare drum’s sonic characteristics, accentuating its tonal nuances and ensuring that it occupies a prominent and impactful position within the rhythmic framework of the mix.
EQ Techniques for Toms
Toms contribute dynamic fills and rhythmic accents to drum performances, and applying EQ techniques can bring out their tonal richness and ensure they blend seamlessly within the mix.
Begin by addressing the low frequencies of the toms, typically ranging from 80Hz to 200Hz, to enhance their fundamental depth and resonance. A subtle boost in this range can enrich the low-end presence of the toms, adding weight and impact to their sound without overpowering the mix. Care should be taken to avoid excessive boosting, which can lead to muddiness and an indistinct tonal character.
Next, consider the body and warmth of the toms, which reside in the midrange frequencies. Frequencies between 400Hz and 800Hz encompass the fundamental tonality of the toms. A gentle boost in this range can enhance the toms’ richness and fullness, allowing them to assert their presence within the mix while maintaining clarity and definition.
To emphasize the attack and articulation of the toms, focus on the higher midrange frequencies, typically ranging from 2kHz to 5kHz. A subtle boost in this range can bring out the toms’ stick impact and high-frequency clarity, ensuring that their rhythmic patterns cut through the mix with precision and energy.
Conversely, if the toms exhibit an undesirable boxiness or muddiness, a narrow cut in the low-mid frequencies, typically around 300Hz to 500Hz, can help mitigate these sonic issues, resulting in a more focused and articulate tom sound.
It’s important to approach tom EQ with consideration for the musical context and genre. For genres that demand thunderous and resonant toms, a more pronounced boost in the low frequencies may be appropriate. In contrast, genres that prioritize tight and punchy toms may benefit from a more restrained low-frequency approach, focusing on enhancing the toms’ attack and midrange presence.
By implementing these EQ techniques, you can sculpt the tonal characteristics of the toms, ensuring that they deliver impactful fills and rhythmic embellishments while maintaining a balanced and cohesive presence within the broader drum mix.
EQ Techniques for Hi-Hats and Cymbals
Hi-hats and cymbals contribute shimmering textures and dynamic accents to drum arrangements, and employing EQ techniques can enhance their clarity and presence within the mix.
Start by addressing the high frequencies of the hi-hats and cymbals, typically ranging from 5kHz to 20kHz, to emphasize their brilliance and sizzle. A subtle boost in this range can enhance the shimmer and airiness of the cymbals, allowing their high-frequency content to sparkle without becoming harsh or piercing. Care should be taken to avoid excessive boosting, which can lead to an overly bright and fatiguing tonal character.
Next, consider the midrange frequencies, which can impact the body and presence of the cymbals. Frequencies between 200Hz and 1kHz encompass the fundamental tonality of the cymbals. A gentle boost in this range can enhance the cymbals’ richness and fullness, allowing them to assert their presence within the mix while maintaining a balanced tonal profile.
To address any potential harshness or clashing frequencies in the hi-hats and cymbals, consider implementing a narrow cut in the high-mid frequencies, typically ranging from 2kHz to 5kHz. This adjustment can help mitigate any excessive brightness or piercing qualities, ensuring that the hi-hats and cymbals contribute to the overall sonic landscape without overpowering other elements in the mix.
It’s important to approach hi-hat and cymbal EQ with consideration for the musical context and genre. For genres that demand a bright and lively cymbal presence, a more pronounced emphasis on the high frequencies may be suitable. In contrast, genres that call for a more subdued and vintage cymbal sound may benefit from a more restrained approach, focusing on enhancing the cymbals’ richness and body while maintaining a balanced tonal profile.
By implementing these EQ techniques, you can sculpt the tonal characteristics of hi-hats and cymbals, ensuring that they deliver shimmering accents and dynamic textures while seamlessly integrating into the broader sonic tapestry of the drum mix.
EQ Techniques for Overheads
Overhead mics capture the overall ambience and spatial characteristics of the drum kit, making them a crucial element in shaping the drum mix. Employing EQ techniques for overheads can enhance the clarity, depth, and stereo image of the drum kit while capturing the nuances of the entire drum ensemble.
Start by addressing the high frequencies, typically ranging from 5kHz to 20kHz, to accentuate the shimmer and airiness of the cymbals and high-end transients of the entire drum kit. A subtle boost in this range can enhance the sparkle and presence of the cymbals, adding a sense of openness and dimension to the overall drum mix without introducing harshness or excessive brightness.
Next, consider the midrange frequencies, which can impact the body and tonal richness of the entire drum ensemble. Frequencies between 500Hz and 3kHz encompass the fundamental tonality of the drums. A gentle boost in this range can enhance the overall warmth and fullness of the drum kit, allowing it to assert its presence within the mix while maintaining a balanced tonal profile.
To address any potential muddiness or boxiness in the overheads, consider implementing a narrow cut in the low-mid frequencies, typically ranging from 200Hz to 500Hz. This adjustment can help mitigate any excessive warmth or muddiness, ensuring that the overheads contribute to the overall sonic landscape with clarity and definition.
It’s important to approach overhead EQ with consideration for the musical context and genre. For genres that demand a vibrant and expansive drum sound, a more pronounced emphasis on the high frequencies may be suitable. In contrast, genres that call for a more vintage and subdued drum mix may benefit from a more restrained approach, focusing on enhancing the warmth and body of the overheads while maintaining a balanced tonal profile.
By implementing these EQ techniques, you can sculpt the spatial and tonal characteristics of the overheads, ensuring that they capture the full sonic spectrum of the drum kit while contributing to the overall depth and dimension of the drum mix.
EQ Techniques for Room Mics
Room mics play a pivotal role in capturing the ambience, depth, and overall spatial characteristics of the drum kit, adding a sense of dimension and liveliness to the drum mix. Implementing EQ techniques for room mics can enhance the immersive quality of the drum sound while contributing to the overall sonic texture of the mix.
Begin by addressing the low frequencies, typically ranging from 80Hz to 200Hz, to enrich the depth and resonance captured by the room mics. A gentle boost in this range can enhance the low-end presence, adding weight and impact to the overall drum mix, while conveying a sense of spaciousness and envelopment.
Next, consider the midrange frequencies, which can impact the body and tonal richness of the room sound. Frequencies between 400Hz and 800Hz encompass the fundamental tonality of the room mics. A subtle boost in this range can enhance the overall warmth and fullness of the room sound, adding a sense of richness and depth to the drum mix while maintaining a balanced tonal profile.
To address any potential muddiness or clutter in the room mics, consider implementing a narrow cut in the low-mid frequencies, typically ranging from 200Hz to 500Hz. This adjustment can help mitigate any excessive warmth or muddiness, ensuring that the room mics contribute to the overall sonic landscape with clarity and definition.
Furthermore, consider the high frequencies, typically ranging from 5kHz to 20kHz, to capture the airiness and spatial detail of the room sound. A subtle boost in this range can enhance the sense of openness and dimension, adding a shimmering quality to the room sound while conveying the natural ambience of the recording environment.
It’s important to approach room mic EQ with consideration for the musical context and genre. For genres that demand an expansive and immersive drum sound, a more pronounced emphasis on the high frequencies may be suitable. In contrast, genres that call for a more controlled and intimate drum mix may benefit from a more restrained approach, focusing on enhancing the warmth and depth of the room sound while maintaining a balanced tonal profile.
By implementing these EQ techniques, you can sculpt the spatial and tonal characteristics of the room mics, ensuring that they contribute to the immersive and dynamic qualities of the drum mix while capturing the natural ambience and liveliness of the recording environment.
Conclusion
Mastering the art of EQ for drums is a transformative journey that empowers you to shape the sonic identity of each drum component and the overall drum mix. By understanding the frequency spectrum and implementing targeted EQ techniques, you can elevate the impact, clarity, and cohesion of your drum recordings, whether in the studio or live settings.
Throughout this guide, we’ve explored the intricacies of EQ as it pertains to kick drums, snares, toms, hi-hats, cymbals, overheads, and room mics. Each drum element presents unique sonic characteristics and challenges, and by employing specific EQ techniques, you can unlock their full sonic potential while ensuring they seamlessly integrate into the broader mix.
It’s important to approach EQ with a discerning ear, considering the musical context, genre, and the sonic landscape of the entire mix. Subtle yet deliberate EQ adjustments can yield profound results, enhancing the natural tonal qualities of the drums while fostering a balanced and harmonious sonic environment.
As you embark on your EQ journey, remember that critical listening, experimentation, and an understanding of the musical context are paramount. Trust your ears and embrace the creative process, allowing the sonic characteristics of the drums to guide your EQ decisions.
Ultimately, the art of EQ for drums is a dynamic and rewarding endeavor, offering endless possibilities for sculpting captivating drum sounds that resonate with depth, clarity, and musicality. Whether you’re a producer, audio engineer, or drummer, honing your EQ skills will undoubtedly elevate the sonic impact of your drum recordings, breathing life and energy into your musical creations.


