Home>Instruments>Guitar>How Do You Safely Restring A Guitar
Guitar
How Do You Safely Restring A Guitar
Published: February 12, 2024
Learn the safe and easy way to restring your guitar with our step-by-step guide. Keep your instrument in top shape and ready to play!
(Many of the links in this article redirect to a specific reviewed product. Your purchase of these products through affiliate links helps to generate commission for AudioLover.com, at no extra cost. Learn more)
Table of Contents
**
Introduction
**
Restringing a guitar is an essential skill that every guitarist should master. Whether you're a beginner or a seasoned player, knowing how to safely restring your guitar is crucial for maintaining its playability and ensuring optimal sound quality. Over time, guitar strings accumulate dirt, sweat, and oils from your fingers, leading to corrosion and a loss of tone. By regularly restringing your guitar, you can keep it sounding fresh and vibrant.
In this comprehensive guide, we'll walk you through the step-by-step process of safely restringing your guitar. From loosening the old strings to tuning the new ones, we'll cover each stage in detail, providing valuable tips to help you avoid common pitfalls. By following these instructions, you'll not only extend the lifespan of your instrument but also enhance your playing experience.
Whether you play acoustic, electric, or classical guitar, the restringing process shares common principles that apply across all types of guitars. By understanding these fundamentals, you'll be well-equipped to maintain your instrument and unleash its full potential. So, grab your guitar and let's dive into the art of safely restringing a guitar!
**
Step 1: Gather the necessary tools
**
Before embarking on the restringing process, it’s essential to gather the necessary tools to ensure a smooth and efficient experience. Here’s a list of items you’ll need:
- New Guitar Strings: Choose the appropriate set of strings for your guitar type (acoustic, electric, or classical). Consider the gauge and material of the strings based on your playing style and preferences.
- Wire Cutters: High-quality wire cutters are indispensable for cleanly trimming the excess string length after installation.
- Tuner: A reliable tuner is essential for accurately tuning the new strings to the correct pitches.
- String Winder: This tool makes winding the strings quicker and more convenient, saving you time and effort.
- Clean Cloth: Having a soft, clean cloth on hand will allow you to wipe down the guitar and remove any accumulated dust and debris.
- Lemon Oil (for fretboard maintenance): If you have a rosewood or ebony fretboard, lemon oil can be used to condition and clean the wood, keeping it in optimal condition.
- String Lubricant (optional): While not mandatory, a small amount of string lubricant can be applied to the nut and bridge to reduce friction and enhance tuning stability.
By ensuring that you have these tools readily available, you’ll be well-prepared to tackle the restringing process with confidence. Having everything at your fingertips will streamline the task and contribute to a positive restringing experience.
**
Step 2: Loosen the strings
**
Before removing the old strings, it’s crucial to relieve the tension by loosening them. This step is essential for preventing potential damage to the guitar’s neck and headstock. Here’s how to go about it:
- Prepare the workspace: Find a comfortable and well-lit area to work on your guitar. A clear workspace will allow you to maneuver around the instrument with ease.
- Use a tuner: Start by using a tuner to ensure that your guitar is currently in tune. This will serve as a reference point for tuning the new strings later on.
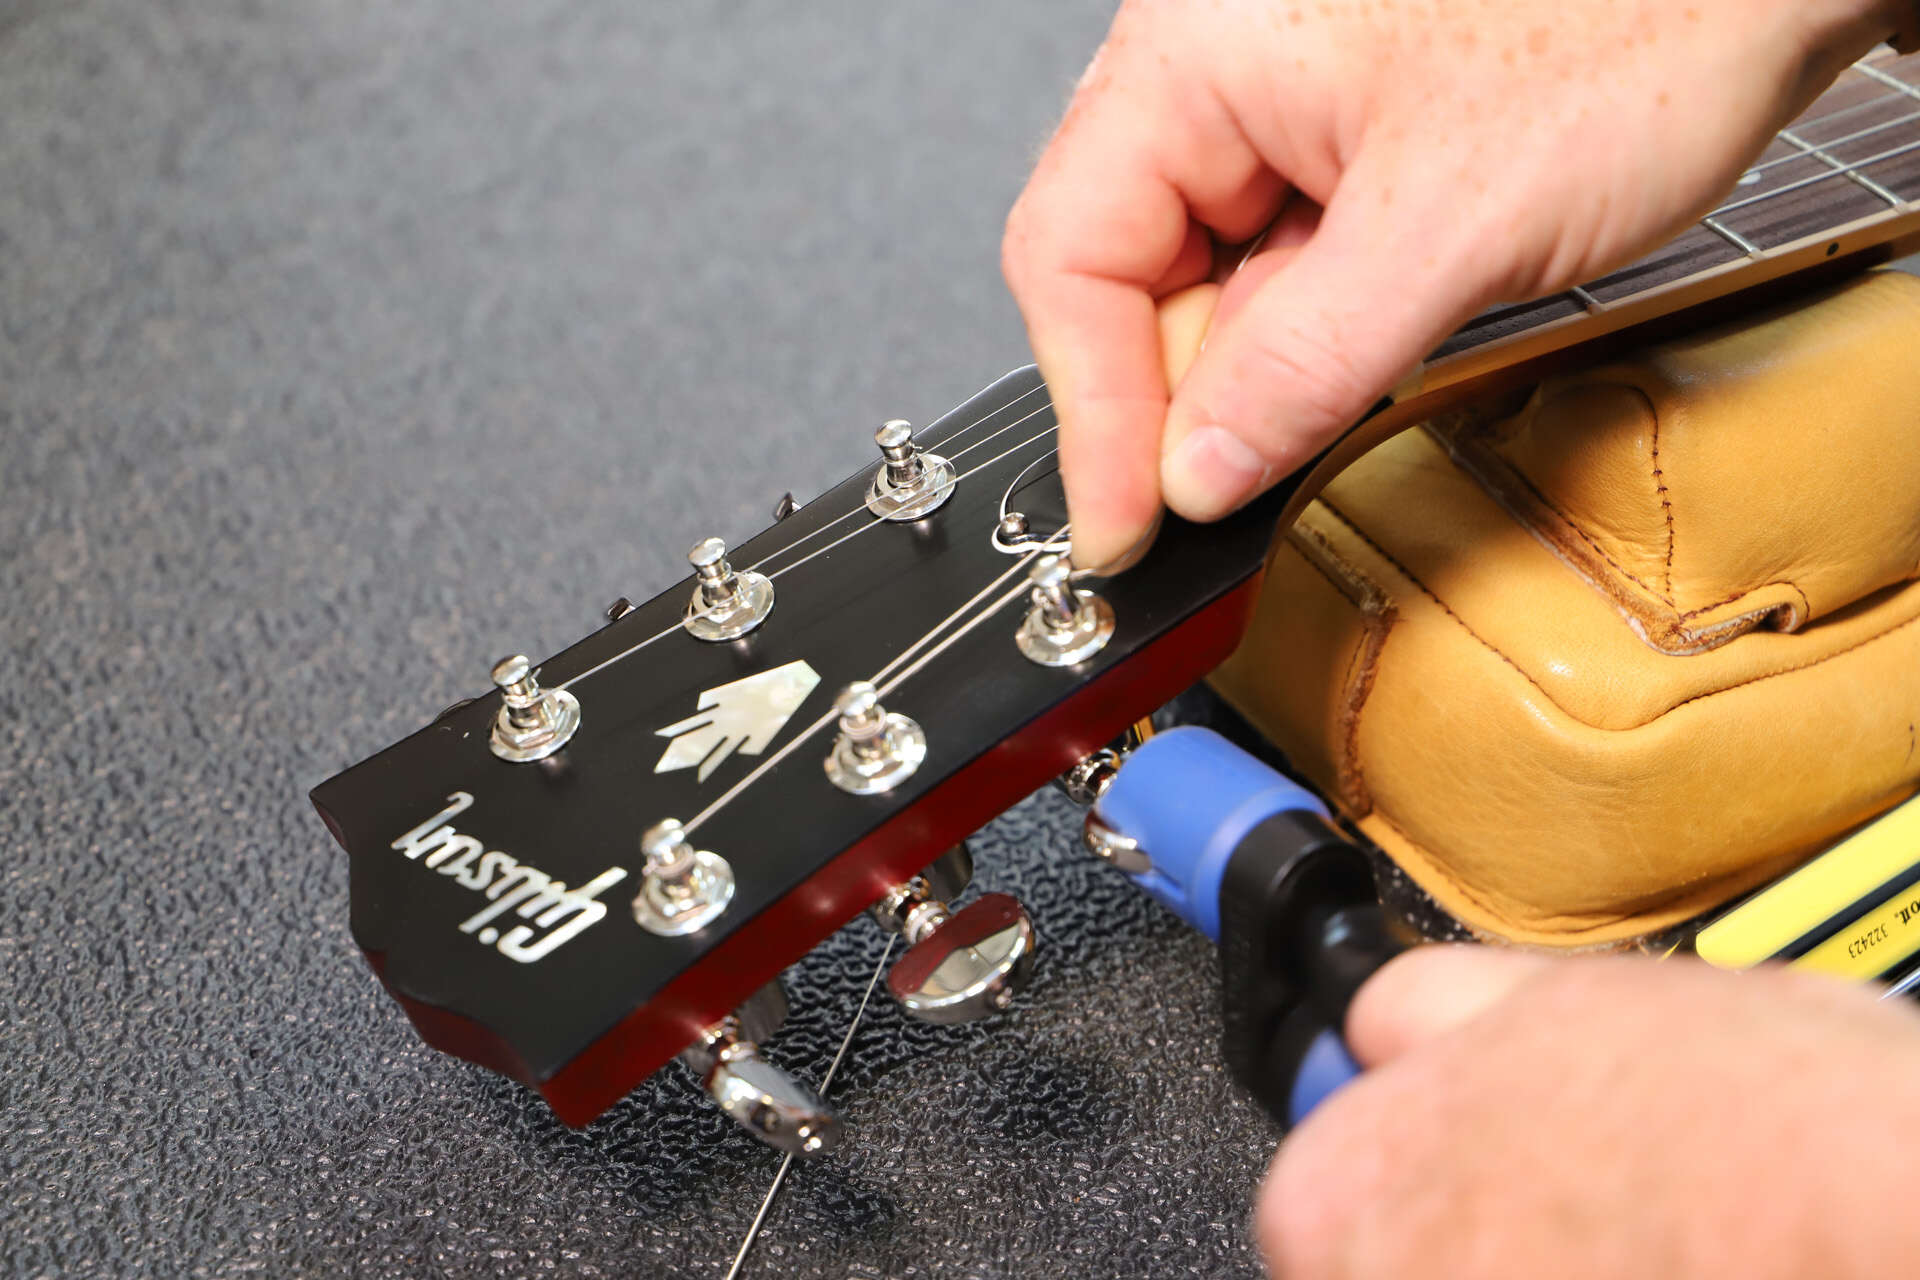
- Loosen the tuning pegs: Beginning with the low E string, use the tuning keys to unwind the string, gradually reducing the tension. Continue this process for all six strings, taking care to loosen them in a controlled manner.
- Remove the strings from the tuning pegs: Once the strings are sufficiently loosened, unwind them from the tuning pegs. Be mindful of any sharp edges on the tuning pegs to avoid inadvertently scratching the guitar’s finish.
By methodically loosening the strings and removing them from the tuning pegs, you’ll release the built-up tension, making it safer to proceed with the next steps of the restringing process. This careful approach minimizes the risk of causing damage to your instrument and sets the stage for a successful restringing endeavor.
**
Step 3: Remove the old strings
**
With the strings loosened, it’s time to remove the old strings from your guitar. This step involves safely detaching the strings from the bridge and removing them from the tuning pegs. Here’s a systematic approach to accomplishing this:
- Unwind the strings from the tuning pegs: Starting with the low E string, unwind each string from its respective tuning peg. Keep the removed strings neatly coiled to prevent tangling and make disposal easier.
- Remove the bridge pins (acoustic guitars): If you’re restringing an acoustic guitar, the strings are typically secured by bridge pins. Gently push the bridge pins inward while gripping them with a bridge pin puller or a suitable tool, allowing you to release the old strings from the bridge.
- Dispose of the old strings responsibly: Once all the old strings have been removed, it’s important to dispose of them properly. Consider using a dedicated container for discarded strings to ensure they are safely contained and can be disposed of in accordance with local waste management guidelines.
By following these steps, you’ll effectively remove the old strings from your guitar, setting the stage for the next phase of the restringing process. Properly disposing of the old strings also contributes to maintaining a tidy workspace and minimizing clutter.
**
Step 4: Clean the fretboard
**
Once the old strings have been removed, it’s an opportune time to clean the fretboard, ensuring that it’s free from accumulated grime and residue. This step not only contributes to the overall maintenance of your guitar but also enhances its visual appeal. Here’s how to effectively clean the fretboard:
- Assess the fretboard material: Different guitars feature fretboards made of various materials such as rosewood, ebony, or maple. It’s essential to identify the specific material of your fretboard to determine the most suitable cleaning approach.
- Use a clean cloth and fretboard cleaner: Apply a small amount of fretboard cleaner to a clean, soft cloth. Gently rub the cloth along the length of the fretboard, removing any accumulated dirt and grime. Take care to avoid excessive moisture, especially on unfinished fretboards.
- Condition the fretboard (if applicable): For unfinished or dry fretboards, applying a small amount of fretboard conditioner or lemon oil can help nourish the wood and maintain its optimal condition. This step is particularly beneficial for rosewood and ebony fretboards.
- Remove excess cleaner and conditioner: After cleaning and conditioning the fretboard, use a separate dry cloth to remove any excess cleaner or conditioner, ensuring that the fretboard is left smooth and free from residue.
By meticulously cleaning and, if necessary, conditioning the fretboard, you’ll not only maintain the integrity of the wood but also contribute to the overall aesthetic appeal of your guitar. A clean and well-maintained fretboard sets the stage for the successful installation of the new strings in the subsequent steps.
**
Step 5: Install the new strings
**
With the fretboard cleaned and prepped, it’s time to install the new strings onto your guitar. This step is pivotal in achieving optimal playability and tone. Whether you’re restringing an acoustic, electric, or classical guitar, the process of installing new strings follows similar principles. Here’s a comprehensive guide to installing the new strings:
- Identify the string gauges: Before installing the new strings, ensure that you have the appropriate string gauges for your guitar. Different styles of playing and personal preferences may influence your choice of string gauges.
- Thread the strings through the bridge: For acoustic and electric guitars, thread the end of each string through the corresponding bridge hole. For classical guitars, tie the strings securely to the bridge according to the traditional tying method.
- Insert the bridge pins (acoustic guitars): If you’re restringing an acoustic guitar, gently insert the bridge pins to secure the ball end of each string. Ensure that the pins are fully seated to prevent any slippage during string tensioning.
- Thread the strings through the tuning pegs: Starting with the low E string, insert the end of the string through the appropriate tuning peg hole. Leave a sufficient length of the string to allow for winding and tuning.
- Wind the strings onto the tuning pegs: Using a string winder for efficiency, begin winding each string onto its respective tuning peg. Ensure that the winding is neat and consistent to promote tuning stability.
- Trim excess string length: Once the strings are securely wound and tuned to pitch, use wire cutters to trim the excess string length, ensuring a clean and tidy appearance.
By meticulously following these steps, you’ll successfully install the new strings, setting the stage for tuning and optimizing the playability of your guitar. The installation process is a crucial phase in restringing, and attention to detail is key to achieving a satisfying outcome.
**
Step 6: Tune the guitar
**
After installing the new strings, it’s essential to tune your guitar to ensure that each string is at the correct pitch. Proper tuning is fundamental to achieving the desired tonal quality and playability. Whether you’re using an electronic tuner or relying on your ear, the tuning process is a critical step in the restringing journey. Here’s a detailed guide to tuning your guitar:
- Use an electronic tuner: If you have an electronic tuner, clip it onto the headstock or place it within sight of the guitar. This will allow you to precisely tune each string to the correct pitch.
- Tune to standard pitch: Starting with the low E string, pluck the string and observe the tuner’s display. Adjust the tuning peg as needed to bring the string to the standard E2 pitch. Proceed to tune each string in sequence, referring to the appropriate pitches for your guitar’s standard tuning.
- Check for accuracy: Once all strings are tuned, go through each string again to ensure that they are accurately pitched. Fine-tune as necessary to achieve optimal tonal stability.
- Utilize alternate tunings (if desired): If you frequently use alternate tunings, this is the ideal time to adjust the strings to your preferred alternate tuning setups. Ensure that each string is accurately tuned to the desired pitches for the chosen tuning.
By meticulously tuning your guitar, you’ll ensure that the new strings are at the correct pitches, setting the stage for a rewarding playing experience. Tuning is a critical aspect of restringing and directly impacts the tonal integrity and versatility of your instrument.
**
Step 7: Stretch the strings
**
After tuning the guitar, it’s crucial to stretch the new strings to minimize the likelihood of future tuning instability. Fresh strings have a tendency to stretch and settle, leading to initial fluctuations in pitch. By effectively stretching the strings, you can expedite this settling process and enhance tuning stability. Here’s how to stretch the strings methodically:
- Stretch each string individually: Starting with the low E string, firmly grasp the string at the 12th fret and gently pull it away from the fretboard. Repeat this stretching process for each string, ensuring that the stretching is gradual and deliberate.
- Re-tune the guitar: After stretching each string, re-tune the guitar to the standard pitches. The stretching process may cause the strings to detune slightly, so it’s important to re-establish accurate tuning.
- Repeat the stretching and tuning process: Continue to stretch the strings and re-tune the guitar multiple times. With each iteration, the strings will gradually stabilize, requiring less frequent re-tuning.
- Check tuning stability: Once the strings exhibit improved stability and minimal detuning after stretching, the guitar is ready for regular playing. Monitor the tuning stability during the initial playing sessions to ensure that the strings have fully settled.
By diligently stretching the new strings, you’ll expedite the settling process, minimizing the need for frequent re-tuning during subsequent playing sessions. This proactive approach contributes to a more consistent and reliable tuning experience, allowing you to fully enjoy the tonal richness of your freshly restringed guitar.
**
Conclusion
**
Restringing a guitar is a fundamental aspect of guitar maintenance and an opportunity to revitalize your instrument’s playability and tone. By following the comprehensive steps outlined in this guide, you’ve gained valuable insights into the art of safely restringing your guitar. From gathering the necessary tools to stretching the new strings, each stage of the restringing process plays a crucial role in maintaining your guitar’s optimal performance.
By mastering the restringing process, you not only ensure the longevity of your instrument but also enhance your playing experience. The meticulous care and attention invested in restringing contribute to the overall health and vibrancy of your guitar, allowing you to unleash its full potential.
As you embark on your restringing journey, remember to approach each step with patience and precision. Whether you play an acoustic, electric, or classical guitar, the principles of restringing remain consistent, providing you with the knowledge and confidence to maintain your instrument with ease.
With your guitar now boasting a fresh set of strings and optimal tuning stability, you’re poised to delve into countless hours of musical creativity and expression. The rewarding process of restringing not only elevates your guitar’s performance but also deepens your connection to the instrument, enriching your musical journey.
So, pick up your newly restringed guitar, feel the renewed responsiveness of the strings beneath your fingertips, and let the music resonate with newfound clarity and resonance. Embrace the art of restringing as a testament to your dedication to the craft and a commitment to experiencing the full spectrum of sonic possibilities your guitar has to offer.