Home>Production & Technology>Acoustic>How To Restring An Acoustic

Acoustic
How To Restring An Acoustic
Published: March 11, 2024
Learn how to restring your acoustic guitar like a pro with our step-by-step guide. Keep your instrument sounding its best with our expert tips and techniques.
(Many of the links in this article redirect to a specific reviewed product. Your purchase of these products through affiliate links helps to generate commission for AudioLover.com, at no extra cost. Learn more)
Table of Contents
Introduction
Restringing an acoustic guitar is an essential skill for any guitarist, whether you're a seasoned musician or just starting out. It's a task that may seem daunting at first, but with the right guidance and a bit of practice, it can become a routine part of maintaining your instrument. In this comprehensive guide, we will walk you through the step-by-step process of restringing your acoustic guitar, ensuring that you can keep your instrument sounding its best.
A well-maintained set of strings is crucial for producing clear, resonant tones and ensuring the overall playability of your guitar. Over time, strings can become worn, corroded, or lose their elasticity, leading to a decline in sound quality and intonation. By learning how to restring your acoustic guitar, you'll not only save money on professional restringing services but also gain a deeper understanding of your instrument's mechanics.
Whether you're preparing for an upcoming performance, recording session, or simply want to refresh the sound of your guitar, knowing how to restring your acoustic guitar is a valuable skill to have in your musical toolkit. By following the steps outlined in this guide, you'll be able to maintain your guitar's optimal performance and ensure that it continues to inspire you as you hone your craft.
So, grab your acoustic guitar and let's dive into the process of restringing it. With a few simple tools and a bit of patience, you'll soon be on your way to enjoying the rich, vibrant tones of a freshly restrung acoustic guitar.
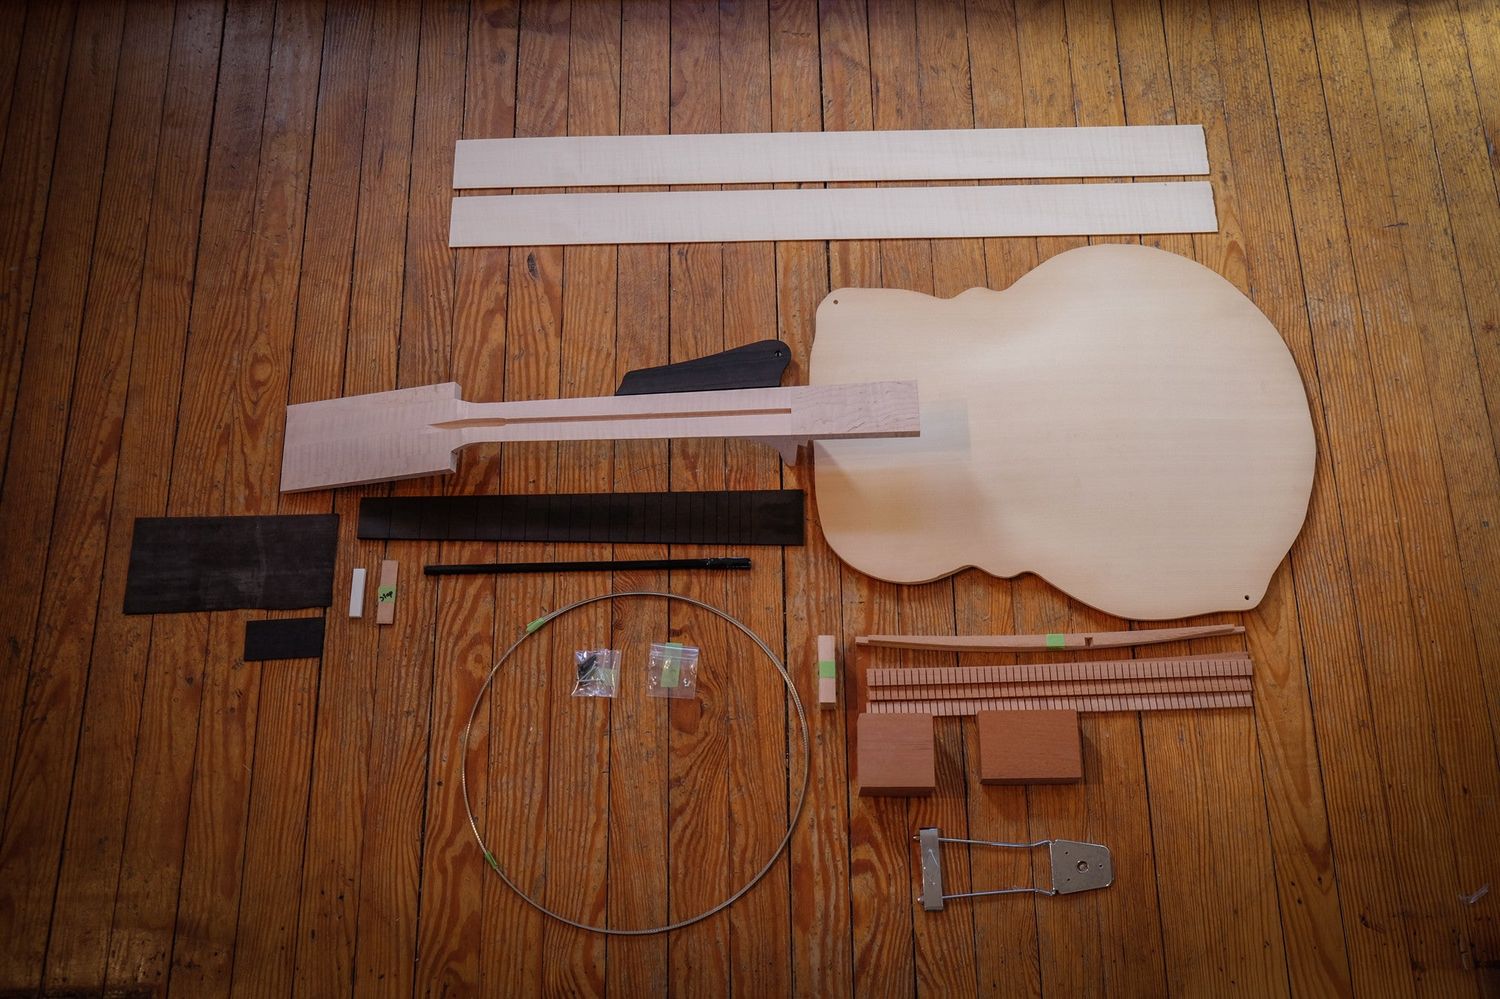
Step 1: Gather the necessary tools and materials
Before embarking on the restringing process, it's essential to gather all the required tools and materials. Having everything at hand will streamline the process and ensure that you can complete the task efficiently. Here's a comprehensive list of the items you'll need:
Tools:
- Wire cutters: These will be used to trim the excess string length after installation.
- Tuner: A tuner is crucial for accurately tuning the new strings once they are installed.
- String winder: This tool makes winding the strings quicker and easier, saving you time and effort.
- Guitar polish/cleaner: Cleaning the guitar's fretboard and body is an important step in the restringing process.
- Cloth: A soft cloth will be used for cleaning and polishing the guitar.
Materials:
- Acoustic guitar strings: Ensure that you have the appropriate gauge and type of strings for your acoustic guitar. There are various materials and coatings available, each affecting the tone and longevity of the strings.
- Lemon oil (optional): If your guitar's fretboard is particularly dirty or dry, lemon oil can be used to condition and clean it.
- String lubricant (optional): This can be applied to the nut and bridge to reduce friction and improve tuning stability.
- Protective work surface: Lay down a soft cloth or towel to protect the guitar's body during the restringing process.
By gathering these tools and materials, you'll be well-prepared to tackle the restringing process with confidence. Ensuring that everything is within reach will make the experience more enjoyable and help you achieve professional results. Now that you have everything you need, let's move on to the next step: removing the old strings from your acoustic guitar.
Step 2: Remove the old strings
Removing the old strings from your acoustic guitar is the crucial first step in the restringing process. Not only does it pave the way for installing fresh strings, but it also presents an opportunity to inspect the guitar and perform any necessary maintenance. Follow these detailed steps to safely and effectively remove the old strings:
-
Loosen the strings: Begin by turning the tuning pegs to loosen the tension of each string. This will make it easier to remove them without causing any damage to the guitar or the strings themselves. Use a string winder to expedite this process, ensuring that each string is sufficiently slackened.
-
Trim the excess length: Once the strings are sufficiently loose, use wire cutters to trim the excess length near the tuning pegs. This will prevent the strings from getting tangled and make it easier to remove them from the bridge and tuning pegs.
-
Remove the bridge pins: For guitars with bridge pins, gently push them out from the bridge using a bridge pin puller or a small, flat object. Take care not to apply excessive force, as this could damage the bridge or the pins.
-
Unwind and remove the strings: With the excess length trimmed and the bridge pins removed, carefully unwind each string from the tuning pegs. As you do this, be mindful of any sharp ends that could scratch the guitar's body or your hands.
-
Inspect the guitar: With the old strings removed, take a moment to inspect the guitar's bridge, fretboard, and other components. This is an opportune time to clean these areas and address any issues that may have been obscured by the old strings.
By methodically following these steps, you can safely and efficiently remove the old strings from your acoustic guitar, setting the stage for the next phase of the restringing process. With the old strings out of the way, you're now ready to move on to the subsequent steps, bringing you closer to the satisfying experience of playing your freshly restrung acoustic guitar.
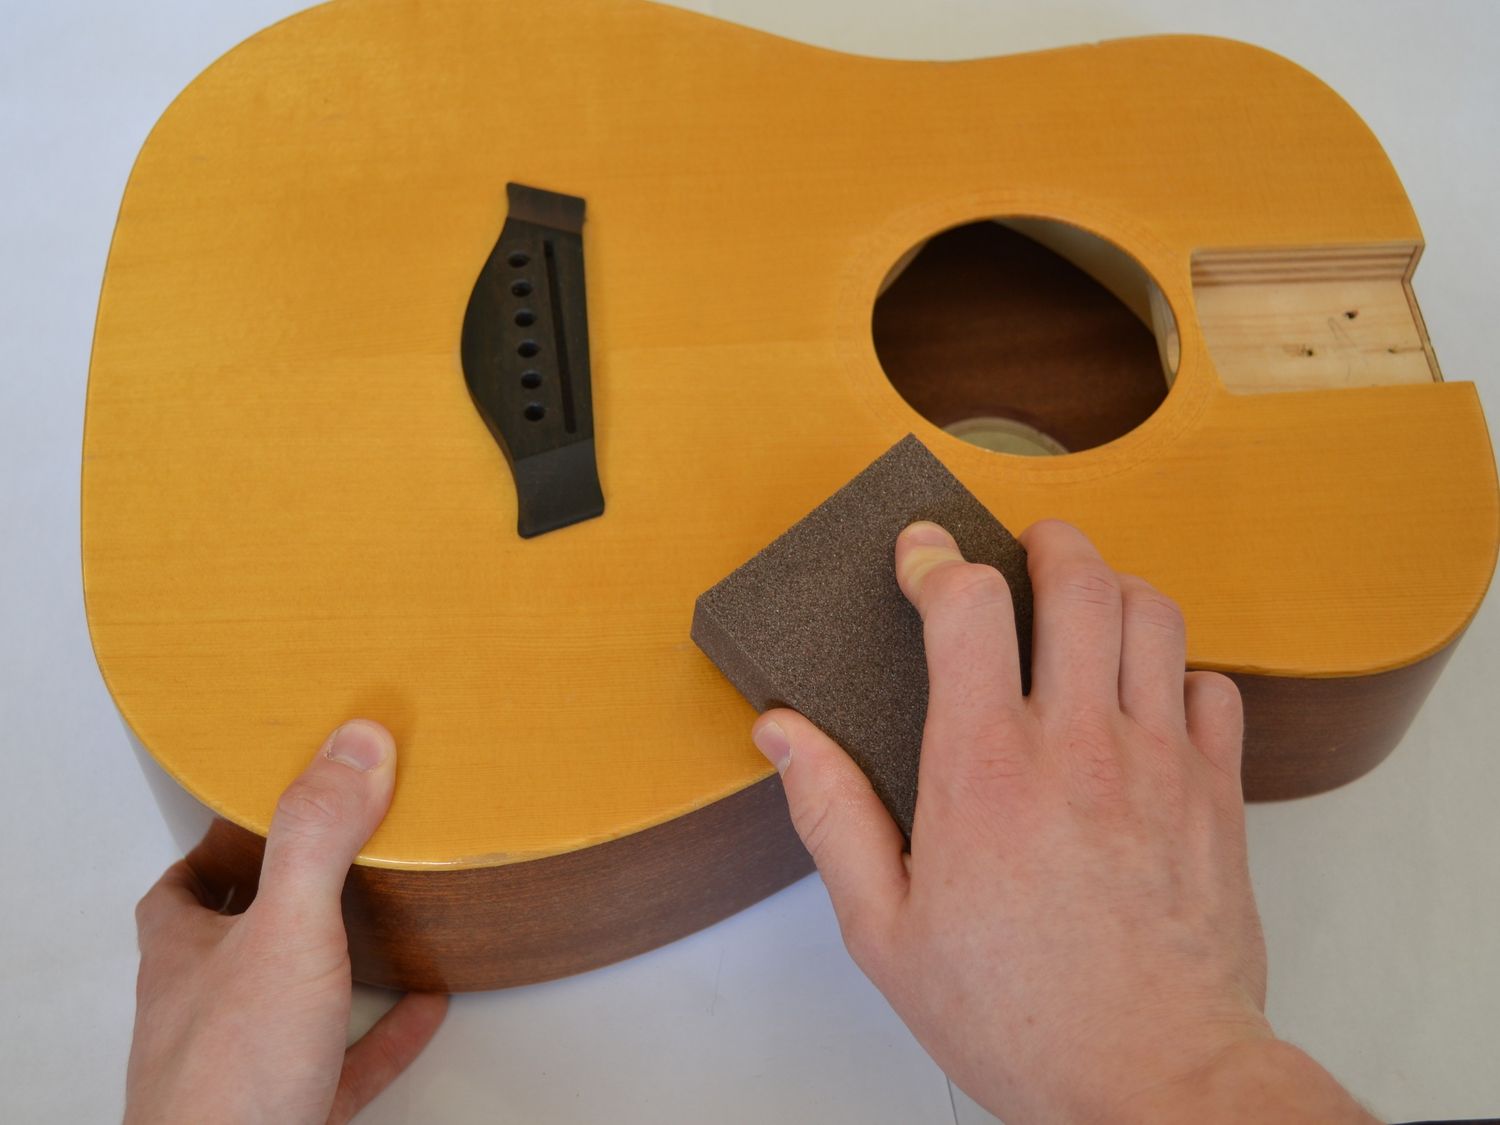
Step 3: Clean the guitar
Cleaning your acoustic guitar is a crucial step in the restringing process, as it not only enhances the instrument's appearance but also contributes to its overall maintenance and longevity. A clean guitar not only looks more appealing but also functions better, ensuring that it continues to produce high-quality sound. Here's a detailed guide on how to effectively clean your acoustic guitar:
-
Fretboard cleaning: Start by using a soft, dry cloth to remove any accumulated dirt, dust, or residue from the fretboard. For stubborn grime or buildup, a small amount of specialized fretboard cleaner can be applied to a cloth and gently rubbed onto the fretboard. Ensure that excess moisture is promptly wiped away to prevent any potential damage to the wood.
-
Body and neck cleaning: Using a separate clean cloth, gently wipe down the guitar's body and neck, removing any smudges, fingerprints, or dust. If the guitar's finish is particularly dirty, a mild guitar polish can be applied sparingly to a cloth and used to buff the surface, restoring its luster. It's important to use a polish specifically designed for guitars to avoid any adverse effects on the finish.
-
Hardware and components: Take a moment to clean the guitar's hardware, including the tuning machines, bridge, and any other metal components. A soft cloth can be used to remove any tarnish or debris, and a small amount of metal polish can be applied if necessary. Be cautious when using metal polish, ensuring that it does not come into contact with the guitar's finish.
-
Inspect for any issues: While cleaning the guitar, take the opportunity to inspect it for any potential issues such as loose hardware, cracks, or other damage. Addressing these issues promptly can prevent them from escalating and ensure that your guitar remains in optimal playing condition.
By thoroughly cleaning your acoustic guitar during the restringing process, you not only maintain its aesthetic appeal but also contribute to its overall health and performance. A clean guitar provides a more enjoyable playing experience and can prolong the lifespan of the instrument. With the guitar now clean and prepared, you're ready to proceed to the next step: installing the new strings.
Step 4: Install the new strings
Installing new strings on your acoustic guitar is a pivotal step that directly impacts its sound and playability. By carefully following the process outlined below, you can ensure that the new strings are securely and accurately installed, setting the stage for optimal performance and tonal quality.
String selection
Begin by selecting the appropriate set of acoustic guitar strings based on your playing style, tonal preferences, and the specific requirements of your guitar. Acoustic guitar strings come in various materials, gauges, and coatings, each influencing the instrument's sound and feel. Whether you prefer the warmth of phosphor bronze or the brightness of 80/20 bronze, choosing the right strings is essential for achieving your desired tonal characteristics.
String installation
-
Inserting the strings: Starting with the thickest string (low E), insert the ball end into the bridge, ensuring that it is securely seated. For guitars with bridge pins, the ball end should be placed beneath the pin before reinserting it into the bridge. Repeat this process for the remaining strings, working from the thickest to the thinnest.
-
Winding the strings: With the strings inserted into the bridge, guide each string up to the corresponding tuning peg. Leave enough slack to allow for several winds around the peg. Begin winding the string onto the peg in the direction that tightens the string as you tune it up. Using a string winder can expedite this process, making it easier to achieve consistent and secure winding.
-
Ensuring proper alignment: As you wind each string, ensure that it wraps neatly and evenly around the tuning peg, avoiding any overlapping or crossing of the string. This promotes tuning stability and prevents unnecessary stress on the string.
-
Trimming excess length: Once the strings are securely wound and tuned to pitch, use wire cutters to trim the excess length near the tuning pegs. Leaving a small amount of slack ensures that the strings remain secure while minimizing any potential interference with tuning stability.
Stretching and tuning
After installing the new strings, it's crucial to stretch them to minimize tuning instability and ensure that they settle into their optimal playing condition. Gently tug on each string along its length, applying light pressure to encourage the stretching process. Once stretched, use a tuner to bring the strings to their correct pitches, ensuring that the guitar is in tune and ready for play.
By meticulously following these steps, you can confidently install new strings on your acoustic guitar, revitalizing its sound and responsiveness. With the new strings in place, your guitar is poised to deliver the rich, vibrant tones that inspire and captivate both players and listeners alike.
Step 5: Tune the guitar
Tuning your acoustic guitar is the final crucial step in the restringing process, ensuring that the instrument produces accurate pitches and harmonious tones. Proper tuning not only enhances the sound quality but also contributes to the overall playability and enjoyment of the guitar. Here's a detailed guide on how to effectively tune your acoustic guitar after restringing:
Initial tuning
Begin by bringing each string to a close approximation of its target pitch. This can be achieved using a reliable tuner, either a clip-on tuner or a smartphone app. Starting with the low E string and progressing to the high E string, pluck each string and adjust the tuning pegs until the tuner indicates that the string is at the correct pitch. It's essential to tune each string to a close approximation before fine-tuning them in subsequent steps.
Fine-tuning and harmonizing
Once all the strings are approximately tuned, go through each string again, fine-tuning them to their precise pitches. As you adjust the tuning pegs, listen for any beats or wavering in pitch, aiming to eliminate any dissonance and achieve a harmonious blend of tones. Paying attention to the interactions between adjacent strings can help ensure that the guitar is in tune across all strings and positions.
Checking intonation
After fine-tuning the open strings, it's beneficial to check the guitar's intonation to ensure that the instrument plays in tune along the entire fretboard. This can be done by comparing the pitch of each string when played open versus when fretted at the 12th fret. If there are noticeable discrepancies in pitch, adjustments to the saddle position may be necessary to optimize the guitar's intonation.
Rechecking and adjustments
Once the initial tuning, fine-tuning, and intonation checks are complete, it's advisable to revisit the tuning of each string to confirm that they remain stable and in tune. Changes in string tension and settling can occur during the initial tuning process, so a final check ensures that the guitar is ready for play.
By meticulously following these steps, you can effectively tune your acoustic guitar after restringing, ensuring that it delivers the rich, resonant tones and precise pitches that define its sonic character. With the guitar now finely tuned and ready for play, you can fully appreciate the rejuvenated sound and responsiveness of your freshly restrung acoustic instrument.
Conclusion
Congratulations! You've successfully navigated the comprehensive process of restringing your acoustic guitar, revitalizing its sound and playability. By following the step-by-step guide outlined in this article, you've not only gained valuable insight into the maintenance of your instrument but also honed a fundamental skill that will serve you well on your musical journey.
Restringing an acoustic guitar is more than just a maintenance task; it's a ritual that fosters a deeper connection with your instrument. As you carefully removed the old strings, cleaned the guitar, and installed the new strings, you engaged with your guitar on a tactile and auditory level, gaining a greater appreciation for its craftsmanship and sonic potential.
The process of restringing also offers an opportunity for introspection and mindfulness. As you meticulously tuned each string, ensuring that it resonated at the perfect pitch, you cultivated a sense of precision and attentiveness, qualities that extend beyond the realm of music and into everyday life.
Moreover, by mastering the art of restringing, you've empowered yourself to take ownership of your instrument's maintenance and upkeep. No longer reliant on external services, you have the knowledge and skill to keep your acoustic guitar in prime playing condition, ensuring that it continues to inspire and accompany you on your musical endeavors.
As you strum the first chords on your freshly restrung acoustic guitar, you'll be greeted by a renewed sense of vibrancy and clarity in its sound. The strings, now free from the wear and tear of prolonged use, resonate with a newfound brilliance, infusing your music with a captivating richness and depth.
In essence, the process of restringing an acoustic guitar transcends mere maintenance; it's a transformative experience that deepens your bond with your instrument and enriches your musical expression. As you embark on your next practice session or performance, the rejuvenated sound of your acoustic guitar will serve as a testament to your dedication and care.
So, take a moment to savor the harmonious notes emanating from your freshly restrung acoustic guitar, knowing that you've not only revitalized its sound but also nurtured a profound connection with your musical companion. With each strum and chord, you'll be reminded of the rewarding journey you've undertaken, and the enduring resonance of your acoustic guitar will echo your passion for music.