Home>Instruments>Bass>How To Restring A Bass Guitar


Bass
How To Restring A Bass Guitar
Modified: February 15, 2024
Learn how to restring a bass guitar with our step-by-step guide! Discover tips and tricks to keep your bass sounding great.
(Many of the links in this article redirect to a specific reviewed product. Your purchase of these products through affiliate links helps to generate commission for AudioLover.com, at no extra cost. Learn more)
Table of Contents
- Introduction
- Step 1: Gather the necessary tools and materials
- Step 2: Loosen and remove the old strings
- Step 3: Clean the fretboard and hardware
- Step 4: Install the new strings
- Step 5: Tune and stretch the strings
- Step 6: Check and adjust the string height and intonation
- Step 7: Optional: Apply string lubricant or conditioner
- Conclusion
Introduction
Restringing a bass guitar is an essential skill for any bass player. Over time, strings can become worn out, lose their tone, and even break, affecting the overall performance and sound of the instrument. By restringing the bass guitar regularly, you can maintain its playability, sustain, and intonation.
In this comprehensive guide, we will walk you through the step-by-step process of restringing a bass guitar. Whether you’re a seasoned bassist or a beginner, this article will provide you with the knowledge and tips to successfully restring your bass guitar.
Before we dive into the steps, it’s important to note that restringing a bass guitar requires a few essential tools and materials. These include a fresh set of bass strings, a string winder, wire cutters or string snips, a clean cloth, and a guitar tuner. Having these items on hand will make the restringing process smoother and more efficient.
Now, let’s get started with step one: gathering the necessary tools and materials.
Step 1: Gather the necessary tools and materials
Before you begin the restringing process, it’s important to ensure that you have all the necessary tools and materials at hand. This will help you work efficiently and avoid any interruptions during the process.
Here’s a list of the essential tools and materials you’ll need:
- A fresh set of bass strings: Choose strings that are appropriate for your playing style and desired tone. There are various options available, including roundwound, flatwound, and half-round strings. Experiment with different types to find the ones that suit your preferences.
- A string winder: This tool will make the process of removing and installing the strings faster and easier. It can be found at most music stores and online retailers.
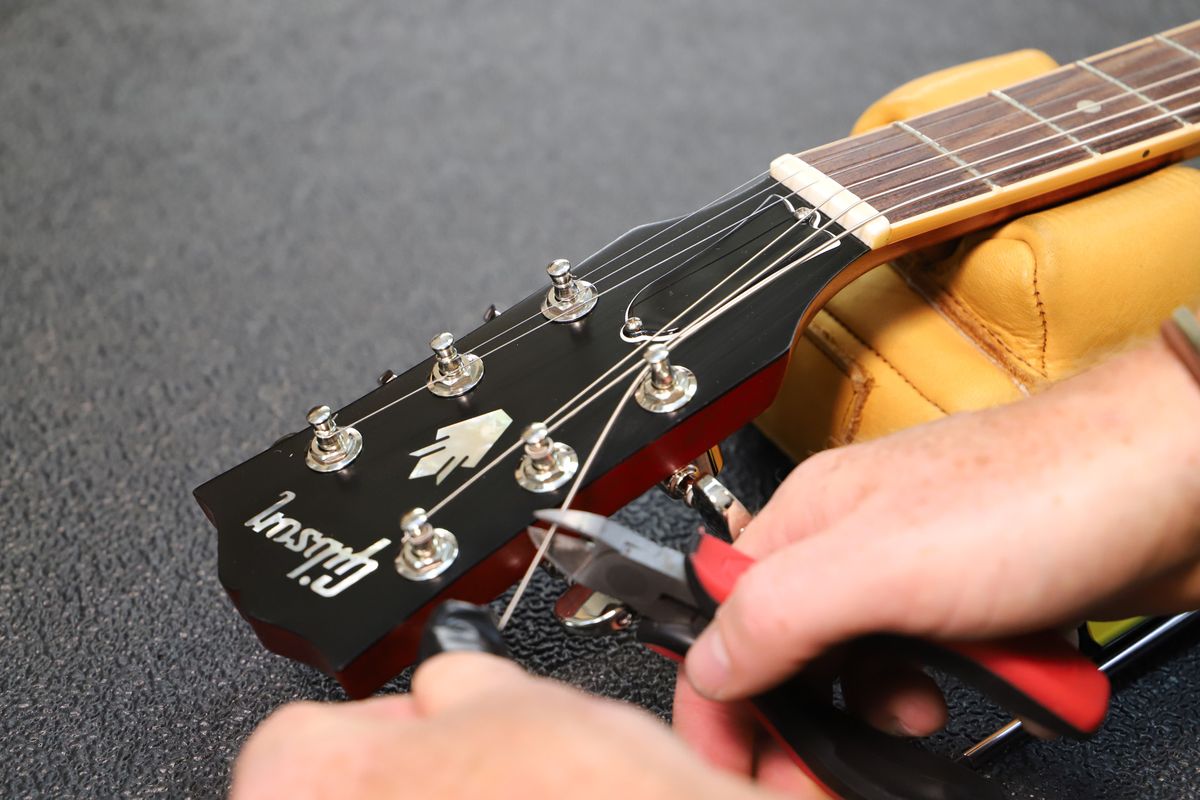
- Wire cutters or string snips: You’ll need these to trim off the excess string length once the new strings are installed.
- A clean cloth: Use a soft cloth to wipe down the bass guitar, removing any dust or debris from the fretboard and hardware.
- A guitar tuner: This is essential for ensuring that the strings are tuned correctly once they are installed. A clip-on tuner or a smartphone app can work well for this purpose.
Once you have gathered these tools and materials, you are ready to move on to the next step: loosening and removing the old strings.
Step 2: Loosen and remove the old strings
Now that you have gathered all the necessary tools and materials, it’s time to loosen and remove the old strings from your bass guitar. It’s important to approach this step with caution to avoid any damage to the instrument.
Follow these steps to safely remove the old strings:
- Start with the lowest-pitched string (usually the E string) and use the string winder to loosen the tension by turning the tuning machine counterclockwise. Make sure to loosen the string gradually to minimize any sudden release of tension.
- Once the string is loose, use your fingers to unwind it from the tuning peg. Be careful not to let it snap back into place, as this can cause damage or injury.
- Repeat this process for each string, working your way up from the lowest to the highest strings.
As you remove each string, it can be helpful to coil it up neatly and set it aside. This will keep them from getting tangled and make disposal easier later on.
Once all the old strings have been removed, you can move on to the next step: cleaning the fretboard and hardware.
Step 3: Clean the fretboard and hardware
With the old strings removed, it’s time to give your bass guitar a thorough cleaning. This step is essential to maintain the condition of your instrument and ensure optimal playability.
Follow these steps to clean the fretboard and hardware:
- Using a clean cloth, gently wipe down the entire surface of the fretboard. This will remove any built-up dirt, grime, or oils.
- For unfinished or maple fretboards, you can use a slightly damp cloth. However, for finished or rosewood fretboards, it’s best to avoid moisture and stick to a dry cloth.
- Pay special attention to the areas around the frets, as this is where debris tends to accumulate. You can use a toothbrush or a soft-bristled brush to gently scrub away any stubborn dirt.
- Next, clean the hardware (bridge, tuners, and pickups) using a cloth dampened with a mild household cleaner or guitar polish. Be cautious not to apply too much liquid on the cloth, as it can seep into sensitive areas.
- Make sure to thoroughly dry the fretboard and hardware after cleaning to avoid any moisture-related issues.
By keeping your bass guitar clean, you’ll not only maintain its appearance but also prolong its lifespan and improve its overall performance.
With the fretboard and hardware cleaned, you’re now ready to move on to the next step: installing the new strings.
Step 4: Install the new strings
Installing new strings on your bass guitar is an exciting step that can significantly improve the sound and playability of your instrument. Follow these steps to ensure a proper and successful installation:
- Start with the thickest string (usually the E string) and insert it through the appropriate bridge saddle or tailpiece hole.
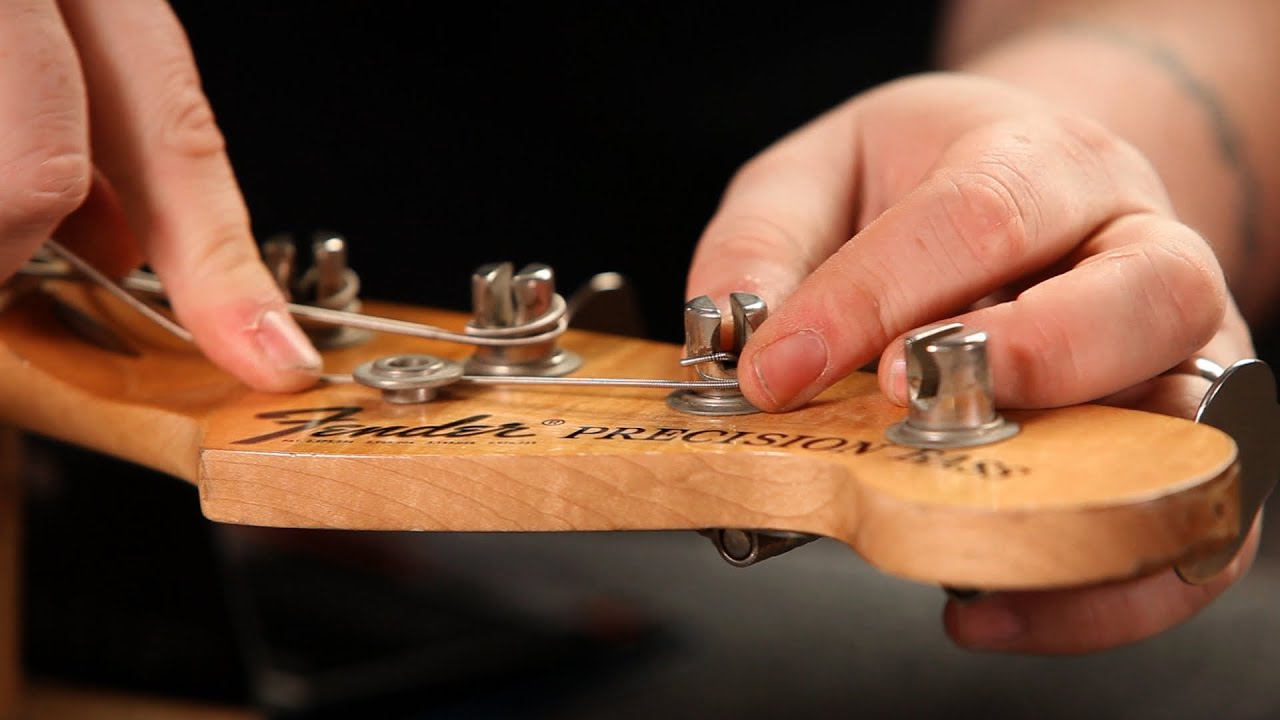
- Guide the string up to the corresponding tuning peg and insert it into the peghole, leaving a few inches of slack.
- Turn the tuning peg clockwise to tighten the string, but avoid over-tightening at this stage. Leave enough slack to allow for stretching and tuning later.
- Repeat this process for each string, working your way from the thickest to the thinnest.
- Once all the strings are inserted into their respective pegs, it’s time to start tightening them. Use the string winder to turn the tuning pegs clockwise, gradually increasing the tension on each string.
- As you tighten the strings, keep an eye on the alignment and ensure that they are properly seated in the bridge saddles or tailpiece.
- Continue tightening and tuning the strings until they reach their desired pitch. Use a guitar tuner to ensure accurate tuning.
It’s important to note that new strings may take some time to settle and stabilize. They will stretch and go out of tune during the initial playing sessions. Regularly tune and stretch the strings to help them settle in faster.
With the new strings properly installed and tuned, you’re ready to move on to the next step: stretching the strings.
Step 5: Tune and stretch the strings
Once you have installed the new strings on your bass guitar, it’s crucial to tune them accurately and give them a proper stretch. This step will ensure that the strings settle in and hold their tune more effectively.
Follow these steps to tune and stretch the strings:
- Start by tuning each string to its desired pitch using a guitar tuner. Begin with the thickest string (E string) and work your way to the thinnest string.
- After each string has been tuned, use your fingers to gently pull and stretch the strings away from the fretboard. Be careful not to pull too forcefully to avoid damaging the strings or the instrument.
- Repeat the stretching process a few times for each string, gradually increasing the tension. This helps the strings settle and reduces the likelihood of them going out of tune quickly.
- Once you have stretched all the strings, go back and tune them again. It’s normal for the strings to go slightly out of tune during the stretching process.
- Continue this process of stretching and tuning until the strings hold their pitch consistently.
It’s important to note that new strings may require more frequent tuning and stretching during the initial period of use. As you continue to play and break-in the strings, they will eventually stabilize and require less maintenance.
With the strings properly tuned and stretched, you’re ready to move on to the next step: checking and adjusting the string height and intonation.
Step 6: Check and adjust the string height and intonation
Checking and adjusting the string height and intonation of your bass guitar is crucial for achieving optimal playability and tonality. This step ensures that the strings are properly aligned and produce clear, accurate tones across the fretboard.
Follow these steps to check and adjust the string height and intonation:
- Start by checking the string height, also known as the action, at different points along the fretboard. Use a ruler or feeler gauge to measure the distance between the bottom of the string and the top of the fret.
- If the action is too high, you may experience difficulties in fretting notes or excessive string buzzing. To lower the action, adjust the individual saddle height screws on the bridge. Ensure that the adjustments are made evenly for each string to maintain proper intonation.
- To check the intonation, play each string open (without fretting any notes) and then compare it to its corresponding 12th fret harmonic. The pitch of both should be identical. If not, use a small screwdriver to make slight adjustments to the saddle position.
- Repeat this process for each string to ensure consistent string height and accurate intonation across the fretboard.
It’s important to note that these adjustments require careful attention and patience. If you’re unsure about making precise adjustments, it’s advisable to seek assistance from a professional guitar technician.
With the string height and intonation properly checked and adjusted, you’re almost done. Optionally, you can proceed to step seven for an extra touch of care: applying string lubricant or conditioner.
Step 7: Optional: Apply string lubricant or conditioner
While this step is optional, applying string lubricant or conditioner can provide some extra care and maintenance for your bass guitar strings. This can help prolong their lifespan and improve their overall performance.
Consider the following steps if you choose to apply string lubricant or conditioner:
- Start by applying a small amount of string lubricant or conditioner onto a clean cloth.
- Gently run the cloth along the length of each string, ensuring that the lubricant is evenly distributed.
- You can also use your fingers to massage the lubricant or conditioner into the strings, helping to break down any grime or buildup.
- Wipe off any excess lubricant with a separate clean cloth.
String lubricants or conditioners can help reduce friction between the strings and the fretboard, allowing for smoother playing and longer string life. They can also help prevent corrosion and rust, particularly in regions with high humidity.
Remember to follow the instructions provided by the specific lubricant or conditioner product you choose, as different products may have slightly different application methods.
With this optional step complete, your bass guitar restringing process is finished! You can now enjoy the benefits of fresh strings and improved playability.
Remember to regularly clean and maintain your bass guitar, and consider restringing as needed to maintain optimal performance and tone.
We hope this guide has been helpful in guiding you through the process of restringing a bass guitar. Happy playing!
Conclusion
Restringing a bass guitar is an essential skill for any bass player, and it’s important to do it regularly to maintain the instrument’s playability and tone. In this comprehensive guide, we have walked you through the step-by-step process of restringing your bass guitar.
We began by discussing the necessary tools and materials you’ll need for the restringing process. Having a fresh set of bass strings, a string winder, wire cutters, a clean cloth, and a guitar tuner is essential to make the process smoother and more efficient.
Next, we covered each step in detail, from loosening and removing the old strings to cleaning the fretboard and hardware, installing the new strings, tuning and stretching them, and checking and adjusting the string height and intonation. Each step plays a crucial role in ensuring that your bass guitar performs at its best.
Lastly, we provided an optional step of applying string lubricant or conditioner to further care for your bass guitar strings, enhancing their durability and playability.
Remember, as you become more experienced in restringing your bass guitar, you may develop your own preferences and techniques. Experimentation and finding what works best for you is part of the journey of becoming a proficient bass player.
Regularly restringing your bass guitar, along with proper cleaning and maintenance, will contribute to a longer-lasting instrument and a more enjoyable playing experience. So, grab your tools, follow the steps outlined in this guide, and keep those bass lines grooving!


