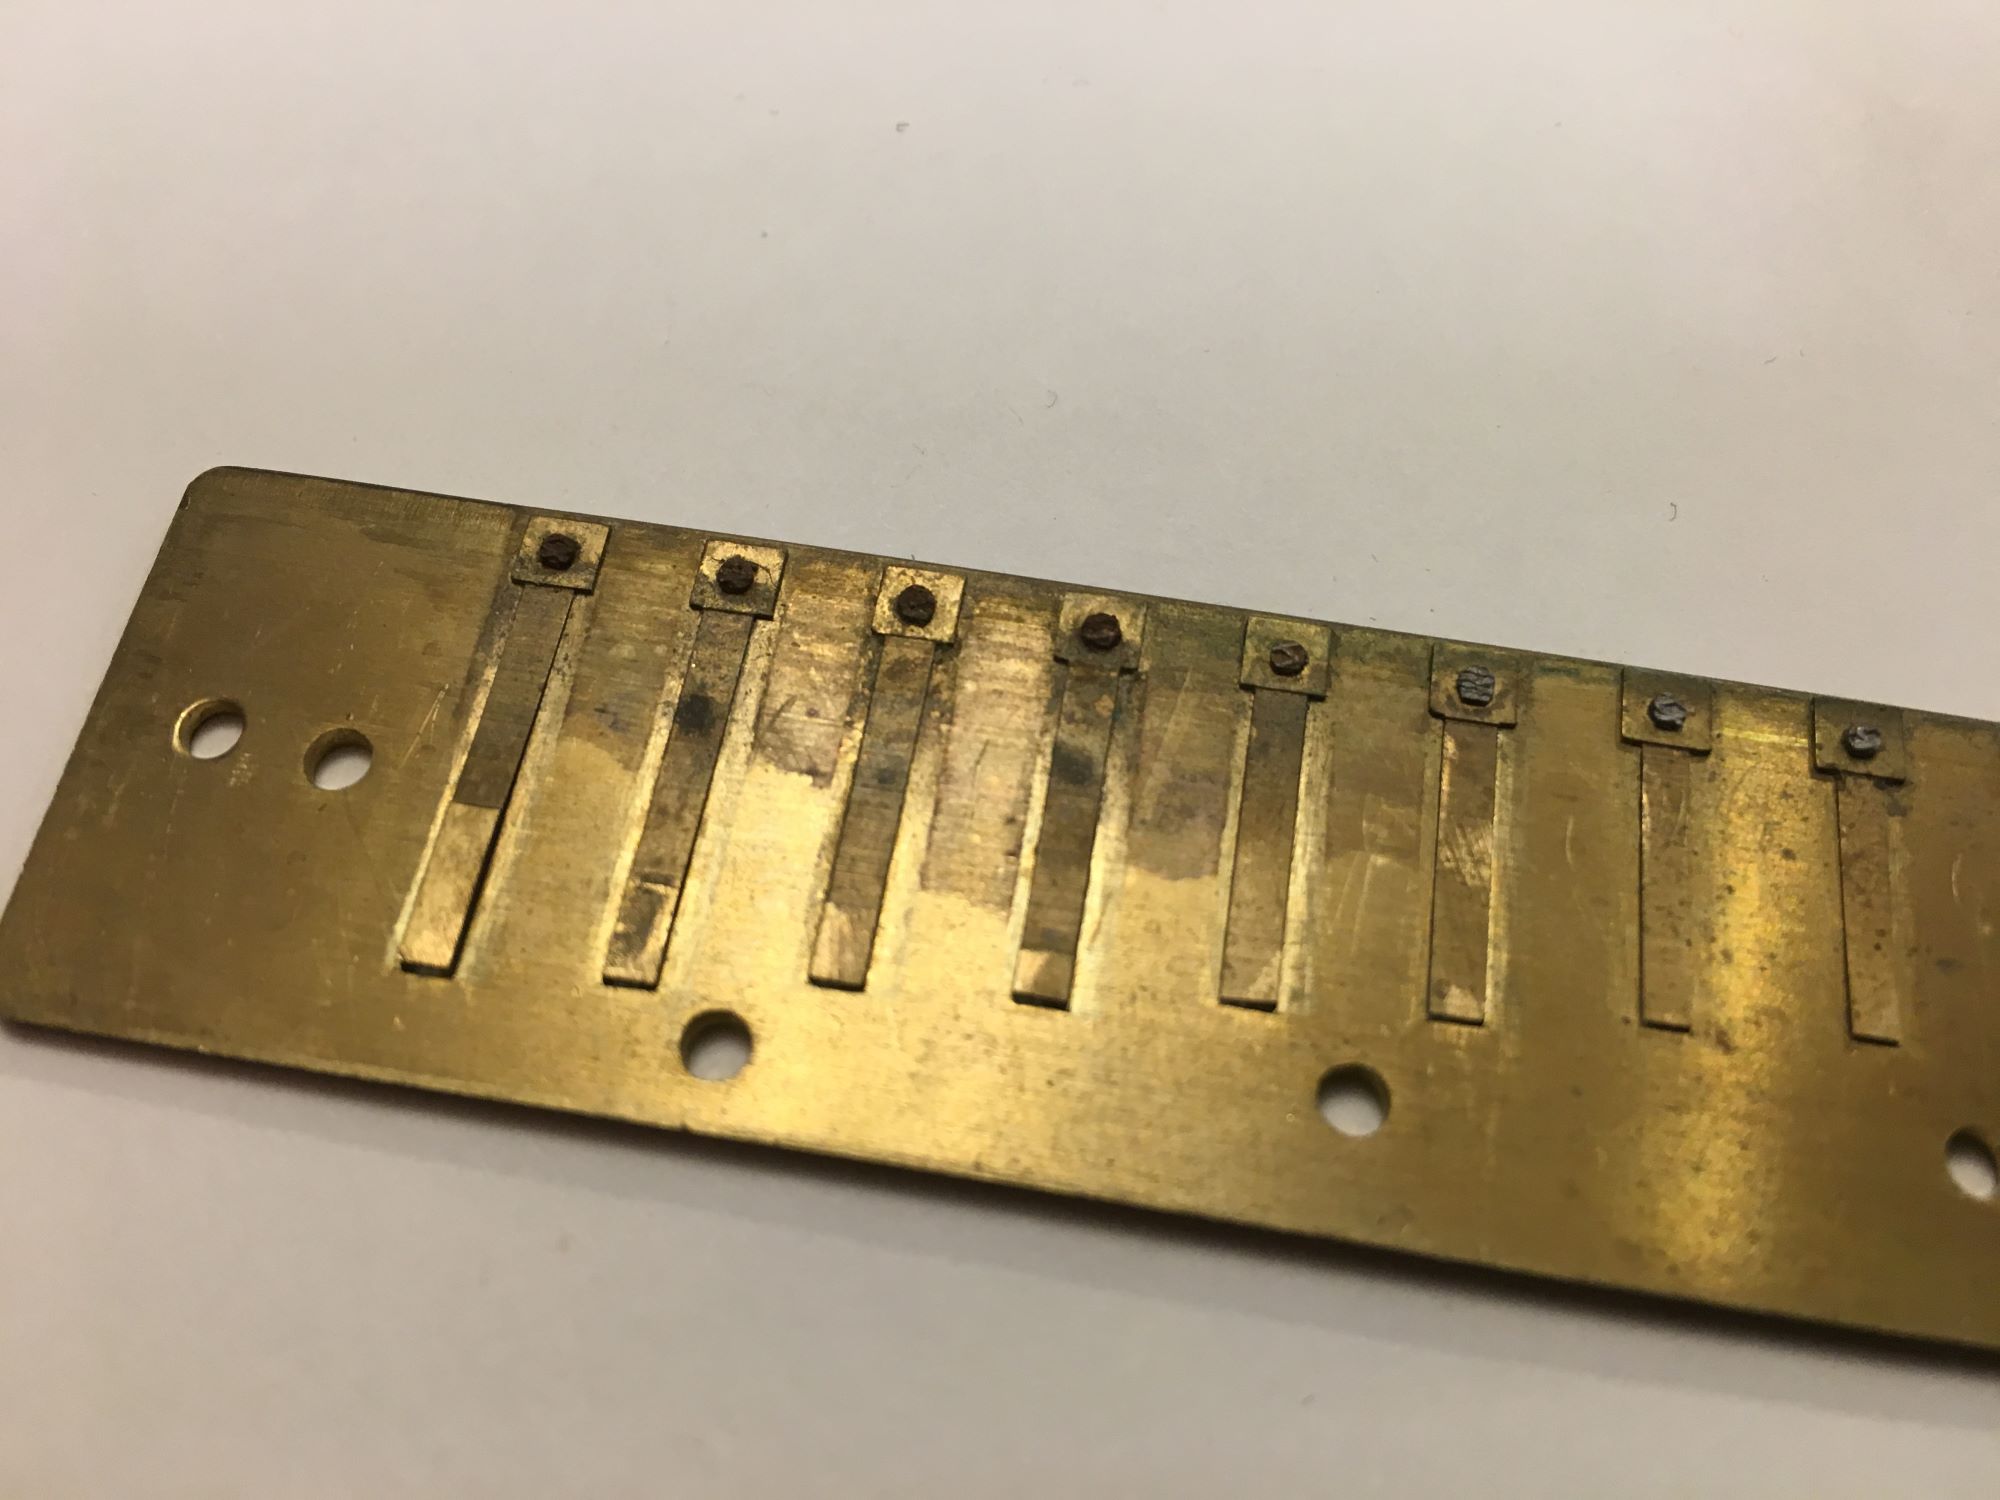
Home>Instruments>Harmonica>How To Draw A Harmonica
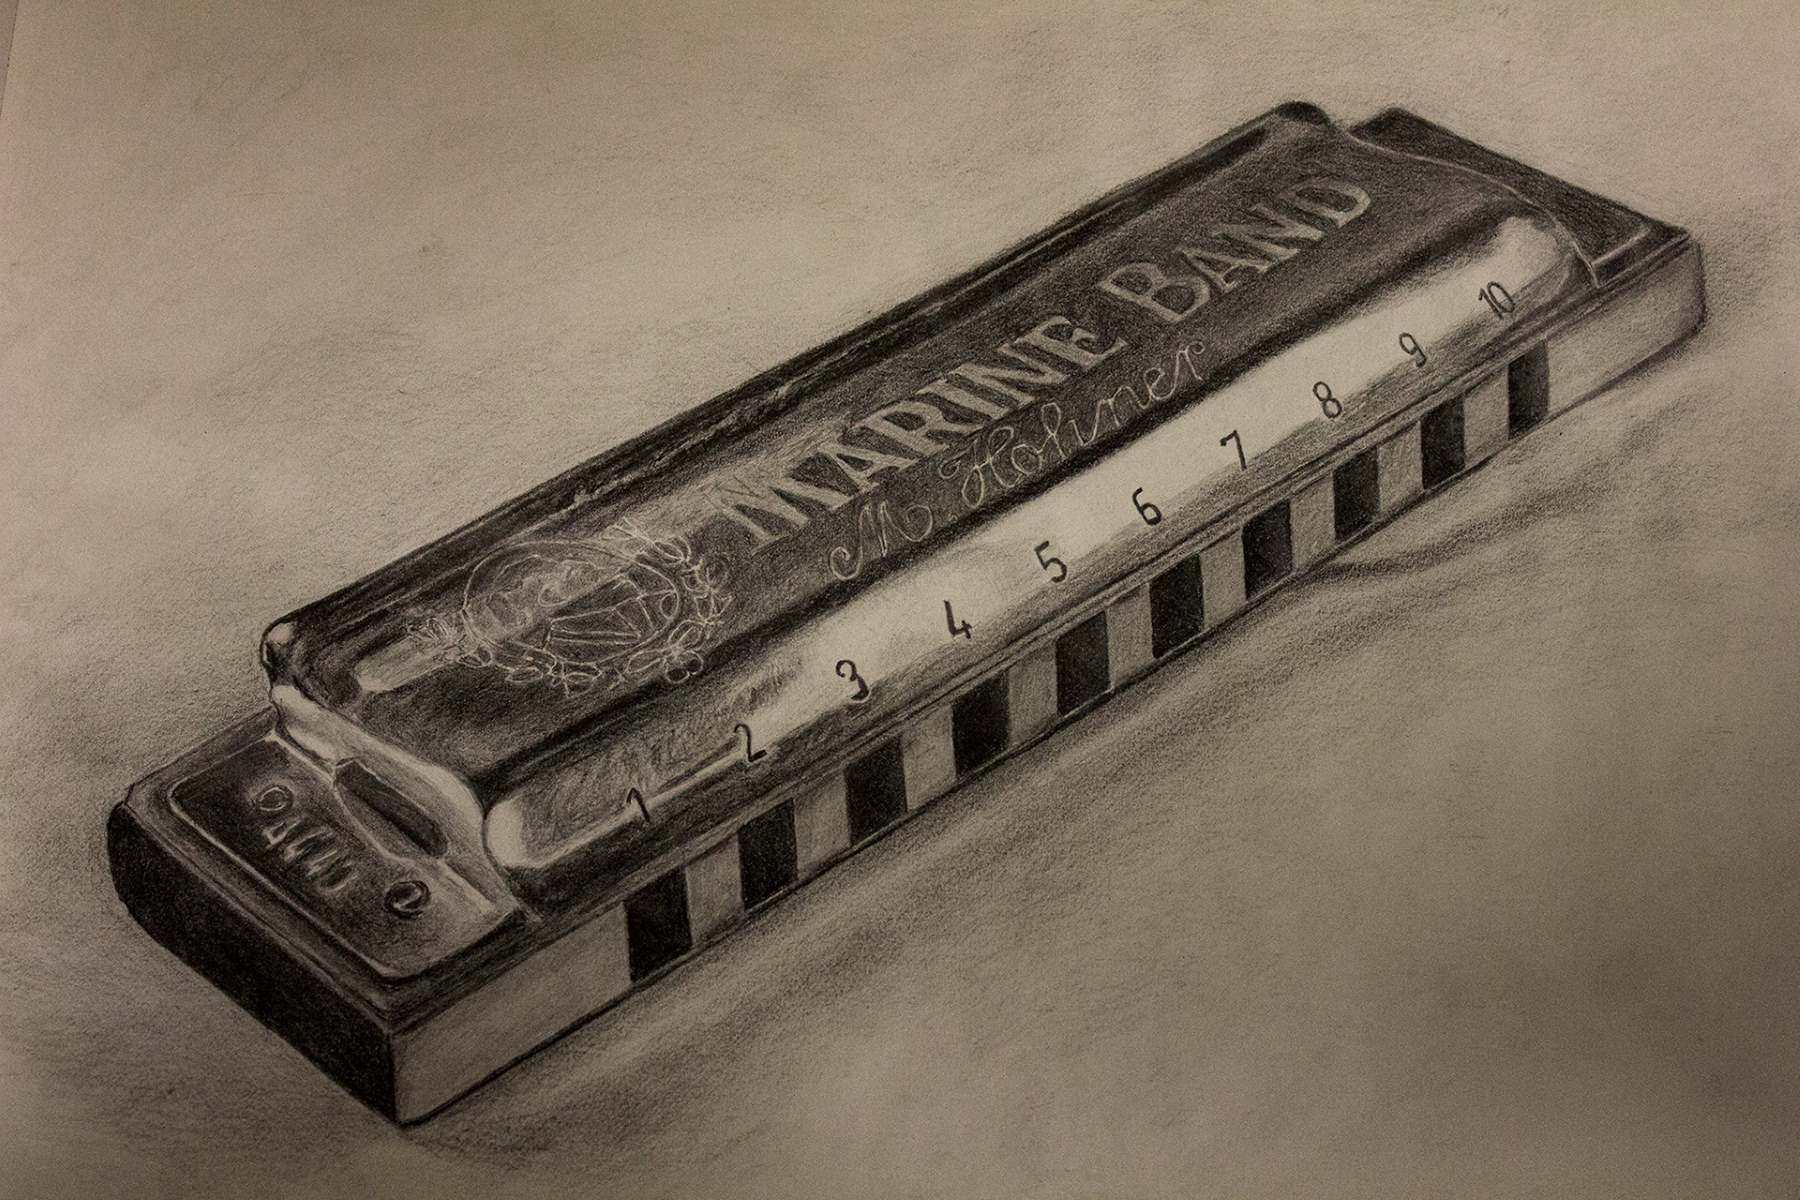

Harmonica
How To Draw A Harmonica
Published: February 3, 2024
Learn how to draw a harmonica step by step with our easy-to-follow guide. Discover the secrets to creating realistic harmonica illustrations.
(Many of the links in this article redirect to a specific reviewed product. Your purchase of these products through affiliate links helps to generate commission for AudioLover.com, at no extra cost. Learn more)
Table of Contents
Introduction
The harmonica, also known as the mouth organ or harp, is a versatile and unique musical instrument that has captured the hearts of music lovers around the world. Its distinctive sound and portability make it a favorite among musicians of various genres, from blues and folk to rock and pop.
If you’re an aspiring artist or simply interested in exploring your creative side, you might want to learn how to draw a harmonica. Drawing this instrument can be a fun and engaging activity that allows you to express your love for music through art.
In this step-by-step guide, we will walk you through the process of drawing a harmonica. Whether you’re a beginner or an experienced artist looking to refine your skills, this tutorial will provide you with the necessary guidance to create a realistic and visually appealing rendition of this iconic instrument.
Before we dive into the drawing process, let’s take a moment to gather the materials you’ll need for this project.
Materials Needed
Before we begin drawing a harmonica, it’s important to gather the necessary materials. Here’s a list of what you’ll need:
- Pencil: Start with a regular graphite pencil for sketching and outlining.
- Drawing paper: Use a high-quality drawing paper or sketch pad that can handle different shading techniques.
- Eraser: Keep a soft eraser handy for making corrections and refining your drawing.
- Ruler: Use a ruler or a straightedge to ensure straight lines and accurate proportions.
- Reference Image: Find a clear and detailed reference image of a harmonica to guide your drawing process. You can search online or use a photograph of an actual harmonica.
Once you have gathered these materials, find a comfortable and well-lit workspace where you can focus on your drawing. Now, let’s move on to the first step of drawing a harmonica.
Step 1: Sketching the Basic Shape
To begin drawing a harmonica, start by sketching the basic shape of the instrument. Follow these steps:
- Start by lightly drawing a rectangle on your paper. This will be the main body of the harmonica.
- Next, draw two smaller rectangles on either side of the main rectangle. These will represent the ends of the harmonica.
- Now, add two curved lines at the top and bottom of the rectangle to give the harmonica a more rounded appearance.
- Connect the ends of the smaller rectangles to the curved lines, creating a bridge-like shape. This will be where the harmonica’s holes are located.
- At the top and bottom of the harmonica, draw two small rectangles that will serve as the cover plates.
Remember to keep your pencil strokes light and easily erasable, as this is just the initial sketch. Focus on getting the proportions and basic shape of the harmonica accurate before moving on to the next step.
Once you are satisfied with the basic shape and proportions, you can proceed to add the details to make your harmonica drawing more realistic.
Step 2: Adding the Details
Now that you have sketched the basic shape of the harmonica, it’s time to add the intricate details that will bring your drawing to life. Follow these steps:
- Starting from the top end of the harmonica, draw a series of evenly spaced vertical lines that will represent the harmonica’s holes. Typically, a harmonica has 10 holes, but you can adjust the number based on your personal preference.
- Draw horizontal lines across the holes to indicate the dividers between them. Make sure the lines are evenly spaced and parallel to each other.
- Next, draw a line across the top and bottom of the main body to separate it from the cover plates. This line should be slightly curved to match the shape of the harmonica.
- Now, add the details to the cover plates. Draw a series of small holes or perforations along the length of the cover plates. These holes allow sound to escape when the harmonica is played.
- To add a realistic touch, draw small screws or rivets around the edges of the cover plates. These are typically used to hold the harmonica together.
Pay attention to the spacing and proportions of the holes and dividers as you add the details. This will ensure that your harmonica drawing looks accurate and true to life. Once you have finished adding the details, you are ready to move on to the next step: working on the holes.
Step 3: Working on the Holes
Now that you have added the details to the harmonica, it’s time to focus on the holes, which are an important feature of this instrument. Follow these steps to bring the holes to life:
- Start by darkening the vertical lines you previously drew to represent the holes. Make sure the lines are evenly spaced and have consistent thickness.
- Next, use a smaller pencil or a fine-tip pen to create shading within the holes. This will give them a three-dimensional appearance.
- To add depth and realism, create subtle highlights on the edges of the holes using an eraser. Lightly erase parts of the shading to simulate light reflecting off the metal.
- Continue adding shadows and highlights to enhance the depth of the holes. Pay attention to the direction of light and shade accordingly to create a more realistic effect.
Working on the holes of the harmonica requires patience and attention to detail. Take your time to ensure that the shading and highlights are applied accurately. Once you are satisfied with the result, you can proceed to the next step: adding shading and texture to the harmonica.
Step 4: Adding Shading and Texture
Now that the basic structure and details of the harmonica are complete, it’s time to add shading and texture to make your drawing appear more realistic. Follow these steps:
- Begin by identifying the areas of the harmonica that would naturally be darker, such as the space between the cover plates, the edges, and the dividers between the holes.
- Using a pencil or a shading tool, gradually add darker tones to these areas. Start with light pressure and build up the intensity of the shading gradually to create a smooth transition between light and dark areas.
- To create a metallic texture, use your shading tool to draw diagonal lines or cross-hatching on the cover plates. This will simulate the appearance of metal and add depth to your drawing.
- Blend the shading and textures with a blending stump or a cotton swab to soften harsh lines and create a smoother, more realistic look.
- Pay attention to the overall lighting and shadows on the harmonica. Add subtle shading on the underside of the instrument to indicate the presence of shadows.
Don’t be afraid to experiment with different shading techniques to achieve the desired effect. Take your time and observe the harmonica closely for reference as you add shading and texture. Once you are satisfied with the result, you can move on to the final step: adding the finishing touches and cleaning up your drawing.
Step 5: Final Touches and Cleanup
Congratulations! You’re almost done with your harmonica drawing. Now it’s time to add the final touches and clean up your work. Follow these steps:
- Review your drawing as a whole and make any necessary adjustments. Look for any areas that may need additional shading or refinement.
- Erase any stray pencil lines or smudges that may distract from the overall appearance of your harmonica. Use a soft eraser to gently remove any unwanted marks.
- If desired, you can add some additional details to make your drawing more personalized. For example, you could include the logo or branding of a specific harmonica brand.
- Finally, take a step back and assess your drawing. Appreciate the hard work and effort you put into creating this beautiful representation of the harmonica.
After completing these final touches and cleaning up your drawing, you can consider it finished. Take the time to admire your creation and share it with others who appreciate art and music. Remember, practice makes perfect, so don’t be discouraged if your first attempt isn’t exactly as you envisioned. The more you practice, the better you’ll become.
Now that you have successfully learned how to draw a harmonica, you can apply this knowledge to other artistic projects or even create your own artwork inspired by this beloved musical instrument. Let your creativity soar, and enjoy the journey of exploring the world of art and music!
Conclusion
Drawing a harmonica can be a rewarding and enjoyable experience, allowing you to combine your love for music with your passion for art. By following the steps outlined in this guide, you have learned how to sketch the basic shape, add intricate details, work on the holes, add shading and texture, and apply final touches to create a realistic and visually appealing drawing of a harmonica.
Throughout the process, remember to be patient and take your time. Pay attention to the proportions, details, and shading to ensure the best possible result. Don’t be afraid to experiment and add your own creative flair to your drawing. Each artist has their own unique style, so embrace your individuality.
Drawing the harmonica not only allows you to enhance your artistic skills, but it also deepens your understanding and appreciation for this remarkable musical instrument. The harmonica has a rich history and has been used in countless genres of music, from blues and folk to rock and country. By capturing its essence through art, you are celebrating its significance in the world of music and sharing your admiration for this versatile instrument.
Now that you have completed your harmonica drawing, take a moment to appreciate your accomplishment. Share your artwork with others, whether it’s through social media, art communities, or simply displaying it in your own space. Encourage others to explore their artistic side and create their own renditions of the harmonica.
Remember, art is a journey of continuous learning and improvement. Practice regularly, try new techniques, and explore different subjects. As you continue to hone your skills, you will discover new ways to express your creativity and create stunning pieces of artwork.
So, pick up your pencil, unleash your imagination, and let the harmonica inspire you as you embark on your artistic journey.

