Home>Instruments>Piano>How To Remove Piano Keys
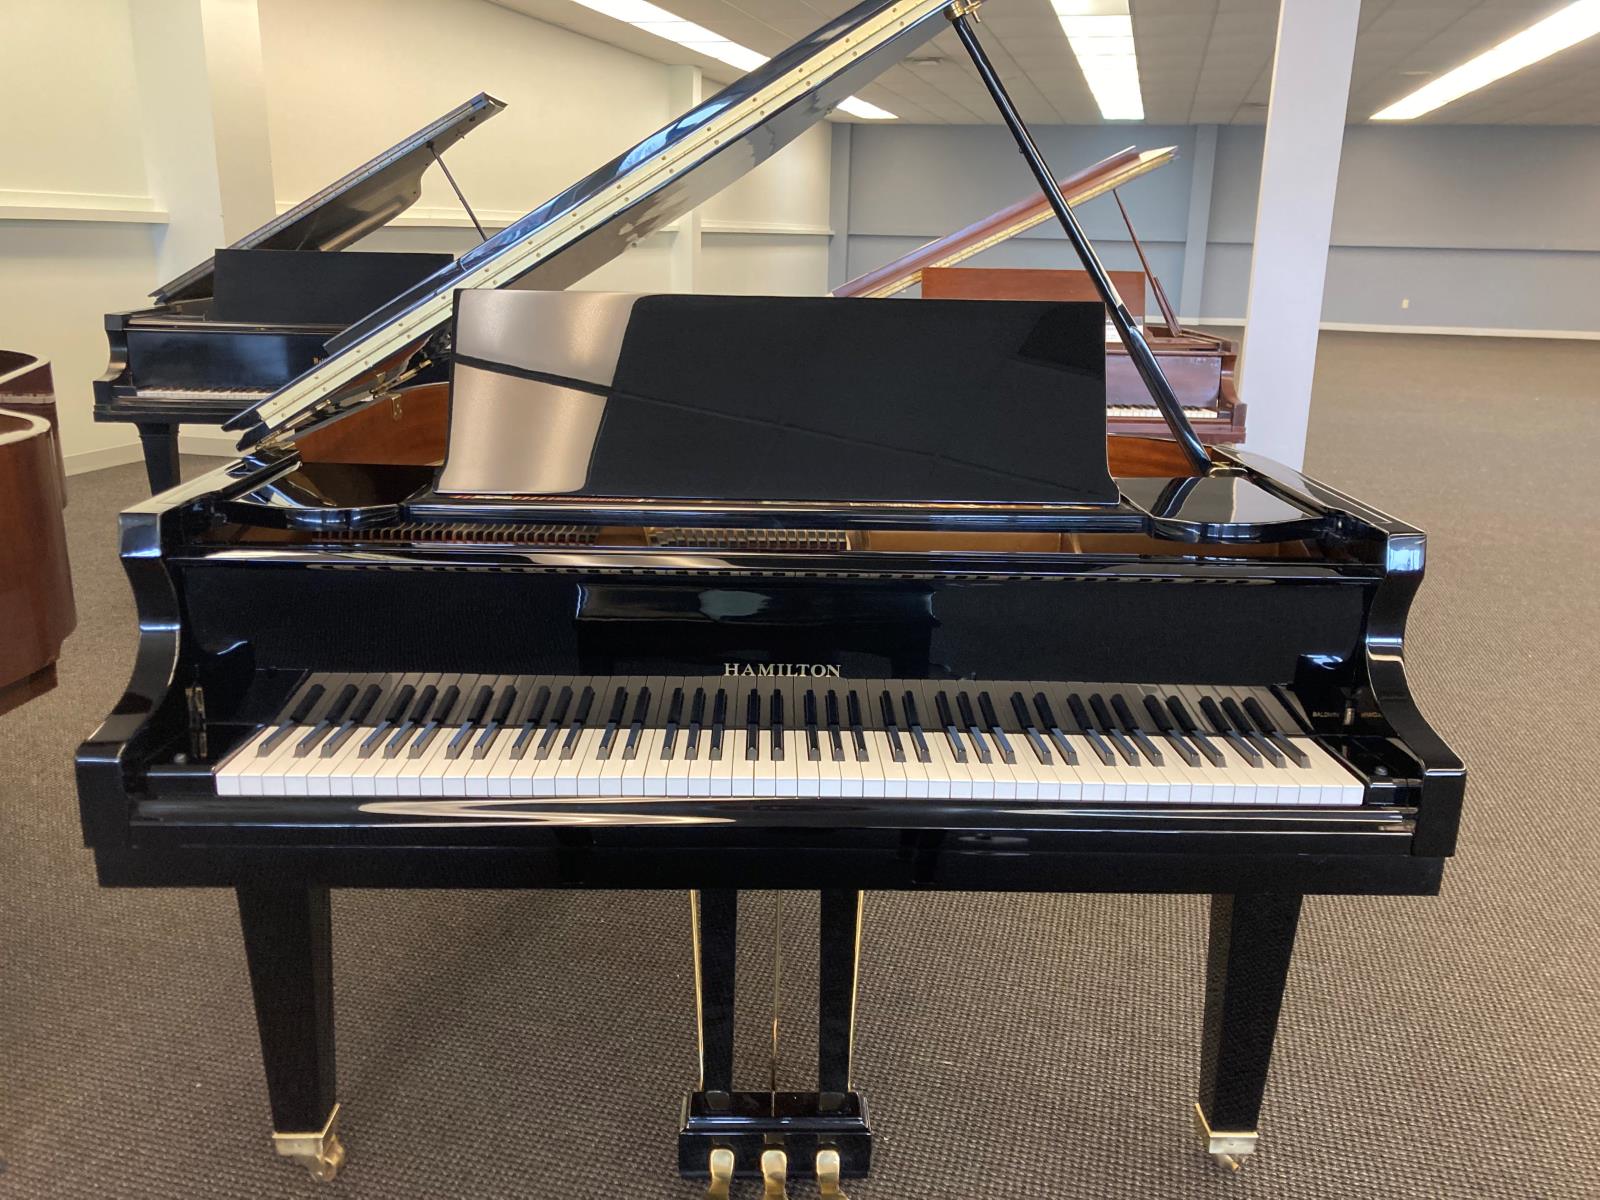
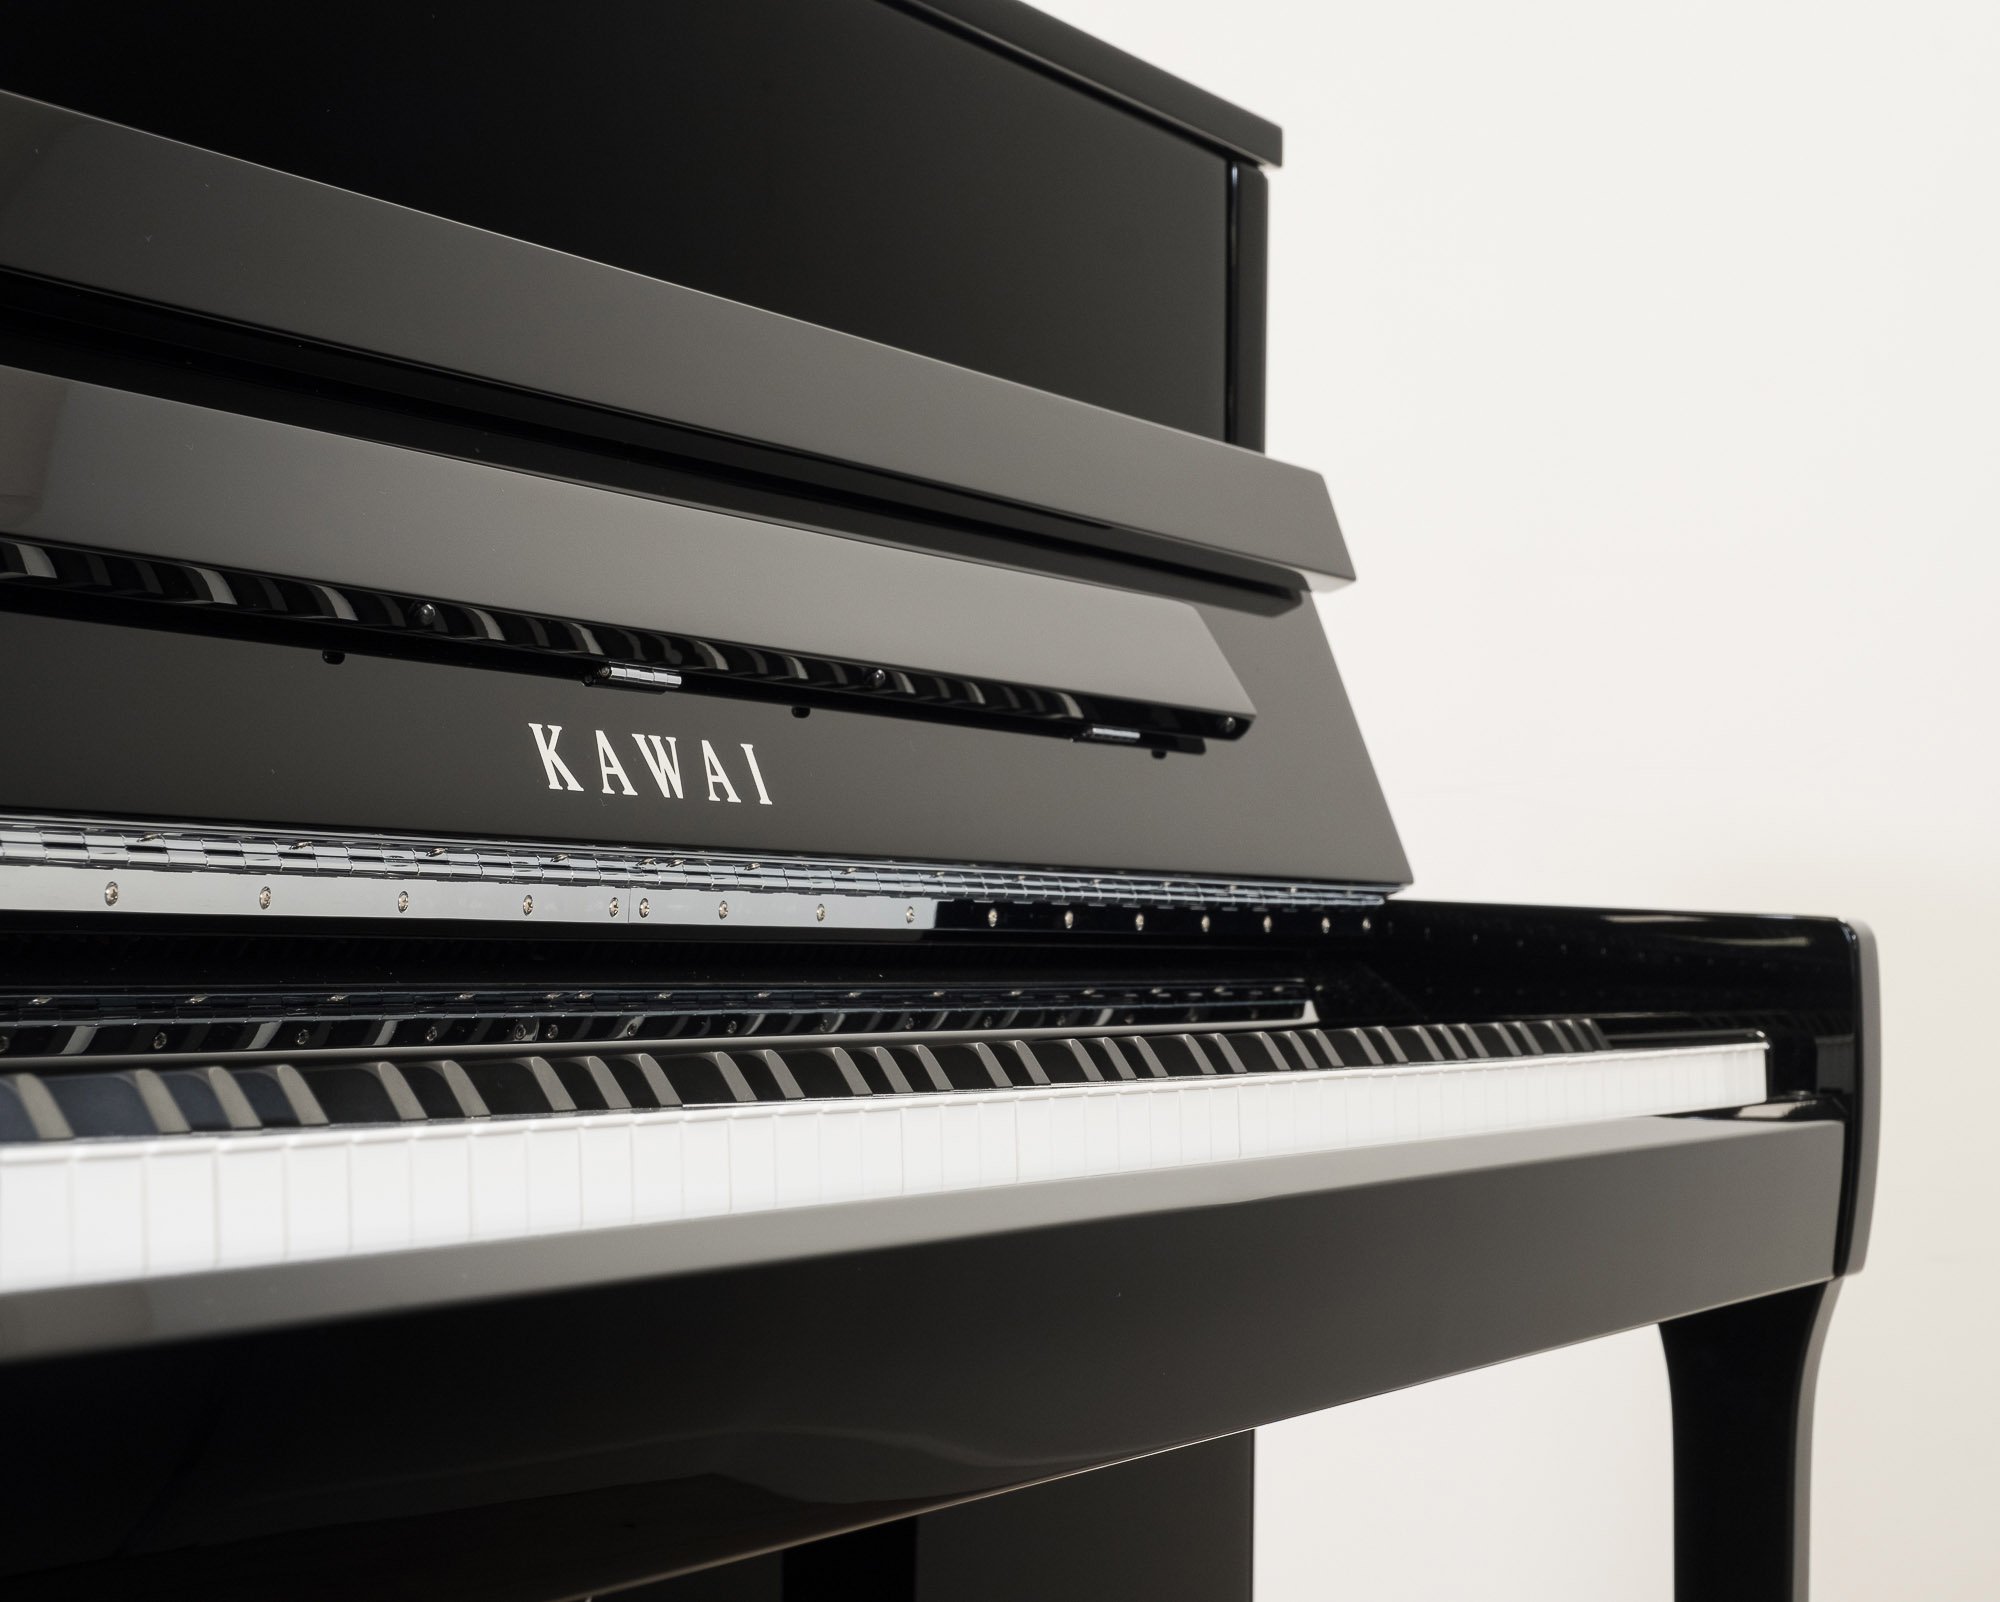
Piano
How To Remove Piano Keys
Published: February 10, 2024
Learn how to remove piano keys with our step-by-step guide. Discover the best techniques for piano maintenance and repair.
(Many of the links in this article redirect to a specific reviewed product. Your purchase of these products through affiliate links helps to generate commission for AudioLover.com, at no extra cost. Learn more)
Table of Contents
Introduction
Introduction
The piano is a timeless instrument that has brought music and joy into countless homes and venues for centuries. Whether you're a professional pianist, a music enthusiast, or a piano technician, understanding how to remove piano keys is a valuable skill. Over time, piano keys can become worn, chipped, or discolored, affecting both the instrument's aesthetics and playability. Additionally, debris and dust can accumulate beneath the keys, impacting the piano's sound quality and responsiveness.
In this comprehensive guide, we will explore the step-by-step process of removing piano keys, cleaning them, and replacing them to restore your instrument's appearance and functionality. By following these instructions and using the appropriate tools and materials, you can maintain your piano's pristine condition and ensure that it continues to produce beautiful music for years to come.
Whether you're seeking to undertake this task as part of your regular piano maintenance routine or you're addressing specific issues with the keys, this guide will equip you with the knowledge and confidence to carry out the process effectively. Understanding the inner workings of your piano and being able to perform basic maintenance tasks can deepen your appreciation for this magnificent instrument and help you develop a closer connection to the music it produces.
This guide is designed to be accessible to piano enthusiasts of all levels, from beginners to experienced players and technicians. By following the steps outlined in this article, you can embark on the journey of maintaining and caring for your piano with skill and precision. Let's delve into the tools and materials needed to get started on this rewarding endeavor.
Tools and Materials Needed
Before embarking on the task of removing and cleaning piano keys, it’s essential to gather the necessary tools and materials. Having the right equipment at your disposal will streamline the process and ensure that you can carry out the task with efficiency and precision. Here’s a comprehensive list of the tools and materials you will need:
- Piano Keytop Remover: This specialized tool is designed to safely and effectively remove the keytops from the piano keys without causing damage.
- Flathead Screwdriver: A flathead screwdriver is useful for releasing the key buttons and accessing the key pins.
- Key Bushing Cloth: This soft cloth is used to clean the key pins and key bushings, ensuring smooth movement and preventing unwanted noise.
- Key Pin Extractor: This tool is essential for removing the key pins that secure the keys in place.
- Clean, Lint-Free Cloths: Lint-free cloths are ideal for cleaning the keys and removing any dust, dirt, or residue.
- Piano Key Cleaner Solution: A specialized piano key cleaner solution will help remove stubborn stains and grime from the keys.
- Key Leveling Tool: This tool is used to ensure that the keys are level and properly aligned during reassembly.
- Adhesive for Keytops: If any keytops need to be replaced, adhesive suitable for keytops will be required.
- Protective Gloves: Wearing protective gloves is advisable to prevent oils and dirt from your hands transferring onto the keys during the process.
- Small Containers: Utilize small containers to organize and store the various components and screws removed during the process.
By ensuring that you have all the necessary tools and materials on hand, you can approach the task of removing and cleaning piano keys with confidence and readiness. With these items at your disposal, you’ll be well-prepared to maintain and revitalize your piano keys effectively. Now that we’ve covered the essential tools and materials, let’s proceed to the detailed process of removing the piano keys.
Removing the Piano Keys
Before you begin removing the piano keys, it’s important to approach the task with care and precision. Each key is an integral part of the piano’s mechanism, and proper removal is essential to avoid damage. Follow these step-by-step instructions to safely remove the piano keys:
- Prepare the Work Area: Select a well-lit and spacious area to work on the piano. Ensure that the surface is clean and free from any clutter that could interfere with the key removal process.
- Identify the Keys to Be Removed: Assess the condition of the keys and determine which ones require removal. Whether you’re addressing worn keytops, cleaning the keys, or accessing the key pins and key bushings, identify the specific keys that need attention.
- Remove the Keytops: Using a piano keytop remover, carefully lift the keytops from the keys. Exercise caution to avoid applying excessive force that could damage the delicate components.
- Release the Key Buttons: With a flathead screwdriver, gently release the key buttons that secure the keys in place. Take care to keep the key buttons organized and labeled for reassembly.
- Extract the Key Pins: Utilizing a key pin extractor, remove the key pins that hold the keys in position. Keep the key pins in a secure container to prevent misplacement.
- Carefully Lift the Keys: Once the keytops, key buttons, and key pins have been removed, carefully lift the keys from the piano, ensuring that they remain aligned and organized for the cleaning and replacement process.
By following these steps methodically and attentively, you can successfully remove the piano keys without causing damage to the instrument. It’s essential to handle each component with care and maintain a clear organizational system to facilitate the reassembly process. With the keys removed, you can proceed to the next phase of cleaning and preparing them for replacement.
Cleaning and Replacing the Keys
Once the piano keys have been carefully removed, the next crucial step involves cleaning and preparing them for replacement. This process not only enhances the visual appeal of the keys but also ensures that they function optimally. Follow these detailed steps to clean and replace the piano keys effectively:
- Inspect the Keys: Thoroughly examine the keys to identify any signs of wear, damage, or accumulated debris. This visual inspection will guide the cleaning and maintenance approach for each key.
- Clean the Keys: Using a lint-free cloth and a specialized piano key cleaner solution, gently wipe the keys to remove dirt, grime, and stains. Pay particular attention to any areas with stubborn residue, ensuring that the keys are restored to a pristine condition.
- Address Key Bushings and Pins: Clean the key bushings and key pins using a soft key bushing cloth and a suitable cleaner. This step is essential for ensuring smooth key movement and preventing unwanted noise during play.
- Replace Damaged Keytops (If Necessary): If any keytops are worn or damaged, carefully remove them from the keys and replace them with new ones. Use adhesive suitable for keytops to securely affix the replacements in place.
- Align and Reassemble the Keys: Before reassembling the keys, ensure that they are aligned and level. Use a key leveling tool to make any necessary adjustments, and then carefully reinsert the keys into their respective positions.
- Secure Key Pins and Buttons: Reinsert the key pins and secure them in place, ensuring that they hold the keys firmly. Replace the key buttons, ensuring that they are positioned correctly to maintain the alignment of the keys.
By meticulously following these steps, you can revive the appearance and functionality of the piano keys, contributing to an enhanced playing experience and the overall aesthetics of the instrument. Proper cleaning and maintenance of the keys are essential for preserving the piano’s value and ensuring that it continues to deliver exceptional musical performance.
With the keys cleaned and replaced, you have successfully completed the process of maintaining and revitalizing the piano keys. This comprehensive guide equips you with the knowledge and confidence to undertake this task with precision and care. By incorporating these maintenance practices into your piano care routine, you can prolong the lifespan of your instrument and continue to enjoy its beautiful music for years to come.
Conclusion
Embarking on the journey of removing, cleaning, and replacing piano keys is a rewarding endeavor that allows you to maintain and revitalize your instrument with precision and care. By following the step-by-step process outlined in this guide, you have gained valuable insights into the essential maintenance tasks required to ensure the optimal performance and visual appeal of the piano keys.
Understanding the intricate components of the piano, from the keytops and key buttons to the key pins and key bushings, empowers you to take proactive measures in preserving the instrument’s integrity. Regular maintenance, including cleaning and replacing keys when necessary, is essential for upholding the piano’s value and sustaining its exceptional musical capabilities.
As you engage in this maintenance process, you deepen your connection to the instrument and develop a profound appreciation for its craftsmanship. The meticulous care and attention devoted to each key reflect your dedication to preserving the artistry and functionality of the piano.
By incorporating these maintenance practices into your piano care routine, you contribute to the longevity of the instrument and ensure that it continues to resonate with beautiful melodies for generations to come. Whether you’re a dedicated pianist, a passionate music enthusiast, or a skilled technician, the ability to remove, clean, and replace piano keys is a valuable skill that enhances your relationship with the instrument.
As you conclude this maintenance task, take a moment to appreciate the transformation that has taken place. The keys, once worn or soiled, now exude a renewed vibrancy, ready to respond to your touch with grace and precision. Your commitment to maintaining the piano keys exemplifies your dedication to preserving the timeless legacy of this remarkable instrument.
With the keys cleaned and replaced, you can revel in the harmonious fusion of artistry and functionality that defines the piano. As you sit at the keys and bring forth captivating melodies, remember the care and attention invested in this maintenance process, knowing that your efforts have contributed to the enduring allure and musical excellence of the piano.