Home>Events & Info>Playback>How To Remove Playback Devices
Playback
How To Remove Playback Devices
Modified: January 22, 2024
Learn how to remove playback devices easily with our step-by-step guide. Fix audio playback issues and optimize your device settings for better performance.
(Many of the links in this article redirect to a specific reviewed product. Your purchase of these products through affiliate links helps to generate commission for AudioLover.com, at no extra cost. Learn more)
Table of Contents
Introduction
When it comes to audio playback on your devices, sometimes you may encounter issues or simply want to make changes to the devices that are designated as playback devices. Whether you’re experiencing sound problems or simply want to clean up your list of available playback options, knowing how to remove playback devices can come in handy.
In this article, we’ll guide you through the process of removing playback devices on various operating systems. Whether you’re using Windows, macOS, or a mobile device, we’ve got you covered. By following these simple steps, you’ll be able to declutter your list of playback devices and resolve any sound-related issues you may be facing.
Removing unwanted playback devices not only helps improve the organization of your audio settings but can also help troubleshoot common sound problems. By identifying and removing outdated or unnecessary devices, you can potentially resolve conflicts that may be causing sound glitches or malfunctions.
So, whether you’re a tech-savvy individual looking to optimize your audio experience or someone who is simply frustrated with sound issues on their device, continue reading to learn how to remove playback devices.
Step 1: Accessing Sound Settings
The first step in removing playback devices is to access the sound settings on your device. The process may vary depending on the operating system you are using.
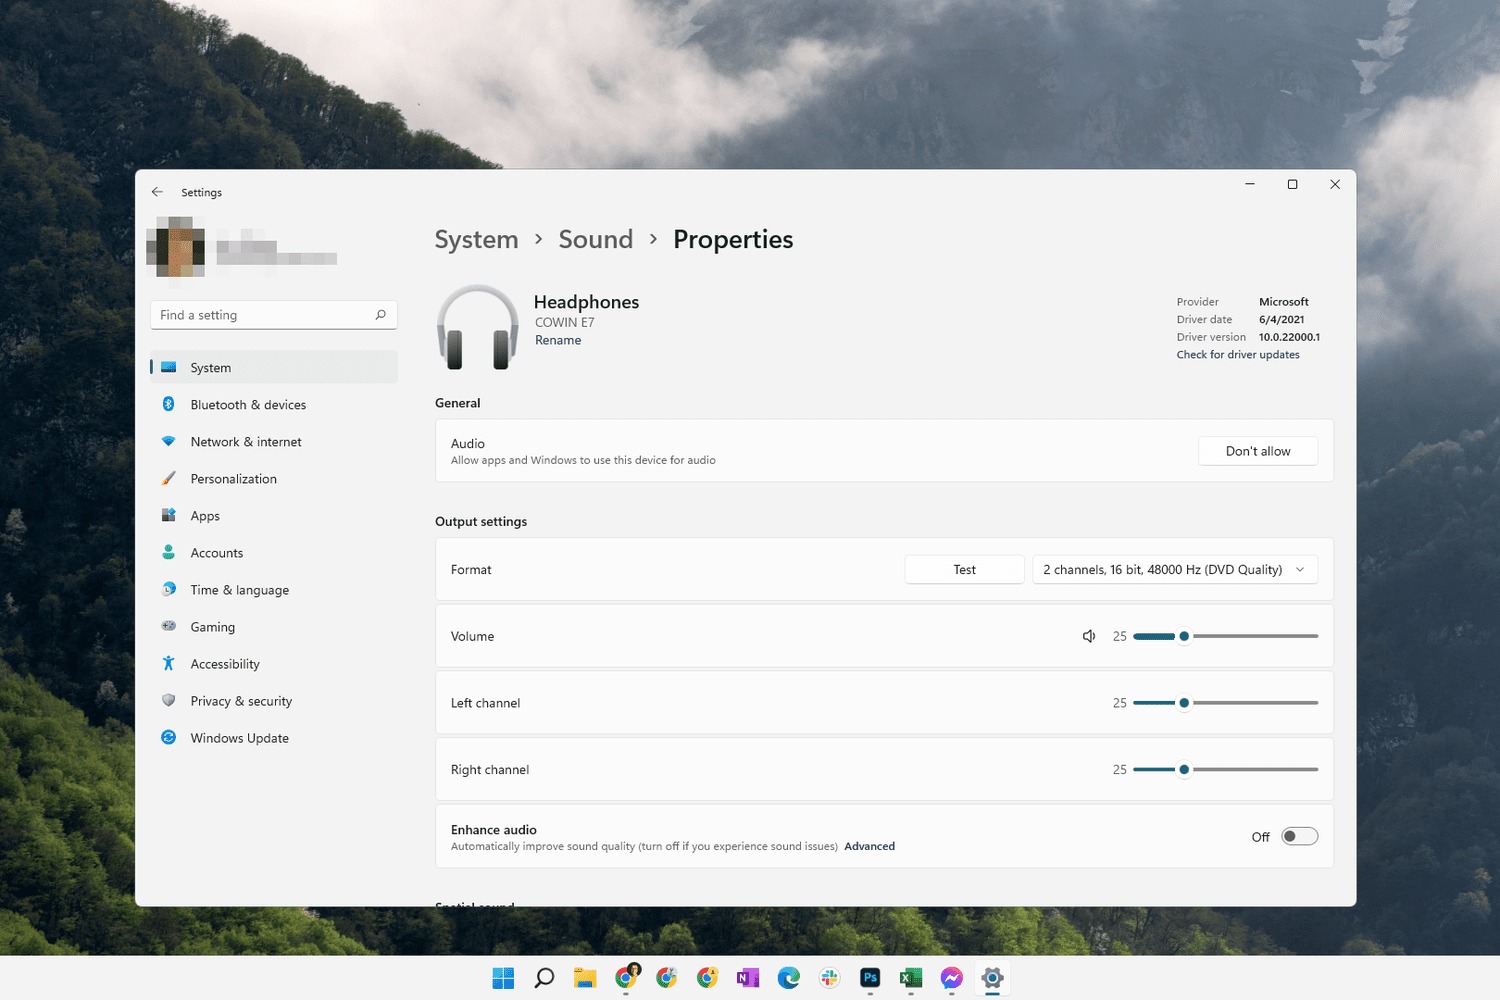
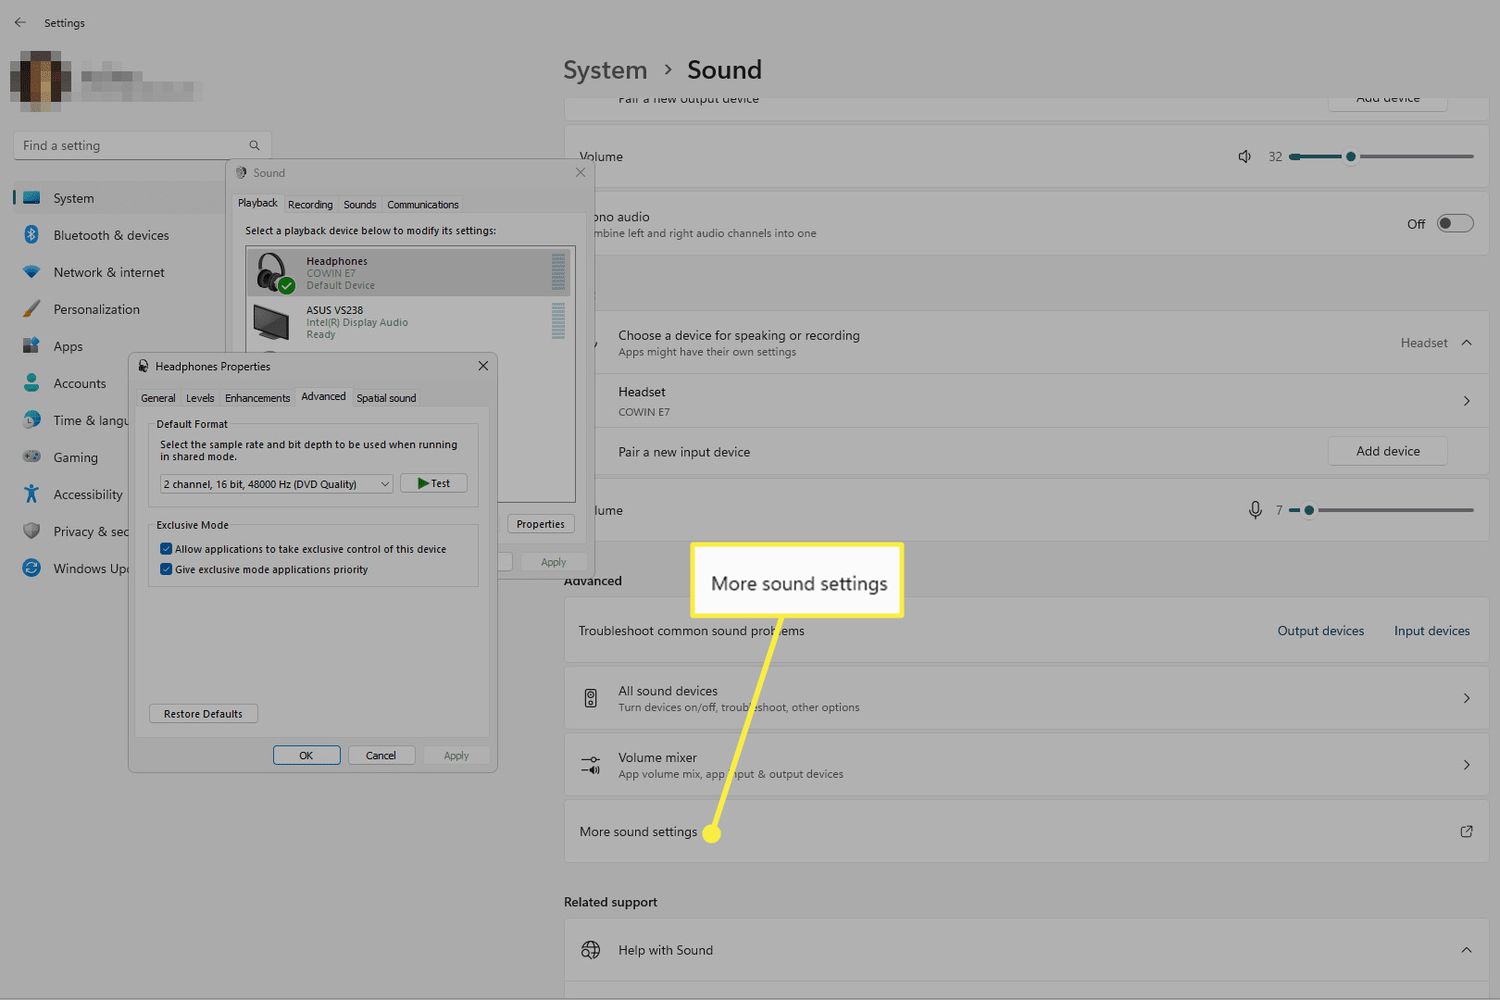
For Windows Users:
- Click on the “Start” or Windows icon on your taskbar, usually located at the bottom left corner of your screen.
- In the search bar, type “Sound settings” and select the option that appears.
- In the Sound settings window, you will see a list of playback devices available on your system.
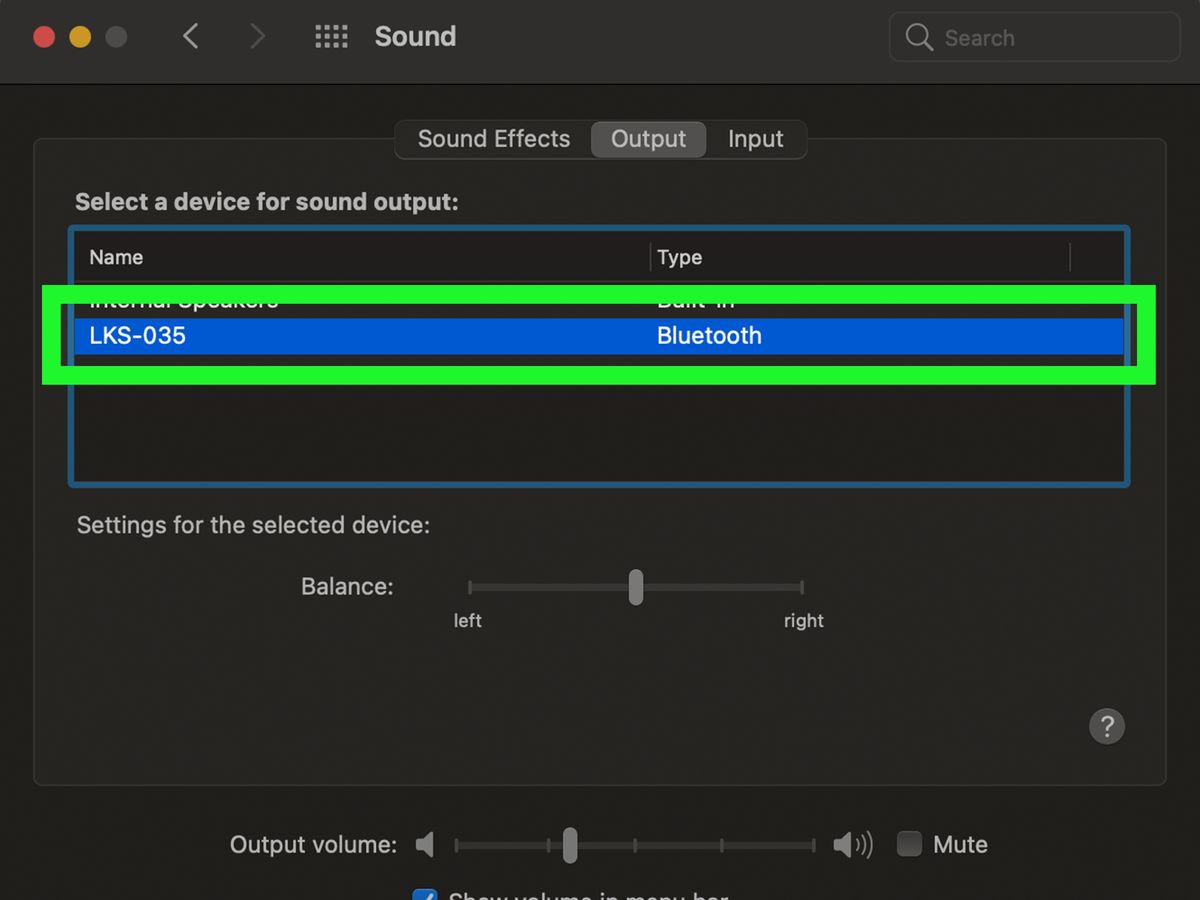
For macOS Users:
- Click on the Apple menu, usually located at the top left corner of your screen.
- From the drop-down menu, select “System Preferences.”
- In the System Preferences window, click on “Sound.”
- Within the Sound settings, navigate to the “Output” tab to access the list of playback devices.
For Mobile Devices:
- Access the Settings app on your mobile device.
- Look for the “Sound” or “Audio” section within the Settings menu.
- Depending on your device, you may find an option for “Playback Devices” or “Audio Output.”
Once you have successfully accessed the sound settings on your device, you are ready to proceed to the next step: removing unwanted playback devices. Continue reading to learn how!
Step 2: Removing Playback Devices
Now that you have accessed the sound settings on your device, it’s time to remove the playback devices that you no longer need or want. The following steps will guide you through the process.
For Windows Users:
- In the Sound settings window, locate the playback device you wish to remove from the list.
- Right-click on the playback device and select “Remove device” or “Uninstall device.”
- Follow the prompts to confirm the removal. If prompted, restart your computer for the changes to take effect.
For macOS Users:
- In the Sound settings window, go to the “Output” tab.
- Select the playback device you want to remove from the list.
- Click on the “-” (minus) button below the list to remove the selected device.
- Confirm the removal when prompted.
For Mobile Devices:
- In the Sound or Audio settings, locate the playback device you wish to remove.
- Tap on the device or the settings icon next to it.
- Choose the option to “Forget” or “Remove” the device.
- Confirm the removal when prompted.
Remember to be cautious when removing playback devices. Make sure to double-check before removing any device to avoid accidentally removing a device that you still need for audio playback.
Once you have successfully removed the playback devices, you can close the sound settings window and enjoy a more streamlined and organized list of available playback devices.
Now that you have removed unwanted playback devices, let’s move on to the next section that covers some troubleshooting tips!
Step 3: Troubleshooting Tips
Even after removing unwanted playback devices, you may still encounter sound-related issues on your device. In this section, we will provide you with some troubleshooting tips to help you resolve common sound problems.
Check Volume and Mute Settings:
Ensure that the volume is turned up and not muted on your device. Sometimes, sound problems can be as simple as the volume being too low or accidentally muted.
Update Audio Drivers:
Outdated or incompatible audio drivers can cause sound issues. Visit the manufacturer’s website or use built-in tools to update your audio drivers to the latest version.
Restart Your Device:
Sometimes, a simple restart can fix minor software glitches and resolve sound problems.
Check Physical Connections:
Verify that all cables and connections between your device and speakers or headphones are secure and properly plugged in.
Run the Sound Troubleshooter:
Both Windows and macOS offer built-in sound troubleshooters that can automatically detect and fix common sound issues. Access the troubleshooter through the sound settings on your device.
Test with Different Playback Devices:
If you’re still experiencing sound issues, try connecting your device to a different set of headphones or speakers to determine if the problem lies with the playback device itself.
Check for Software Conflicts:
Some software applications or programs can interfere with sound settings. Temporarily disable or uninstall recently installed programs to see if it resolves the sound issue.
If these troubleshooting tips do not resolve your sound problems, it may be necessary to seek further assistance from technical support or a professional technician.
By following these troubleshooting tips, you can maximize the audio performance of your device and address any sound-related issues that may arise.
Now that you are equipped with the knowledge of removing playback devices and troubleshooting sound problems, you are well on your way to maintaining an optimal audio experience!
Conclusion
Removing playback devices can be a helpful step in decluttering your audio settings and troubleshooting sound-related issues on your devices. Whether you’re a Windows user, macOS user, or mobile device user, accessing the sound settings is the first step towards removing unwanted playback devices.
In this article, we guided you through the process of accessing sound settings on different operating systems and provided step-by-step instructions for removing playback devices. By following these simple steps, you can clean up your list of available playback devices and potentially resolve sound problems.
Additionally, we shared some troubleshooting tips to further assist you in resolving common sound issues. From checking volume settings to updating audio drivers and running sound troubleshooters, these tips can help you address and troubleshoot sound-related problems.
Always remember to exercise caution when removing playback devices and double-check before removing any device to avoid accidentally removing a device that you still need for audio playback.
Now that you are equipped with the knowledge to remove playback devices and troubleshoot sound problems, you can optimize your audio experience and resolve any audio-related issues that may arise on your devices.
If you encounter persistent sound issues even after following these steps, it may be beneficial to seek further assistance from technical support or a professional technician to ensure a seamless audio experience.
We hope this guide has been helpful in assisting you with removing playback devices and troubleshooting sound issues. Enjoy your improved audio experience!