Home>Instruments>Synthesizer>How To Fix A Synthesizer Key
Synthesizer
How To Fix A Synthesizer Key
Modified: February 19, 2024
Learn how to fix a synthesizer key with our step-by-step guide. Fixing a broken synthesizer key is easier than you think!
(Many of the links in this article redirect to a specific reviewed product. Your purchase of these products through affiliate links helps to generate commission for AudioLover.com, at no extra cost. Learn more)
Table of Contents
Introduction
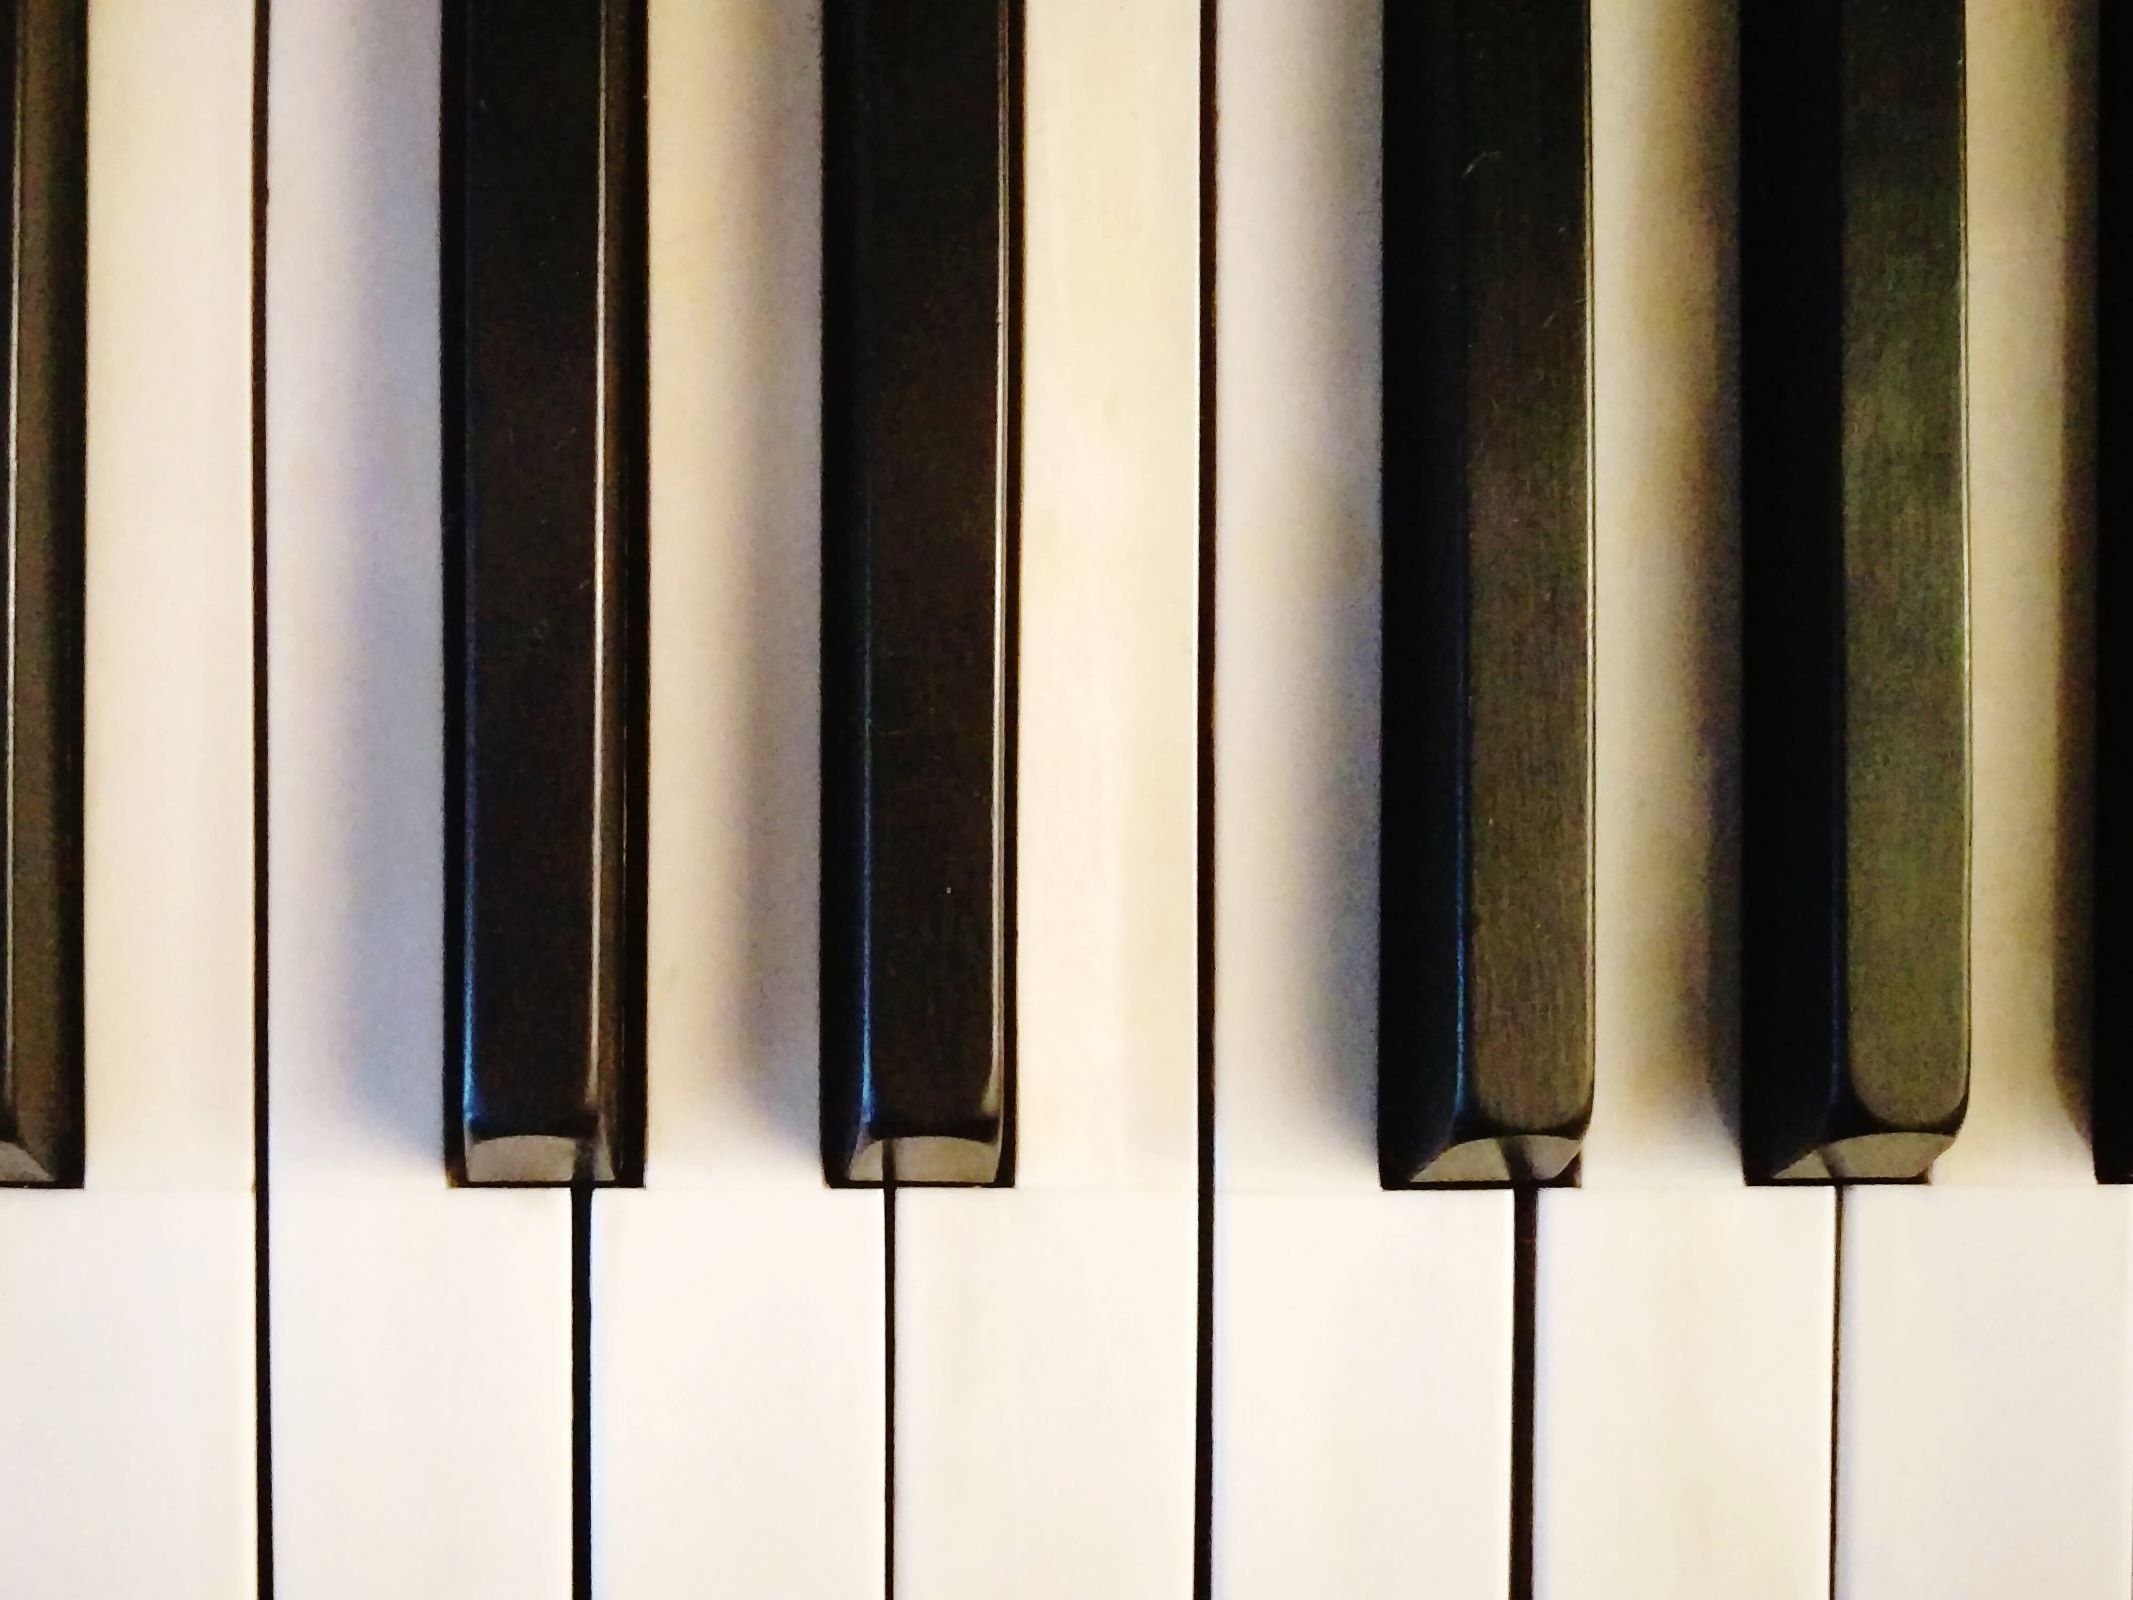
A synthesizer is a complex musical instrument with numerous components and features, designed to produce a wide variety of sounds. One crucial part of a synthesizer is its keys, which allow the musician to play different notes and create melodies. However, over time, synthesizer keys can experience issues such as sticking, loose movement, or even breakage.
Fortunately, you don’t need to be a professional technician to fix synthesizer keys. With some basic knowledge and a few simple steps, you can easily address common problems and get your synthesizer keys working smoothly again. In this article, we will guide you through the process of fixing synthesizer keys, from assessing the issue to testing the repaired key.
It’s important to keep in mind that the specific steps for fixing a synthesizer key may vary depending on the model and make of your instrument. Always refer to your synthesizer’s user manual or consult a professional if you’re unsure about any specific procedures. Now, let’s dive into the steps involved in fixing a synthesizer key.
Step 1: Assessing the Issue
The first step in fixing a synthesizer key is to assess the issue at hand. Take a close look at the key that is causing trouble and try to identify the specific problem. Here are some common issues you may encounter:
- The key feels sticky or sluggish when pressed.
- The key does not respond when pressed.
- The key wobbles or moves too freely.
- The key is visibly damaged or broken.
By understanding the exact problem, you can determine the appropriate course of action to fix the key. For example, a sticky key might require cleaning, while a broken key may need replacement. Take note of any patterns or consistency in the issue to help you diagnose the underlying cause.
In some cases, the issue may not be with the key itself, but with the surrounding mechanism or circuitry. It’s important to rule out any external factors before moving on to the next steps. Check for loose wires, damaged connectors, or any other visible signs of malfunction that may be affecting the key’s functionality.
Additionally, if you’re not confident in your ability to diagnose or fix the issue, it’s always a good idea to seek help from a professional technician. They have the expertise and experience to properly assess and repair your synthesizer key.
Once you have assessed the issue and confirmed the nature of the problem, you can proceed to the next step in fixing your synthesizer key.
Step 2: Cleaning the Key
In many cases, a sticky or sluggish synthesizer key can be resolved by simply cleaning it. Dust, dirt, and debris can accumulate over time and interfere with the smooth movement of the key. Here’s how you can clean your synthesizer key:
- Start by turning off your synthesizer and unplugging it from any power source. This is to ensure your safety while working on the instrument.
- Use a soft, lint-free cloth or a microfiber cloth to gently wipe the surface of the key. This will remove any surface dirt or grime.
- If the key is still sticky, you can use a gentle cleaning solution. Mix a small amount of mild detergent or dish soap with water in a bowl. Dip a clean cloth into the solution, wring out any excess liquid, and gently wipe the key. Avoid getting the key excessively wet, as this can cause damage.
- If there are stubborn stains or sticky residue on the key, you can use isopropyl alcohol. Dampen a cloth or cotton swab with a small amount of alcohol and gently scrub the affected areas. Be careful not to apply too much pressure or use excessive amounts of alcohol, as it can damage the key’s surface.
- After cleaning, use a dry cloth to remove any excess moisture from the key. Allow it to air dry completely before powering on your synthesizer.
It’s important to note that while cleaning can solve minor issues, it may not be effective for more severe problems. If the key still doesn’t respond properly or if the issue persists, you may need to proceed to the next steps in fixing your synthesizer key.
Remember, always follow the manufacturer’s instructions and recommendations when it comes to cleaning your synthesizer keys. Using harsh chemicals or abrasive materials can cause irreparable damage to your instrument. If you’re unsure or uncomfortable with cleaning the key yourself, it’s best to seek professional assistance.
Step 3: Inspecting the Mechanism
After assessing and cleaning the key, it’s time to inspect the mechanism of your synthesizer. The key’s movement is controlled by a complex mechanism comprised of springs, contacts, and circuitry. Here’s what you can do to inspect the mechanism:
- Refer to your synthesizer’s user manual or schematic diagram to understand the internal components and layout of the key mechanism. This will help you identify and locate any potential issues.
- Visually inspect the area around the key for loose wires, debris, or any signs of damage. Pay attention to the contact points and circuitry associated with the key.
- Check the springs that are responsible for the key’s movement. Ensure that they are properly aligned, not bent or damaged, and securely attached.
- If you notice any loose wires or connectors, gently reattach or tighten them. Be cautious not to apply excessive force or disrupt other components.
- Use a can of compressed air to blow out any dust or debris that may be trapped within the mechanism. This can help improve the overall performance of the key.
While inspecting the mechanism, be mindful of delicate components and avoid making any adjustments or modifications unless you are confident and skilled in doing so. If you’re unsure about any aspect of the inspection or if you notice significant damage, it’s recommended to consult a professional technician for further guidance.
By carefully inspecting the key mechanism, you may be able to identify any underlying issues that could be affecting the key’s functionality. This will help you determine the appropriate course of action for the next steps in fixing your synthesizer key.
Step 4: Fixing Loose or Stuck Keys
If you have identified a loose or stuck key during the inspection, there are several actions you can take to fix the problem. Here are some possible solutions:
- Tighten Loose Screws: Check for any screws or fasteners near the key that may have come loose. Using the appropriate screwdriver, gently tighten them to ensure a secure connection.
- Adjust Key Height: If the key is wobbling or uneven, it may need to be adjusted for proper alignment. Refer to your synthesizer’s user manual to understand the correct procedure for adjusting the key height.
- Lubricate the Key: If the key feels sticky or sluggish, applying a small amount of lubrication can help improve its movement. Use a silicone-based lubricant specifically designed for musical instruments. Apply the lubricant sparingly to the friction points of the key mechanism and work the key back and forth to distribute it evenly.
- Clean Contact Points: For keys that do not respond or produce inconsistent sound, dirt or oxidation on the contact points may be the issue. Gently clean the contact points using a contact cleaner or isopropyl alcohol. Be cautious not to damage the delicate circuitry.
- Replace Damaged Components: If, after attempting the above steps, the key continues to have issues, it may be necessary to replace damaged components. This could include springs, contacts, or other key mechanism parts. Refer to your synthesizer’s service manual or consult a professional technician for guidance on replacement parts and procedures.
Always exercise caution and precision when working with sensitive components and electronics. Incorrect adjustments or improper handling can further damage the key or the entire synthesizer.
Remember, if you’re unsure about any step or if the issue persists, it’s advisable to seek professional assistance. A qualified technician will have the expertise to diagnose and resolve the problem effectively.
Step 5: Replacing a Broken Key
In unfortunate scenarios where a synthesizer key is severely damaged or broken, it may be necessary to replace the key altogether. Here’s how you can replace a broken key:
- Identify the correct replacement key: Refer to your synthesizer’s user manual or contact the manufacturer to obtain the exact model and specifications for the replacement key. It’s essential to ensure compatibility with your instrument.
- Remove the damaged key: Carefully unscrew any screws holding the broken key in place. Lift the broken key out of its housing, taking note of how it is attached.
- Insert the replacement key: Position the new key in place, aligning it with the surrounding keys. Make sure any springs or attachments are properly secured and aligned.
- Screw the key in place: Use the appropriate screws or fasteners to secure the replacement key. Be cautious not to overtighten, as it can damage the key or the housing.
- Test the replaced key: Once the key is securely installed, power on the synthesizer and test the functionality of the replaced key. Press the key and observe if it responds properly and produces the intended sound.
Replacing a key requires precision and patience. Take your time during the process and double-check all connections and alignments. If you’re uncertain about any step or feel uncomfortable with the replacement process, it’s recommended to seek professional assistance. An experienced technician can ensure a seamless and accurate replacement of the broken key.
Keep in mind that replacing a key may involve some cost, especially if you need to purchase a genuine replacement part. Consider weighing the cost of replacement against the value and functionality of your synthesizer before proceeding.
Step 6: Testing the Repaired Key
After completing the necessary repairs or replacement, it’s crucial to test the repaired key to ensure it is functioning correctly. Here are the steps to effectively test the key:
- Power on your synthesizer and ensure it is in a functional state. Make sure all other keys and features are working properly.
- Press the repaired key and observe its response. Listen for a consistent sound and check if the key registers properly on the synthesizer’s display or MIDI interface.
- Test the key’s sensitivity by varying the velocity and pressure with which you press it. This will help verify if the key responds accurately to different playing styles.
- Continuously play the key for a sustained period to check for any intermittent issues or inconsistencies in sound production.
- Repeat the testing process with neighboring keys to compare their response and ensure consistency across the keyboard.
If the repaired key passes these tests without any issues, congratulations! You have successfully fixed your synthesizer key. However, if you notice any remaining problems or if the key is still not functioning as expected, you may need to revisit the earlier steps or seek professional assistance.
Remember to document the repairs or replacements you have made for future reference. This can be helpful if you encounter similar issues in the future or need to provide information to a technician.
By thoroughly testing the repaired key, you can have confidence in its functionality and continue enjoying your synthesizer to its fullest potential.
Conclusion
Fixing a synthesizer key can be a rewarding and cost-effective way to maintain the performance of your instrument. Whether you’re dealing with a sticky key, loose movement, or a broken key, following the right steps can help restore its functionality.
In this article, we covered the essential steps for fixing a synthesizer key. We began by assessing the issue, cleaning the key, and inspecting the mechanism to identify any underlying problems. We then went on to discuss how to fix loose or stuck keys and replace a broken key if necessary. Finally, we emphasized the importance of testing the repaired key to ensure it is functioning correctly.
It’s important to remember that while these steps provide general guidance, the specific procedures may vary depending on the make and model of your synthesizer. Always refer to your synthesizer’s user manual or consult a professional technician for precise instructions.
By taking the time to fix your synthesizer key, you can maintain the optimal performance and extend the lifespan of your instrument. Additionally, having a functional keyboard will help you continue creating captivating music and exploring the limitless possibilities of your synthesizer.
So, don’t let a faulty synthesizer key hold you back. With some basic knowledge, patience, and the right approach, you can easily troubleshoot and fix common issues. Get your synthesizer keys back in shape and unleash your creativity!