Home>Instruments>Piano>How To Clean Yellowed Piano Keys
Piano
How To Clean Yellowed Piano Keys
Published: February 10, 2024
Learn how to effectively clean yellowed piano keys with our expert tips and techniques. Keep your piano keys looking pristine and maintain their quality for years to come.
(Many of the links in this article redirect to a specific reviewed product. Your purchase of these products through affiliate links helps to generate commission for AudioLover.com, at no extra cost. Learn more)
Table of Contents
Introduction
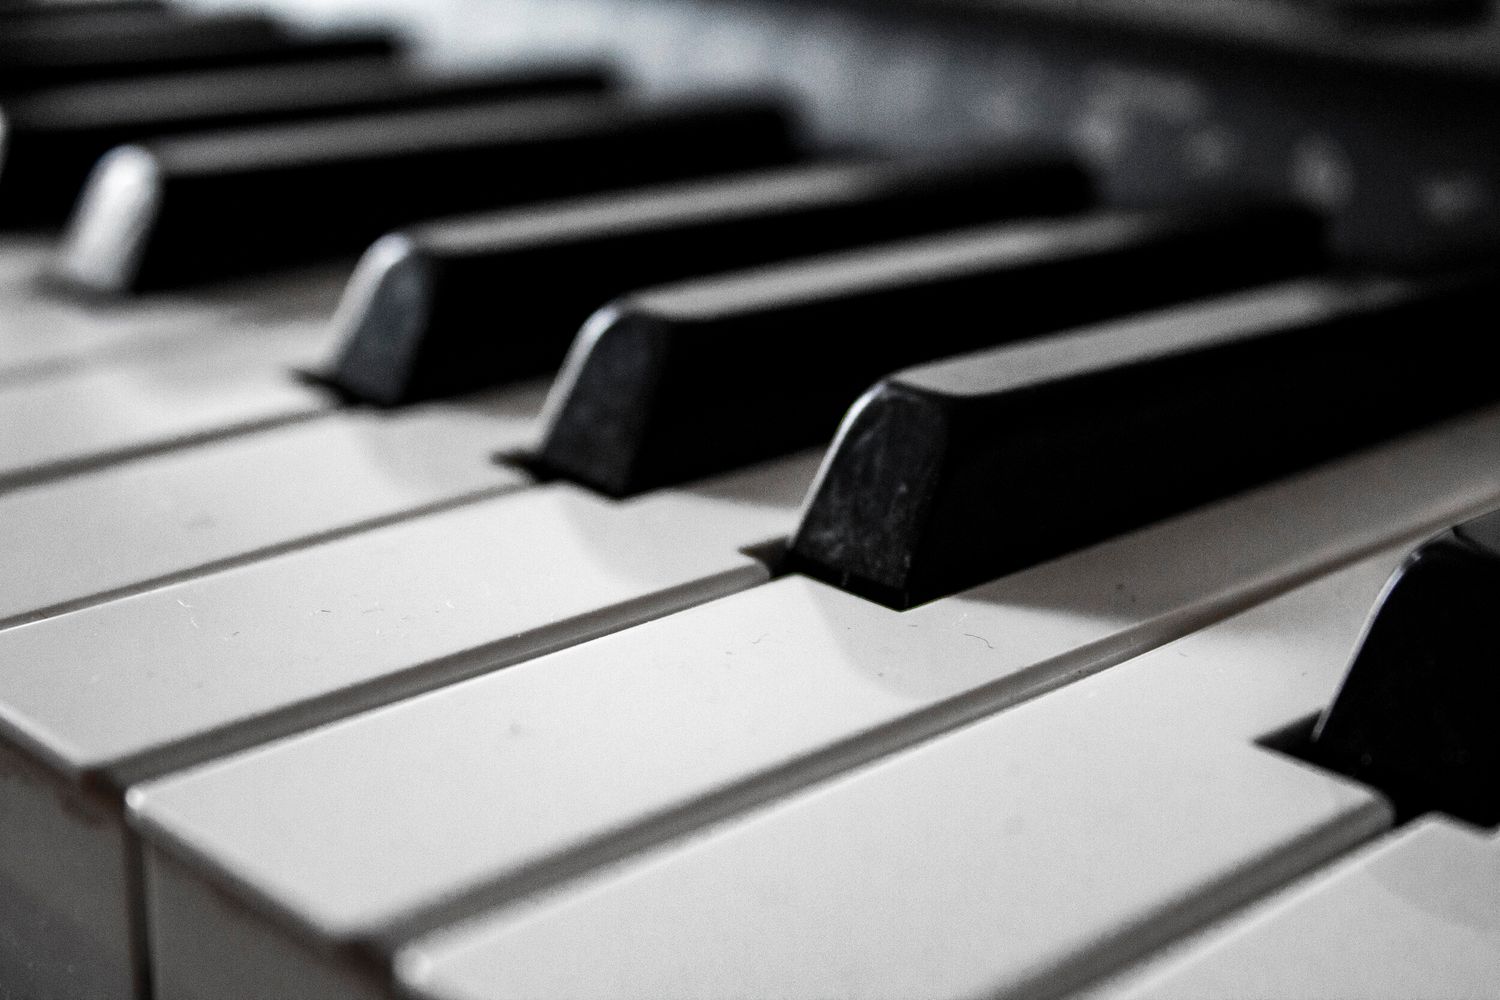
Welcome to the world of piano care, where the beauty of music meets the art of maintenance. If you are a proud owner of a piano, you understand the importance of keeping it in pristine condition. One aspect of piano maintenance that often requires attention is the cleaning of yellowed piano keys. Over time, exposure to light, dust, and natural oils from fingertips can cause the once-white keys to develop a yellowish tint. This not only affects the aesthetic appeal of the piano but can also impact the playing experience.
Fortunately, with the right knowledge and tools, you can restore the vibrancy of your piano keys and maintain their pristine appearance. In this comprehensive guide, we will delve into the causes of yellowing, the materials needed for cleaning, and a step-by-step process to rejuvenate your piano keys. Additionally, we will explore valuable tips for preserving the whiteness of the keys in the long run. Whether you are a seasoned pianist, a diligent caretaker of musical instruments, or a curious enthusiast, this guide is designed to equip you with the expertise needed to keep your piano keys looking as beautiful as the day they were first installed.
Understanding the Causes of Yellowing
Before diving into the cleaning process, it’s essential to understand why piano keys may turn yellow over time. The key material, typically made of either ivory or plastic, is susceptible to discoloration due to various factors.
One primary cause of yellowing is prolonged exposure to sunlight or artificial light. Ultraviolet (UV) rays can accelerate the yellowing process, particularly for ivory keys, as they are more prone to discoloration than their plastic counterparts. Dust and other environmental pollutants can also contribute to the yellowing of piano keys, gradually diminishing their original luster.
Furthermore, the natural oils and moisture from fingertips that come into contact with the keys during playing can gradually lead to discoloration. This is especially true for ivory keys, as they are more porous compared to plastic keys, making them more susceptible to absorbing oils and moisture. Over time, these accumulated oils can oxidize and contribute to the yellowing of the keys.
It’s important to note that the aging process itself can also play a role in the yellowing of piano keys. As pianos age, the materials used in the keys may undergo chemical changes, leading to a gradual change in color.
By understanding these underlying causes, you can approach the cleaning process with a deeper appreciation for the restoration of your piano keys. In the following sections, we will explore the materials needed for cleaning and provide a detailed step-by-step guide to help you rejuvenate the appearance of your piano keys.
Materials Needed for Cleaning
Before embarking on the journey to restore the brilliance of your piano keys, it’s essential to gather the necessary materials. The cleaning process requires gentle yet effective tools to ensure the keys are treated with the utmost care.
- Mild Detergent: Opt for a gentle, non-abrasive detergent or soap. Avoid harsh chemicals that can potentially damage the keys.
- Distilled Water: Distilled water is preferable for creating a cleaning solution, as it lacks the impurities found in tap water.
- Soft Microfiber Cloths: These cloths are ideal for gently wiping the keys without leaving behind lint or scratches.
- Cotton Swabs: Use these for reaching and cleaning small crevices and areas between the keys where dirt and grime may accumulate.
- Piano Key Cleaner Solution (Optional): If the keys require more intensive cleaning, a specialized piano key cleaner solution can be used. Ensure that the product is suitable for the type of keys on your piano (ivory or plastic).
- Piano Key Cover or Soft Fabric: To protect the internal components of the piano, have a key cover or soft fabric on hand to cover the keys when they are not in use during the cleaning process.
- Gentle Vacuum Cleaner (Optional): If there is visible dust or debris between the keys, a gentle vacuum cleaner with a soft brush attachment can be used to carefully remove the particles.
By assembling these materials, you can proceed with confidence, knowing that you have the necessary tools to effectively clean and rejuvenate your piano keys. In the following section, we will delve into a detailed step-by-step guide to ensure that the cleaning process is executed with precision and care.
Step-by-Step Guide to Cleaning Yellowed Piano Keys
Embarking on the journey to restore the vibrancy of your piano keys requires a methodical approach and a gentle touch. Follow this step-by-step guide to effectively clean yellowed piano keys without compromising their integrity:
- Prepare the Cleaning Solution: In a small bowl, mix a small amount of mild detergent with distilled water to create a gentle cleaning solution. Ensure that the solution is diluted enough to be mild and non-abrasive.
- Protect the Piano: Before cleaning, cover the internal components of the piano with a key cover or soft fabric to prevent any moisture from seeping into the mechanism.
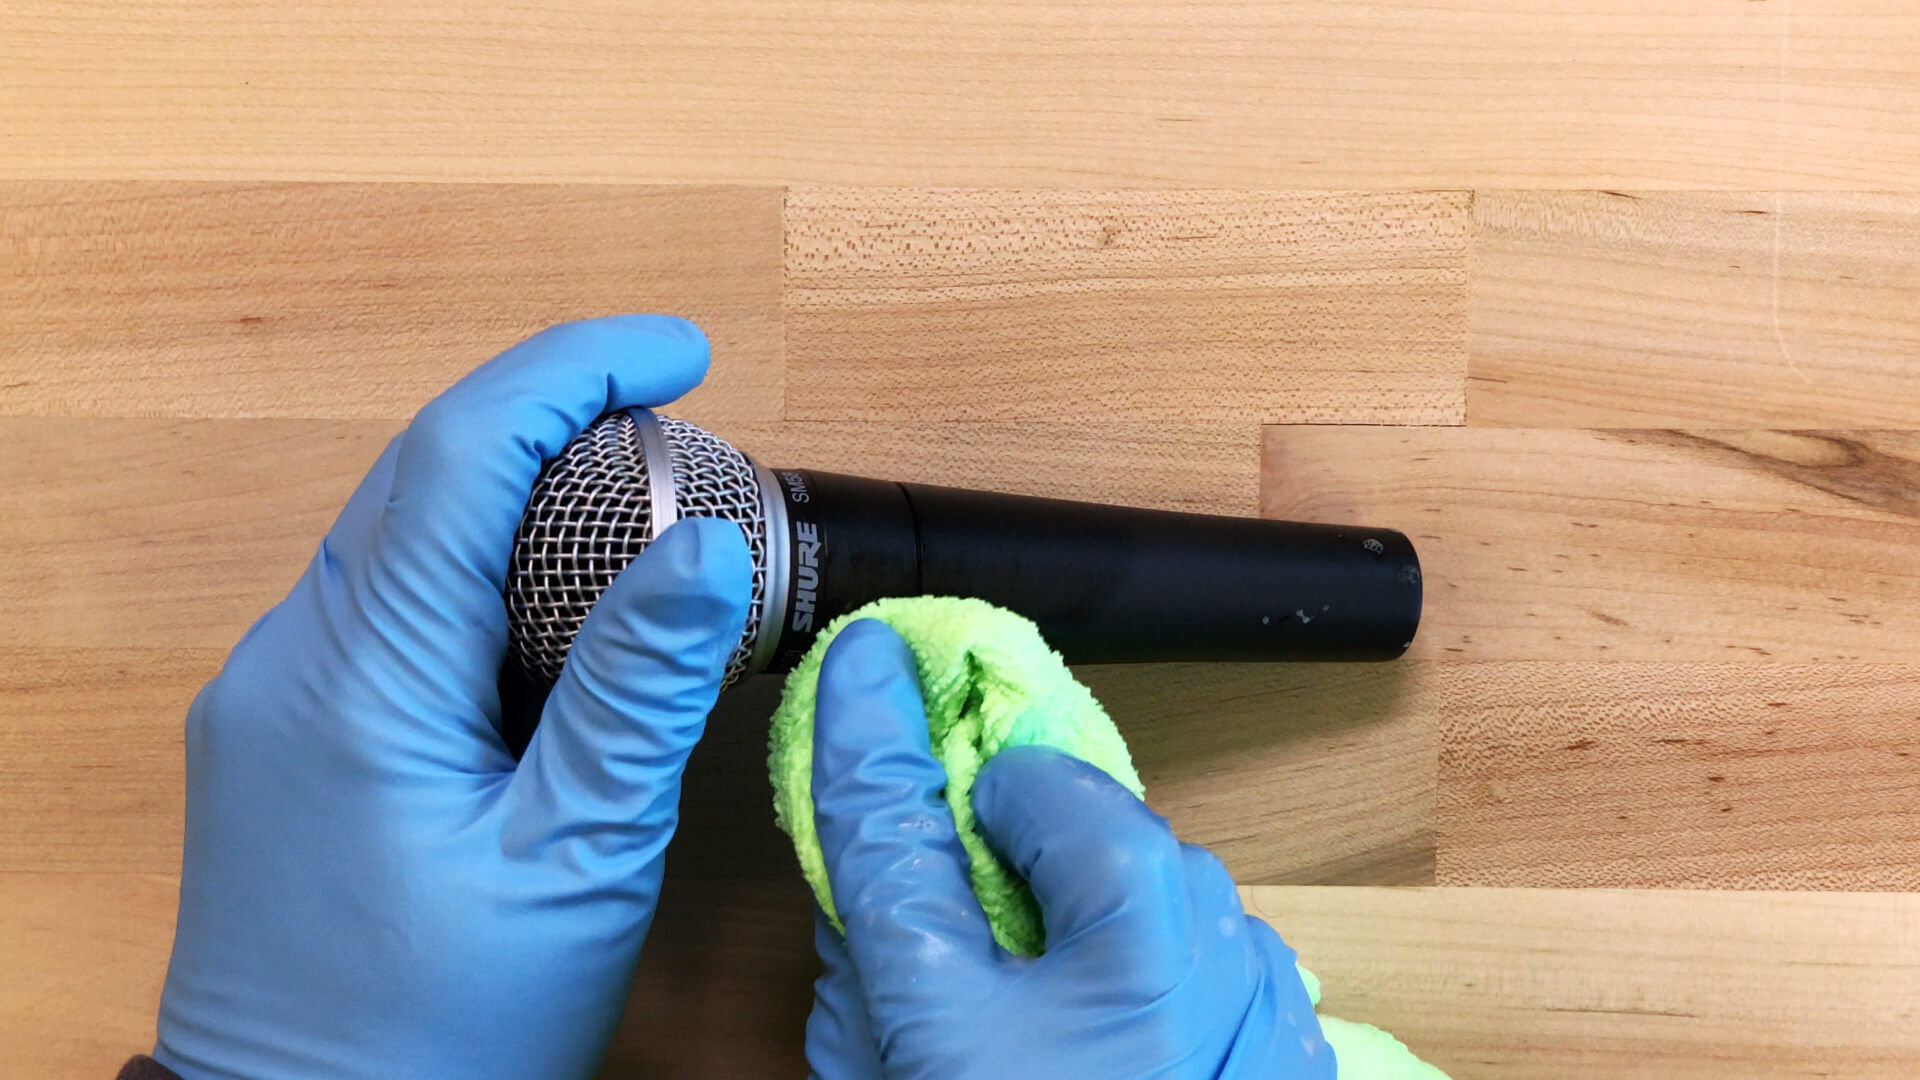
- Dampen the Cloth: Dip a soft microfiber cloth into the cleaning solution, ensuring that it is not overly saturated. Wring out any excess liquid to prevent dripping.
- Gently Wipe the Keys: Starting from one end of the keyboard, gently wipe each key in a smooth, consistent motion. Avoid applying excessive pressure, as this can damage the keys or push liquid into the gaps between the keys.
- Focus on Stubborn Stains: For stubborn stains or areas with built-up grime, use a gentle back-and-forth motion with the damp cloth to gradually lift the discoloration. Avoid aggressive scrubbing, as this can cause damage to the keys.
- Clean Between the Keys: Utilize cotton swabs dampened with the cleaning solution to reach between the keys and clean any accumulated dirt or residue. Exercise caution to avoid leaving behind fibers from the cotton swabs.
- Dry the Keys: Once the keys have been thoroughly cleaned, use a separate dry microfiber cloth to gently dry the keys, ensuring that no moisture remains on the surface.
- Optional Piano Key Cleaner: If the keys require additional cleaning, a specialized piano key cleaner can be used according to the product instructions. Ensure that the cleaner is compatible with the type of keys on your piano.
- Final Inspection: After cleaning, inspect the keys under adequate lighting to ensure that they are free from discoloration and residue. Make any additional targeted cleanings if necessary.
By following these meticulous steps, you can effectively revitalize the appearance of your piano keys, restoring their original brilliance and enhancing the overall aesthetic of your instrument. In the next section, we will explore valuable tips for maintaining the whiteness of piano keys to prolong the effects of the cleaning process.
Tips for Maintaining the Whiteness of Piano Keys
After rejuvenating the appearance of your piano keys, it’s important to implement practices that will help preserve their whiteness and luster for the long term. By incorporating these tips into your piano care routine, you can safeguard the keys from future yellowing and maintain their pristine appearance:
- Regular Dusting: Dust the piano keys regularly using a soft, lint-free cloth to prevent the accumulation of debris and environmental pollutants.
- Mindful Playing: Encourage players to clean their hands before playing the piano to minimize the transfer of oils and dirt onto the keys.
- Proper Storage: When the piano is not in use, ensure that it is stored in a location away from direct sunlight and extreme temperature or humidity fluctuations, which can accelerate yellowing and material degradation.
- Key Cover Usage: Consider using a key cover when the piano is not in use to shield the keys from dust and environmental factors.
- Humidity Control: Maintain a consistent humidity level in the room where the piano is located, as excessive humidity can promote the growth of mold and mildew, while low humidity can cause the keys to dry out and become brittle.
- Professional Maintenance: Schedule regular professional maintenance for your piano, including inspections and cleanings by a qualified technician who can address any potential issues before they escalate.
- Avoiding Harsh Cleaners: When cleaning the keys, refrain from using harsh chemicals or abrasive cleaners, as these can damage the keys and accelerate yellowing.
- Immediate Spill Cleanup: In the event of a spill on the keys, promptly and gently blot the affected area with a soft, absorbent cloth to prevent staining and moisture damage.
By integrating these proactive measures into your piano care regimen, you can prolong the whiteness and beauty of your piano keys, ensuring that they continue to complement the elegance of your instrument for years to come. As we conclude this guide, remember that the care and attention you invest in maintaining your piano keys contribute to the overall longevity and enjoyment of your instrument.
Conclusion
Cleaning yellowed piano keys is not only a restoration process but a testament to the dedication and care invested in preserving the beauty of your instrument. By understanding the causes of yellowing, gathering the necessary materials, and following a meticulous cleaning process, you can breathe new life into your piano keys, reviving their original brilliance.
As you embark on this journey, remember that the maintenance of your piano keys is a harmonious blend of art and science. The delicate balance of gentle cleaning solutions, precise techniques, and proactive care measures ensures that your piano keys remain a testament to timeless elegance.
With the tips for maintaining the whiteness of piano keys, you can prolong the effects of the cleaning process, safeguarding the keys from future yellowing and preserving their pristine appearance for generations to come.
Whether you are a passionate pianist, a dedicated caretaker of musical instruments, or an enthusiast of timeless craftsmanship, the radiance of your piano keys reflects the commitment to preserving the legacy of music and artistry.
As you witness the transformation of your piano keys, may the revitalized brilliance inspire countless melodies and serve as a reminder of the enduring beauty found within the heart of your home or music studio.
Embrace the art of piano care, and let the resplendent keys carry the timeless legacy of music into the future.