Home>Production & Technology>Audio Cable>How To Use Virtual Audio Cable To Play Music Through Mic

Audio Cable
How To Use Virtual Audio Cable To Play Music Through Mic
Modified: January 22, 2024
Learn how to use virtual audio cable to play music through your microphone. Enhance your audio experience with this powerful tool.
(Many of the links in this article redirect to a specific reviewed product. Your purchase of these products through affiliate links helps to generate commission for AudioLover.com, at no extra cost. Learn more)
Table of Contents
Introduction
Welcome to the world of audio cables, where the possibilities are endless. Whether you’re a musician, gamer, podcaster, or simply an avid lover of high-quality audio, having the right audio cables is crucial to achieving optimal sound performance. In this article, we will delve deep into the world of audio cables, specifically focusing on the versatile and powerful Virtual Audio Cable.
Virtual Audio Cable, or VAC, is a software tool that allows you to route audio signals between different applications on your computer. It creates a virtual audio device that acts as a bridge, enabling you to transfer audio from one application to another seamlessly. This opens up a world of possibilities, enabling you to play music through your microphone or record audio from multiple sources simultaneously.
Why would you want to play music through your microphone, you might ask? Well, imagine the possibilities. From adding background music to your live streaming sessions to creating unique audio effects during gaming, the ability to route audio through your microphone opens up a whole new realm of creativity. Virtual Audio Cable is a powerful tool that gives you the freedom to experiment and customize your audio experience in ways that were previously unimaginable.
In this article, we will guide you through the process of using Virtual Audio Cable to play music through your microphone. We will break down each step, offering clear and concise instructions, so you can get up and running in no time. Whether you’re a seasoned audio enthusiast or a beginner exploring the world of audio cables, this guide is designed to provide you with the knowledge and know-how to harness the full potential of Virtual Audio Cable and take your audio experience to the next level.
So, without further ado, let’s dive into the world of Virtual Audio Cable and learn how to play music through your microphone like a pro.
Step 1: Download and Install Virtual Audio Cable
The first step in using Virtual Audio Cable is to download and install the software on your computer. Follow these simple instructions to get started:
- Visit the official website of Virtual Audio Cable.
- Look for the download section or page on the website.
- Choose the appropriate version of Virtual Audio Cable for your operating system. It is compatible with Windows XP, Vista, 7, 8, and 10.
- Click on the download link and wait for the installation file to download.
- Once the download is complete, locate the installation file on your computer.
- Double-click on the installation file to begin the installation process.
- Follow the on-screen prompts to complete the installation. Make sure to read and accept any license agreements or terms of use if prompted.
- Once the installation is finished, Virtual Audio Cable is ready to be used.
It is important to note that Virtual Audio Cable offers a trial version that allows you to test the software before making a purchase. The trial version has some limitations, such as occasional audio dropouts and a time limit on usage. However, it still provides ample functionality to explore the features and determine if it meets your needs.
Downloading and installing Virtual Audio Cable is a straightforward process that sets the foundation for using the software. Once you have completed this step, you are ready to move on to the next phase of the setup process – configuring the Virtual Audio Cable settings.
Step 2: Configure Virtual Audio Cable Settings
After successfully installing Virtual Audio Cable, it’s time to configure the settings to ensure optimal performance. Follow these steps to set up Virtual Audio Cable:
- Open the Virtual Audio Cable Control Panel. You can typically find it in the Start Menu or by searching for “Virtual Audio Cable Control Panel” in the search bar.
- Once the Control Panel is open, you will see two Virtual Cables listed, Cable 1 and Cable 2. These cables act as virtual audio devices.
- Click on “Playback devices” in your computer’s sound settings. This will open the Sound Control Panel.
- In the Sound Control Panel, set “Cable Input” or “Line 1” (the names may vary depending on the version of Virtual Audio Cable) as the default playback device.
- Next, click on “Recording devices” in your computer’s sound settings to open the Sound Control Panel for recording devices.
- Set “Cable Output” or “Line 1” as the default recording device.
- Make sure to apply the changes in both the Playback and Recording tabs.
Configuring the Virtual Audio Cable settings correctly is vital to enabling the audio routing functionality. By designating the virtual cables as the default playback and recording devices, you ensure that audio signals are routed through Virtual Audio Cable.
It is worth noting that Virtual Audio Cable offers additional configuration options, such as selecting different sample rates and buffer sizes, in the Control Panel. Depending on your specific requirements and hardware setup, you may need to adjust these settings for optimal performance.
With the Virtual Audio Cable settings properly configured, you are now ready to proceed to the next step and set up your music player and microphone.
Step 3: Set Up Music Player and Microphone
Before you can route your music through your microphone using Virtual Audio Cable, you need to ensure that your music player and microphone are properly set up. Follow these steps:
- Open your preferred music player application on your computer. This could be Windows Media Player, iTunes, Spotify, or any other music player of your choice.
- In the music player settings, locate the playback device settings. This is where you specify which audio device the music player uses to play the audio.
- Select the virtual audio cable (e.g., Cable Input or Line 1) as the playback device in the music player settings.
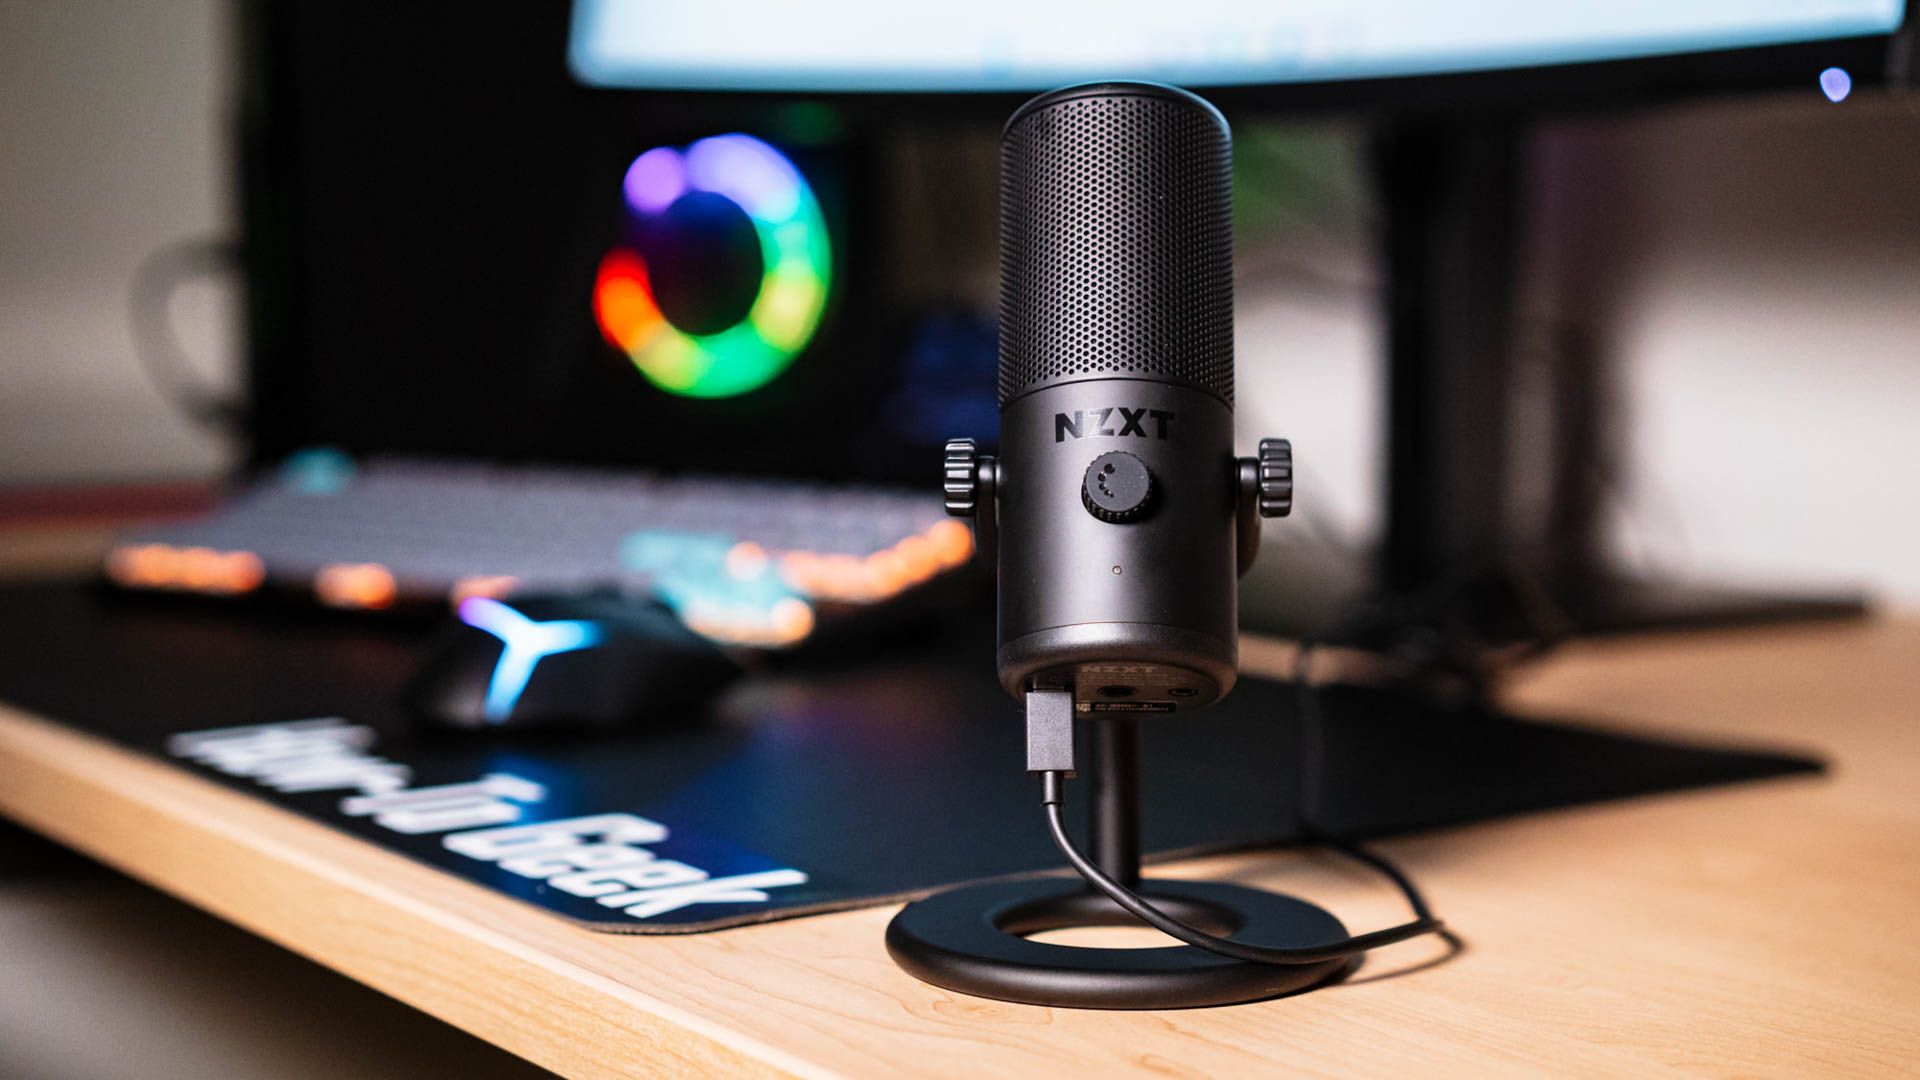
- Next, set up your microphone in the sound settings of your operating system. This typically involves connecting the microphone to the appropriate port on your computer or using a USB microphone.
- Ensure that the microphone is recognized and configured as the default recording device in the sound settings.
- Adjust the microphone volume and sensitivity settings to your preference.
By setting your music player to use the virtual audio cable as the playback device, you establish the audio connection between the music player and Virtual Audio Cable. This step allows you to route the music audio through the virtual audio cable using Virtual Audio Cable’s functionality.
Setting up your microphone correctly ensures that it is ready to capture your voice or any other audio input. By configuring the microphone as the default recording device, you enable it to receive audio signals for processing and transmission through Virtual Audio Cable.
Once your music player and microphone are set up, you’re ready to move on to the next step and learn how to route music through your microphone using Virtual Audio Cable.
Step 4: Route Music Through Mic Using Virtual Audio Cable
Now that you have Virtual Audio Cable installed, settings configured, and your music player and microphone properly set up, it’s time to route the music through your microphone. Follow these steps:
- Open the Virtual Audio Cable Control Panel on your computer.
- Under the “Cable 1” section, set the audio format and other desired settings. The default settings should suffice for most users, but you can customize them to suit your preferences.
- In your music player, start playing the music you want to route through your microphone. Make sure the volume is set to an appropriate level.
- In the Virtual Audio Cable Control Panel, under the “Wave In” section, select the microphone device you set up in Step 3 as the source. This tells Virtual Audio Cable to capture the audio from your microphone.
- Ensure that the playback device in the Virtual Audio Cable Control Panel is set to the virtual audio cable output (e.g., Cable Output or Line 1).
- Adjust the volume levels of both the music player and microphone in order to achieve a balanced audio output.
By selecting the microphone as the source in the Virtual Audio Cable Control Panel, you instruct the software to capture the audio from your microphone. At the same time, setting the virtual audio cable output as the playback device ensures that the music audio is routed through the virtual audio cable.
Remember to adjust the volume levels accordingly to achieve a well-balanced audio output. You may need to experiment and fine-tune the volumes of both the music player and microphone to achieve the desired audio mix.
With the music properly routed through your microphone via Virtual Audio Cable, you’re almost ready to enjoy your newly enhanced audio experience. However, before proceeding, it’s essential to test and fine-tune the audio output to ensure it meets your expectations.
Step 5: Test and Fine-tune the Audio Output
After routing the music through your microphone using Virtual Audio Cable, it’s crucial to test and fine-tune the audio output to ensure optimal quality. Follow these steps to test and adjust the audio output:
- Activate your microphone and listen to the audio output through a headset or speakers.
- Play different types of music and audio to gauge the overall sound quality and balance.
- Check if the music audio is properly mixed with your microphone input. Adjust the volume levels if necessary.
- Pay attention to any latency or delay issues between the music playback and microphone input. If you notice any noticeable delay, you may need to tweak the buffer size settings in the Virtual Audio Cable Control Panel.
- Test the audio output in different applications and scenarios, such as during live streams, gaming sessions, or recording sessions, to ensure consistent performance.
During the testing phase, it’s essential to listen critically and make any necessary adjustments to achieve the desired audio output. You may need to fine-tune the volume levels of both the music player and microphone, ensuring that they are balanced and blend well together. It’s also important to monitor for any latency issues and address them by adjusting the buffer size settings in the Virtual Audio Cable Control Panel.
Remember to test the audio output in different applications and scenarios to ensure consistent performance. This will help you identify any specific adjustments or configurations needed for each use case.
By thoroughly testing and fine-tuning the audio output, you can achieve optimal sound quality and ensure that your music is seamlessly integrated with your microphone input.
Conclusion
Congratulations! You have successfully learned how to use Virtual Audio Cable to play music through your microphone. By following the steps outlined in this guide, you can now enjoy a whole new level of creativity and customization in your audio experience.
Virtual Audio Cable allows you to route audio signals between different applications, giving you the power to play music through your microphone or record audio from multiple sources simultaneously. Whether you’re a content creator, gamer, or musician, this tool opens up a world of possibilities.
Throughout this guide, we covered the process of downloading and installing Virtual Audio Cable, configuring its settings, setting up your music player and microphone, routing the music through your microphone, and testing and fine-tuning the audio output. By diligently following these steps and making necessary adjustments, you can achieve the desired audio mix and ensure optimal sound quality.
Remember to experiment with different settings and play around with the possibilities offered by Virtual Audio Cable. You can now add background music to your livestream sessions, create unique audio effects during gaming, or simply enhance your music listening experience. The choice is yours.
We hope that this guide has provided you with the necessary knowledge and insights to make the most of Virtual Audio Cable. The world of audio cables is vast and ever-evolving, and by mastering tools like Virtual Audio Cable, you’re well-equipped to embrace the endless possibilities in the audio realm.
Now, it’s time to unleash your creativity and start enjoying the incredible audio experience that Virtual Audio Cable offers. Happy routing!


