Home>Production & Technology>Audio Interface>How To Use An Audio Interface With Obs
Audio Interface
How To Use An Audio Interface With Obs
Modified: February 19, 2024
Learn how to easily connect and use an audio interface with OBS software for seamless audio recording and streaming. Enhance your audio quality with the help of an audio interface.
(Many of the links in this article redirect to a specific reviewed product. Your purchase of these products through affiliate links helps to generate commission for AudioLover.com, at no extra cost. Learn more)
Table of Contents
Introduction
An audio interface is an essential tool for anyone involved in audio production, whether you’re a musician, podcaster, or content creator. It allows you to connect your instruments, microphones, and other audio devices to your computer, providing high-quality sound input and output capabilities.
When it comes to audio production, using an audio interface with software like OBS (Open Broadcaster Software) can greatly enhance your audio recording and streaming experience. OBS is widely used for live streaming, video recording, and broadcasting, making it a popular choice among content creators.
In this article, we will guide you on how to use an audio interface with OBS, ensuring that you can capture professional-grade audio and optimize it for your specific needs. We will cover the fundamental concepts of audio interfaces, demonstrate the setup process, and provide tips to troubleshoot common issues that may arise along the way.
Whether you’re a musician looking to record your performances, a podcaster seeking crisp and clear audio, or a streamer aiming to deliver top-notch sound to your audience, understanding how to properly integrate your audio interface with OBS is essential.
So, let’s dive in and explore the world of audio interfaces and OBS, and learn how they can revolutionize your audio production workflow.
Understanding the Audio Interface
Before we delve into the process of using an audio interface with OBS, let’s first understand what an audio interface is and how it functions.
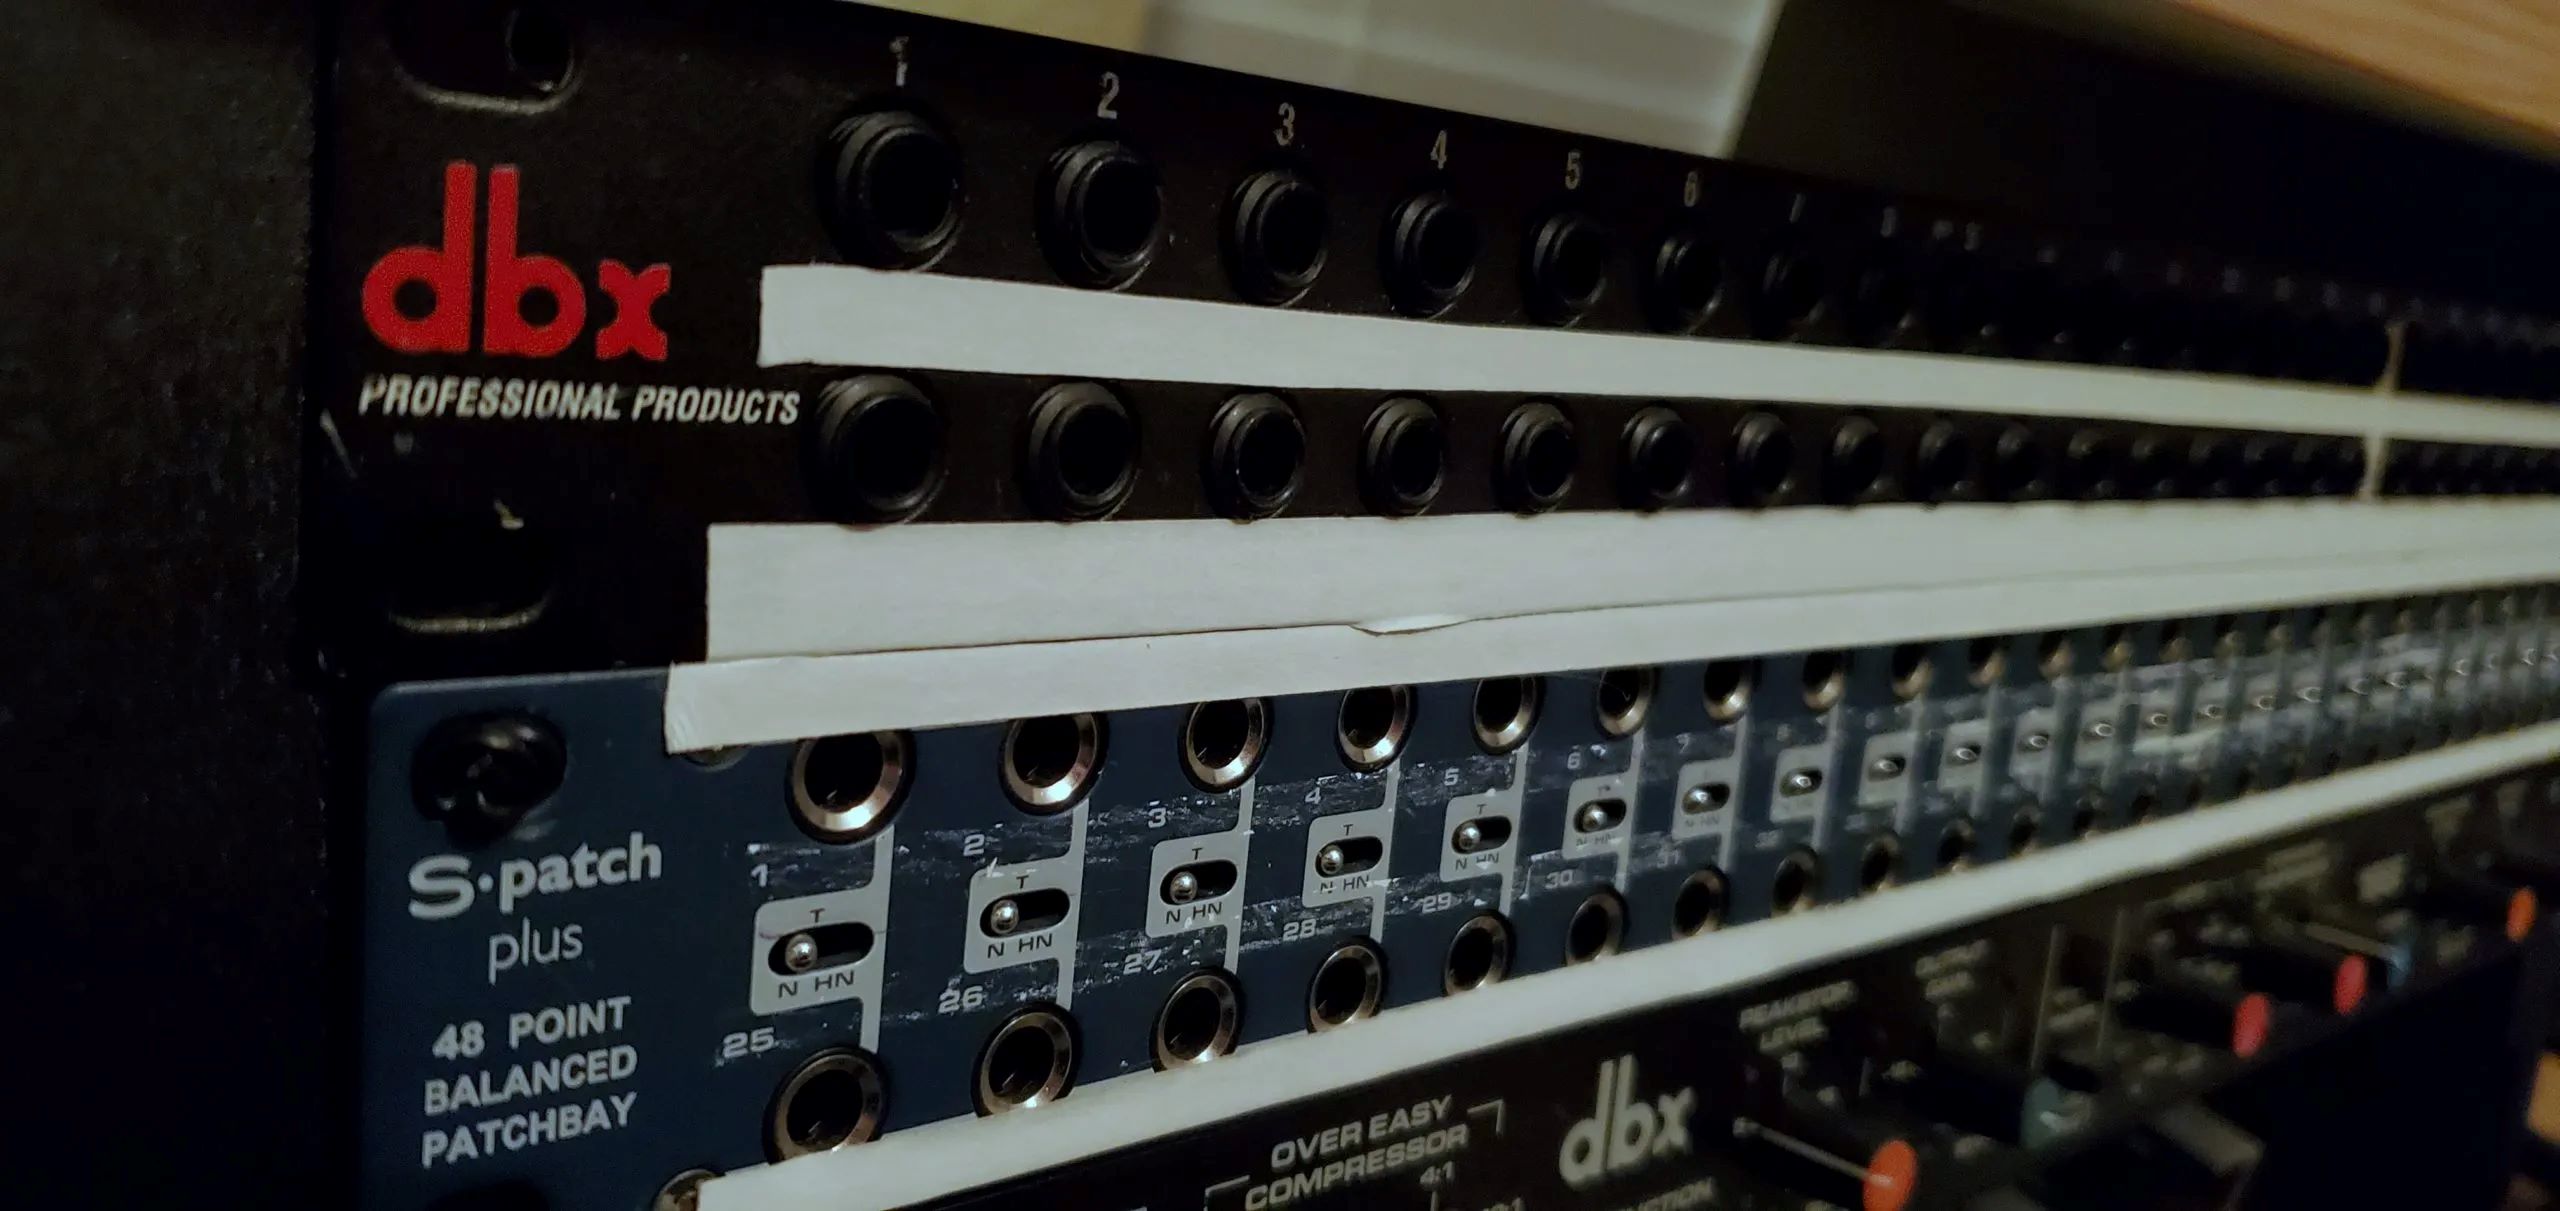
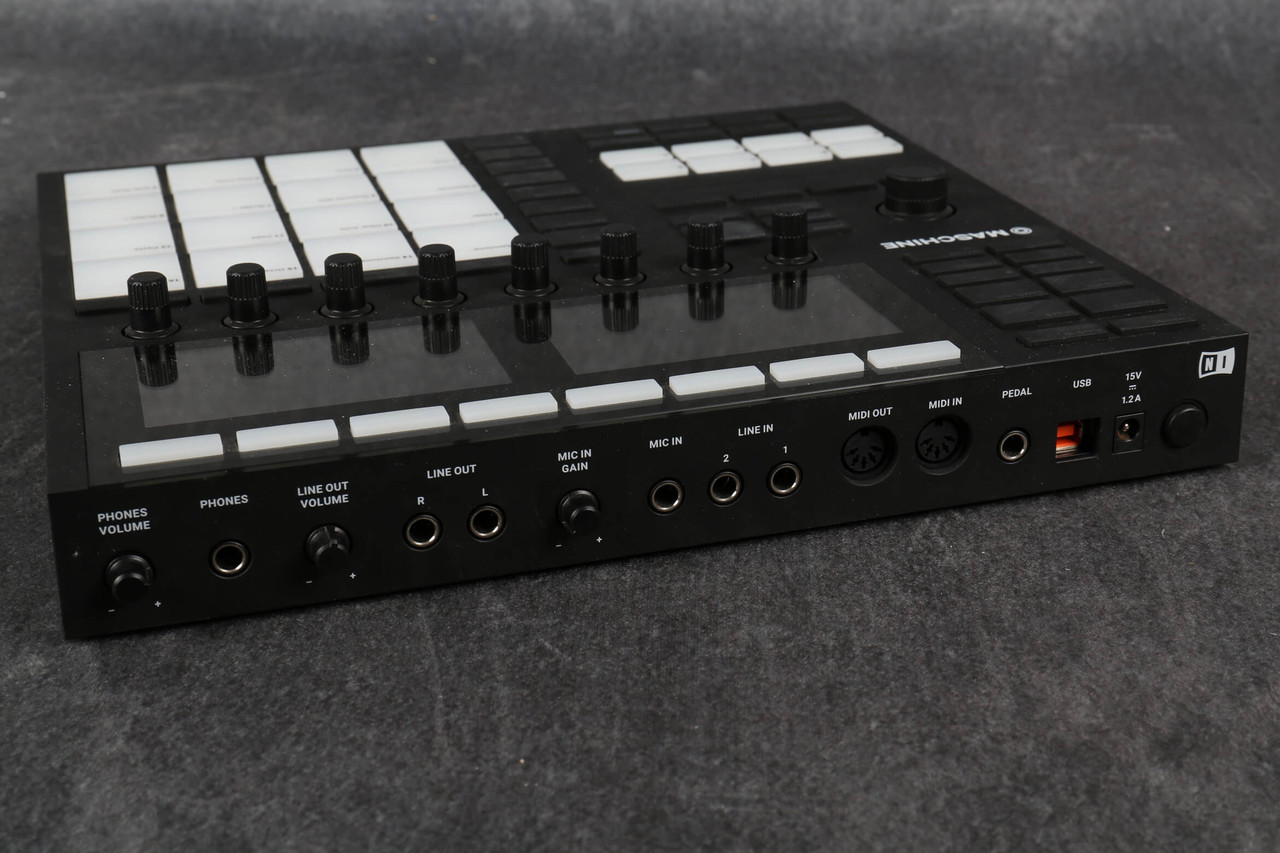
An audio interface is a device that serves as a bridge between your audio equipment, such as microphones, instruments, and speakers, and your computer. It converts analog audio signals into digital data that your computer can process and vice versa. This allows for higher-quality audio recording, playback, and integration with software applications.
Audio interfaces come in various shapes and sizes, with different input and output options to suit your specific needs. They typically have multiple inputs for connecting microphones, instruments, and line-level sources, as well as outputs for connecting headphones, speakers, and studio monitors.
One of the key features of an audio interface is its ability to provide high-quality preamps. Preamps amplify the weak signals from microphones, ensuring they are strong enough for the computer to process. This results in a cleaner and more accurate representation of the audio signal.
When selecting an audio interface, consider the number of inputs and outputs you require, the type of connections you need (USB, Thunderbolt, etc.), and the quality of the preamps. Additionally, some audio interfaces offer advanced features such as MIDI connectivity, digital clocking, and built-in DSP (Digital Signal Processing) for effects and processing.
To ensure compatibility with OBS and your computer, make sure to check the system requirements of both the audio interface and OBS software, as well as any necessary drivers or software updates.
Understanding the basic workings of an audio interface is crucial before moving on to setting it up with OBS. With this knowledge in hand, you’ll be better prepared to optimize your audio recording and streaming setup.
Setting up the Audio Interface with OBS
Now that you have a solid understanding of audio interfaces, let’s walk through the process of setting up your audio interface with OBS.
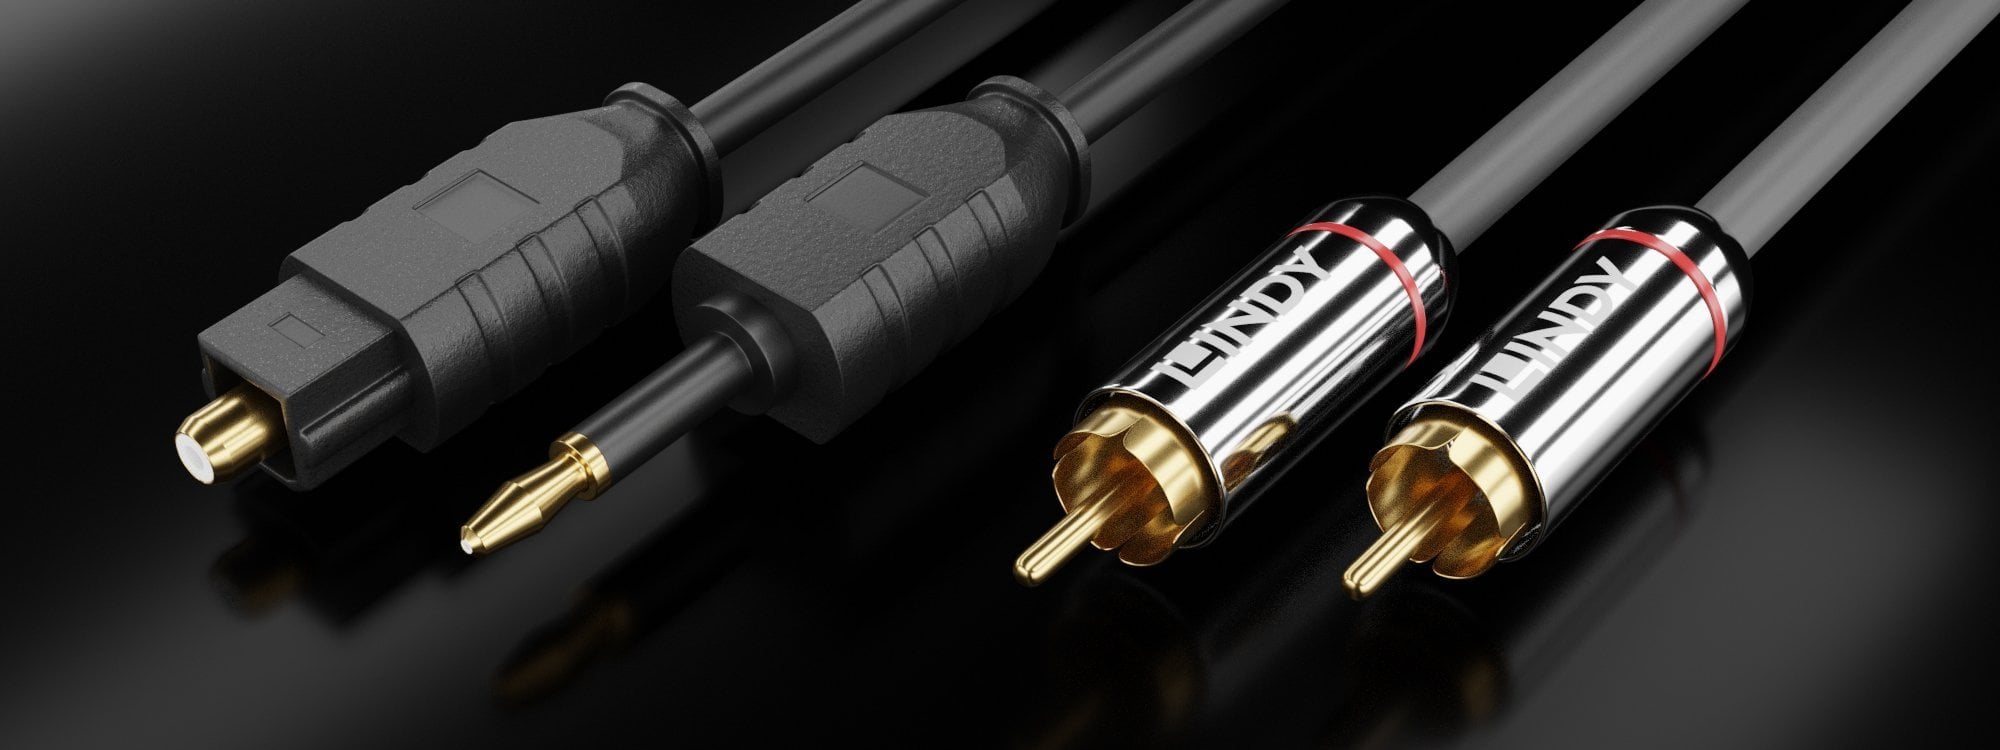
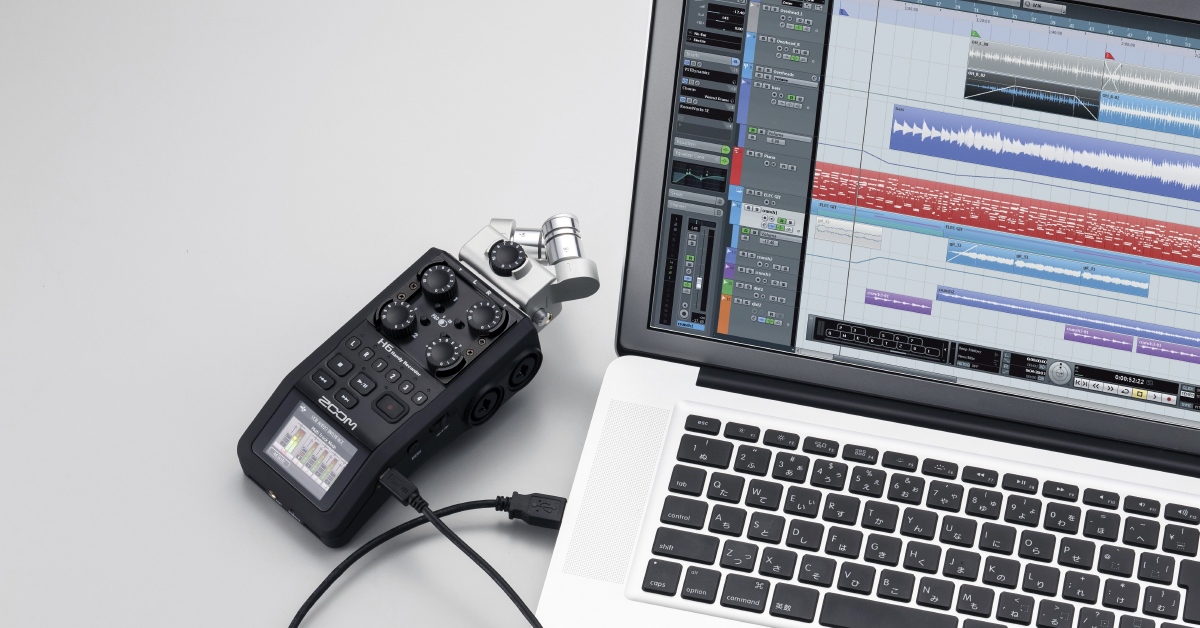
1. Connect your audio interface to your computer: Depending on the type of audio interface you have, connect it to your computer using the appropriate cable. Most audio interfaces use USB or Thunderbolt connections, but make sure to refer to the manufacturer’s instructions for the specific setup requirements.
2. Install any necessary drivers: Some audio interfaces require drivers to be installed on your computer for proper functionality. Check the manufacturer’s website for the latest drivers and follow their installation instructions.
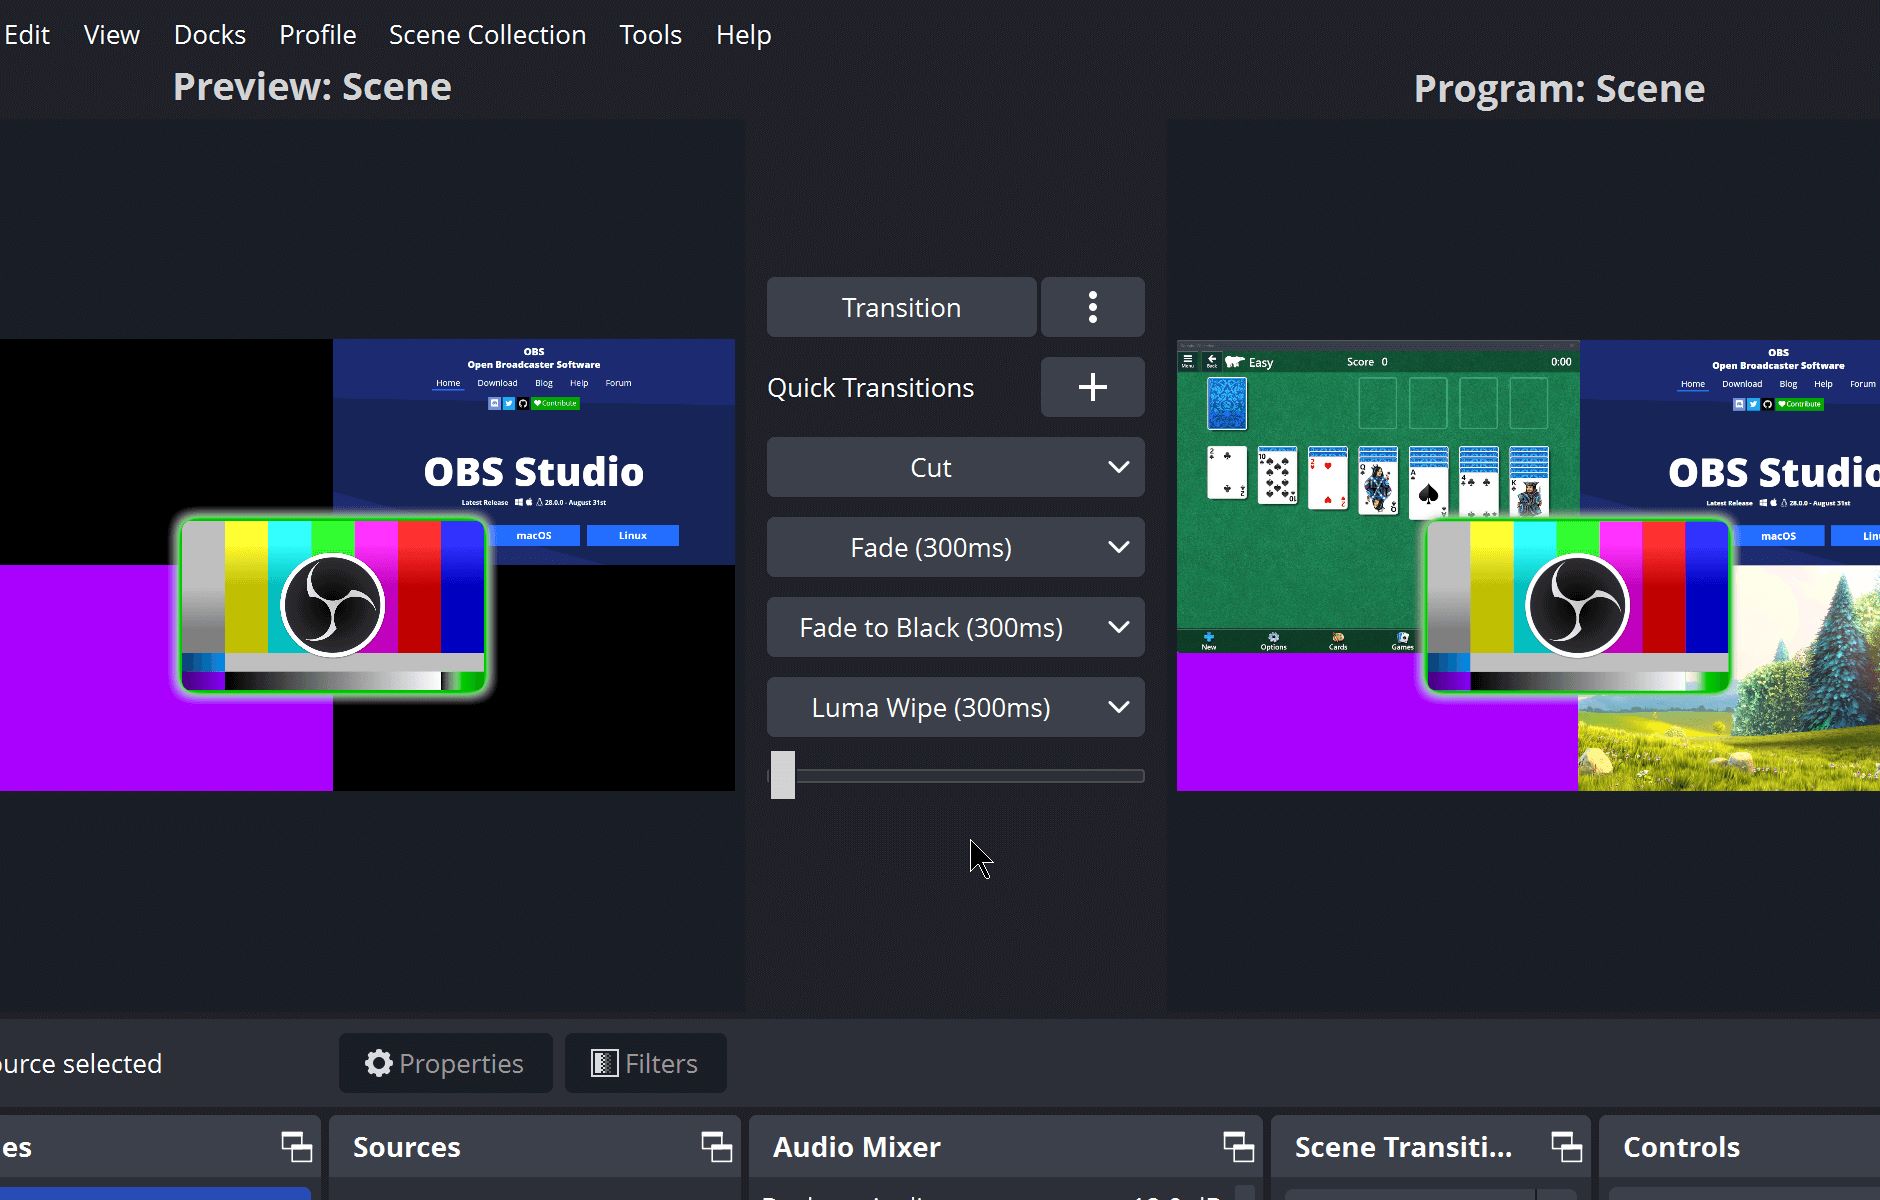
3. Open OBS: Launch OBS software on your computer and navigate to the audio settings. This can usually be found in the Settings or Preferences section of OBS.
4. Select the audio interface as the input device: In the audio settings of OBS, choose the audio interface as the input device. This will ensure that OBS captures the audio signals from your connected microphones and instruments.
5. Set the sample rate and buffer size: The sample rate and buffer size settings determine the quality and latency of the audio. It is recommended to set the sample rate to match the sample rate of your audio interface, typically 44.1kHz or 48kHz. Adjust the buffer size depending on your specific needs, but be mindful of achieving a balance between low latency and stable performance.
6. Test the audio input: To ensure that OBS is receiving audio from your audio interface properly, speak or play an instrument into your connected microphone or instrument. Watch the audio level meters in OBS to confirm that the sound is being detected. Make any necessary adjustments to the input gain or volume levels to ensure optimal audio recording.
7. Set up monitoring and routing: Depending on your preferences, you may want to enable monitoring through your audio interface or use OBS to monitor the audio. Check the settings in both OBS and your audio interface to configure the desired monitoring setup.
8. Adjust audio sources in OBS: In OBS, you can add audio sources to your scene to capture specific audio inputs. This allows you to control which audio devices are recorded or streamed. Add audio sources as needed and adjust their settings to optimize the audio capture.
9. Save your settings: Once you have configured the audio settings in OBS, make sure to save your settings to ensure they are applied for future recordings or streams.
By following these steps, you should now have your audio interface successfully set up with OBS. You can now take advantage of the high-quality audio recording and streaming capabilities offered by your audio interface, enhancing your content creation process.
Configuring Audio Settings in OBS
Once you have set up your audio interface with OBS, it’s important to configure the audio settings within OBS to ensure optimal recording and streaming results.
1. Open OBS and navigate to the audio settings: In OBS, go to the settings or preferences section and find the audio settings tab.
2. Select the audio device for output: Choose the audio device that you want to use for output, such as your headphones or speakers. This will allow you to monitor the audio while recording or streaming.
3. Set the audio encoding format: OBS offers various audio encoding formats, such as AAC or MP3. Select the format that best suits your needs, keeping in mind the balance between audio quality and file size.
4. Adjust the audio bitrate: The audio bitrate determines the quality of the audio. Higher bitrates result in better audio quality but may increase the file size. Experiment with different bitrates to find the ideal balance for your specific requirements.
5. Configure audio filters: OBS provides audio filters that allow you to enhance or modify the audio in real-time. You can add filters like noise suppression, gain control, or equalization to improve the overall sound quality. Experiment with different filters to achieve the desired audio result.
6. Test and monitor the audio levels: OBS provides audio level meters that allow you to monitor the input and output audio levels in real-time. Make sure to test the audio levels by speaking or playing an instrument and adjust the volume or gain controls to avoid clipping or distortion.
7. Set up audio sources: In OBS, you can add audio sources to your scenes to capture specific audio inputs. This allows you to have more control over which audio devices are recorded or streamed. Add audio sources as needed and adjust their settings to optimize the audio capture.
8. Save your settings: After configuring the audio settings in OBS, be sure to save your settings to ensure they are applied for future recording or streaming sessions.
It’s important to regularly test and monitor your audio settings in OBS to ensure that your recordings or live streams have clear and high-quality audio. Adjust the settings as needed based on your specific requirements and the feedback you receive from your audience.
By properly configuring the audio settings in OBS, you can take full advantage of your audio interface and deliver professional-grade sound to your audience.
Troubleshooting Audio Interface Issues with OBS
While using an audio interface with OBS can greatly enhance your audio production, you may encounter some issues along the way. Here are some common troubleshooting steps to address audio interface issues in OBS:
1. Check the audio device settings: Ensure that the audio interface is selected as the primary input and output device in both the Windows or macOS system settings and the OBS audio settings. Sometimes, the default audio device settings can cause conflicts with OBS.
2. Update drivers and firmware: Check for any available driver or firmware updates for your audio interface. Outdated drivers or firmware can cause compatibility issues with OBS. Visit the manufacturer’s website or contact their support for the latest updates.
3. Verify cable connections: Make sure that all cables connecting your audio interface to your computer and audio devices are securely plugged in. Loose or damaged cables can cause intermittent audio issues or no audio signal at all.
4. Restart the audio interface and OBS: Sometimes, a simple restart of your audio interface and OBS can resolve minor glitches or conflicts. Close OBS, power off your audio interface, wait a few seconds, and then power it back on. Restart OBS and check if the audio interface is recognized correctly.
5. Adjust sample rate and buffer size: If you’re experiencing audio latency or distortion, try adjusting the sample rate and buffer size settings in both your audio interface control panel and OBS. Lowering the buffer size can reduce latency but may require more CPU resources.
6. Disable other audio devices: If you have multiple audio devices connected to your computer, disable or disconnect any unnecessary ones. Having multiple audio devices can sometimes cause conflicts or audio routing issues in OBS.
7. Test with different USB ports: If you’re using a USB audio interface, try connecting it to different USB ports on your computer. Sometimes, certain USB ports may have compatibility issues, and switching to a different port can resolve the problem.
8. Check for background applications: Some background applications or system processes can interfere with the audio interface’s performance. Close any unnecessary applications or processes running in the background that may be affecting the audio signal in OBS.
9. Seek professional assistance: If you have tried all the troubleshooting steps above and are still experiencing audio interface issues in OBS, it may be beneficial to contact the manufacturer’s support or consult a professional audio technician for further assistance.
Remember, troubleshooting audio interface issues can require some trial and error. Be patient and thorough in your troubleshooting process, and don’t hesitate to seek help when needed. With persistence, you can overcome any audio interface issues and continue to create outstanding audio content using OBS.
Conclusion
Integrating an audio interface with OBS can significantly enhance your audio recording and streaming capabilities, allowing you to deliver high-quality sound to your audience. By understanding the fundamentals of audio interfaces, setting them up correctly, configuring audio settings in OBS, and troubleshooting common issues, you can optimize your audio production workflow and create professional-grade content.
Remember to select the appropriate audio device in OBS, set the sample rate and buffer size accordingly, and configure audio filters to enhance the overall sound quality. Regularly monitor audio levels and make adjustments as needed to avoid clipping or distortion. Add audio sources in OBS to capture specific input devices, offering more control over your recordings or streams.
In case you encounter any audio interface issues, such as device recognition problems or latency, try troubleshooting steps like checking device settings, updating drivers, verifying cable connections, and adjusting sample rate and buffer size. If these steps don’t solve the problem, reaching out to the manufacturer’s support or seeking professional assistance can help resolve the issue.
Using an audio interface with OBS unlocks a world of possibilities for musicians, podcasters, and content creators. It provides a seamless integration between your audio equipment and computer, enabling you to produce top-notch audio content. Take advantage of the capabilities of your audio interface, experiment with different settings, and continue to refine your audio production skills.
By following the guidelines in this article, you can harness the power of an audio interface with OBS and elevate the audio quality of your recordings and live streams. Embrace the opportunities that audio interfaces offer, and let your creativity shine through in every audio project you undertake.
Now that you have the knowledge and tools, it’s time to start your audio production journey with an audio interface and OBS. Embrace the power of professional-grade sound and take your content creation to new heights!