Home>Production & Technology>Audio Cable>How To Use Virtual Audio Cable With Logitech Macro Keys G710

Audio Cable
How To Use Virtual Audio Cable With Logitech Macro Keys G710
Modified: January 22, 2024
Learn how to utilize virtual audio cables with Logitech Macro Keys G710 for enhanced audio performance. Discover the power of audio cable integration!
(Many of the links in this article redirect to a specific reviewed product. Your purchase of these products through affiliate links helps to generate commission for AudioLover.com, at no extra cost. Learn more)
Table of Contents
Introduction
Welcome to the world of audio enthusiasts and professionals! If you’re looking to improve your audio experience or need a solution for managing audio routing, you’ve come to the right place. In this article, we will explore the use of Virtual Audio Cable with Logitech Macro Keys G710, a powerful combination that allows you to enhance your audio setup and streamline your workflow.
Virtual Audio Cable is a software tool that acts as a virtual audio device, enabling you to route audio signals between different applications and devices on your computer. It creates virtual audio devices with their input and output ports, allowing you to connect audio streams from one application to another. This flexibility opens up a world of possibilities, whether you’re a podcaster, DJ, gamer, or audio engineer.
Logitech Macro Keys G710, on the other hand, is a keyboard with programmable macro keys. Macro keys are additional keys on your keyboard that can be assigned to perform specific tasks or execute a series of commands with just a single keypress. This feature comes in handy when you want to automate repetitive actions or streamline complex workflows.
Combining Virtual Audio Cable with Logitech Macro Keys G710 unlocks a range of possibilities. You can use the macro keys to control audio routing and switch seamlessly between different audio sources, applications, or devices. By assigning specific virtual audio cables to the macro keys, you can create custom audio setups and switch between different configurations on the fly.
Setting up Virtual Audio Cable with Logitech Macro Keys G710 may seem daunting at first, but fear not! In the following steps, we will guide you through the installation, configuration, and assignment process. So, let’s dive in and get started!
What is Virtual Audio Cable?
Virtual Audio Cable is a software solution that enables you to create virtual audio devices on your computer. These virtual devices act as intermediaries, allowing you to route audio signals between different applications and devices. With Virtual Audio Cable, you have the flexibility to send audio from one application to another, split audio into multiple streams, or combine audio from multiple sources.
At its core, Virtual Audio Cable works by creating pairs of virtual audio devices: a virtual input device and a virtual output device. These devices are connected through a virtual cable, which serves as the conduit for audio signals. Any audio data sent to the virtual input device is then forwarded to the virtual output device, effectively routing the audio from one application to another.
One of the key benefits of using Virtual Audio Cable is its ability to facilitate audio streaming and recording. You can capture audio from one application and send it directly to a recording software, allowing you to create high-quality recordings or live streams. Conversely, you can also capture audio from an external device and route it to your preferred audio application for processing.
Furthermore, Virtual Audio Cable offers various configuration options to customize your audio setup. You can adjust parameters such as buffer size, sample rate, and channel count to optimize audio quality and latency. Additionally, you can create multiple virtual cables, enabling you to manage different audio streams simultaneously.
Whether you’re a musician, content creator, or simply an audio enthusiast, Virtual Audio Cable provides a versatile toolset for managing your audio workflow. It opens up a world of possibilities by allowing you to integrate different applications, devices, and audio sources seamlessly. From streaming and recording to audio processing and routing, Virtual Audio Cable empowers you to take control of your audio experience.
What are Logitech Macro Keys?
Logitech Macro Keys are a powerful feature found on select Logitech keyboards, including the Logitech Macro Keys G710. These are programmable keys that allow you to automate tasks or execute complex commands with a single keypress. By assigning specific actions or sequences of actions to these macro keys, you can streamline your workflow and improve productivity in various applications and games.
Logitech Macro Keys provide a customizable solution for repetitive tasks. Instead of manually performing a series of actions or keystrokes, you can program a macro key to execute them instantly. This saves time and effort, particularly in situations where you find yourself often repeating the same actions.
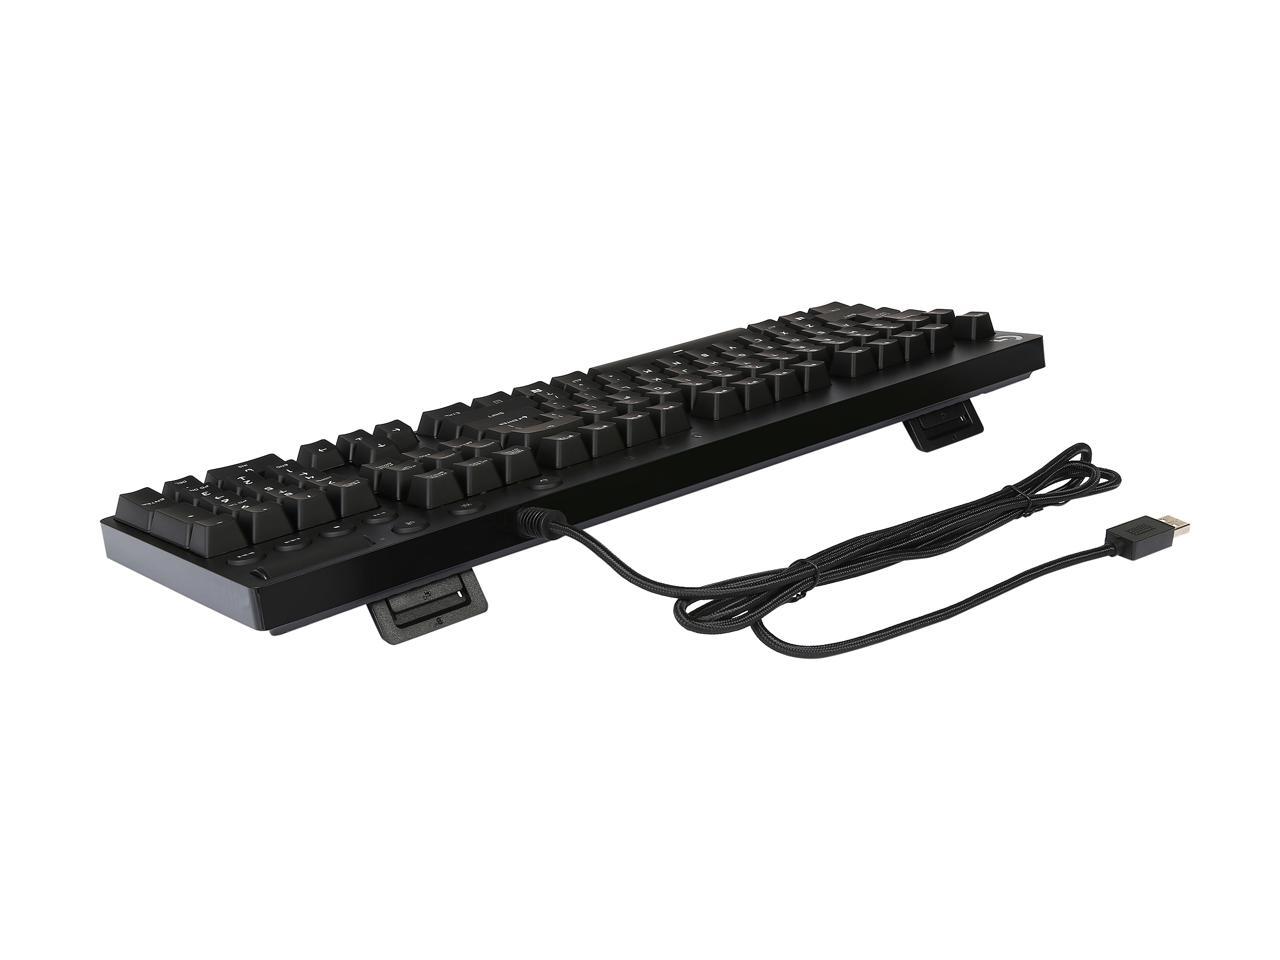
The Logitech Macro Keys G710 keyboard, specifically, features six dedicated macro keys conveniently located on the left side of the keyboard. These keys are programmable using Logitech’s software, allowing you to assign various functions to each key. You can create simple commands, like opening a specific application, or more complex macros, such as automating a series of actions in a video editing software.
Macro keys are not limited to productivity tasks alone. They can also be utilized in gaming to gain a competitive edge. In gaming applications, you can set up macros to execute specific combos, perform complex actions, or trigger multiple commands simultaneously. This can greatly enhance your gaming performance by reducing the time it takes to execute certain actions or by enabling quick and precise inputs.
Logitech Macro Keys provide an intuitive and efficient way to streamline your tasks, whether you’re working on projects, navigating applications, or diving into intense gaming sessions. With the ability to assign specific actions or sequences of actions to these dedicated keys, you can optimize your workflow and enhance your overall computing experience.
Step 1: Installing Virtual Audio Cable
The first step in using Virtual Audio Cable with Logitech Macro Keys G710 is to install the Virtual Audio Cable software on your computer. Follow these steps to get started:
- Visit the official website of Virtual Audio Cable and download the latest version of the software compatible with your operating system.
- Once the download is complete, locate the installation file and run it. Follow the on-screen prompts to proceed with the installation process.
- During the installation, you may be prompted to select the number of virtual audio devices you want to install. You can choose the default option or customize the number based on your requirements. Keep in mind that each virtual audio device represents an audio input/output port.
- After selecting the desired configuration, continue with the installation process. The software will then install the virtual audio devices and necessary drivers on your system.
- Once the installation is complete, restart your computer to ensure that the virtual audio devices are properly recognized by your system.
After completing these steps, Virtual Audio Cable should be successfully installed on your computer. You are now ready to proceed with the configuration and setup of Virtual Audio Cable and Logitech Macro Keys G710. In the following steps, we will guide you through the process of configuring Virtual Audio Cable and assigning it to the macro keys on your keyboard.
Step 2: Configuring Virtual Audio Cable
Once you have installed Virtual Audio Cable on your computer, the next step is to configure it to suit your audio routing needs. Follow these steps to configure Virtual Audio Cable:
- Launch the Virtual Audio Cable software. You should see the main interface, which displays the virtual audio cables that have been installed on your system.
- Click on the “Options” menu at the top of the interface and select “Settings.” This will open the settings window where you can customize various parameters.
- In the settings window, you can adjust parameters such as the sample rate, buffer size, and channel count. These settings can affect the audio quality and latency, so it’s recommended to configure them according to your specific requirements.
- After making your desired adjustments, click on the “Apply” button to save the settings.
- Next, navigate to the virtual audio cable that you want to configure. Click on its settings button, typically represented by a gear icon.
- In the cable settings window, you can specify the input/output format, set the cable as the default device, and configure other options as needed.
- Once you have finished configuring the virtual audio cables, click on the “OK” button to save the settings and close the window.
With Virtual Audio Cable properly configured, you can now proceed to set up Logitech Macro Keys G710 and assign the virtual audio cables to the macro keys on your keyboard. The next step will guide you through this process, allowing you to control audio routing and switch seamlessly between different audio sources and applications.
Step 3: Setting up Logitech Macro Keys
Now that you have Virtual Audio Cable configured, it’s time to set up Logitech Macro Keys G710 to take full advantage of its programmable macro keys. Follow these steps to set up Logitech Macro Keys:
- Install the Logitech Gaming Software on your computer if you haven’t already. This software allows you to customize the programmable keys on your Logitech keyboard.
- Launch the Logitech Gaming Software and ensure that your Logitech Macro Keys G710 is connected to your computer.
- In the software, locate the section or menu where you can customize the macro keys. This may vary slightly depending on the version of the Logitech Gaming Software you are using.
- Select one of the macro keys that you want to configure. You will typically be presented with options to assign a command or sequence of commands to the key.
- Choose the desired action or command that you want the macro key to perform. You can select a specific key press, launch an application, open a file or folder, or execute a series of keystrokes.
- Repeat the process for each macro key that you want to customize. Feel free to experiment and assign different functions or commands to each key based on your preferences and needs.
- Once you have finished customizing the macro keys, click on the “Save” or “Apply” button to apply the changes and store them in the keyboard’s memory.
Congratulations! Logitech Macro Keys G710 is now set up and ready to be used with Virtual Audio Cable. In the next step, you will learn how to assign virtual audio cables to the macro keys, allowing you to control audio routing and switch between different audio setups at the press of a button.
Step 4: Assigning Virtual Audio Cable to Logitech Macro Keys
With Virtual Audio Cable configured and Logitech Macro Keys set up, it’s time to assign virtual audio cables to the macro keys on your Logitech Macro Keys G710 keyboard. By doing so, you can easily switch between different audio setups and routes with a single keypress. Follow these steps to assign virtual audio cables to Logitech Macro Keys:
- Launch both the Virtual Audio Cable software and the Logitech Gaming Software on your computer.
- In the Virtual Audio Cable software, identify the virtual audio cables that you want to assign to the macro keys on your Logitech keyboard. Note down their names or labels.
- In the Logitech Gaming Software, navigate to the section or menu where you can edit the macro key assignments.
- Select the macro key that you want to assign a virtual audio cable to.
- Choose the “Keystroke” option or similar in the Logitech Gaming Software to create a custom command for the macro key.
- Input the keystroke command that corresponds to the virtual audio cable you want to assign. This usually involves inputting the key combination that triggers the specific virtual audio cable within the Virtual Audio Cable software.
- Save or apply the changes in the Logitech Gaming Software to assign the virtual audio cable to the macro key.
- Repeat the process for each macro key that you want to assign a virtual audio cable to, using the appropriate keystroke commands for each cable.
Once you have assigned the virtual audio cables to the macro keys, you can now enjoy seamless control over your audio routing. By pressing a designated macro key, you can quickly switch between different audio sources, applications, or configurations, all with a single keystroke.
Keep in mind that you can customize the assignments as needed or experiment with different setups to find what works best for your specific audio requirements. Enjoy the enhanced flexibility and convenience that Virtual Audio Cable and Logitech Macro Keys G710 provide in managing your audio workflow.
Step 5: Testing and Troubleshooting
Once you have assigned virtual audio cables to your Logitech Macro Keys G710, it’s important to test and ensure that everything is working as expected. This step will guide you through the testing process and offer troubleshooting tips if you encounter any issues.
Follow these steps to test and troubleshoot your setup:
- Launch the applications or devices that you want to route audio from and to using Virtual Audio Cable.
- Use the assigned macro keys on your Logitech Macro Keys G710 to switch between different virtual audio cables.
- Verify that the audio is routed correctly. For example, if you assigned a virtual audio cable to route audio from a media player to a recording software, play a media file and check if the audio is being captured in the recording software.
- If the audio is not being routed properly, double-check the assignments in the Logitech Gaming Software. Ensure that the correct keystrokes or commands are assigned to the macro keys for each virtual audio cable.
- If you’re still experiencing issues, make sure that you have the latest versions of both Virtual Audio Cable and Logitech Gaming Software installed. Check the official websites for any available updates.
- If audio is still not routing properly, try restarting your computer to refresh the settings and ensure that all virtual audio devices are recognized correctly.
- Consider referring to the documentation or support resources for both Virtual Audio Cable and Logitech Macro Keys G710 for further troubleshooting guidance. These resources may provide specific solutions to common issues or offer guidance on advanced configuration options.
By testing your setup and troubleshooting any issues, you can ensure that Virtual Audio Cable and Logitech Macro Keys G710 are working seamlessly together to enhance your audio workflow and control.
Remember to consult the user manuals or support forums for more detailed instructions or specific troubleshooting tips based on your setup. Enjoy the convenience and flexibility of your newly integrated audio routing and macro key setup.
Conclusion
Using Virtual Audio Cable with Logitech Macro Keys G710 opens up a world of possibilities for audio enthusiasts and professionals alike. With the ability to route audio between applications and devices, and the convenience of programmable macro keys, you can streamline your audio workflow and enhance your productivity.
Throughout this guide, we have covered the necessary steps to install Virtual Audio Cable, configure it to meet your needs, set up Logitech Macro Keys, and assign virtual audio cables to the macro keys on your Logitech Macro Keys G710 keyboard. By following these steps, you can seamlessly control your audio routing and switch between different setups with a single keystroke.
Remember to test your setup and troubleshoot any issues that may arise. This ensures that your audio routing is functioning correctly and allows you to address any potential challenges along the way. Don’t hesitate to consult the documentation and support resources provided by Virtual Audio Cable and Logitech for further assistance.
Whether you’re a content creator, podcaster, gamer, or audio engineer, the combination of Virtual Audio Cable and Logitech Macro Keys G710 gives you the power to customize and optimize your audio experience. From capturing audio streams to automating complex actions, this integration empowers you to take full control of your audio workflow.
So, go ahead and explore the possibilities that Virtual Audio Cable and Logitech Macro Keys G710 offer. Enhance your productivity, streamline your tasks, and elevate your audio experience to new heights.

