Home>Production & Technology>Audio Interface>How To Set Up An Audio Interface In Reaper

Audio Interface
How To Set Up An Audio Interface In Reaper
Modified: March 5, 2024
Learn how to set up an audio interface in Reaper and improve your recording quality. Follow our step-by-step guide for optimal audio interface configuration.
(Many of the links in this article redirect to a specific reviewed product. Your purchase of these products through affiliate links helps to generate commission for AudioLover.com, at no extra cost. Learn more)
Table of Contents
- Introduction
- Step 1: Choosing the Right Audio Interface
- Step 2: Installing the Audio Interface Drivers
- Step 3: Connecting the Audio Interface to Your Computer
- Step 4: Configuring Audio Settings in Reaper
- Step 5: Setting Up Input and Output Routing in Reaper
- Step 6: Configuring MIDI Devices (if applicable)
- Step 7: Testing and Troubleshooting the Audio Interface
- Conclusion
Introduction
An audio interface is an essential tool for anyone involved in music production, podcasting, or audio recording. It serves as the bridge between your computer and professional audio equipment, allowing you to capture high-quality sound and achieve optimal audio performance.
In this article, we will guide you through the process of setting up an audio interface in Reaper, a popular Digital Audio Workstation (DAW) software. Whether you are a beginner or an experienced user, this step-by-step guide will help you configure your audio interface properly to unlock its full potential.
The setup process may vary depending on the audio interface you are using, but the fundamental principles remain the same. We will cover everything from choosing the right audio interface to troubleshooting common issues. By the end of this guide, you will be able to connect your audio interface to Reaper and start recording professional-quality audio.
Before we dive into the setup process, let’s first understand the importance of choosing the right audio interface.
Step 1: Choosing the Right Audio Interface
Choosing the right audio interface is crucial for achieving high-quality audio recordings. There are various factors to consider when selecting an audio interface that suits your needs.
1. Input and Output Channels: Determine the number of inputs and outputs you require. Think about the types of instruments or microphones you will be recording simultaneously and consider any potential expansion needs in the future.
2. Connection Type: Consider the available connections on your computer. Common options include USB, Thunderbolt, and PCIe. USB interfaces are the most popular and widely supported.
3. Sample Rate and Bit Depth: Higher sample rates and bit depths offer better audio quality. Choose an audio interface with a sample rate and bit depth that meets your recording and mixing requirements.
4. Preamps: Preamps play a crucial role in capturing clean and clear sound. Look for an audio interface with high-quality preamps to ensure optimal recording quality.
5. Compatibility: Ensure that the audio interface is compatible with your computer’s operating system. Check the manufacturer’s website for driver compatibility with your specific operating system version.
6. Budget: Set a budget and look for audio interfaces within that range. Remember that investing in a higher-quality interface may yield better results in terms of sound quality and longevity.
Research different audio interfaces, read reviews, and compare features to make an informed decision. Consider your current and future recording needs to ensure that the audio interface you choose will meet your requirements for years to come.
Step 2: Installing the Audio Interface Drivers
Once you have chosen the right audio interface, the next step is to install the necessary drivers. Audio interface drivers are software programs that enable communication between the interface and your computer.
Before connecting your audio interface to your computer, check the manufacturer’s website for the latest driver software. Download the appropriate driver for your operating system.
1. Run the driver installer: Locate the downloaded driver file and run the installer. Follow the on-screen instructions to complete the installation process. Make sure to carefully read any prompts or warnings.
2. Restart your computer: After the installation is complete, it’s recommended to restart your computer. This helps ensure that the driver is properly initialized and ready for use.
3. Verify driver installation: Once your computer has restarted, connect your audio interface. Open the device manager or system preferences on your computer to verify that the audio interface is recognized and the driver is installed correctly.
4. Firmware update (if applicable): Some audio interfaces may require a firmware update. Check the manufacturer’s website for any firmware updates available for your specific model. Follow the instructions provided by the manufacturer to update the firmware.
Installing the correct drivers is vital to ensure optimal performance and compatibility. By keeping your drivers up to date, you can avoid potential issues and take advantage of any new features or improvements.
Step 3: Connecting the Audio Interface to Your Computer
Now that you have installed the audio interface drivers, it’s time to connect your audio interface to your computer. Follow these steps to ensure a proper connection:
1. Power off your computer: Before making any connections, turn off your computer and disconnect it from the power source. This precaution helps prevent any potential damage to your equipment.
2. Connect the audio interface: Connect your audio interface to your computer using the appropriate connection type (e.g., USB, Thunderbolt, or PCIe). Refer to the interface’s user manual for specific instructions on connecting it properly.
3. Connect audio inputs and outputs: Depending on your setup, connect your microphones, instruments, speakers, and headphones to the appropriate inputs and outputs on the audio interface. Ensure that the connections are secure and properly seated.
4. Power on your equipment: After all the connections are made, power on your audio interface and any other associated equipment. Follow the manufacturer’s instructions for powering on your specific devices.
5. Check device recognition: Once everything is powered on, check your computer’s device manager or system preferences to verify that the audio interface is recognized and properly connected.
It’s important to ensure a stable and secure connection between your audio interface and computer. Properly connecting your audio interface is essential for achieving optimal audio performance and avoiding any potential issues.
Step 4: Configuring Audio Settings in Reaper
After connecting your audio interface, it’s time to configure the audio settings in Reaper. By properly configuring the settings, you can optimize your recording and playback experience. Follow these steps to configure the audio settings:
1. Open Reaper: Launch Reaper on your computer. If you haven’t installed Reaper yet, download and install it from the Cockos website (https://www.reaper.fm).
2. Access the Preferences menu: In the top menu bar of Reaper, click on “Options” and then select “Preferences” from the dropdown menu. A new window will open.
3. Select the Audio Device: In the Preferences window, click on the “Audio” category on the left-hand side. Under the “Audio System” dropdown menu, select your audio interface as the preferred device.
4. Set the Sample Rate and Buffer Size: In the same Preferences window, adjust the Sample Rate and Buffer Size settings according to your needs. These settings determine the audio quality and latency. Higher sample rates provide better audio quality, but may require more processing power.
5. Configure Input and Output: In the Preferences window, navigate to the “Audio > Device” tab. Here, you can configure your input and output settings. Choose the appropriate input channels for recording and output channels for playback.
6. Test the audio settings: To ensure that the audio settings are properly configured, click on the “Test” button in the Preferences window. This will allow you to test the audio input and output to make sure everything is functioning correctly.
7. Confirm and apply changes: Once you are satisfied with the audio settings, click on the “Apply” or “OK” button to save your changes.
Properly configuring the audio settings in Reaper is essential for achieving optimal recording and playback capabilities. Take the time to explore the different options in the Preferences menu and customize them according to your specific needs and preferences.
Step 5: Setting Up Input and Output Routing in Reaper
Once you have configured the general audio settings in Reaper, the next step is to set up the input and output routing. This process allows you to designate which inputs and outputs are used for recording and playback within the software. Follow these steps to configure the input and output routing:
1. Open the Routing Matrix: In the Reaper toolbar, click on “View” and select “Routing Matrix” from the dropdown menu. This will open the Routing Matrix window.
2. Assign input channels: In the Routing Matrix, assign the input channels of your audio interface to the appropriate tracks. To do this, click on the empty square in the row corresponding to the desired track and column corresponding to the input channel. This will create a connection between the input and the track.
3. Set up output channels: In the Routing Matrix, assign the output channels of your audio interface to the desired playback destinations. This could include your speakers, headphones, or other audio devices. Similar to assigning input channels, click on the empty square to create a connection between the output channel and the playback destination.
4. Configure monitoring options: In Reaper, you have the option to monitor your audio input through the software. To enable monitoring, right-click on the track and select “Input Monitoring” from the context menu. This allows you to listen to the audio signal in real-time while recording.
5. Adjust track levels and panning: After setting up the input and output routing, adjust the track levels and panning as needed. This allows you to balance the volume and position of each track in the stereo field.
6. Save and recall routing presets: Reaper allows you to save and recall routing presets, making it convenient to switch between different setups. To save a routing preset, go to the Routing Matrix and click on the “Presets” button. Choose “Save current matrix as preset” and provide a name for the preset. To recall a preset, select it from the “Load preset” dropdown menu.
Setting up input and output routing is essential for proper signal flow and monitoring in Reaper. Take the time to configure the routing matrix according to your specific recording and playback needs.
Step 6: Configuring MIDI Devices (if applicable)
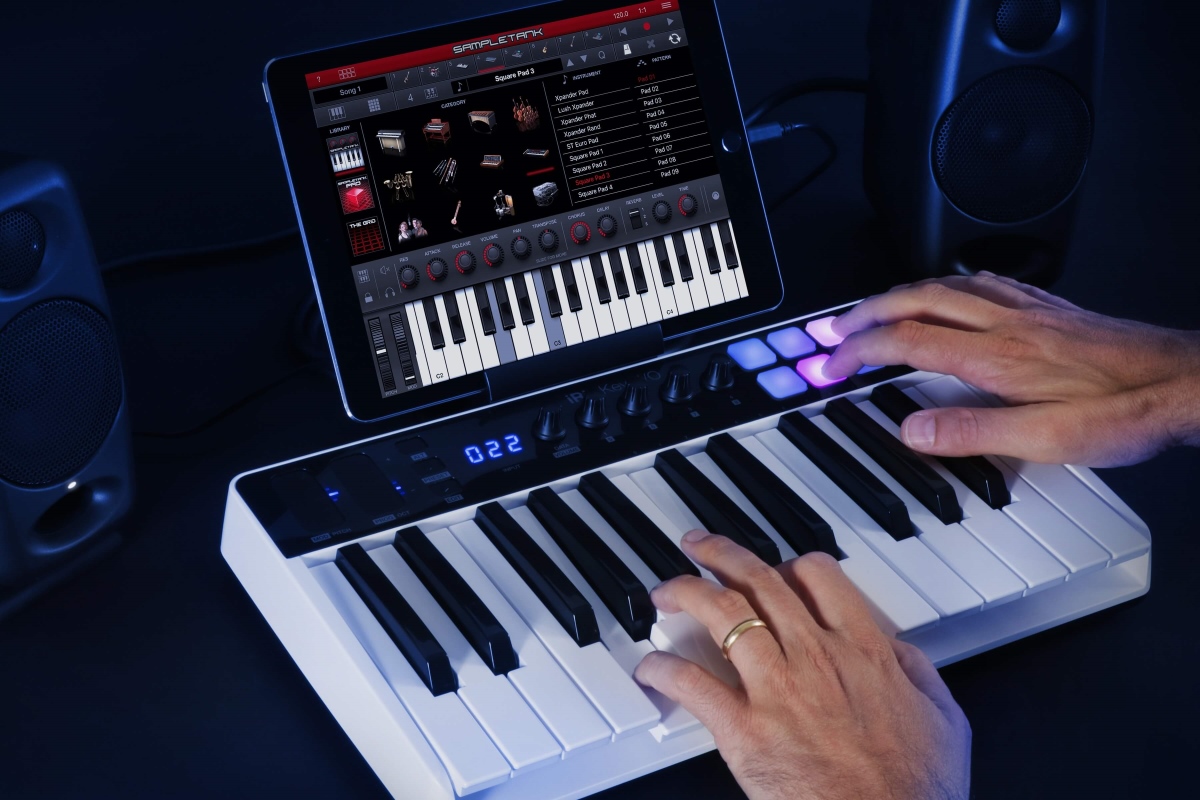
If you plan to use MIDI devices such as MIDI keyboards or MIDI controllers with Reaper, it’s important to properly configure them. MIDI (Musical Instrument Digital Interface) allows you to control virtual instruments, trigger samples, and create music within your DAW. Follow these steps to configure MIDI devices in Reaper:
1. Connect your MIDI devices: Connect your MIDI devices to your computer using a MIDI cable or USB connection, depending on the device. Make sure the devices are powered on.
2. Enable MIDI input and output: In Reaper, click on “Options” in the top menu, then select “Preferences.” In the Preferences window, click on the “MIDI Devices” section. Ensure that your MIDI input and output devices are enabled by checking the corresponding boxes.
3. Assign MIDI channels: In the MIDI Devices section of the Preferences window, assign MIDI devices to specific channels. This allows you to control different instruments or parameters on separate MIDI channels.
4. Set up MIDI routing: Reaper allows you to route MIDI input to specific tracks or virtual instruments. In the track view, right-click on the track and select “Input: MIDI” to choose the desired MIDI input device. You can also route MIDI output from a track to control external MIDI devices or trigger MIDI data externally.
5. Configure MIDI controller assignments: If your MIDI controller has assignable knobs, buttons, or faders, you can map them to control specific parameters within Reaper. Use the “Actions” menu in Reaper to assign MIDI controller messages to various functions or effects.
6. Test MIDI communication: To ensure that your MIDI devices are properly configured, test the communication between the devices and Reaper. Play notes on your MIDI keyboard or trigger MIDI events on your controller to verify that they are being received and recorded in Reaper.
MIDI integration expands the creative possibilities in Reaper, allowing you to control virtual instruments, record MIDI data, and experiment with different sounds. Properly configuring your MIDI devices ensures seamless communication between your hardware and the software, enhancing your overall music-making experience.
Step 7: Testing and Troubleshooting the Audio Interface
Once you have set up and configured your audio interface in Reaper, it’s important to test and troubleshoot any potential issues. Testing allows you to ensure that your audio interface is functioning properly and troubleshoot any problems that may arise. Follow these steps to test and troubleshoot your audio interface:
1. Test recording and playback: Use Reaper to record audio using your audio interface inputs. Check that the recorded audio sounds clear and without distortion. Playback the recorded audio to verify that the playback quality is satisfactory.
2. Check for latency: Latency refers to the delay between when you play audio through your interface and when you hear it. Test for latency by recording audio and listening in real-time while monitoring through your interface. Adjust the buffer size in Reaper’s audio settings to minimize any noticeable latency.
3. Verify input and output routing: Ensure that the audio signals are correctly routed to the desired inputs and outputs. Play audio through various tracks and check that the sound is properly routed to your speakers or headphones.
4. Troubleshoot audio dropouts or glitches: If you experience audio dropouts or glitches during playback or recording, try adjusting the buffer size in Reaper’s audio settings. Larger buffer sizes can help prevent dropouts but may increase latency.
5. Check for driver updates: Periodically check for driver updates for your audio interface on the manufacturer’s website. Installing the latest drivers can address compatibility issues and improve the overall performance of your audio interface.
6. Consult the manufacturer’s documentation: If you encounter any persistent issues with your audio interface, refer to the manufacturer’s documentation or support resources for troubleshooting guidance. They may have specific troubleshooting steps or FAQs to help you resolve any problems.
7. Seek assistance from forums or communities: If you’re still experiencing issues, consider reaching out to audio forums or online communities for assistance. There are often knowledgeable individuals who can provide suggestions or solutions based on their own experiences.
Thoroughly testing and troubleshooting your audio interface in Reaper ensures that it is functioning optimally and allows you to address any potential issues that may arise during your recording or mixing sessions. With a fully functional audio interface, you can enjoy seamless audio recording and production in your projects.
Conclusion
Setting up an audio interface in Reaper is a crucial step towards achieving professional-quality audio recordings and productions. By following the steps outlined in this guide, you can successfully configure your audio interface and unleash its full potential in your music production or audio recording endeavors.
From choosing the right audio interface to installing the drivers, connecting the interface to your computer, configuring audio settings, setting up input and output routing, and potentially configuring MIDI devices, each step plays a critical role in ensuring optimal performance and sound quality.
By properly configuring your audio interface and Reaper, you can experience low-latency recording, clear audio playback, and seamless integration with virtual instruments and MIDI devices. Whether you are a music producer, podcaster, or sound engineer, having a well-configured audio interface will greatly enhance your creative workflow.
Remember to regularly check for driver updates and troubleshoot any issues that may arise. Stay connected with the audio production community and forums for tips, tricks, and solutions to further optimize your audio interface setup.
With your audio interface properly set up in Reaper, you can focus on your creativity and unleash your musical vision without technical distractions. Enjoy the power and versatility that a well-configured audio interface brings to your music production process.

