Home>Production & Technology>Audio Interface>How Connect An Audio Interface To The Phone
Audio Interface
How Connect An Audio Interface To The Phone
Published: February 5, 2024
Learn how to connect an audio interface to your phone and enhance your audio recording capabilities. Follow our step-by-step guide to set up your audio interface seamlessly.
(Many of the links in this article redirect to a specific reviewed product. Your purchase of these products through affiliate links helps to generate commission for AudioLover.com, at no extra cost. Learn more)
Table of Contents
Introduction
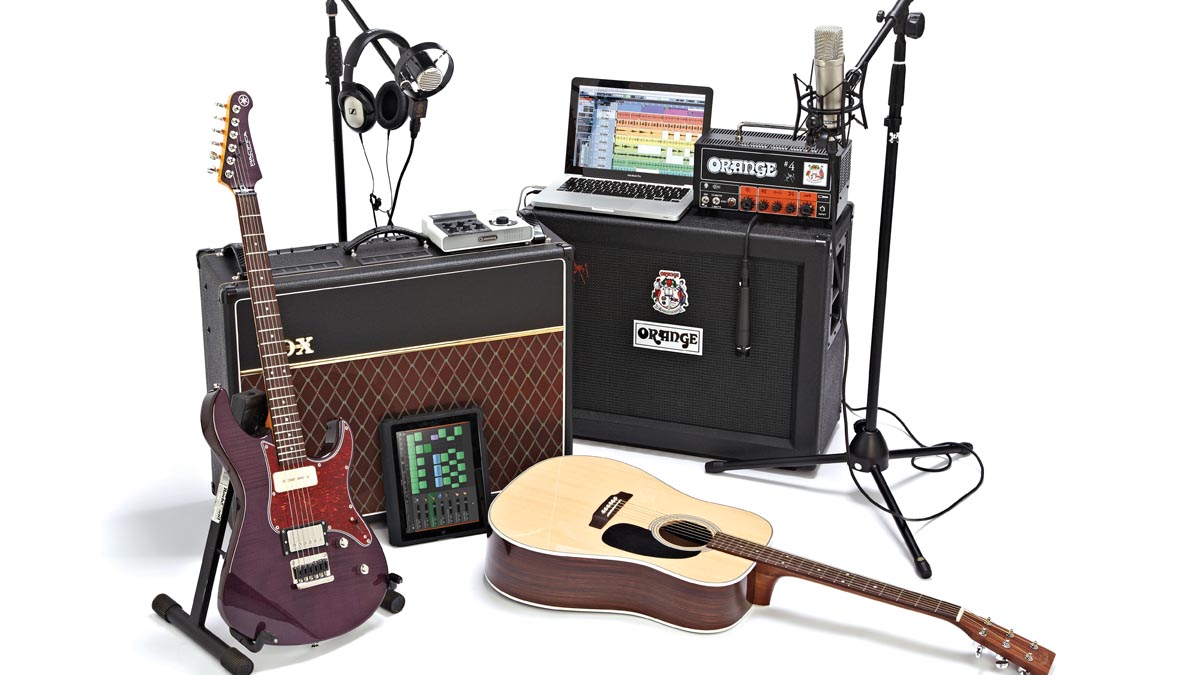
Welcome to the world of audio interfaces! Whether you’re a professional musician, a podcaster, or a content creator, the need for high-quality audio is paramount. Audio interfaces play a crucial role in achieving studio-grade sound by connecting your instruments, microphones, and other audio devices to your computer or mobile device.
In this article, we will delve into the fascinating world of audio interfaces and how you can connect them to your phone. We will explore the importance of audio interfaces and their role in improving sound quality, as well as the compatibility and requirements for connecting them to your phone. You will also find a step-by-step guide to help you navigate the process and troubleshoot common issues that may arise along the way.
Whether you’re a musician on the go, a podcaster recording interviews remotely, or a content creator needing a portable recording setup, connecting an audio interface to your phone can open up a world of possibilities and elevate your audio game to new heights.
So, let’s dive in and uncover the secrets of connecting an audio interface to your phone!
Understanding Audio Interfaces and Their Importance
Before we dive into the nitty-gritty of connecting an audio interface to your phone, let’s first understand what an audio interface is and why it is essential for achieving high-quality sound.
An audio interface is a device that acts as a bridge between your audio source (such as a microphone or instrument) and your computer or mobile device. It converts analog audio signals into digital data that your computer or phone can process.
One of the primary functions of an audio interface is to improve the sound quality. It does this by using high-quality preamps and converters, allowing you to capture audio with greater detail and clarity. These preamps ensure that the weak analog signals from your microphones or instruments are boosted to an optimal level before being converted into digital format.
Another crucial aspect of audio interfaces is their ability to provide low-latency monitoring. Latency refers to the delay between when you produce sound and when you hear it through your headphones. High latency can be highly distracting and can make it challenging to perform or record in real-time. A good audio interface allows you to monitor your audio without any noticeable delay, ensuring a seamless and natural recording experience.
Audio interfaces also offer additional features, such as MIDI connectivity for connecting keyboards or controllers, multiple inputs and outputs for recording multiple sources simultaneously, and phantom power for condenser microphones. All these functionalities make audio interfaces a versatile tool for professional musicians, producers, podcasters, and content creators.
Whether you’re recording music, podcast episodes, voiceovers, or any other type of audio content, an audio interface is an indispensable tool for achieving professional-grade sound. Its role in capturing clean, detailed, and low-latency audio cannot be overstated.
Now that we have a solid understanding of what audio interfaces are and why they are important, let’s explore the compatibility and requirements for connecting them to your phone.
Compatibility and Requirements for Connecting an Audio Interface to a Phone
Connecting an audio interface to your phone can expand your recording capabilities and allow you to have a portable, professional-grade recording setup. However, before you embark on this journey, it’s important to understand the compatibility and requirements for a successful connection.
1. Phone Compatibility: Not all phones support audio interface connections. Check the specifications of your phone to ensure it has a USB-C or Lightning port, depending on the type of audio interface you plan to use. Some Android phones may require an OTG (On-The-Go) adapter to connect external devices.
2. Power Requirements: Audio interfaces require power to function, so make sure your phone has sufficient power or is connected to a power source while using the interface. Some audio interfaces have the option to be powered by an external power supply, which can be handy for longer recording sessions.
3. Software Compatibility: Check if the audio interface you’re using is compatible with the operating system on your phone. Most popular audio interfaces have companion apps that provide control and configuration options for seamless integration with your phone.
4. Supported Sample Rates: Ensure that the audio interface supports the sample rates you intend to work with. Higher sample rates offer better audio quality but may require more processing power from your phone. Check if your phone and audio interface can handle the desired sample rates for your recording needs.
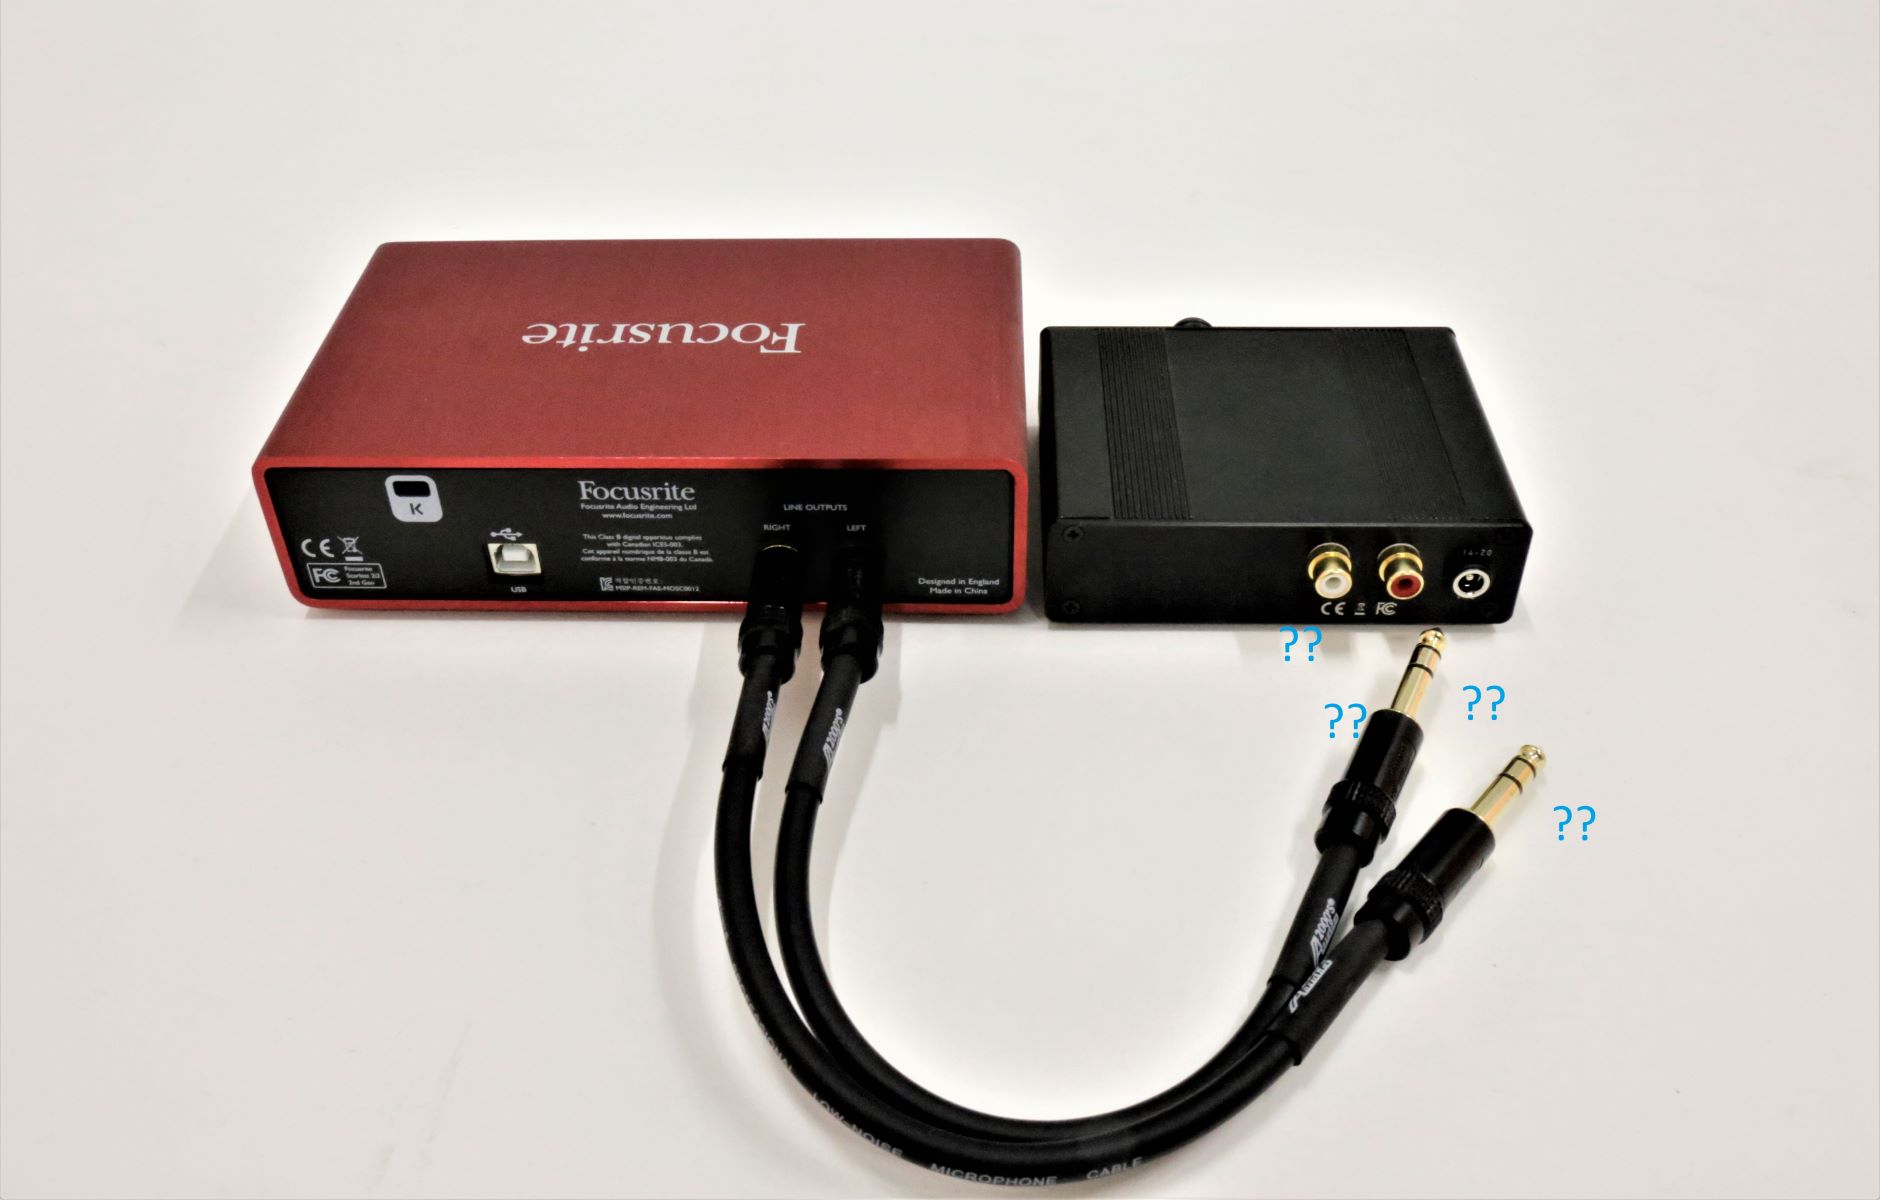
5. Cables and Adapters: Make sure you have the necessary cables and adapters to connect your audio interface to your phone. USB-C to USB-C or USB-C to USB-A cables are commonly used for Android phones, while Lightning to USB-C or Lightning to USB-A cables are used for iPhones and iPads. Additionally, you may need an OTG adapter for Android phones that don’t have a native USB connection.
It’s worth mentioning that not all audio interfaces are designed for mobile use, so ensure that the interface you choose explicitly mentions compatibility with mobile devices. Some interfaces come with dedicated mobile features, such as compact size, built-in rechargeable batteries, and mobile app integration.
Once you’ve checked the compatibility and requirements, you’re ready to connect your audio interface to your phone. In the next section, we’ll provide you with a step-by-step guide to help you through the process smoothly.
Step-by-Step Guide for Connecting an Audio Interface to a Phone
Now that you’ve ensured compatibility and gathered the necessary cables and adapters, let’s walk through the steps to connect your audio interface to your phone.
Step 1: Prepare Your Audio Interface: Connect your audio interface to a power source if required, and make sure it is turned off before proceeding.
Step 2: Prepare Your Phone: Ensure that your phone is charged or connected to a power source to prevent any interruptions during the connection process.
Step 3: Plug in the Cable: Connect one end of the appropriate cable (USB-C, Lightning, or OTG adapter) to the port on your phone. Ensure a secure connection.
Step 4: Connect the Audio Interface: Connect the other end of the cable to the corresponding port on your audio interface. Again, ensure a stable connection.
Step 5: Power On the Audio Interface: Turn on the audio interface. Some interfaces may have a power switch, while others may power on automatically when connected to a device.
Step 6: Set Your Phone’s Audio Preferences: On your phone, go to the audio settings and select the audio interface as the input and output device. This step may vary depending on your phone’s operating system.
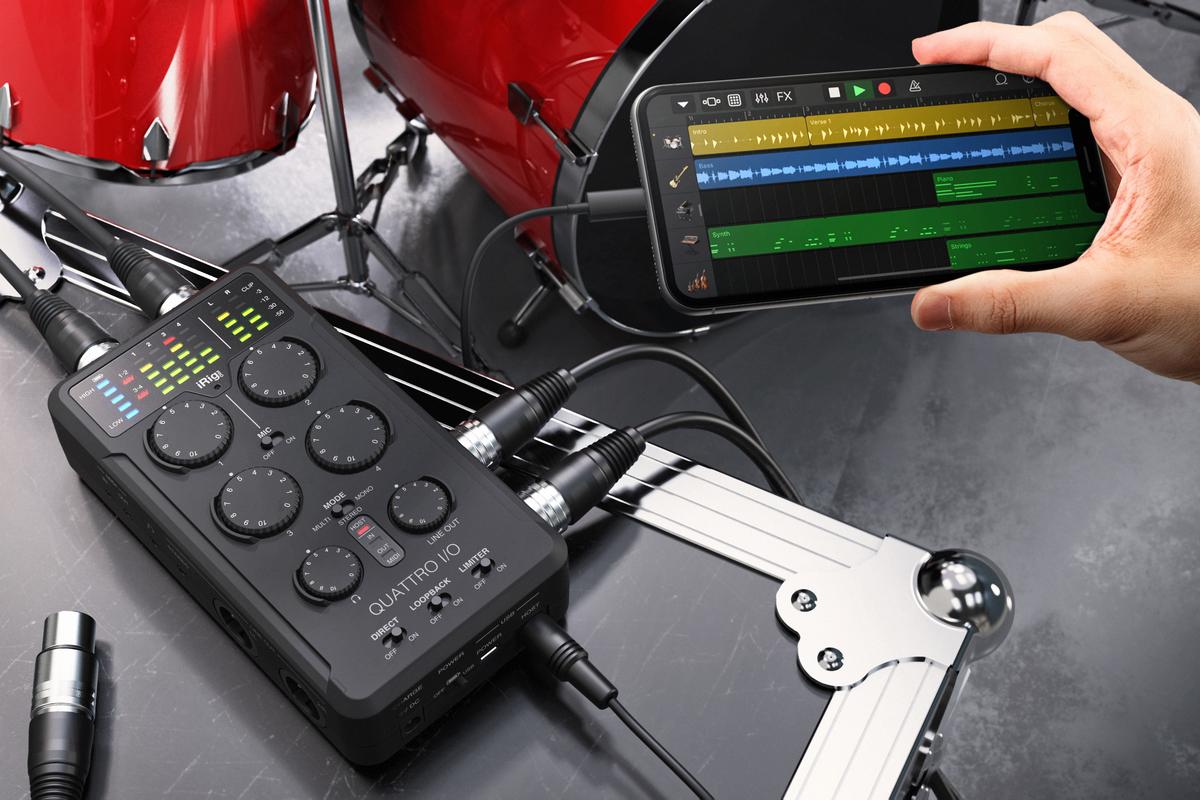
Step 7: Launch Your Recording App: Open your preferred recording app on your phone. Ensure that the app recognizes the audio interface as the audio input device.
Step 8: Check the Signal: Test the audio connection by speaking into your microphone or playing an instrument. Monitor the input levels on your phone and ensure that the audio is being captured by the interface.
Step 9: Adjust Settings: Use the app or the audio interface’s companion software to adjust settings such as gain, sample rate, and monitoring preferences to suit your recording needs.
Step 10: Start Recording: With everything properly connected and configured, you’re now ready to start recording! Hit the record button in your app and unleash your creativity.
Remember, the specific steps may vary depending on your audio interface, phone model, and operating system. Always refer to the user manuals and documentation provided by the manufacturers for detailed instructions specific to your setup.
By following these steps, you can seamlessly connect your audio interface to your phone and unlock a world of possibilities for recording high-quality audio on the go.
In case you encounter any issues during the connection process, don’t fret! The next section will help you troubleshoot common problems and find solutions.
Troubleshooting Common Issues when Connecting an Audio Interface to a Phone
While connecting an audio interface to your phone is usually a straightforward process, you may encounter some common issues. Here are a few troubleshooting steps to help you address these problems:
1. No Audio Input/Output: If you’re not getting any audio input or output through your audio interface, double-check the cable connections. Ensure that the cable is securely plugged into both the audio interface and your phone. Additionally, confirm that your phone’s audio settings are set to use the audio interface as the input and output device.
2. Low Volume or Distorted Sound: If you’re experiencing low volume or distorted sound, check the gain levels on your audio interface. Increasing the gain can boost the input signal and improve the overall volume. Be careful not to set the gain too high, as it may introduce distortion. Also, ensure that your phone’s volume is adjusted appropriately.
3. Latency Issues: If you notice a delay (latency) between playing an instrument or speaking into a microphone and hearing the sound through your headphones, check your recording app’s settings for a low-latency mode. Enabling this mode can help minimize latency. If the issue persists, you may need to use a different recording app that offers better low-latency performance.
4. Device Not Recognized: If your phone does not recognize the audio interface, try restarting both your phone and the audio interface. Additionally, check for any firmware or software updates for your audio interface and ensure that you have installed them. If the problem persists, try using a different cable or adapter to connect the audio interface, as they can sometimes become faulty.
5. Power Supply Issues: If your audio interface requires external power, ensure that it is connected to a reliable power source. Check if the power cable is securely connected and that the power source is delivering the correct voltage. If you’re using a battery-powered audio interface, ensure that the batteries are charged or replace them if necessary.
6. Compatibility Issues: If you experience compatibility issues, such as the audio interface not working with your specific phone model or operating system, check the manufacturer’s website or support resources for any known compatibility issues or updates. It may be necessary to use a different audio interface that is explicitly compatible with your phone.
If none of these troubleshooting steps resolve the issue, consult the user manual or contact the customer support of your audio interface or phone manufacturer for further assistance. They will be able to provide you with specific troubleshooting steps based on your setup.
Remember, troubleshooting can sometimes be a process of trial and error. Patience and persistence will help you overcome any challenges and ensure a successful connection between your audio interface and your phone.
Now that we’ve covered common troubleshooting issues, let’s wrap up our article with a summary of the key points discussed.
Conclusion
Connecting an audio interface to your phone opens up a world of possibilities for recording high-quality audio on the go. Whether you’re a musician, podcaster, or content creator, the ability to have a portable, professional-grade recording setup can greatly enhance your creative workflow.
In this article, we explored the importance of audio interfaces in achieving studio-grade sound quality. We also discussed the compatibility and requirements for connecting an audio interface to your phone, including phone compatibility, power requirements, software compatibility, supported sample rates, and the necessary cables and adapters.
Furthermore, we provided a step-by-step guide to help you smoothly connect your audio interface to your phone. From preparing your audio interface and phone to setting audio preferences and launching your recording app, each step was outlined to ensure a successful connection.
In the event that you encounter any issues, we also provided troubleshooting tips to address common problems such as no audio input/output, low volume or distorted sound, latency issues, device recognition issues, power supply issues, and compatibility issues.
Remember, patience and persistence are key when troubleshooting, and don’t hesitate to reach out to the manufacturer’s support if you need further assistance.
By following the guidelines outlined in this article, you can harness the power of an audio interface to elevate your recordings to a professional level, all from the convenience of your phone.
So, go ahead and connect your audio interface to your phone, unlock your creativity, and let your sound resonate with brilliance!