Home>Production & Technology>MIDI>How To Make A MIDI Controller

MIDI
How To Make A MIDI Controller
Published: February 20, 2024
Learn how to make a MIDI controller and customize your music production setup. Discover step-by-step instructions for creating your own MIDI controller at home.
(Many of the links in this article redirect to a specific reviewed product. Your purchase of these products through affiliate links helps to generate commission for AudioLover.com, at no extra cost. Learn more)
Table of Contents
Introduction
Creating your own MIDI controller can be an exciting and rewarding endeavor, allowing you to customize a controller that perfectly suits your unique needs and preferences. Whether you're a musician, DJ, or electronic music producer, a DIY MIDI controller offers the flexibility to design a control surface tailored to your specific workflow and creative requirements.
In this comprehensive guide, we'll walk through the step-by-step process of building a MIDI controller from scratch. From gathering the necessary materials to programming and testing the controller, you'll gain valuable insights into the intricacies of constructing a personalized MIDI interface. By following these instructions, you'll have the opportunity to unleash your creativity and technical skills while constructing a powerful tool for music production and performance.
Building a MIDI controller from the ground up not only provides a hands-on learning experience but also empowers you to delve into the realm of electronic hardware and software integration. Throughout this journey, you'll explore the fundamentals of electronic circuits, microcontrollers, and MIDI communication protocols, gaining a deeper understanding of the technology that underpins modern music production.
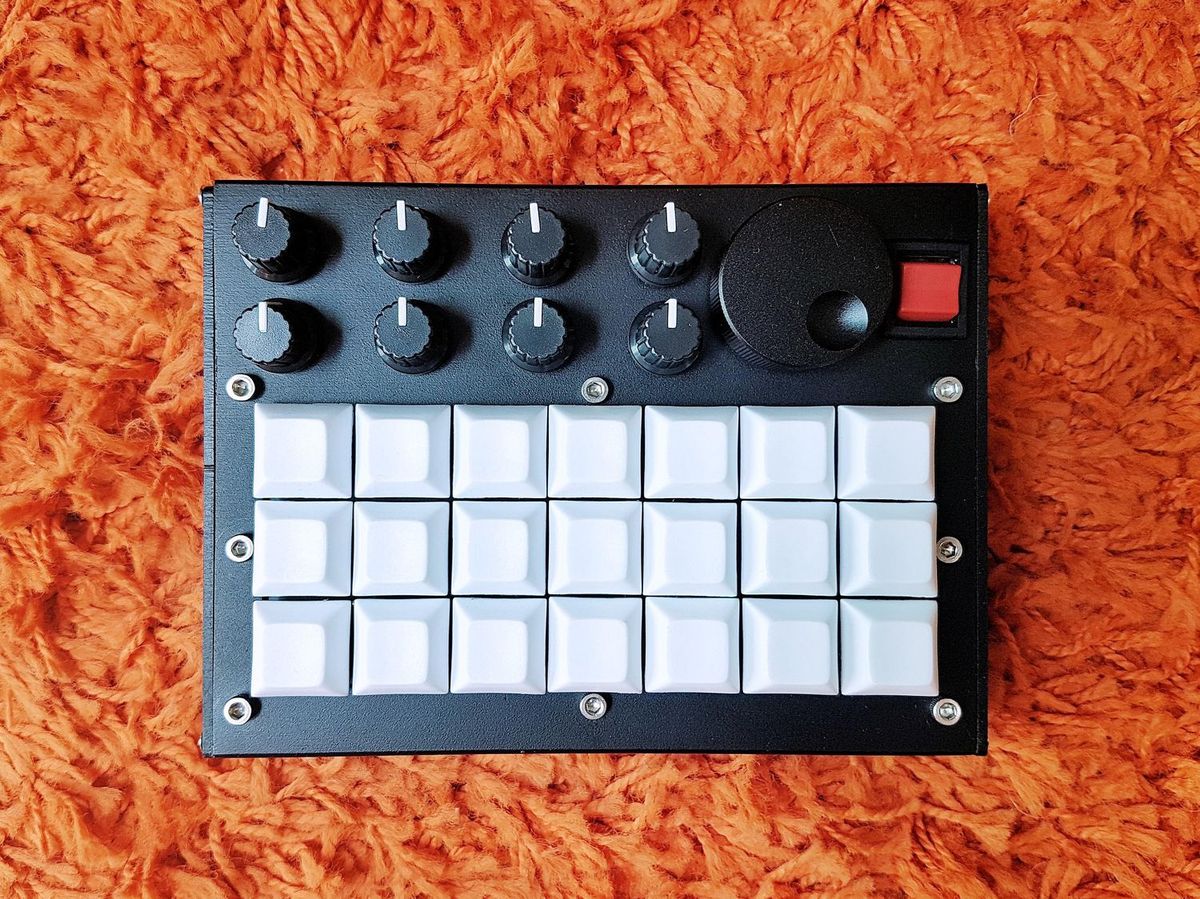
Moreover, by embarking on this DIY project, you'll have the freedom to incorporate unique features and functionalities that may not be available in off-the-shelf MIDI controllers. Whether it's a custom layout of faders, knobs, buttons, or touch-sensitive pads, you can tailor the controller to align with your preferred music-making workflow and performance style.
As we delve into the intricacies of building a MIDI controller, it's important to approach this endeavor with a curious and adventurous mindset. Embrace the opportunity to experiment, problem-solve, and unleash your creativity as you embark on this journey to create a personalized MIDI controller that reflects your artistic vision and technical ingenuity. So, roll up your sleeves, gather your tools, and let's dive into the exciting world of DIY MIDI controller construction.
Step 1: Gather the necessary materials
Before diving into the construction of your DIY MIDI controller, it's essential to gather all the required materials and components. This step sets the foundation for a smooth and efficient building process, ensuring that you have everything at hand to bring your creative vision to life. Here's a comprehensive list of the essential materials and components you'll need:
Electronic Components:
- Microcontroller: Select a suitable microcontroller board such as Arduino or Teensy, which will serve as the brain of your MIDI controller. These platforms offer robust support for MIDI communication and can be easily programmed to interpret input from various control elements.
- Electronic Components: Gather an assortment of electronic components including resistors, capacitors, diodes, and LEDs. These components will be utilized in constructing the circuitry for the controller's buttons, knobs, and other input devices.
- Sensors and Input Devices: Depending on your controller design, acquire sensors such as potentiometers, rotary encoders, faders, and pressure-sensitive pads. These input devices will form the interface through which you interact with the MIDI controller.
- Buttons and Switches: Procure a variety of tactile buttons, momentary switches, and toggle switches to incorporate tactile feedback and control options into your controller layout.
Enclosure and Hardware:
- Enclosure: Choose a suitable enclosure or housing for your MIDI controller. This could be a prefabricated project box, a custom-built wooden or acrylic case, or even a 3D-printed enclosure. Ensure that the enclosure provides ample space for mounting the control elements and accommodates the overall layout of your controller design.
- Control Elements: Acquire a selection of knobs, faders, and buttons that align with your desired control layout. Consider the ergonomics and visual aesthetics of these control elements as they will directly impact the usability and appeal of your MIDI controller.
- Hardware and Fasteners: Stock up on screws, nuts, bolts, standoffs, and other fastening hardware required for securing the components within the enclosure. Additionally, consider obtaining rubber feet or adhesive pads to provide stability and prevent slippage when the controller is in use.
Connectivity and Power:
- MIDI Interface: If your microcontroller board does not have built-in MIDI capabilities, you'll need a MIDI interface circuit or module to facilitate communication with external MIDI devices.
- USB Cable and Power Supply: Ensure you have a USB cable for programming and powering the microcontroller. If your controller requires external power, procure a suitable DC adapter or battery pack to supply the necessary voltage.
By meticulously gathering these materials and components, you'll lay a solid groundwork for the subsequent stages of designing, assembling, and programming your DIY MIDI controller. This preparatory phase sets the stage for a seamless and fulfilling construction process, allowing you to focus on the creative and technical aspects of bringing your custom MIDI interface to fruition.
Step 2: Design your MIDI controller layout
Designing the layout of your MIDI controller is a pivotal phase that bridges your creative vision with practical implementation. This step involves conceptualizing the physical arrangement of control elements, considering ergonomic factors, and envisioning the user interaction dynamics. Here's a detailed exploration of the key aspects involved in designing the layout of your DIY MIDI controller:
Ergonomics and User Experience:
Consider the user experience as a cornerstone of your design process. Visualize how the controller will be utilized in real-world scenarios and how the placement of knobs, faders, buttons, and other controls can optimize workflow efficiency. Ergonomics play a crucial role in ensuring that the controller feels intuitive and comfortable to use, especially during extended music production sessions or live performances.
Control Element Placement:
Deliberate on the strategic placement of control elements within the controller's layout. Reflect on the frequency of use for different controls and arrange them in a manner that aligns with the natural movement of the user's hands. For instance, placing frequently accessed knobs within easy reach and grouping related controls can enhance the overall usability of the controller.
Visual Aesthetics and Customization:
Explore the visual aesthetics of the controller layout, considering factors such as color coordination, labeling, and overall visual appeal. This is an opportunity to infuse your personal style and creativity into the design, whether it involves customizing the appearance of control elements or incorporating visual feedback elements such as LEDs or display screens.
Flexibility and Future Expansion:
Anticipate the potential for future expansion and customization. While designing the initial layout, factor in provisions for adding new control elements or modifying the configuration to accommodate evolving creative needs. Building a modular and adaptable layout can future-proof your MIDI controller, allowing it to grow alongside your musical endeavors.
Prototyping and Iteration:
Before finalizing the design, consider creating a physical or digital prototype of the controller layout. Prototyping enables hands-on testing of the ergonomics and usability, providing valuable insights for refining the design. Embrace an iterative approach, soliciting feedback from fellow musicians or peers to fine-tune the layout based on practical user perspectives.
By meticulously addressing these considerations, you'll craft a thoughtfully designed MIDI controller layout that harmonizes functionality, aesthetics, and user experience. This design phase lays the groundwork for the subsequent stages of physically assembling the controller and integrating the electronic components, bringing your creative vision one step closer to reality.
Step 3: Assemble the physical components
Assembling the physical components of your DIY MIDI controller marks a pivotal phase where your design concepts materialize into a tangible interface for music creation. This hands-on process involves integrating the electronic elements into the chosen enclosure, establishing the physical infrastructure that will form the interactive surface of the controller. Here's a comprehensive exploration of the key steps involved in assembling the physical components:
Mounting the Control Elements:
Begin by strategically positioning and mounting the control elements within the enclosure. Whether it's knobs, faders, buttons, or touch-sensitive pads, ensure that they are securely affixed in a manner that aligns with the designed layout. Pay attention to spacing and alignment, allowing for smooth and intuitive interaction with the controls during operation.
Wiring and Interconnection:
With the control elements in place, proceed to establish the necessary wiring connections. This involves routing wires from each control element to the designated input pins on the microcontroller board. Exercise precision and organization to avoid tangled or overlapping wires, which can impede maintenance and troubleshooting in the future.
Circuit Construction:
If your controller design incorporates custom circuits for interfacing with sensors or input devices, this is the stage to construct and integrate these circuits. Whether it's debouncing circuits for buttons, voltage dividers for potentiometers, or multiplexing for multiple inputs, ensure that the circuitry is meticulously assembled and aligned with the overall design specifications.
Securing Electronic Components:
As you integrate the electronic components and circuitry, prioritize the secure fastening of components within the enclosure. Utilize appropriate mounting hardware, such as screws, standoffs, or adhesive fasteners, to prevent unintended movement or dislodging of components, especially during transportation or vigorous usage scenarios.
Cable Management:
Effective cable management is crucial for maintaining a tidy and serviceable internal layout. Employ cable ties, routing channels, and cable clamps to organize and secure the wiring within the enclosure. Neat and organized cable management not only enhances the visual appeal but also facilitates future maintenance and modifications.
Quality Assurance and Testing:
Before finalizing the assembly, conduct thorough quality assurance checks and functional testing. Verify the integrity of connections, test the responsiveness of control elements, and ensure that the assembled components align with the intended design and functionality. Address any discrepancies or performance issues before proceeding to the next phase.
By methodically executing these steps, you'll transform the conceptual framework of your MIDI controller into a physical reality, culminating in a meticulously assembled interface ready for the subsequent stages of electronic integration and programming. This hands-on phase embodies the convergence of creativity and technical craftsmanship, laying the groundwork for a bespoke MIDI controller tailored to your unique musical pursuits.
Step 4: Connect the electronic components
Connecting the electronic components is a pivotal phase in the construction of a DIY MIDI controller, as it involves establishing the vital electrical connections that enable the control elements to interface with the microcontroller board. This intricate process encompasses wiring the input devices, integrating the necessary circuitry, and ensuring seamless communication between the physical controls and the digital interface. Here's a detailed exploration of the key steps involved in connecting the electronic components:
Wiring the Input Devices:
Begin by meticulously wiring each input device to the corresponding input pins on the microcontroller board. Whether it's potentiometers, rotary encoders, buttons, or touch-sensitive pads, ensure that the wiring connections are secure and accurately correspond to the designated input channels. Exercise precision in soldering or crimping the connections, as reliable electrical contact is essential for the responsive and accurate performance of the control elements.
Interface Circuit Integration:
If your MIDI controller design incorporates custom interface circuits, such as debouncing circuits for buttons or multiplexing for multiple inputs, this stage involves integrating these circuits into the overall wiring scheme. Ensure that the interface circuits seamlessly interface with the input devices and the microcontroller, providing stable and consistent signal transmission while mitigating electrical noise and signal interference.
Grounding and Power Distribution:
Pay careful attention to grounding and power distribution within the controller. Establish a robust grounding scheme to minimize the risk of electrical noise and ensure signal integrity. Distribute power from the appropriate power source, whether it's a USB connection or an external power supply, ensuring that the voltage levels are within the operational range of the electronic components.
Signal Integrity and Shielding:
To maintain signal integrity and minimize electromagnetic interference, consider implementing shielding measures for sensitive signal paths. Shielded cables and enclosures can effectively mitigate the impact of external electromagnetic interference, ensuring that the control signals remain robust and immune to external disturbances, especially in live performance environments or studio settings.
Functional Testing and Validation:
Following the establishment of electrical connections, conduct comprehensive functional testing to validate the integrity and responsiveness of the connected electronic components. Verify that each control element accurately communicates with the microcontroller, producing the expected output and responsiveness. Address any wiring or connectivity issues that may impede the performance of the control elements, ensuring a reliable and consistent interface.
By meticulously executing these steps, you'll establish a robust and reliable electrical infrastructure within your DIY MIDI controller, fostering seamless communication between the physical control elements and the digital domain. This phase forms the bridge between the tangible hardware and the digital realm, laying the groundwork for the subsequent stages of programming and testing the MIDI controller's functionality.
Step 5: Program the MIDI controller
Programming the MIDI controller constitutes a pivotal phase in the construction process, as it involves imbuing the hardware with the intelligence and functionality to interpret user input and communicate with external MIDI-enabled devices. This intricate process encompasses writing code to interpret sensor data, generate MIDI messages, and establish bidirectional communication with music production software or hardware synthesizers. Here's a detailed exploration of the key steps involved in programming the MIDI controller:
Microcontroller Firmware Development:
Commence by developing the firmware for the microcontroller, leveraging the capabilities of platforms such as Arduino or Teensy to interface with the control elements and generate MIDI messages. This involves writing code to read analog sensor values, detect button presses, and encode the user interactions into MIDI messages that convey musical control data.
MIDI Message Generation:
Craft code logic to generate MIDI messages based on the user input received from the control elements. Whether it's translating potentiometer positions into MIDI continuous controller messages, mapping button presses to note-on/note-off events, or encoding velocity data from pressure-sensitive pads, the firmware should adeptly encapsulate the user's expressive gestures into MIDI commands.
MIDI Protocol Implementation:
Implement the MIDI communication protocol within the firmware, ensuring that the generated MIDI messages adhere to the standardized format and comply with the MIDI specification. This involves structuring the outgoing MIDI data packets according to the respective message types, channels, and status bytes, enabling seamless interoperability with a wide array of MIDI-compatible music production equipment.
Integration with Music Software:
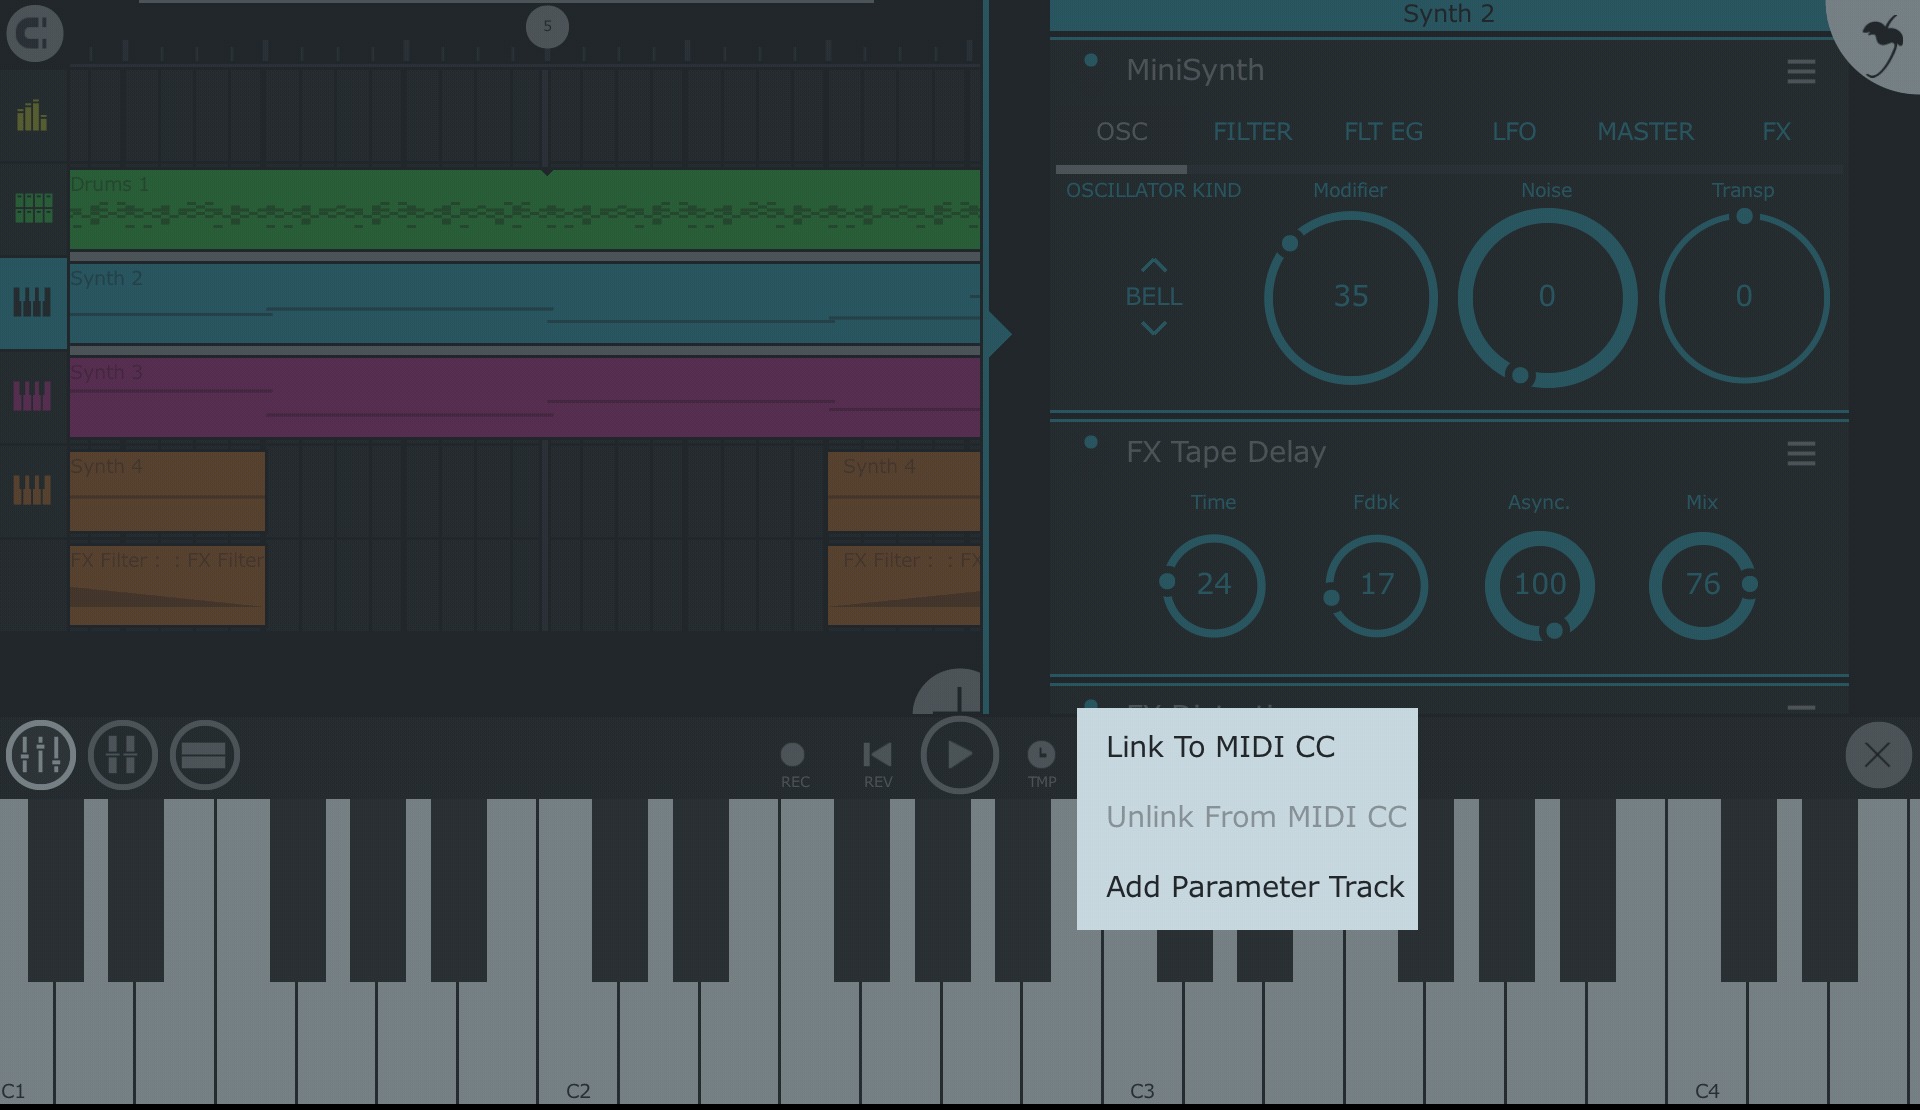
If the MIDI controller is intended for interfacing with digital audio workstations (DAWs) or music production software, develop code to establish bi-directional communication between the controller and the software environment. This may involve implementing MIDI input handling within the software, enabling the controller to transmit control data to manipulate virtual instruments, effects parameters, or mixer settings.
User Configuration and Customization:
Consider incorporating user-configurable settings within the firmware, allowing musicians to tailor the behavior and mapping of the control elements to suit their specific workflow and creative preferences. This could involve implementing configurable MIDI channel assignments, sensitivity adjustments for input devices, or the ability to store and recall custom control presets.
Testing and Iterative Refinement:
Conduct rigorous testing of the programmed functionality, validating the responsiveness and accuracy of the MIDI controller's interactions. Solicit feedback from musicians and producers to iteratively refine the firmware, addressing any usability concerns or enhancing the expressive capabilities of the controller based on real-world usage scenarios.
By meticulously executing these steps, you'll infuse the MIDI controller with the intelligence and versatility to serve as a potent tool for musical expression and creative control. The programming phase represents the convergence of software and hardware, culminating in a bespoke MIDI interface that empowers musicians to articulate their artistic vision with precision and nuance.
Step 6: Test and troubleshoot
The testing and troubleshooting phase is a critical juncture in the construction of a DIY MIDI controller, encompassing comprehensive validation of the controller's functionality and the identification and resolution of potential performance issues. Rigorous testing serves to ensure the reliability, responsiveness, and seamless integration of the controller into music production workflows. Here's an in-depth exploration of the key aspects involved in testing and troubleshooting the DIY MIDI controller:
Functional Validation:
Initiate the testing process by systematically validating the functionality of each control element. This entails verifying the range and precision of potentiometers, the responsiveness of buttons and switches, and the tactile smoothness of faders and sliders. By exercising each control element across its operational spectrum, you can ascertain its consistent and accurate performance, ensuring that it faithfully translates user input into meaningful MIDI data.
MIDI Communication:
Verify the MIDI communication capabilities of the controller by connecting it to MIDI-enabled devices such as synthesizers, samplers, or digital audio workstations (DAWs). Test the transmission of MIDI messages generated by the controller, ensuring that they are received and interpreted correctly by the connected MIDI equipment. This validation step confirms the integrity of the MIDI communication protocol implemented in the controller's firmware, fostering seamless interoperability with a diverse array of music production tools.
User Interaction Testing:
Engage in user interaction testing to evaluate the ergonomics and usability of the MIDI controller. Solicit feedback from musicians and producers to gauge the intuitive nature of the control layout, the comfort of tactile feedback, and the overall user experience during real-world music-making scenarios. This user-centric evaluation provides valuable insights for refining the controller's design and functionality, aligning it with the expressive needs and workflow preferences of its intended users.
Performance Optimization:
During the testing phase, focus on optimizing the performance and responsiveness of the MIDI controller. Fine-tune the sensitivity and response curves of input devices, calibrate control elements for consistent behavior, and address any latency or jitter issues that may affect the real-time interaction with music software. By iteratively refining the controller's performance characteristics, you can elevate its precision and expressiveness, empowering musicians to articulate their musical ideas with finesse and immediacy.
Troubleshooting and Iterative Refinement:
Identify and address any anomalies or performance discrepancies through systematic troubleshooting. This involves diagnosing potential wiring issues, debugging firmware logic, and resolving any unforeseen technical challenges that may arise during the testing process. Embrace an iterative refinement approach, leveraging feedback from testing to iteratively enhance the controller's performance, reliability, and user satisfaction.
By meticulously conducting comprehensive testing and troubleshooting, you'll fortify the DIY MIDI controller with robust functionality, seamless MIDI communication, and an optimized user experience. This phase culminates in the validation of the controller's readiness for real-world music production and performance, embodying the fusion of technical precision and artistic expression in a bespoke MIDI interface.
Conclusion
In conclusion, the journey of creating a DIY MIDI controller is a testament to the fusion of creativity, technical prowess, and musical expression. From the initial stages of gathering materials to the final phases of testing and troubleshooting, the process embodies a harmonious convergence of hardware craftsmanship, software ingenuity, and user-centric design.
Embarking on the endeavor of building a MIDI controller from scratch offers a profound learning experience, delving into the realms of electronics, programming, and music technology. It empowers individuals to transcend the constraints of off-the-shelf solutions and craft a personalized interface that resonates with their unique artistic vision and workflow requirements.
Throughout the construction process, the emphasis on ergonomic design, visual aesthetics, and user interaction dynamics underscores the intrinsic connection between the technical functionality of the controller and its role as a conduit for musical expression. The meticulous placement of control elements, the seamless integration of electronic components, and the precision programming of MIDI communication collectively culminate in a tactile interface that empowers musicians to articulate their musical ideas with nuance and finesse.
Moreover, the iterative nature of the construction process fosters a spirit of experimentation, refinement, and continuous improvement. The engagement in prototyping, testing, and user feedback loops ensures that the MIDI controller evolves to embody the evolving needs and expressive aspirations of its users, transcending the status of a mere tool to become an extension of artistic identity and creative exploration.
Ultimately, the DIY MIDI controller construction journey is a testament to the symbiotic relationship between technology and artistry, where technical craftsmanship serves as a conduit for musical innovation and self-expression. It embodies the spirit of empowerment, enabling musicians, producers, and creators to forge a deeply personal connection with their tools and transcend the boundaries of conventional musical interfaces.
As the DIY MIDI controller takes its place within the realm of music creation and performance, it stands as a testament to the indomitable spirit of innovation, creativity, and the relentless pursuit of sonic exploration. It not only serves as a functional instrument but also embodies the aspirations, ingenuity, and artistic essence of its creator, resonating as a tangible manifestation of creative vision and technical acumen.

