Home>Production & Technology>Metronome>How To Use Garmin Metronome

Metronome
How To Use Garmin Metronome
Modified: January 22, 2024
Learn how to effectively use the Garmin metronome to enhance your musical practice and improve your timing. Discover the benefits of incorporating a metronome in your daily routine.
(Many of the links in this article redirect to a specific reviewed product. Your purchase of these products through affiliate links helps to generate commission for AudioLover.com, at no extra cost. Learn more)
Table of Contents
Introduction
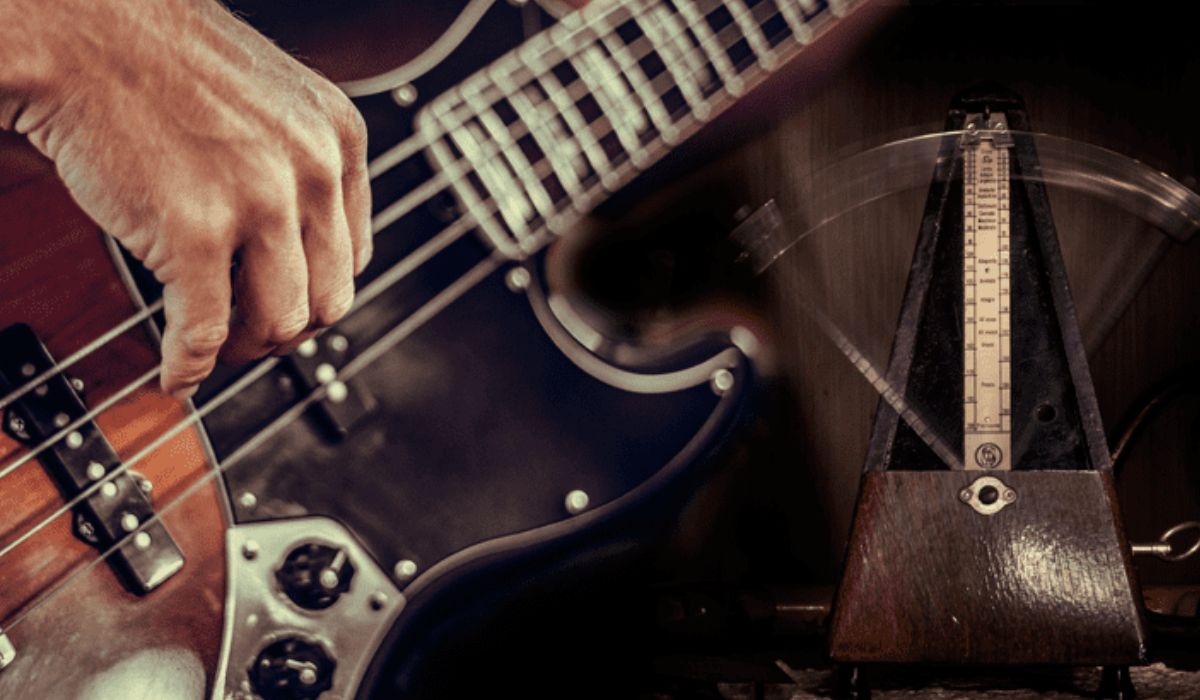
Welcome to the world of music and rhythm! Whether you’re a beginner learning to play an instrument or an experienced musician looking to improve your timing, a metronome is an essential tool to have in your arsenal. And when it comes to metronomes, Garmin has taken it to the next level with their innovative Garmin Metronome feature.
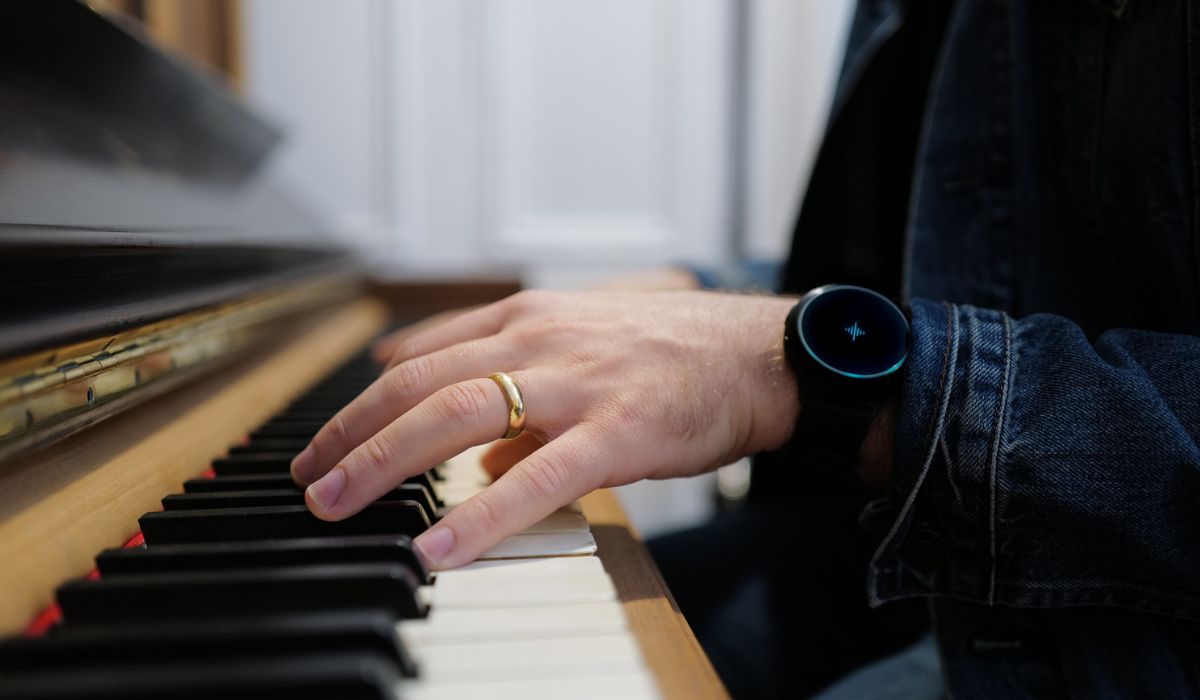
Garmin, known for their expertise in GPS technology and fitness devices, has integrated a versatile metronome into their lineup of devices. This means that whether you’re using your Garmin smartwatch, cycling computer, or other compatible devices, you can access the metronome and elevate your practice sessions to new heights.
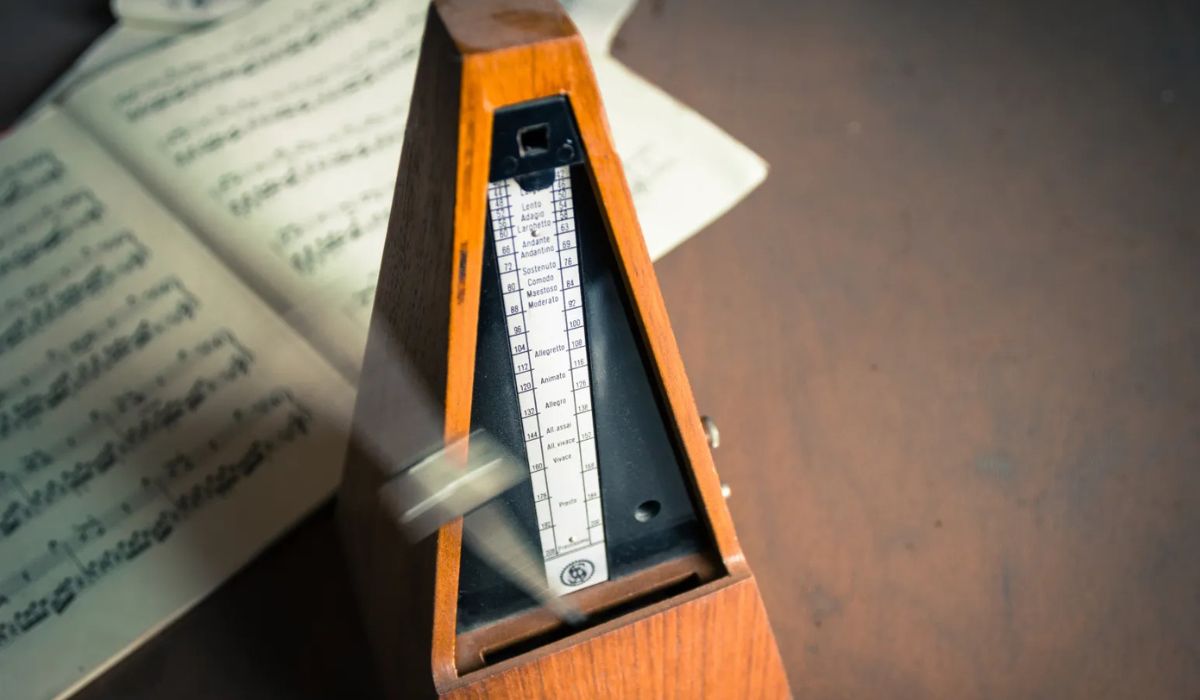
But what exactly is a metronome and why should you use one? A metronome is a rhythmic device that helps musicians maintain a consistent tempo while playing or practicing music. It provides a steady beat and serves as a guide to keep your timing precise. Whether you’re playing a slow ballad or a fast-paced piece, the metronome ensures that you stay on track and develop a solid sense of rhythm.
Now, let’s dive deeper into the features of the Garmin Metronome and learn how to make the most of this powerful tool.
What is a Garmin Metronome?
A Garmin Metronome is a feature integrated into Garmin devices that provides users with a versatile and reliable tool for practicing music. While Garmin is primarily known for its GPS technology and fitness devices, they have expanded their functionality to cater to musicians as well.
The Garmin Metronome offers musicians the ability to access a built-in metronome directly from their compatible Garmin device. Whether you’re using a Garmin smartwatch, cycling computer, or any other compatible device, you’ll have the convenience of a metronome right at your fingertips.
With the Garmin Metronome, you can set the tempo of your practice sessions, adjust the beat accent, and customize various settings to suit your preferences. This means that you can tailor the metronome experience to suit your specific musical needs.
Not only does the Garmin Metronome provide a steady beat for musicians, but it also offers visual and audible cues to help you stay in rhythm. The visual display on your Garmin device will give you a visual representation of the beat, while the device itself will emit sound to keep you on track.
One of the key advantages of using the Garmin Metronome is its portability. You don’t need to carry around an extra device or rely on a separate metronome app on your phone. Instead, you can access the metronome as a part of your Garmin device, making it convenient for practice sessions on the go.
Whether you’re a pianist, guitarist, drummer, or any other type of musician, the Garmin Metronome can greatly benefit your practice routine. It helps you develop a strong sense of timing, improve your precision, and enhance your overall musicality.
Now that you understand what the Garmin Metronome is and its benefits, let’s explore the various features it offers.
Why Use a Metronome?
Using a metronome has numerous benefits for musicians of all skill levels. Whether you’re a beginner or an advanced player, incorporating a metronome into your practice routine can greatly improve your musical abilities. Here are some compelling reasons why you should use a metronome:
1. Develop and Maintain a Strong Sense of Timing:
A metronome provides a steady beat that helps you develop a precise sense of timing. It keeps you accountable and ensures that your playing stays consistently on beat. With regular use, you can internalize the rhythmic patterns and improve your overall timing skills.
2. Enhance Your Technique:
Practicing with a metronome allows you to focus on your technique and accuracy. It helps you identify any inconsistencies in your playing and enables you to make necessary adjustments. By playing in sync with the metronome, you can refine your technique and achieve better control over your instrument.
3. Improve Rhythmic Accuracy:
A metronome is a valuable tool for improving your rhythmic accuracy. It ensures that you maintain a consistent tempo throughout a piece of music, allowing you to better align your playing with other musicians or backing tracks. This is especially beneficial when playing in an ensemble or recording in a studio setting.
4. Build Musical Stamina:
Using a metronome can help you build endurance and stamina while playing. By gradually increasing the tempo over time, you can challenge yourself to play faster and longer without losing accuracy. This can be particularly useful for aspiring musicians who aim to perform complex pieces that require physical and mental stamina.
5. Develop a Strong Internal Pulse:
A metronome serves as an external pulse for keeping time, but with regular use, it helps develop your internal pulse. This means that eventually, you’ll be able to play in time without relying heavily on external rhythmic guidance, allowing for greater musicality and expression.
6. Expand Your Musical Repertoire:
Using a metronome allows you to work on a wide range of musical genres and styles. It helps you tackle pieces with different tempos and rhythms, allowing you to explore diverse musical expressions. This versatility opens up opportunities to expand your repertoire and become a more versatile musician.
Remember, a metronome is not just for beginners; even professional musicians rely on its benefits to maintain their skills. So, incorporate a metronome into your practice routine and watch your musical abilities flourish.
Features of Garmin Metronome
The Garmin Metronome offers a range of features that make it a powerful tool for musicians. Whether you’re a solo performer, band member, or part of an orchestra, these features can enhance your practice sessions and help you improve your musical skills. Let’s explore some of the key features of the Garmin Metronome:
1. Tempo Control:
The Garmin Metronome allows you to set the tempo according to your preference. You can choose from a wide range of tempos, from slow and relaxed to fast and energetic. This flexibility enables you to practice at your own pace and gradually increase the tempo as you progress.
2. Beat Accent:
In addition to setting the tempo, the Garmin Metronome allows you to customize the beat accent. This means that you can emphasize specific beats within a measure, such as the first beat of each bar or the offbeats. This feature is especially helpful when practicing complex rhythms or syncopated patterns.
3. Visual Cues:
The Garmin Metronome provides visual cues on your Garmin device to aid in keeping time. As the metronome beats, you’ll see a visual display that corresponds to the rhythm. This visual feedback allows you to have a visual representation of the beat and helps you stay synchronized with the metronome.
4. Audible Cues:
Along with visual cues, the Garmin Metronome emits sound to guide your playing. You can adjust the volume to ensure that the metronome is audible enough without overwhelming your instrument or surroundings. The audible cues provide a clear and consistent beat to follow, aiding in maintaining proper timing.
5. Customizable Settings:
The Garmin Metronome offers various customizable settings to suit your specific preferences. You can adjust the sound, tempo, beat accent, and more, allowing you to personalize your metronome experience. This customization ensures that the metronome adapts to your playing style and preferences.
6. Portability:
One of the standout features of the Garmin Metronome is its portability. Since it is integrated into your Garmin device, you can have a metronome on the go without the need for extra equipment. Whether you’re practicing at home, in the studio, or performing live, you can always rely on your Garmin device for a metronome.
With these powerful features, the Garmin Metronome becomes a valuable tool for musicians striving to improve their timing, technique, and overall musicality. It offers convenience, flexibility, and precision to enhance your practice sessions and help you reach your musical goals.
How to Access the Metronome on Garmin Device
Accessing the metronome feature on your Garmin device is straightforward. Whether you’re using a Garmin smartwatch, cycling computer, or any other compatible device, follow these steps to access and utilize the metronome:
1. Navigate to the Menu:
On your Garmin device, navigate to the menu or settings section. The location of the menu may vary depending on the device model, so refer to the user manual or device instructions if needed.
2. Find the Metronome Option:
Once you’re in the menu or settings section, search for the metronome option. It might be labeled as “Metronome” or “Music” on some devices. Select the metronome option to access the metronome settings.
3. Set the Tempo:
Once you’re in the metronome settings, you can set the desired tempo for your practice session. Most Garmin devices allow you to adjust the tempo using a slider or by inputting the BPM (beats per minute) directly. Experiment with different tempos and choose the one that suits your practice needs.
4. Adjust the Beat Accent:
If you want to accentuate specific beats within a measure, adjust the beat accent settings. This feature is particularly useful when practicing complex rhythms or focusing on specific beats for emphasis. Select the appropriate beat accent option that aligns with your musical requirements.
5. Customize Other Settings:
Depending on your Garmin device, you might have additional settings to customize, such as volume control, visual cues, and sound options. Take advantage of these settings to tailor the metronome to your preferences and ensure optimal usability while practicing.
6. Activate and Start the Metronome:
Once you have set your desired tempo and made any necessary adjustments, activate the metronome by selecting the appropriate option on your Garmin device. The metronome will now provide a steady beat, either through visual cues, audible sounds, or both, depending on your device settings.
With these steps, you can easily access and start using the metronome feature on your Garmin device. Enjoy the benefits of practicing with a reliable and versatile metronome to improve your timing, rhythm, and overall musical skills.
Setting the Tempo on Garmin Metronome
The tempo is a crucial aspect of practicing with a metronome as it determines the speed at which you’ll be playing. Setting the tempo on the Garmin Metronome feature is a simple process. Here’s how you can do it:
1. Access the Metronome Settings:
Navigate to the metronome feature on your Garmin device following the steps mentioned earlier. Once you’re in the metronome settings, you’ll see options to customize various parameters, including the tempo.
2. Adjust the Tempo:
On most Garmin devices, you can adjust the tempo either by using a slider or by directly inputting the BPM (beats per minute) value. The range of available tempos may vary depending on the specific device model, but it typically covers a wide range to accommodate various musical styles and preferences.
3. Experiment and Find the Right Tempo:
Start by setting the tempo to a comfortable pace and play along with the metronome. If you’re just beginning, it’s often helpful to start with a slow tempo and gradually increase it as you become more comfortable and confident with the piece you’re practicing.
4. Consider the Musical Context:
Always consider the musical context when setting the tempo. Different genres require specific tempos, and it’s important to choose a speed that is appropriate for the piece you’re playing. If you’re unsure, refer to sheet music or recordings of similar songs to get an idea of the typical tempo used.
5. Take Advantage of Visual Cues:
If your Garmin device offers visual cues, utilize them when setting the tempo. These visual cues can help you visualize the beat and assist in aligning your playing with the metronome more accurately.
6. Gradually Increase the Tempo:
As you become more comfortable with a particular tempo, challenge yourself by gradually increasing the speed. Pushing the tempo will help improve your playing speed and build your technical proficiency over time.
Remember, the tempo you choose should ultimately support your practice goals and musical development. Don’t be afraid to experiment and find the right tempo that suits your playing style and enables you to progress effectively.
Adjusting the Beat Accent and Volume
When using the Garmin Metronome, you have the flexibility to adjust the beat accent and volume settings to suit your preferences and specific musical requirements. Here’s how you can customize these parameters:
Adjusting the Beat Accent:
The beat accent feature allows you to emphasize specific beats within a measure, such as the first beat of each bar or offbeats. To adjust the beat accent on your Garmin device:
- Access the metronome settings on your Garmin device
- Look for the beat accent option or settings
- Select the desired beat accent pattern or emphasize specific beats as per your musical needs
Experiment with different beat accent settings to match the rhythms and patterns you are practicing. This feature can be particularly useful when working on syncopated or complex rhythms, helping you maintain accuracy and precision in your playing.
Adjusting the Volume:
Having control over the volume of the metronome is essential to ensure it can be heard without overpowering your instrument or surroundings. To adjust the volume on your Garmin device:
- Access the metronome settings on your Garmin device
- Look for the volume control option or settings
- Use the slider or settings to adjust the volume to your desired level
Consider the environment in which you are practicing and adjust the volume accordingly. For example, you may need to increase the volume when practicing in a loud or busy setting, while reducing it when practicing in a quieter space.
By adjusting the beat accent and volume settings, you can customize the metronome experience to align with your music style, practice goals, and personal preferences. Experiment with different options to discover the settings that best suit your needs and enhance your practice sessions.
Customizing Metronome Settings
The Garmin Metronome offers various customizable settings that allow you to personalize your metronome experience to suit your individual preferences and musical needs. Here are some key settings you can customize:
1. Tempo:
The tempo setting determines the speed at which the metronome beats. Garmin devices typically allow you to adjust the tempo using a slider or by directly inputting the beats per minute (BPM) value. Customize the tempo based on the piece you’re practicing or the desired level of challenge you want to tackle.
2. Beat Accent:
The beat accent setting allows you to emphasize specific beats within a measure. You can choose to accentuate the first beat, offbeats, or any other beat pattern that aligns with the rhythm you’re playing. Customizing beat accents is particularly useful when working on complex or syncopated rhythms.
3. Visual Cues:
If your Garmin device supports visual cues, you can customize the visual display that corresponds to the metronome beats. This visual feedback provides a visual representation of the beat and helps you visually synchronize your playing. Adjust the display style or appearance based on your preferences and visual comfort.
4. Sound Options:
Garmin Metronome allows you to choose various sound options for the metronome beats. This includes different sound styles or instrument sounds, such as a beep, tick, or even a specific instrument sound like a piano or drum. Experiment with different sound options to find the one that complements your musical style and creates a pleasant auditory experience.
5. Volume:
Customizing the volume of the metronome is essential for ensuring it is audible without overpowering your playing or surroundings. Find a comfortable volume level that allows you to hear the metronome clearly and differentiate it from your instrument. Adjust the volume based on the environment you’re practicing in, whether it’s a quiet room or a noisy rehearsal space.
6. Alignment settings:
Some Garmin devices offer alignment settings that enable you to synchronize the metronome with specific musical events or elements. For example, you can align the metronome with the start of a measure or a specific note or chord change. This feature can be beneficial when practicing complex musical passages or when working on ensemble coordination.
By customizing these metronome settings on your Garmin device, you can tailor the metronome experience to your preferences and specific practice requirements. Take the time to explore and experiment with the settings to optimize your practice sessions and enhance your musical growth.
Tips for Using Garmin Metronome Effectively
To maximize the benefits of using the Garmin Metronome and enhance your practice sessions, consider the following tips:
1. Start Slowly:
When beginning with a new piece or practicing a challenging section, start with a slower tempo on the metronome. This allows you to focus on accuracy and technique before gradually increasing the speed.
2. Use Subdivisions:
If the music you’re practicing has intricate rhythms, break them down into smaller subdivisions. Set the metronome to a slower tempo and focus on playing in time with the subdivisions. Once you’re comfortable, gradually increase the tempo and work on playing the rhythms as written.
3. Practice with Different Beat Accents:
Experiment with different beat accent patterns to enhance your rhythmic precision. Accentuating different beats within a measure helps improve your sense of timing and phrasing. Use the beat accent feature on the Garmin Metronome to reinforce specific musical nuances.
4. Incorporate Musical Expression:
While the metronome helps develop timing and accuracy, don’t forget to infuse your playing with musical expression. Use the metronome as a foundation and strive to bring your unique musical interpretation to the piece.
5. Practice with Dynamics:
Varying the intensity and volume of your playing adds depth and musicality to your performance. Practice using different dynamic levels alongside the metronome to develop control and expression in your playing.
6. Focus on Phrasing:
Pay attention to the phrasing of the music you’re practicing. Use the metronome to maintain consistent timing while playing with a sense of musical flow and shaping the phrases naturally.
7. Record and Assess:
Record your practice sessions while using the metronome and listen back to assess your timing and accuracy. This allows you to identify areas that need improvement and track your progress over time.
8. Practice with Different Musical Styles:
Use the Garmin Metronome to explore and practice different musical genres and styles. The metronome can help you develop a solid sense of rhythm across various genres, making you a versatile musician.
9. Set Realistic Goals:
Set specific and attainable goals when using the metronome. Focus on improving specific sections or technical challenges gradually, keeping in mind that progress takes time and patience.
10. Stay Consistent:
Consistency is key when using a metronome. Make it a regular part of your practice routine to develop a reliable internal sense of rhythm and maintain steady progress.
By following these tips and integrating them into your practice routine, you can make the most of the Garmin Metronome feature and take your musical skills to new heights.
Conclusion
The Garmin Metronome is a powerful tool that offers musicians the ability to enhance their timing, rhythm, and overall musicality. With its user-friendly interface and customizable settings, the Garmin Metronome is a convenient way to incorporate a metronome into your practice routine. Whether you’re a beginner learning an instrument or a professional musician looking to refine your skills, the Garmin Metronome can benefit musicians at any level of expertise.
By utilizing the various features of the Garmin Metronome, such as tempo control, beat accent adjustment, visual and audible cues, and customizable settings, you can tailor your metronome experience to suit your specific musical goals and preferences. Whether you’re practicing at home, in the studio, or performing live, the Garmin Metronome provides a reliable and versatile tool to help you stay on beat and improve your timing accuracy.
Remember to start slow, use subdivisions, and experiment with different beat accents to improve your sense of rhythm. Additionally, practicing with dynamics, focusing on phrasing, and incorporating expressive musical interpretations will take your playing to the next level.
Furthermore, recording and assessing your practice sessions, setting realistic goals, and staying consistent with your metronome practice will enable you to track your progress and achieve steady improvement. The Garmin Metronome is designed to help you become a well-rounded musician, able to play with precision and musicality in various genres and styles.
So, whether you’re a pianist, guitarist, drummer, or any other type of musician, embrace the power of the Garmin Metronome and revolutionize your practice sessions. It’s time to take control of your timing, refine your technique, and become the musician you aspire to be.