Home>Production & Technology>Metronome>How To Use A Metronome While Recording
Metronome
How To Use A Metronome While Recording
Published: January 14, 2024
Learn the best techniques for using a metronome while recording to stay on beat and improve your music production. Enhance your timing and rhythm with this essential tool.
(Many of the links in this article redirect to a specific reviewed product. Your purchase of these products through affiliate links helps to generate commission for AudioLover.com, at no extra cost. Learn more)
Table of Contents
- Introduction
- Benefits of using a metronome while recording
- Choosing the right metronome
- Setting up the metronome for recording
- Proper placement of the metronome
- Adjusting the metronome tempo
- Syncing your performance with the metronome
- Maintaining consistency and accuracy
- Advanced tips for utilizing a metronome during recording
- Conclusion
Introduction
Welcome to the world of recording! Whether you’re a musician, vocalist, or podcaster, you know the importance of capturing a polished and professional sound. One tool that can greatly aid in this process is a metronome. A metronome is a device that produces a steady beat or click at a specific tempo, helping you stay in time and maintain a consistent rhythm while recording.
The use of a metronome has long been a staple in music production and performance. It ensures that all elements of a recording, such as instruments, vocals, and percussion, are in sync and aligned with the desired tempo. Not only does using a metronome result in a tighter and more precise recording, but it also enhances the overall listening experience for your audience.
In this article, we will explore the benefits of incorporating a metronome into your recording sessions and provide helpful tips for utilizing it effectively. Whether you’re a beginner or a seasoned pro, you’ll discover how this small device can make a big difference in the quality and impact of your recordings.
Benefits of using a metronome while recording
Using a metronome during the recording process offers numerous advantages that can greatly enhance the quality and professionalism of your recordings. Here are some key benefits:
- Improved timing and rhythm: A metronome provides a consistent and precise tempo, helping you maintain a steady rhythm throughout your performance. This ensures that each note and beat falls exactly where it should, resulting in a tight and cohesive sound.
- Enhanced musicality: By using a metronome, you can focus more on the musical nuances of your performance, such as dynamics and expression. With a solid rhythmic foundation, you’re free to explore the subtleties of your instrument or voice, bringing added depth and emotion to your recording.
- Better synchronization: When multiple musicians or vocalists are involved in a recording, it’s crucial to stay synchronized. A metronome acts as a common reference point, ensuring that everyone is playing or singing at the same tempo. This results in a cohesive and unified performance.
- Consistency across takes: Recording sessions often involve multiple takes to capture the best performance. Using a metronome allows you to recreate the same tempo and feel for each take, making it easier to edit and assemble the final recording seamlessly.
- Professionalism: Incorporating a metronome into your recording process demonstrates a commitment to precision and attention to detail. It shows that you take your craft seriously and are dedicated to delivering a high-quality end product.
Overall, using a metronome while recording helps you achieve a more polished and professional sound. It brings cohesion, accuracy, and precision to your performance, allowing you to create recordings that stand out and resonate with your listeners.
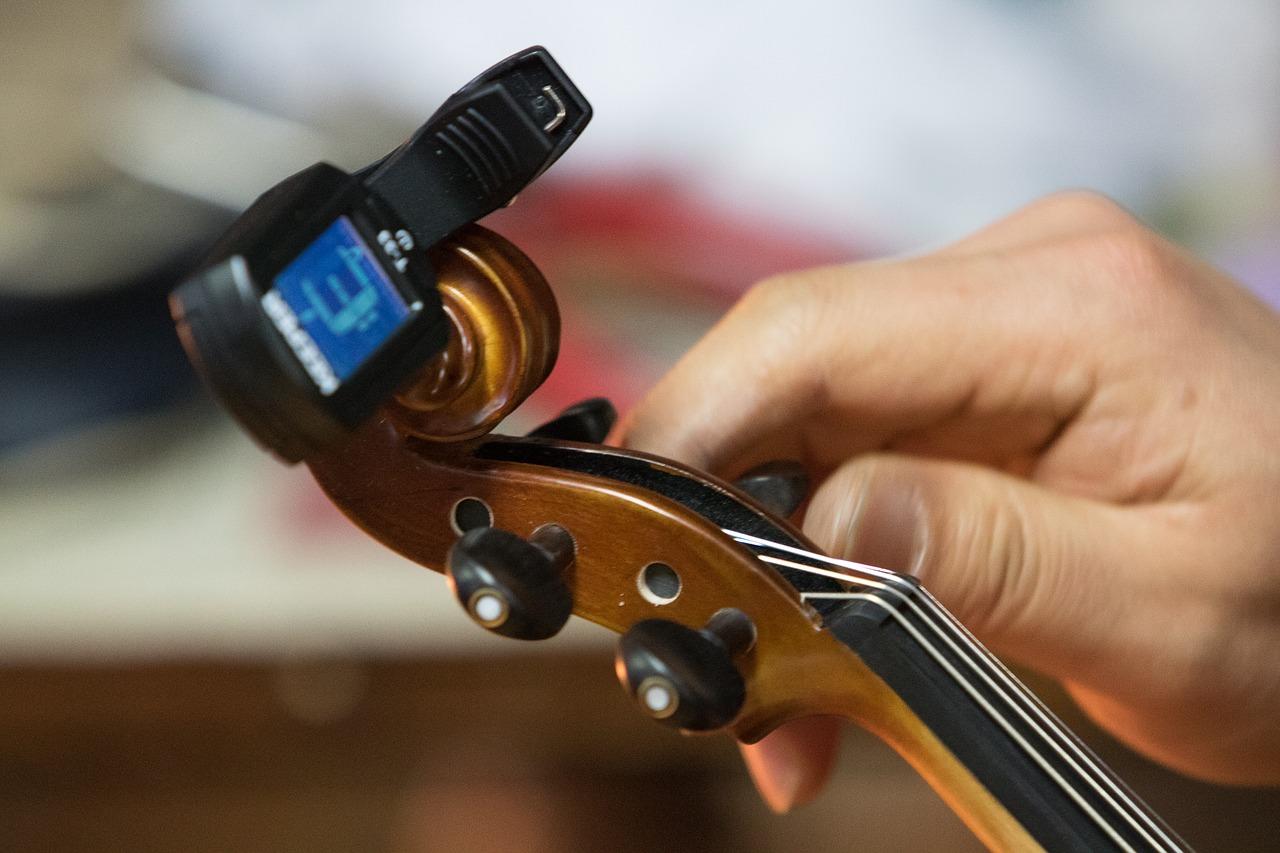
Choosing the right metronome
When it comes to choosing a metronome for your recording needs, there are a few factors to consider. Here are some key points to keep in mind:
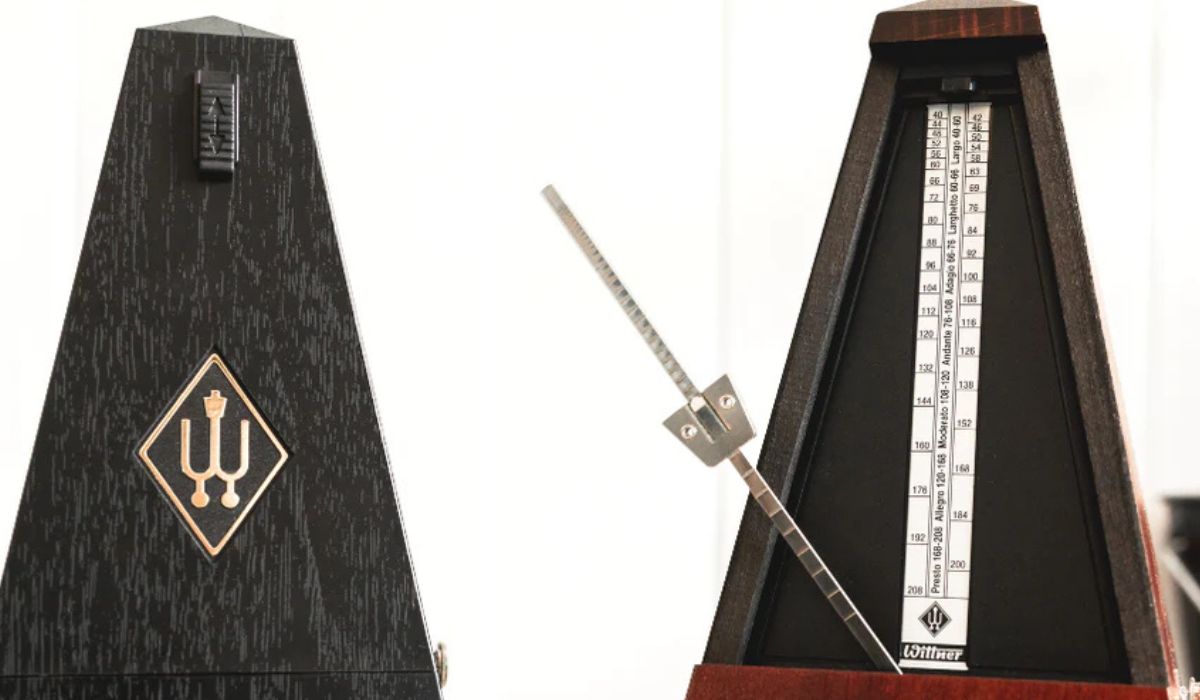
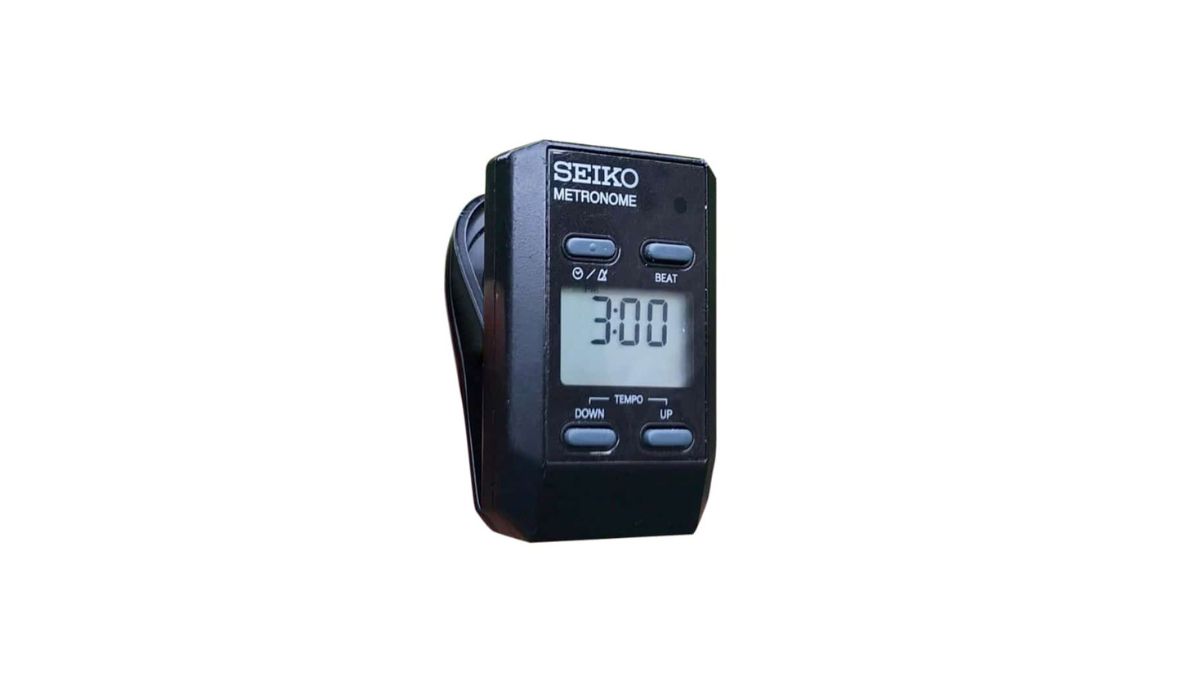
- Type of metronome: There are primarily two types of metronomes: mechanical and digital. Mechanical metronomes use a pendulum or weighted arm to create the beat, while digital metronomes produce the sound electronically. Both have their advantages, so choose the type that suits your preference and budget.
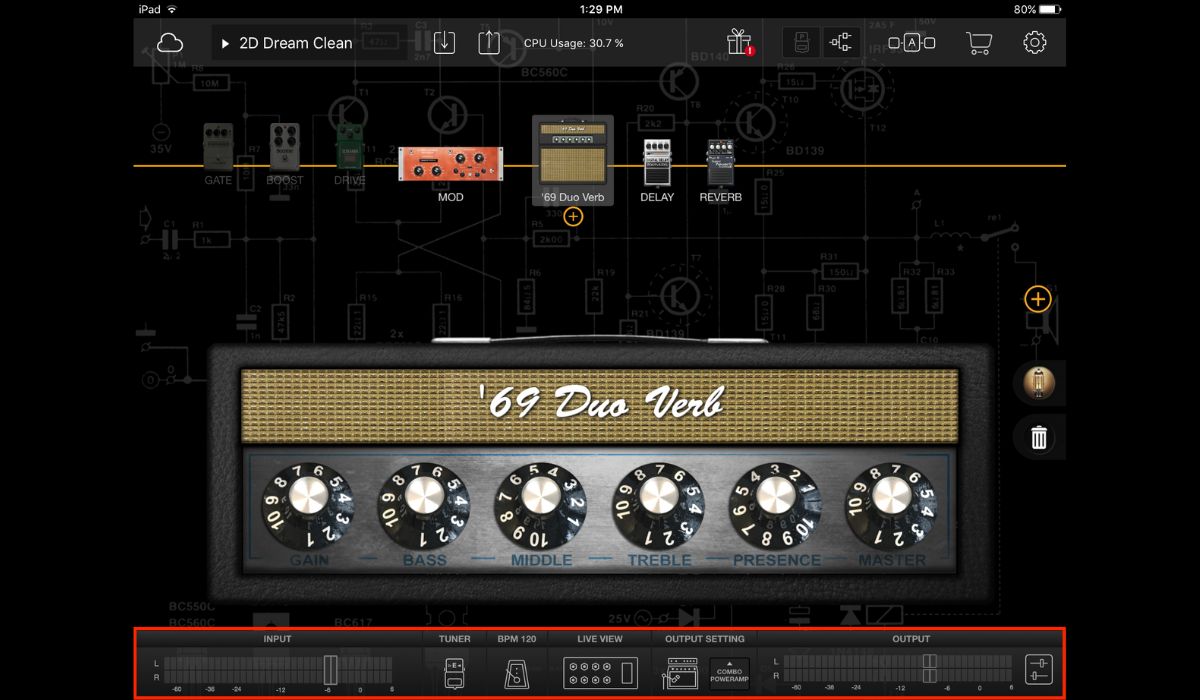
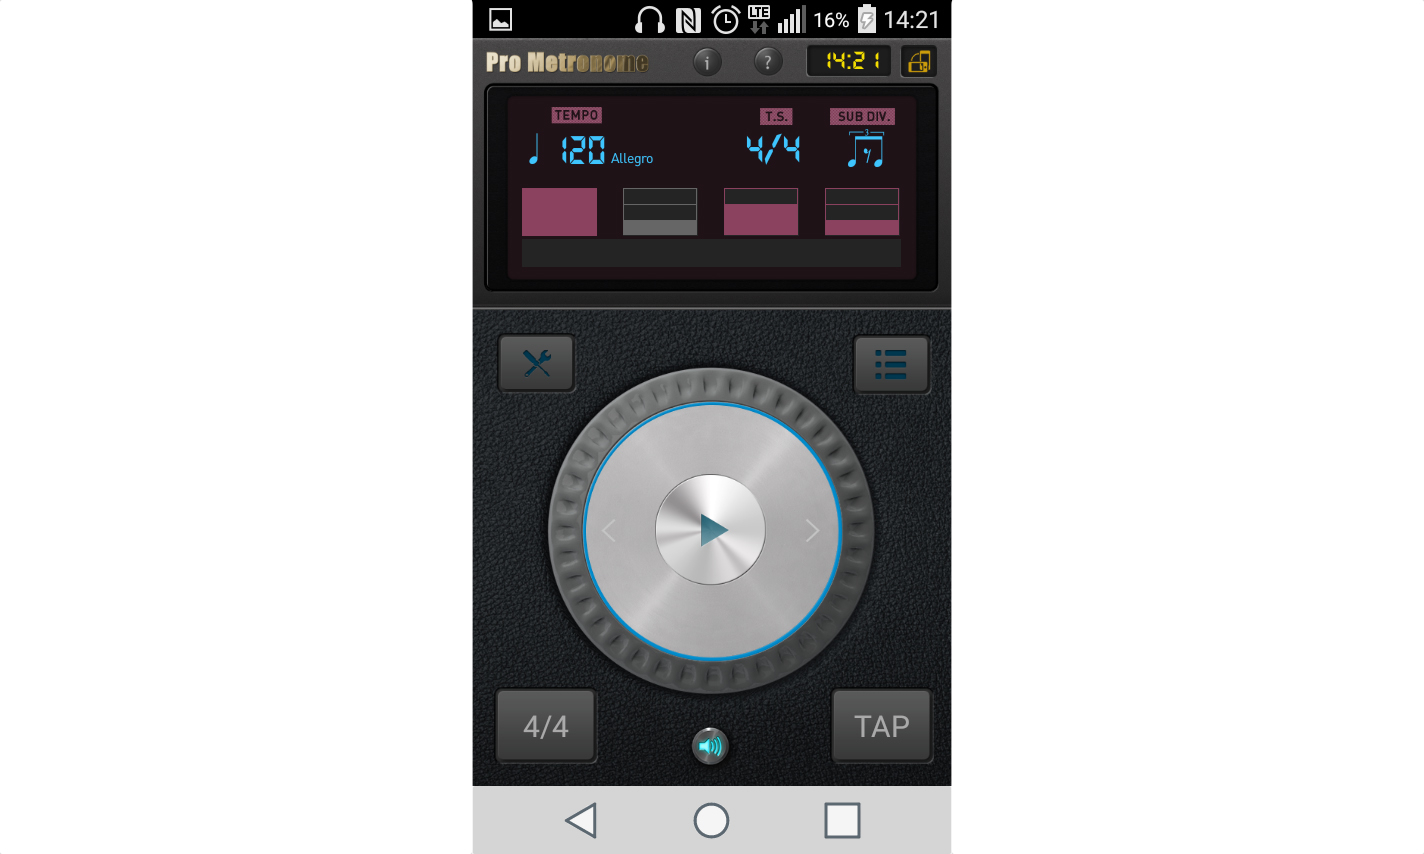
- Features and functionality: Consider the features you need in a metronome. Some metronomes offer adjustable beats per minute (BPM), different time signatures, and even programmable patterns. Decide which features are essential for your recording requirements.
- Audible sound quality: Pay attention to the sound quality of the metronome. You want a clear and audible click or tone that is not distracting or irritating to the ears. Test out different metronomes to find one with a sound that you find pleasing and easy to follow.
- Portability: If you plan to record in different locations or on the go, consider the size and portability of the metronome. Some models are compact and battery-powered, making them easy to carry around and use wherever you need.
- Compatibility and connectivity: If you are using recording software or digital tools, check if the metronome can sync with your devices. Many digital metronomes offer USB or MIDI connectivity, allowing you to integrate them seamlessly into your recording setup.
It’s also a good idea to read reviews and seek recommendations from fellow musicians or recording professionals. Their insights and experiences can help you make an informed decision and find a reliable metronome that suits your specific needs.
Remember, a metronome is an investment in your recording process, so take your time to choose the right one that will enhance your performance and make your recording sessions more efficient and enjoyable.
Setting up the metronome for recording
Once you have chosen the right metronome for your recording needs, it’s important to set it up correctly to maximize its effectiveness. Here are some steps to follow when setting up the metronome for recording:
- Choose the appropriate tempo: Determine the tempo or BPM (beats per minute) that aligns with the desired feel and speed of your recording. This could be based on the genre, style, or specific requirements of the piece you are recording.
- Select the appropriate time signature: Set the metronome to the appropriate time signature for your recording. Common time signatures include 4/4, 3/4, and 6/8, but you may also encounter more complex ones depending on the musical piece.
- Consider pre-roll time: If you prefer a brief period before the recording starts, set the metronome to include a few counts of pre-roll time. This allows you and any other musicians to get in sync and prepare before the actual recording begins.
- Choose the metronome sound: Depending on your metronome model, you may have different options for the sound it produces, such as a click, beep, or even a musical tone. Select the sound that is most clear, audible, and comfortable for you to follow.
- Adjust the volume: Set the volume of the metronome at a level that is audible but not overpowering. You want it to be loud enough to hear clearly, but it should not drown out your performance or become a distraction during the recording process.
- Position the metronome: Place the metronome in a location where you can easily see or hear it while recording. For some musicians, having the metronome within their line of sight is crucial, while others may prefer to have it positioned near their ear or through headphones.
Remember that everyone has their own preferences when it comes to metronome setup. Take the time to experiment with different settings and positions to find what works best for you and your recording environment.
By properly setting up the metronome, you create a solid foundation for recording sessions. You’ll be able to stay in time, synchronize with other musicians, and maintain a consistent tempo throughout your performance, resulting in a professional and cohesive recording.
Proper placement of the metronome
The placement of your metronome during recording sessions plays a crucial role in your ability to stay in sync and maintain a consistent tempo. Here are some tips on the proper placement of the metronome:
- Visible or audible placement: Depending on your preference, decide whether you want to position the metronome where you can see it or where you can hear it clearly. Some musicians find it helpful to have the metronome within their line of sight, while others prefer to have it closer to their ears through headphones or speakers.
- Close proximity: Place the metronome within close proximity to your performance area. This ensures that you can easily hear or see the metronome without straining or having to move too far from your instrument or microphone.
- Eye level placement: If you choose to position the metronome in your line of sight, make sure it is at eye level or slightly above. This allows you to easily and quickly glance at the metronome without disrupting your performance or losing focus.
- Avoid interference: Keep the metronome away from sources of interference that may affect its performance or distract you during recording. This includes placing it away from electronic devices or other objects that generate sounds or vibrations that could interfere with the metronome’s accuracy.
- Consider headphone placement: If you are using headphones for monitoring, place the metronome sound in a balanced position. It should be audible enough to guide your timing but not overpowering or difficult to hear over your playing or singing.
- Experiment and adjust: Every recording setup is different, so don’t be afraid to experiment with different metronome placements to find what works best for you. Take some time during your practice sessions to try out various positions and adjust according to your comfort and performance needs.
Remember, the goal of proper metronome placement is to have it positioned in a way that allows for easy visibility or audibility while minimizing distractions or interruptions to your performance. With the metronome in the right place, you can confidently stay in time and maintain a consistent tempo throughout your recording sessions.
Adjusting the metronome tempo
The tempo of the metronome is a critical factor in maintaining a consistent rhythm during recording sessions. Here are some tips for adjusting the metronome tempo effectively:
- Start with a target tempo: Determine the desired tempo for your recording. This could be indicated in beats per minute (BPM) or a specific musical term such as “Andante” or “Moderato.” Having a target tempo in mind gives you a reference point when adjusting the metronome.
- Gradually increase or decrease: If you are having trouble keeping up with the metronome or staying in sync, start at a slower tempo and gradually increase it as you become more comfortable. Likewise, if the tempo feels too fast, gradually decrease it until you find a pace that you can confidently follow.
- Use subdivisions: Many metronomes allow you to choose different subdivisions, such as quarter notes, eighth notes, or sixteenth notes. Experiment with different subdivisions to help you establish a clear and precise sense of timing.
- Practice with different time signatures: If your recording involves complex time signatures, such as 5/4 or 7/8, take the time to practice with the metronome in those specific meters. It will help you internalize the rhythmic patterns and feel more comfortable when recording.
- Employ rhythm exercises: Utilize rhythm exercises or patterns to develop your timing skills with the metronome. This can include playing or singing scales, rhythmic patterns, or even practicing your parts in isolation before recording with the full arrangement.
- Record and review: Record yourself playing or singing along with the metronome and listen back to identify any areas where you may be rushing or dragging. This feedback allows you to make necessary adjustments to your technique and timing.
Remember, adjusting the metronome tempo is a process that requires patience and practice. Take the time to find a tempo that allows you to perform comfortably and accurately. As you become more familiar with the metronome and your desired tempo, you’ll develop a greater sense of timing and control, resulting in more polished and professional recordings.
Syncing your performance with the metronome
Syncing your performance with the metronome is essential to maintaining a tight and cohesive rhythm throughout your recording. Here are some tips to help you stay in sync with the metronome:
- Internalize the beat: Focus on internalizing the beat of the metronome by listening closely and feeling the pulse. Develop a strong sense of rhythm so that you can seamlessly lock in with the metronome’s timing.
- Start slowly: If you’re having trouble syncing with the metronome, start by playing or singing at a slower tempo. This allows you to establish a solid foundation and gradually build up to the desired speed.
- Use visual cues: Pay attention to any visual cues provided by the metronome, such as flashing lights or bouncing ball animations. Visual cues can be helpful for staying in sync, especially for those who are more visually oriented learners.
- Subdivide the beat: If the tempo feels challenging to follow, try subdividing the beat mentally. This means mentally dividing each beat into smaller rhythmic units, such as eighth notes or sixteenth notes. This can provide a clearer sense of timing and help you stay on track.
- Practice with different musical phrases: Work on specific musical passages or phrases within your recording, practicing them repeatedly with the metronome. By focusing on smaller sections, you can ensure that each part is perfectly aligned with the metronome before putting them all together.
- Stay relaxed: Tension in your body can affect your ability to stay in sync with the metronome. Take deep breaths, relax your muscles, and maintain a calm mindset while playing or singing. This will help you stay focused and in control of your timing.
- Keep listening: Continuously listen to the metronome while performing. Pay attention to any subtle changes or variations in the beat and adjust your timing accordingly. This active listening will help you maintain a consistent and precise rhythm throughout your recording.
Remember, syncing your performance with the metronome requires practice and attention to detail. The more you work on developing your timing skills and solidifying your connection with the metronome, the more natural and effortless it will become. By staying in sync with the metronome, you will achieve recordings that are tight, cohesive, and musically engaging.
Maintaining consistency and accuracy
Consistency and accuracy are vital when using a metronome during recording sessions. They ensure that your performance remains cohesive and aligned with the desired tempo. Here are some tips to help you maintain consistency and accuracy while recording with a metronome:
- Practice with metronome regularly: The more you practice with a metronome, the better you will become at internalizing and following the steady tempo. Make it a habit to incorporate metronome practice into your regular rehearsal routine.
- Focus on precision: Pay close attention to the precision of your timing. Aim to hit each beat right on time, ensuring that there are no unintentional rushes or delays. This level of accuracy will give your recordings a polished and professional sound.
- Record multiple takes: Don’t be afraid to record multiple takes to achieve the desired level of consistency and accuracy. Take the time to carefully listen back to each take and identify areas where timing may be slightly off. This allows you to make adjustments and strive for a more consistent performance.
- Use metronome cues for specific sections: If there are particularly challenging sections or tempo changes in your recording, consider programming specific metronome cues or click tracks for those sections. This can help you maintain accuracy and consistency during those specific parts.
- Focus on subdivisions: Pay attention to subdivisions of the beat, such as eighth notes or sixteenth notes. Ensuring that each subdivision falls precisely in sync with the metronome will add a level of precision and tightness to your performance.
- Use metronome software or apps: Consider using specialized metronome software or mobile apps that offer various features to help you maintain consistency and accuracy. These tools often include visual cues, customizable time signatures, and even the ability to accent specific beats.
- Practice playing with different metronome sounds: Experiment with different metronome sounds to find one that resonates with you and keeps you focused. Some metronomes offer a variety of sounds, including clicks, beeps, or even drum sounds. Find the sound that inspires and drives your performance.
Remember that maintaining consistency and accuracy takes time and dedication. It’s about developing a strong sense of timing and becoming intimately familiar with the metronome. Embrace the opportunity to refine your skills, and the result will be recordings that showcase your musicality and professionalism.
Advanced tips for utilizing a metronome during recording
Once you have mastered the basics of using a metronome during recording sessions, you can explore some advanced techniques to further enhance your performances. Here are some tips to take your metronome usage to the next level:
- Experiment with different subdivisions: Instead of just following the quarter note pulse, practice subdividing the beat into eighth notes, triplets, or even sixteenth notes. This will improve your rhythmic accuracy and help you develop a more intricate and dynamic sense of timing.
- Use odd time signatures: Challenge yourself by working with odd time signatures like 5/4, 7/8, or 9/8. This will expand your rhythmic vocabulary and allow you to explore unique and exciting musical possibilities.
- Create syncopated patterns: Explore syncopated rhythms by intentionally accenting offbeats or playing notes slightly before or after the metronome click. This will add complexity and groove to your recordings.
- Experiment with tempo variations: Try practicing and recording with subtle tempo variations, such as gradually speeding up or slowing down during certain sections. This can add a dynamic and expressive touch to your performances.
- Combine metronome with other click tracks: In addition to the main metronome, consider using separate click tracks or cues for specific sections or instruments. This allows for more precise synchronization and can be particularly useful when recording complex arrangements.
- Explore polyrhythms: Delve into the world of polyrhythms by playing different rhythmic patterns simultaneously with the metronome. This advanced technique will push your rhythmic abilities and help you create intricate and engaging recorded performances.
- Experiment with metric modulation: Explore metric modulation by gradually changing the tempo of the metronome mid-song. This technique can introduce a fresh and dynamic feel to your recordings, creating interesting rhythmic interplay.
- Record live with other musicians: If you have the opportunity, consider recording live with other musicians while using the metronome as a guide. This will foster tighter ensemble playing and capture the energy and interaction of a live performance.
Remember, these advanced techniques require practice and experimentation. Take the time to familiarize yourself with different rhythmic concepts and explore how they can enhance your recordings. Embracing these advanced tips will help you push the boundaries of your musicality and create recordings that are truly unique and captivating.
Conclusion
Using a metronome during recording sessions is a powerful tool that can greatly enhance the quality and professionalism of your recordings. By maintaining consistent timing and rhythm, you create a solid foundation for all elements of your performance to align harmoniously.
Throughout this article, we have explored the benefits of incorporating a metronome into your recording process. We discussed how it improves timing and rhythm, enhances musicality, fosters synchronization, ensures consistency across takes, and adds a level of professionalism to your recordings.
We also provided guidance on choosing the right metronome, setting it up correctly, placing it strategically, adjusting the tempo, and syncing your performance with it. These tips help you develop a strong sense of timing, precision, and control while recording.
For those looking to take their metronome usage to the next level, we provided advanced techniques such as experimenting with subdivisions, odd time signatures, syncopation, and polyrhythms, among others. These strategies allow for greater creative expression and musical exploration.
By embracing the use of a metronome, you elevate your recordings to a new level of professionalism and musicality. Whether you’re a beginner or an experienced musician, incorporating this essential tool will refine your timing, tighten your performances, and result in recordings that captivate and engage your audience.
So, as you embark on your recording journey, remember to invite the metronome to be your reliable companion. Embrace its steady guidance, practice with conscientious dedication, and watch as your recordings flourish with rhythm and precision.