Home>Production & Technology>Noise Cancellation>How To Have Noise Cancellation On One Airpod
Noise Cancellation
How To Have Noise Cancellation On One Airpod
Modified: January 22, 2024
Learn how to enable noise cancellation on one AirPod and enjoy a more immersive audio experience. Enhance your audio quality with this simple tutorial.
(Many of the links in this article redirect to a specific reviewed product. Your purchase of these products through affiliate links helps to generate commission for AudioLover.com, at no extra cost. Learn more)
Table of Contents
Introduction
Welcome to the world of noise cancellation on one AirPod! With the ever-increasing popularity of wireless earbuds like Apple’s AirPods, it’s no surprise that users are looking for ways to optimize their listening experience. Noise cancellation technology has become a game-changer, allowing users to enjoy their favorite music or podcasts without being disrupted by external noise.
But what if you only want noise cancellation on one AirPod? Maybe you need to stay aware of your surroundings while enjoying your audio, or perhaps one of your AirPods is not functioning properly. Whatever the reason, having noise cancellation on a single AirPod is indeed possible.
In this article, we will explore the world of noise cancellation and guide you through the process of enabling noise cancellation on one AirPod. We will also discuss the limitations of this feature and provide troubleshooting tips to address any issues you may encounter along the way.
So, if you’re ready to dive into the world of noise cancellation on a single AirPod, let’s get started!
Understanding Noise Cancellation
Before we delve into enabling noise cancellation on one AirPod, it’s essential to have a basic understanding of how noise cancellation works. Noise cancellation technology is designed to reduce or eliminate unwanted ambient sounds, allowing you to focus on your audio without distractions.
There are two primary types of noise cancellation: passive and active. Passive noise cancellation is achieved through the physical design of the earbuds, such as the ear tips creating a seal in your ear canal, blocking out external noise. On the other hand, active noise cancellation (ANC) goes a step further by using built-in microphones to detect external sounds and creating inverse sound waves to cancel them out.
When you enable noise cancellation on both AirPods, the microphones on each earbud work together to detect and cancel out ambient noise. However, if you only want noise cancellation on one AirPod, the active noise cancellation feature can be adjusted accordingly.
It’s important to note that noise cancellation is most effective for constant, low-frequency noises like airplane engines, office chatter, or traffic noise. Sudden, loud noises may not be effectively canceled out by ANC technology.
By understanding how noise cancellation works, you can make informed decisions when it comes to enabling noise cancellation on one AirPod and maximizing your listening experience.
Limitations of Noise Cancellation on One AirPod
While enabling noise cancellation on one AirPod can offer some flexibility, it’s important to be aware of the limitations associated with this feature. Here are a few factors to consider:
- Reduced noise cancellation effectiveness: Noise cancellation technology is designed to work best when both earbuds are active. By enabling noise cancellation on only one AirPod, you may experience a decrease in the overall effectiveness of noise cancellation. This is because the active cancellation feature relies on the combined efforts of both earbuds to detect and cancel out ambient noise.
- Imbalanced audio experience: When noise cancellation is enabled on only one AirPod, you may notice an imbalance in the audio experience. This is because noise cancellation algorithms are typically optimized for stereo output, and activating the feature on one AirPod may result in a difference in sound quality between the two earbuds.
- Environmental awareness: One of the advantages of using noise cancellation on a single AirPod is the ability to stay aware of your surroundings. However, it’s important to exercise caution and remain vigilant, especially in situations where being fully aware of your surroundings is necessary for safety reasons.
It’s crucial to consider these limitations before enabling noise cancellation on one AirPod. Depending on your specific needs and preferences, you may find that the benefits outweigh the drawbacks. However, it’s important to manage your expectations and understand the potential trade-offs associated with this feature.
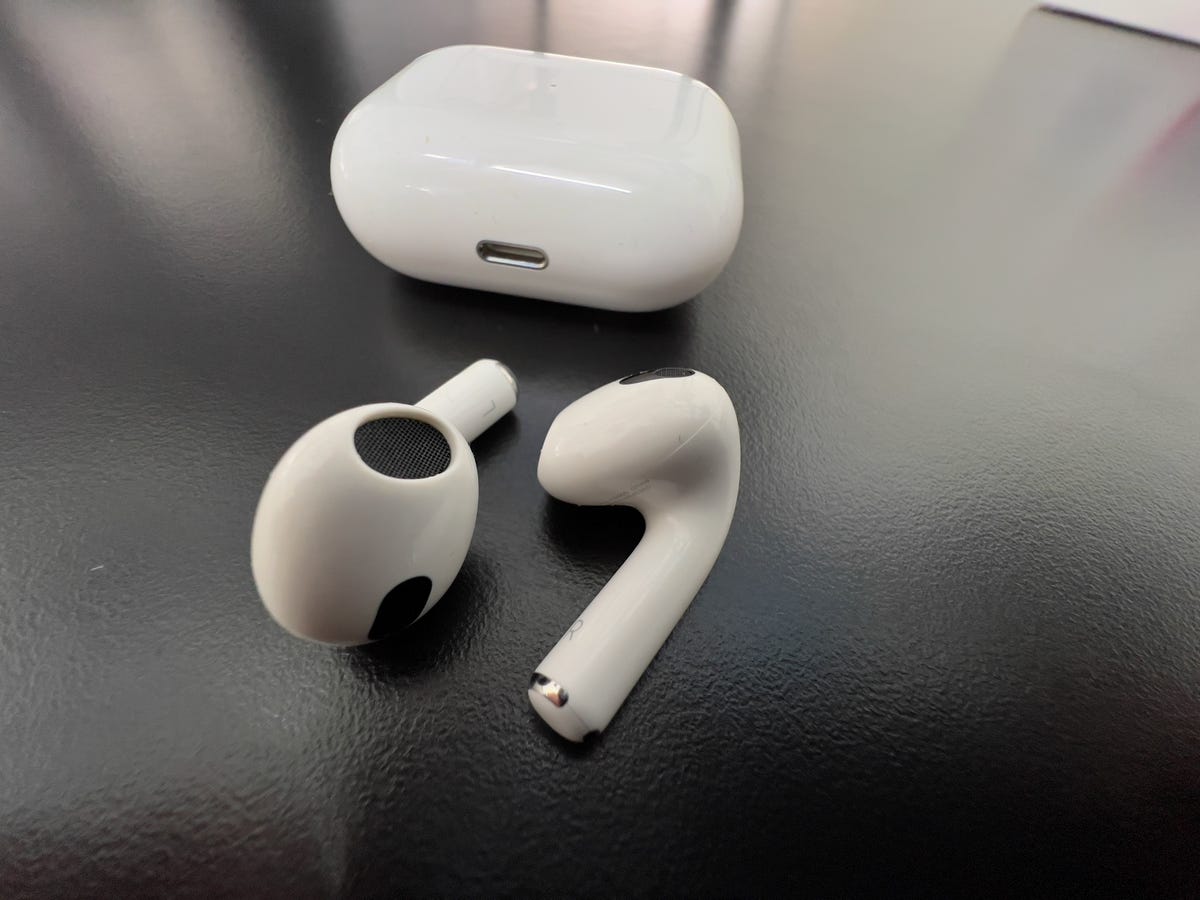
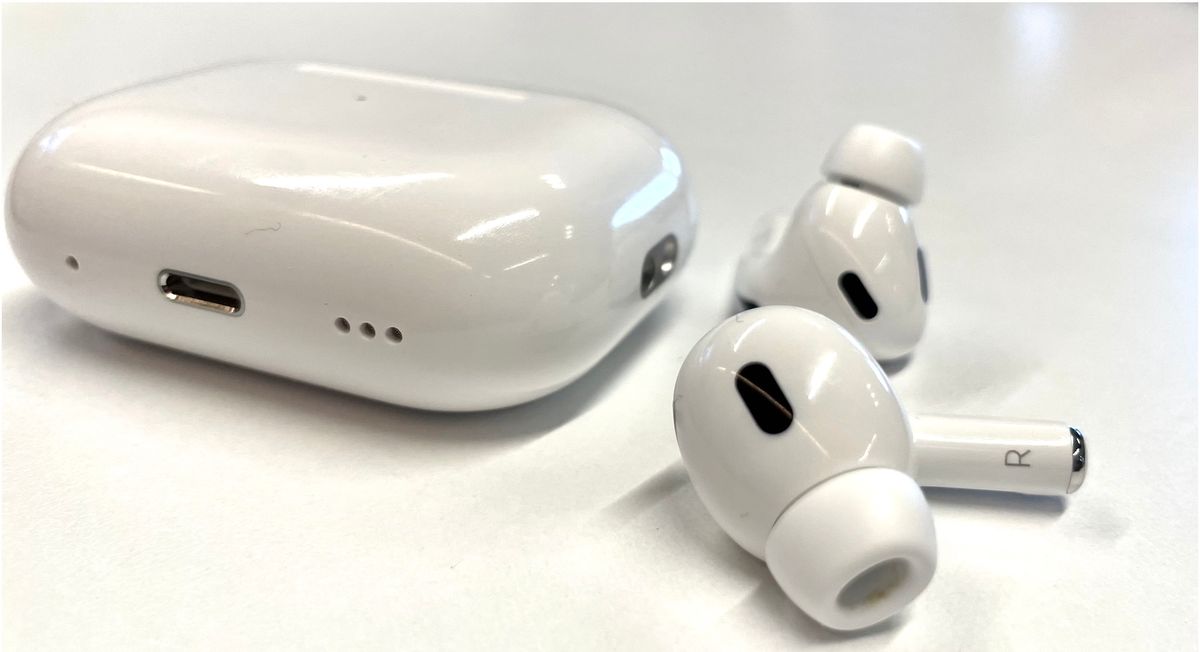
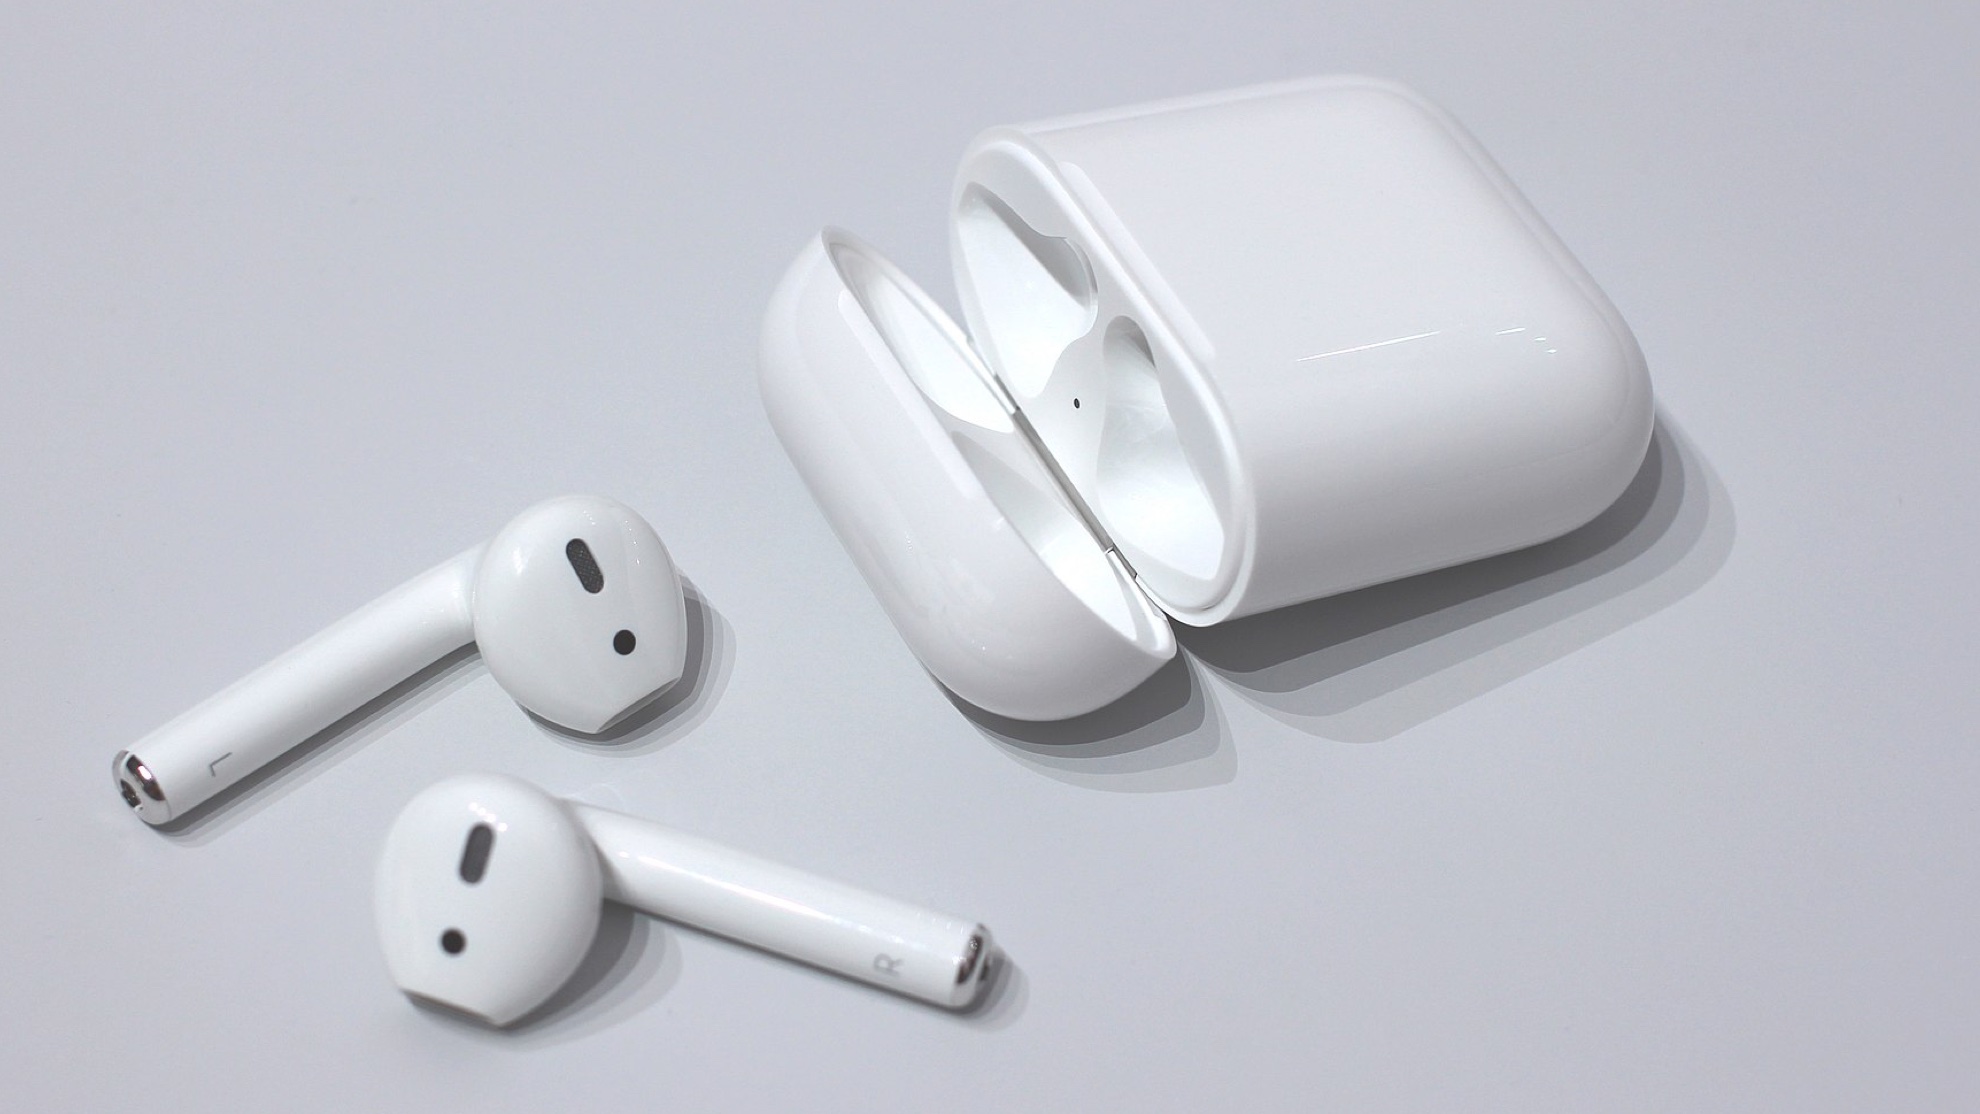
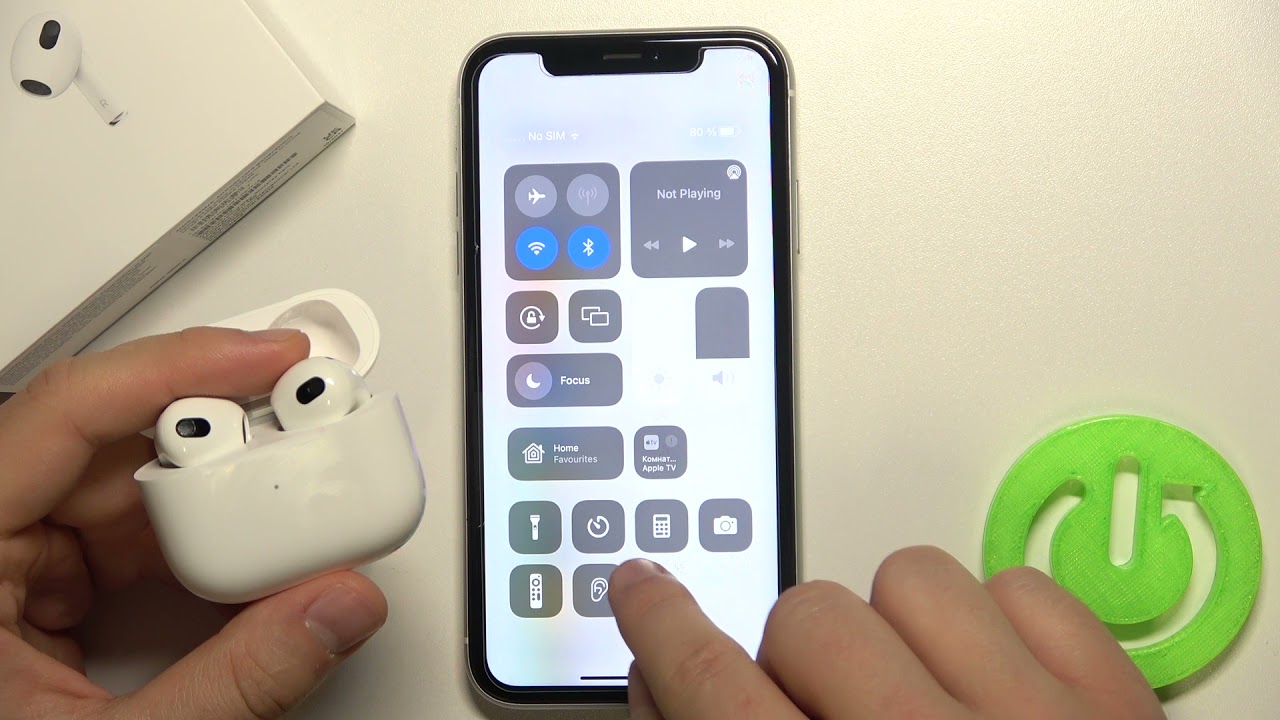
How to Enable Noise Cancellation on One AirPod
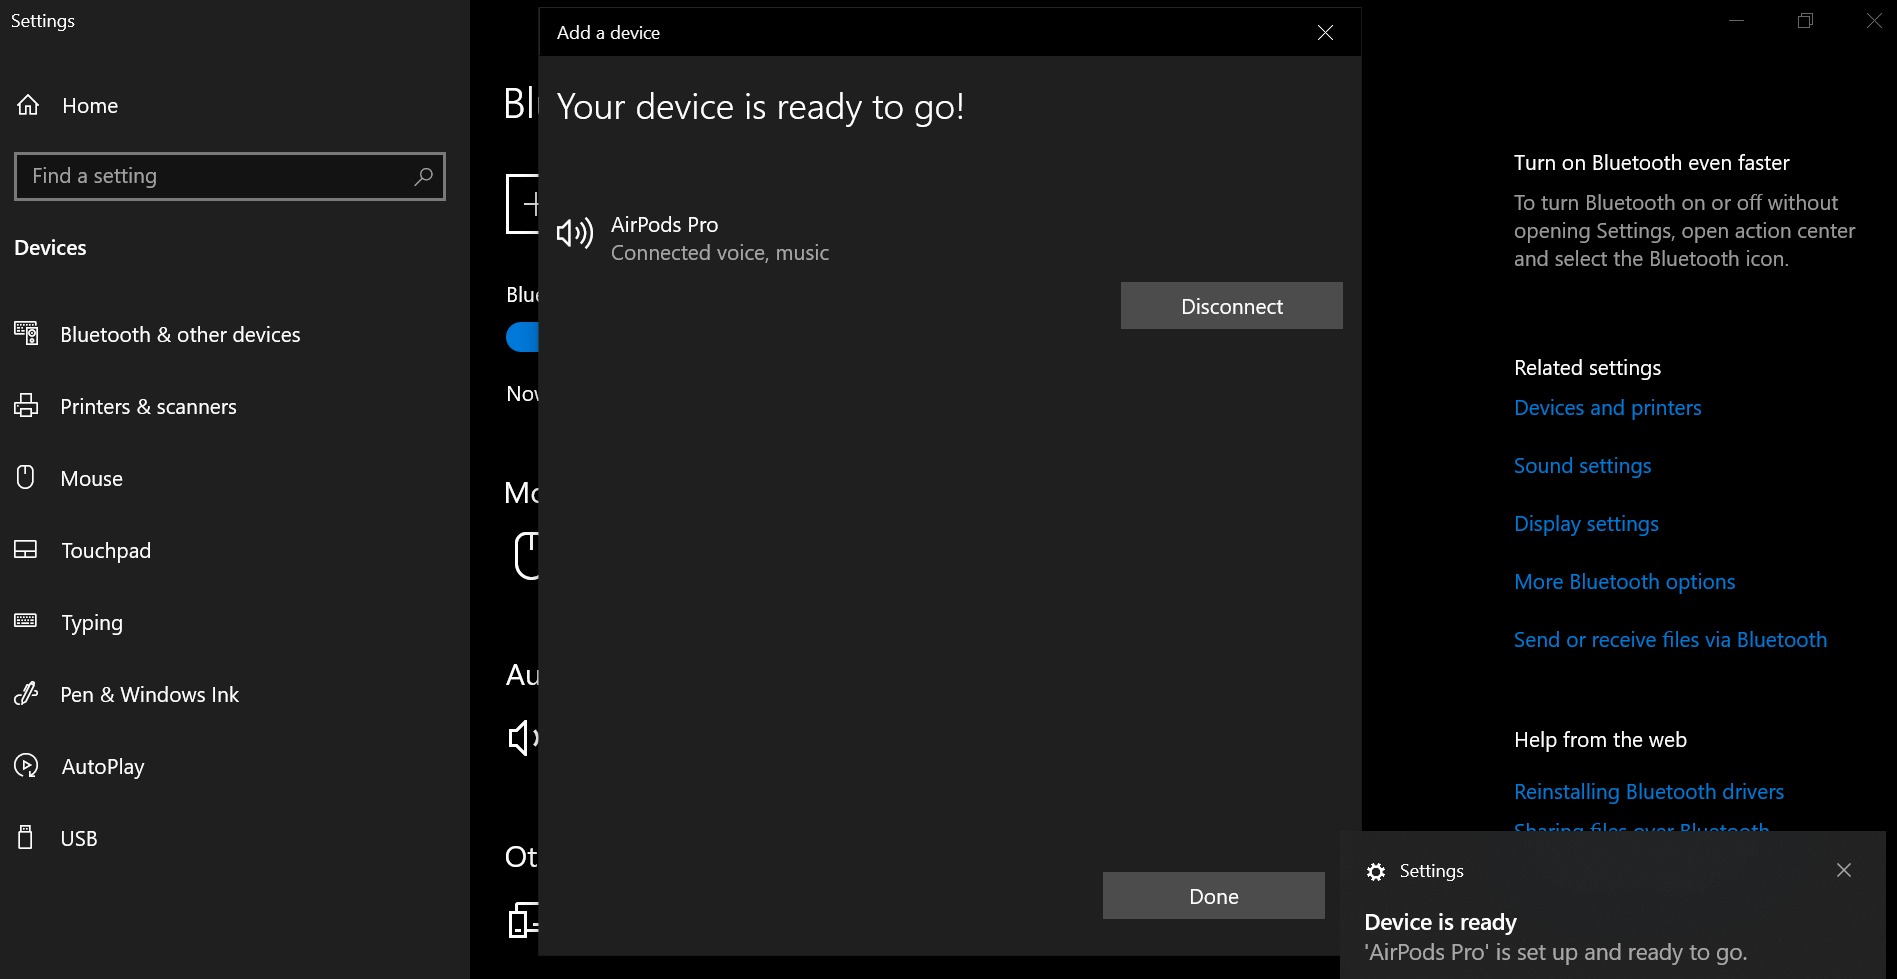
Enabling noise cancellation on one AirPod is relatively straightforward, and the process may vary depending on the type of device you are using. Follow these steps to enable noise cancellation on a single AirPod:
- Ensure that your AirPods are connected to your device and that both earbuds are properly functioning.
- On your device, navigate to the settings or control center where you can manage your audio preferences.
- Look for the option to enable noise cancellation or ANC. This may be located under the AirPods settings or the audio output settings, depending on your device.
- Toggle the noise cancellation feature to enable it.
- If prompted, select the option to enable noise cancellation on one AirPod specifically.
- Once enabled, you should experience noise cancellation on the designated AirPod while the other remains in transparency or normal mode.
It’s important to note that the specific steps may vary depending on your device’s operating system and version. If you encounter any difficulties or are unable to find the noise cancellation settings, refer to your device’s user manual or seek assistance from the manufacturer’s support resources.
Remember, enabling noise cancellation on one AirPod allows you to customize your audio experience based on your needs and preferences. Experiment with different settings to find the balance that suits you best.
Now that you know how to enable noise cancellation on one AirPod, you can enjoy an immersive audio experience while staying aware of your surroundings.
Troubleshooting Noise Cancellation Issues
While enabling noise cancellation on one AirPod can enhance your listening experience, you may encounter some issues along the way. Here are some common troubleshooting steps to help resolve noise cancellation problems:
- Check AirPods connectivity: Ensure that both of your AirPods are properly connected to your device. Sometimes, connectivity issues can affect the functionality of noise cancellation on one AirPod.
- Verify software compatibility: Noise cancellation features may require specific software versions or updates. Make sure that your device’s operating system and firmware are up to date to ensure optimal performance.
- Reset AirPods: If you’re experiencing persistent issues with noise cancellation, try resetting your AirPods. Disconnect them from your device, then reset them by pressing and holding the setup button on the back of the charging case until the LED indicator flashes white.
- Reposition AirPods: Ensure that both AirPods are securely and comfortably positioned in your ears. Improper fit or placement can affect the accuracy of noise cancellation on a single AirPod.
- Clean the AirPods: Accumulated debris or earwax can interfere with the microphones and sensors, affecting the performance of noise cancellation. Clean your AirPods using a soft, lint-free cloth or a brush specifically designed for cleaning earbuds.
- Try different audio settings: Experiment with different noise cancellation settings on your device. Some devices offer various levels of noise cancellation or transparency modes, which allow you to customize your audio experience.
- Contact customer support: If you’ve tried all the troubleshooting steps and are still experiencing issues with noise cancellation, reach out to customer support for further assistance. They may provide additional guidance or suggest a repair or replacement if necessary.
Remember, each device and platform may have specific troubleshooting steps, so consult your device’s user manual or support resources for more tailored guidance.
By following these troubleshooting steps, you can overcome noise cancellation issues and enjoy your audio with enhanced clarity and reduced distractions.
Conclusion
Noise cancellation on one AirPod offers a unique and customizable audio experience for users who want to strike a balance between immersive sound and situational awareness. By understanding the fundamentals of noise cancellation and following the steps outlined in this article, you can enable noise cancellation on a single AirPod and enjoy your audio with reduced distractions.
However, it’s important to keep in mind the limitations associated with noise cancellation on one AirPod, including reduced effectiveness and potential imbalances in audio experience. Be sure to manage your expectations and consider your specific needs and preferences when deciding whether to enable noise cancellation on one AirPod.
If you encounter any issues with noise cancellation, remember to troubleshoot by checking connectivity, ensuring software compatibility, resetting your AirPods, repositioning them, and cleaning them. Trying different audio settings and reaching out to customer support can also help resolve any persistent problems.
Overall, noise cancellation technology continues to enhance the audio experience for AirPod users. Whether you choose to enable noise cancellation on both AirPods or on a single AirPod, enjoy your favorite content with improved clarity and reduced ambient noise.
Now that you have a comprehensive understanding of noise cancellation on one AirPod and the necessary steps to enable it, you can fully enjoy your wireless audio experience while staying aware of your surroundings. Happy listening!