Home>Production & Technology>Noise Cancellation>How To Turn Off Noise Cancellation On AirPods Pro On Windows
Noise Cancellation
How To Turn Off Noise Cancellation On AirPods Pro On Windows
Published: November 3, 2023
Learn how to disable noise cancellation on AirPods Pro when using them with a Windows device. Discover step-by-step instructions to turn off this feature for a better audio experience.
(Many of the links in this article redirect to a specific reviewed product. Your purchase of these products through affiliate links helps to generate commission for AudioLover.com, at no extra cost. Learn more)
Table of Contents
Introduction
Noise cancellation technology has revolutionized the way we listen to music and interact with our devices. From headphones to earbuds, this feature helps to drown out external sounds and immerse us in our audio experience. One popular product that offers noise cancellation capabilities is the AirPods Pro by Apple.
While noise cancellation can be a fantastic feature for many, there are times when you may prefer to turn it off—whether you want to hear your surroundings more clearly or simply conserve battery life. If you’re a Windows user and are wondering how to disable noise cancellation on your AirPods Pro, you’ve come to the right place.
In this article, we will explore two different methods that you can use to turn off noise cancellation on AirPods Pro while using them with a Windows device. Whether you’re working in a noisy environment or just prefer to have more ambient sound, these methods will help you regain control over your audio experience.
Method 1: Adjusting AirPods Pro settings on Windows
If you’re using AirPods Pro on a Windows device, you can easily adjust the noise cancellation settings directly from your computer. Here’s how:
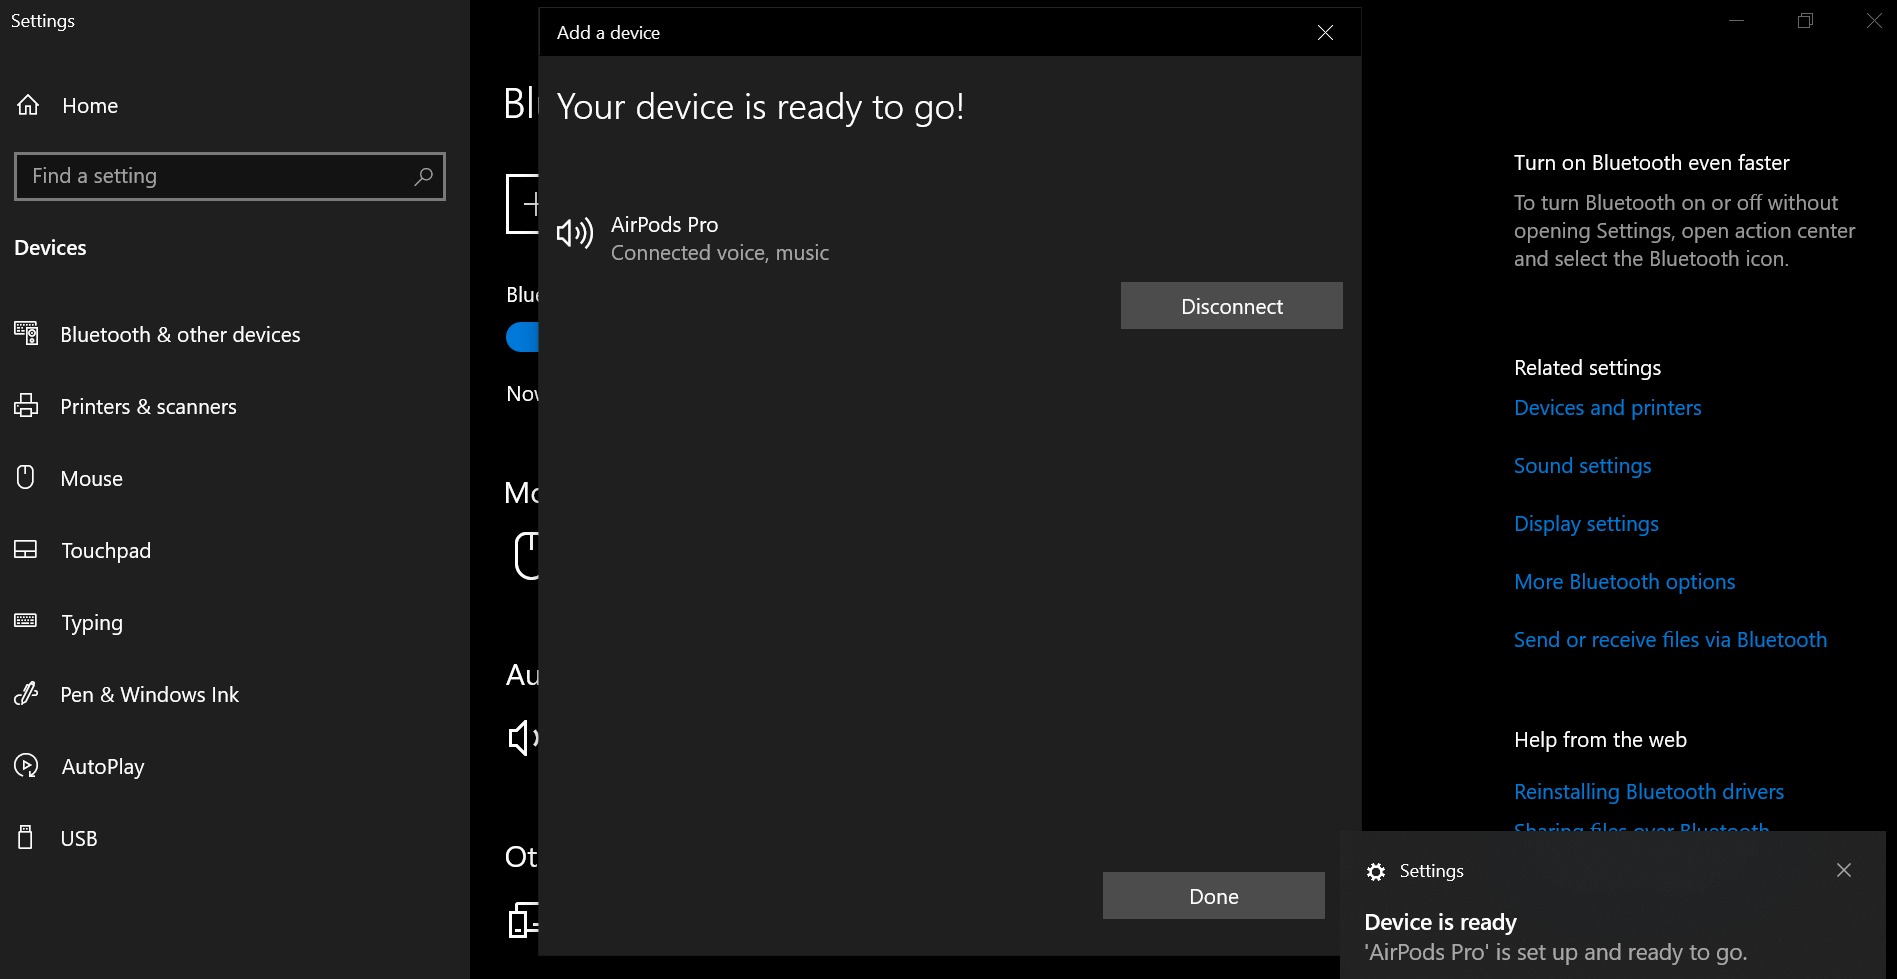
- Make sure your AirPods Pro are connected to your Windows device via Bluetooth. You can do this by going to the Bluetooth settings on your computer and pairing your AirPods Pro.
- Once your AirPods Pro are connected, right-click on the volume control icon in your taskbar and select “Open Sound settings.”
- In the Sound settings window, you will see a list of available output devices. Locate your AirPods Pro from the list and click on them to open the device properties.
- In the device properties window, you will find a section for “Enhancements.” Click on it.
- Scroll down until you find the “Noise suppression” option. By default, it is set to “Automatic.” Click on the drop-down menu and select “Off.”
- Click “Apply” to save the changes.
That’s it! You have successfully turned off noise cancellation on your AirPods Pro. You can now enjoy your audio experience without the noise-cancelling effect.
It’s worth noting that these settings are specific to the Windows device you are using. So, if you connect your AirPods Pro to another Windows device, you would need to repeat the above steps to adjust the noise cancellation settings again.
Method 2: Using third-party software to disable noise cancellation
If you’re looking for an alternative method to disable noise cancellation on your AirPods Pro, you can consider using third-party software. These software applications offer additional customization options and control over your AirPods Pro settings. Here’s how you can use third-party software to turn off noise cancellation:
- Start by downloading and installing a third-party software application that supports AirPods Pro customization. One popular option is “EarTrumpet,” which is available for free on the Microsoft Store.
- Once you have installed the software, open it and locate your AirPods Pro from the list of connected devices. It should show up with the name “AirPods Pro” or something similar.
- Click on the AirPods Pro device to access its settings. Look for an option related to noise cancellation or audio enhancements.
- Within the settings, you should find a toggle or option to disable noise cancellation. Simply turn it off to disable this feature on your AirPods Pro.
- Exit the software and enjoy your AirPods Pro without noise cancellation.
Using third-party software gives you more flexibility and control over your AirPods Pro settings. You can customize other audio aspects such as equalizer settings, sound enhancements, and volume control, depending on the software you choose.
Keep in mind that third-party software may not be officially supported by Apple, and it’s always a good idea to research and read reviews before downloading and installing any software on your computer.
By following these steps, you can easily disable noise cancellation on your AirPods Pro using third-party software, providing you with an alternative solution for managing your audio experience.
Conclusion
Noise cancellation can be a fantastic feature for immersing yourself in your audio, but there are times when you may want to disable it. Whether you’re working in a noisy environment, prefer to hear your surroundings, or want to conserve battery life, being able to turn off noise cancellation on your AirPods Pro is essential.
In this article, we explored two different methods for disabling noise cancellation on AirPods Pro while using them with a Windows device. Firstly, adjusting the AirPods Pro settings on Windows allows you to turn off noise cancellation directly from your computer’s sound settings. Simply follow the steps outlined in Method 1 to customize your AirPods Pro properties and disable noise cancellation.
Alternatively, you can use third-party software like EarTrumpet to gain additional control over your AirPods Pro settings. By following the steps provided in Method 2, you can download and install a compatible software application, access your AirPods Pro settings, and disable noise cancellation.
It’s important to note that both methods require a Windows device for configuration, and the settings may not carry over if you use the AirPods Pro with a different device. Therefore, if you switch to another Windows device, you may need to repeat the steps to adjust the noise cancellation settings again.
Remember, noise cancellation is a personal preference, and it’s up to you to decide whether or not to use this feature. By following the methods outlined in this article, you can effortlessly disable noise cancellation on your AirPods Pro, giving you more control over your audio experience.
So go ahead and choose the method that best suits your needs, and enjoy your AirPods Pro without the noise-cancelling effect whenever you prefer!