Home>Production & Technology>Noise Cancellation>How To Increase Noise Cancellation AirPods Pro
Noise Cancellation
How To Increase Noise Cancellation AirPods Pro
Modified: January 22, 2024
Learn how to increase noise cancellation on your AirPods Pro and enjoy a more immersive audio experience. Discover tips and techniques to optimize the noise cancelling feature and block out unwanted background noise.
(Many of the links in this article redirect to a specific reviewed product. Your purchase of these products through affiliate links helps to generate commission for AudioLover.com, at no extra cost. Learn more)
Table of Contents
Introduction
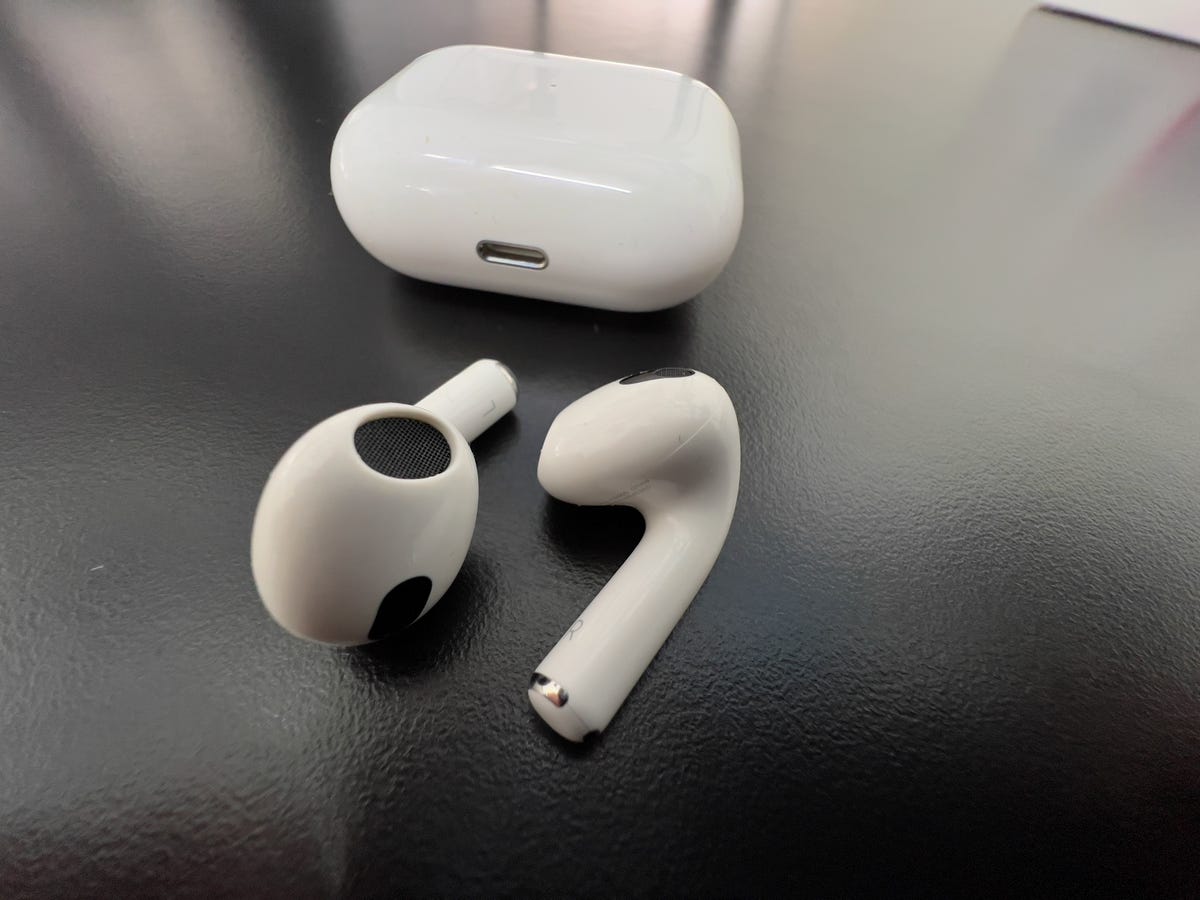
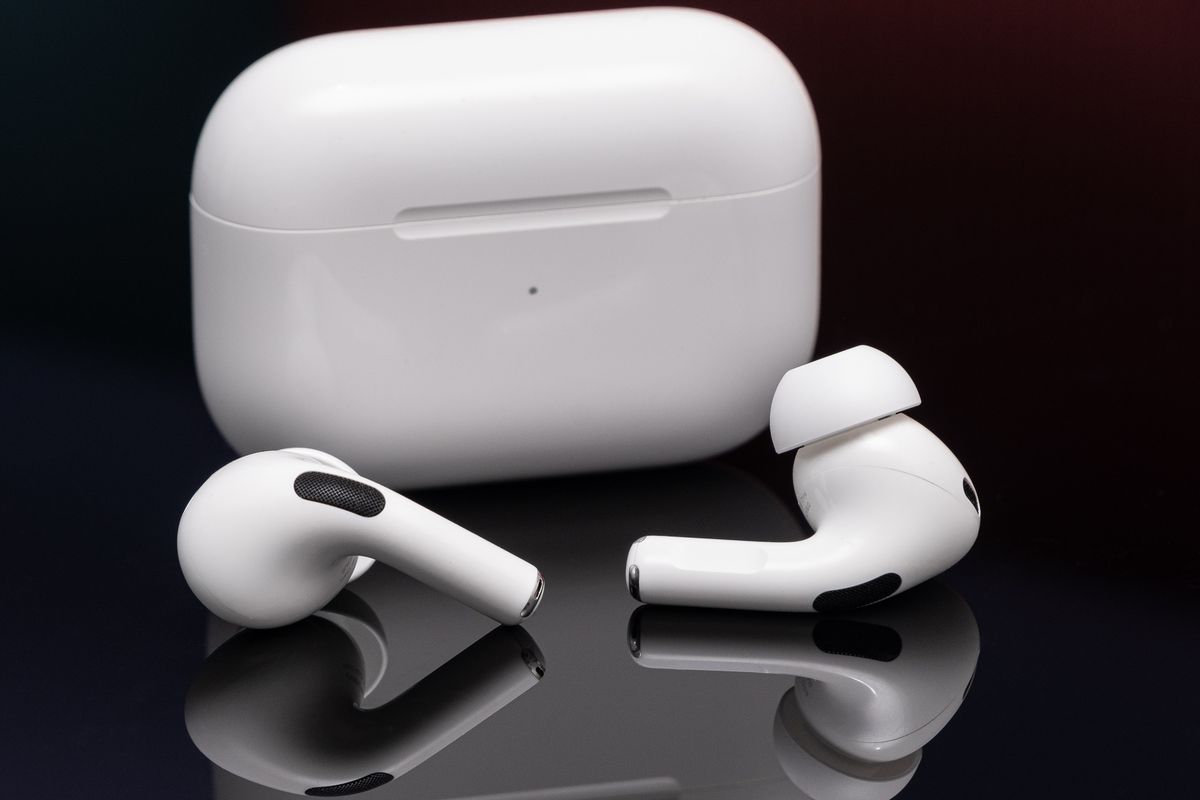
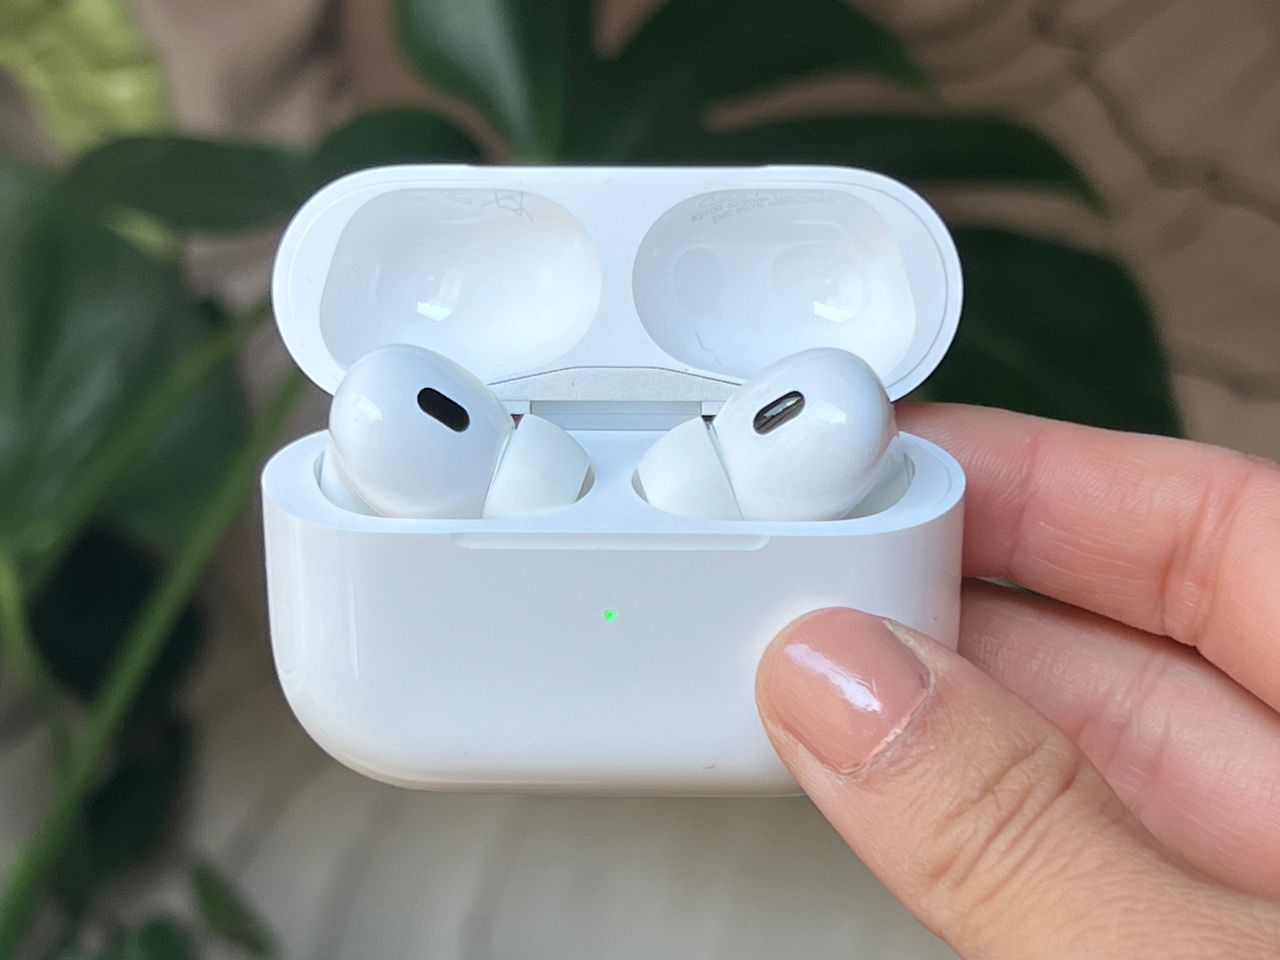
Noise cancellation technology has revolutionized the way we experience audio. Whether you’re a music enthusiast, a frequent traveler, or someone who simply craves peace and quiet, noise cancellation can greatly enhance your audio experience by blocking out environmental noise. One of the most popular and highly regarded noise cancellation devices on the market today is the AirPods Pro, developed by Apple.
With their advanced technology and sleek design, the AirPods Pro provide a superior listening experience. They feature Active Noise Cancellation (ANC) that uses multiple microphones to cancel out external noise, allowing you to immerse yourself in your music or audio without distractions. Additionally, the AirPods Pro offer Transparency mode, which allows you to hear your surroundings when needed, making them versatile for different situations.
In this article, we will dive into the world of noise cancellation on the AirPods Pro and explore how you can maximize and optimize this feature to suit your needs. From firmware updates to personalized ear fit tests, we will cover everything you need to know to ensure you’re getting the most out of your AirPods Pro’s noise cancellation capabilities.
Understanding Noise Cancellation
Before we delve into optimizing noise cancellation on the AirPods Pro, it’s important to have a clear understanding of how this technology works. Noise cancellation is a technique used to minimize or eliminate unwanted sounds from the environment, allowing you to focus on the audio you want to hear.
The AirPods Pro utilize a combination of hardware and software to achieve effective noise cancellation. The earbuds feature inward and outward-facing microphones that constantly analyze and measure the ambient sound around you. The data captured by these microphones is then processed by the Apple-designed H1 chip, which generates an equal but opposite sound wave to cancel out the external noise. This process is continually adjusted in real-time to ensure optimal noise cancellation.
The AirPods Pro offer two main modes of noise cancellation: Active Noise Cancellation (ANC) and Transparency mode. ANC actively cancels out external noise by producing counteracting sound waves, effectively blocking unwanted sounds, such as traffic noise or airplane engines. Transparency mode, on the other hand, lets you hear your surroundings while still enjoying your audio. This can be ideal in situations where you want to remain aware of your surroundings, such as when walking on a busy street or having a conversation.
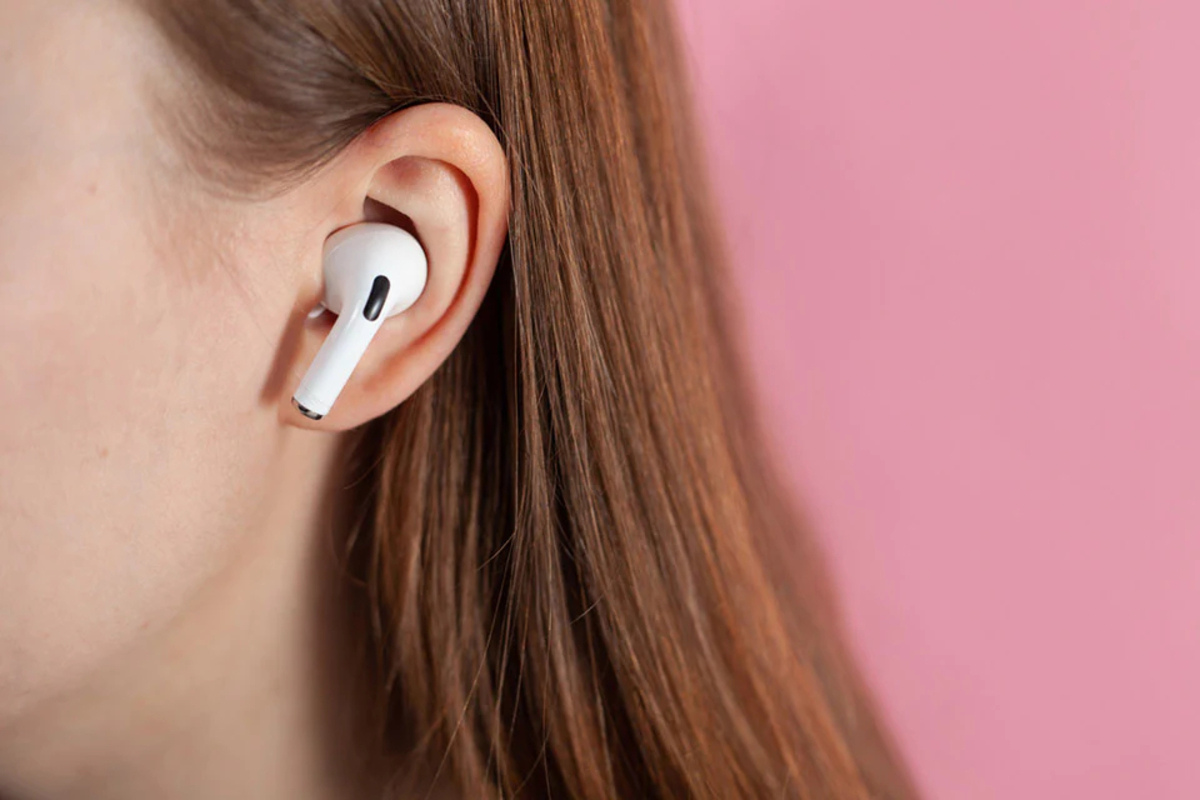
It is worth noting that while noise cancellation is highly effective in reducing constant, low-frequency noises, it may not be as effective in canceling out sudden, sharp noises. Additionally, the effectiveness of noise cancellation can vary depending on the fit and seal of the ear tips. A secure and proper fit is crucial for optimal noise cancellation performance.
Now that we have a basic understanding of how noise cancellation works on the AirPods Pro, let’s explore some tips and techniques to enhance and optimize this feature for your needs.
Tips for Optimizing Noise Cancellation on AirPods Pro
The AirPods Pro offer excellent noise cancellation capabilities, but with a few tips and tricks, you can further optimize this feature to suit your preferences. Here are some tips to enhance your noise cancellation experience:
- Find the Right Ear Tip Fit: The AirPods Pro come with three different sizes of silicone ear tips. It’s important to find the right size that provides a snug and comfortable fit in your ears. A proper fit ensures a tight seal, maximizing the effectiveness of noise cancellation.
- Use the Ear Tip Fit Test: The AirPods Pro feature an Ear Tip Fit Test that can help you determine if you have chosen the correct size of ear tips. This test uses the microphones in the earbuds to measure the sound level inside your ears and provides feedback on whether you should adjust the ear tip size for a better fit.
- Update AirPods Pro Firmware: Apple periodically releases firmware updates for the AirPods Pro, which can include performance enhancements and bug fixes. To ensure you’re getting the best noise cancellation experience, make sure to keep your AirPods Pro firmware up to date. You can check for firmware updates through the Settings app on your connected iOS device.
- Choose the Right Noise Cancellation Mode: The AirPods Pro gives you the option to toggle between Active Noise Cancellation and Transparency mode. Use Active Noise Cancellation when you want to block out external sounds and immerse yourself in your audio. Switch to Transparency mode when you need to hear your surroundings or have a conversation without removing the earbuds.
- Minimize Interference and Disturbances: While the AirPods Pro are designed to cancel out external noise, certain factors can interfere with their effectiveness. To minimize interference, ensure that the earbuds are properly inserted in your ears and that there are no obstructions or gaps that could allow external noise to creep in.
- Experiment with Customizable Controls: The AirPods Pro allow you to customize the controls for noise cancellation and Siri activation. By accessing the Bluetooth settings on your iOS device, you can assign different functions to the pressure sensor on the stem of the AirPods Pro, making it easier to adjust noise cancellation settings on the go.
By following these tips, you can optimize the noise cancellation on your AirPods Pro and tailor the experience to your liking. Remember that noise cancellation is not perfect and may vary based on environmental factors, but with the right fit and settings adjustments, you can enjoy a more immersive and undisturbed audio experience.
Updating AirPods Pro Firmware
Keeping your AirPods Pro firmware up to date is essential for ensuring optimal performance, including noise cancellation. Apple periodically releases firmware updates that provide improvements, bug fixes, and new features to enhance the overall functionality of the AirPods Pro. Here’s how you can update the firmware on your AirPods Pro:
- Ensure Bluetooth Connectivity: Make sure your AirPods Pro are connected to your iOS device via Bluetooth. The firmware update process requires a stable Bluetooth connection.
- Charge AirPods Pro: Ensure that your AirPods Pro have enough charge to complete the firmware update process. It is recommended to charge them to at least 50% to avoid any interruptions during the update.
- Connect to the Internet: Ensure that your iOS device is connected to the internet, either through Wi-Fi or cellular data.
- Check for Firmware Updates: On your iOS device, go to the Settings app, then tap on “General” and select “About”. Scroll down and select “AirPods Pro”. If an update is available, you will see an option to “Install” or “Update”. Tap on it to begin the firmware update process.
- Keep AirPods Pro Close: During the firmware update, make sure to keep your AirPods Pro in close proximity to your iOS device. This helps maintain a strong connection and ensures a smooth update process.
- Wait for the Update to Complete: The firmware update process may take a few minutes. It is important not to interrupt or disconnect your AirPods Pro during this time. Allow the update to complete, and your AirPods Pro will automatically restart.
- Verify Firmware Version: Once the update is complete, you can verify the firmware version of your AirPods Pro. Go back to the “AirPods Pro” section under “About” in the Settings app. The updated firmware version should be displayed, confirming that the update was successful.
By regularly checking for and installing firmware updates, you can ensure that your AirPods Pro are running on the latest software, providing you with the best possible noise cancellation performance and overall user experience.
Adjusting Noise Cancellation Settings
The AirPods Pro offers different settings that allow you to adjust the noise cancellation feature according to your preferences and the environmental conditions you’re in. Here’s how you can adjust the noise cancellation settings on your AirPods Pro:
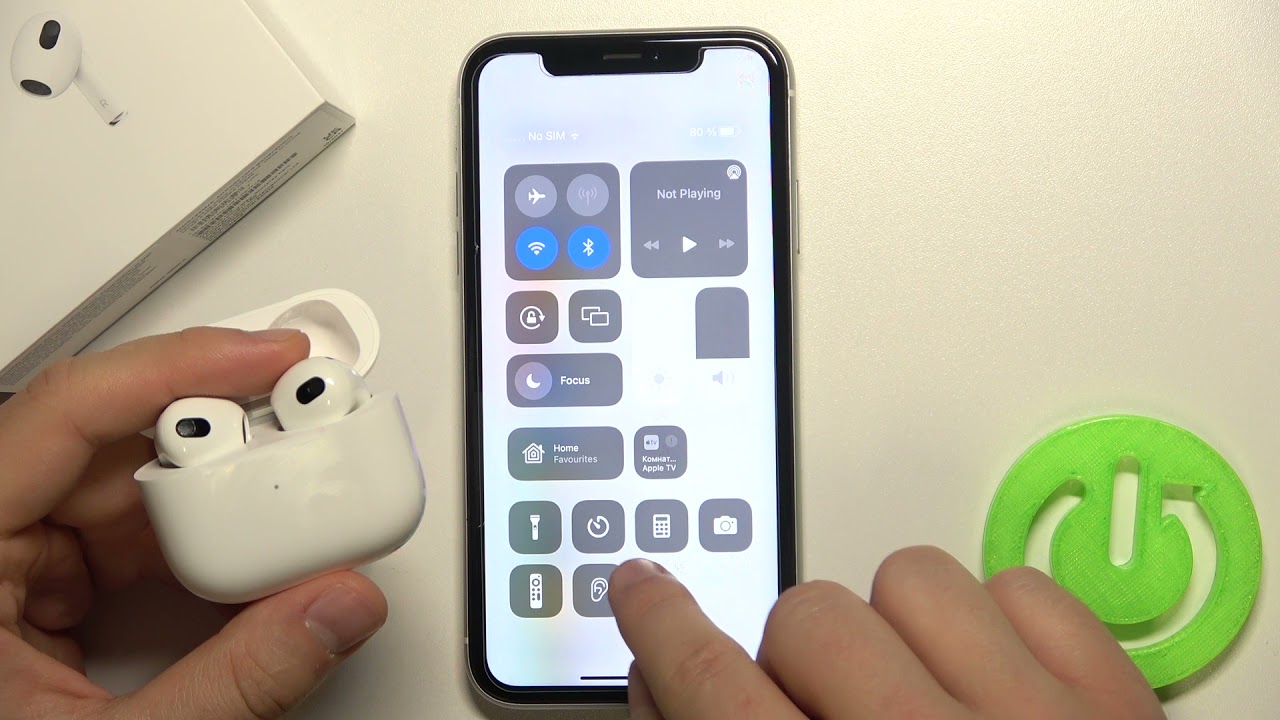
- Access the Control Center: On your connected iOS device, open the Control Center by swiping down from the top right corner of the screen (or bottom edge on older iPhone models).
- Long press on the volume bar: In the Control Center, locate the volume bar and long-press on it to expand the volume control menu.
- Adjust noise cancellation level: Within the expanded volume control menu, you’ll see a noise cancellation icon (a pair of headphones). Tap on it to toggle between the active noise cancellation and transparency mode. You can also adjust the noise cancellation level by sliding the bar to the desired intensity.
- Use the AirPods Pro settings: Alternatively, you can also access the noise cancellation settings directly from your iOS device’s settings. Go to the Settings app, tap on “Bluetooth”, then find your AirPods Pro in the list of paired devices. Tap on the “i” icon next to your AirPods Pro name, and you’ll find options to adjust the noise cancellation and transparency modes.
- Experiment with different settings: Play around with the noise cancellation settings to find the right intensity and mode that suits your needs in various environments. For example, you may prefer stronger noise cancellation in a noisy airplane cabin, while a lighter setting might be enough for a quiet office space.
By adjusting the noise cancellation settings to match your surroundings, you can customize the audio experience to suit your preferences and enjoy an immersive and distraction-free sound environment.
Using Ear Tip Fit Test
One of the key factors that contribute to the effectiveness of noise cancellation on AirPods Pro is the fit and seal of the ear tips in your ears. To ensure you have the right fit, Apple has incorporated an Ear Tip Fit Test feature that helps you determine if you have chosen the correct size of ear tips. Here’s how you can use the Ear Tip Fit Test:
- Ensure the AirPods Pro are connected: Make sure your AirPods Pro are connected to your iOS device via Bluetooth.
- Open the Settings app: On your iOS device, open the Settings app.
- Select Bluetooth: Tap on “Bluetooth” to access the Bluetooth settings.
- Locate and tap on AirPods Pro: In the list of connected devices, find your AirPods Pro and tap on the “i” icon next to their name.
- Access Ear Tip Fit Test: Scroll down to the “Ear Tip Fit Test” section and tap on “Ear Tip Fit Test.”
- Follow the on-screen instructions: The test will guide you through the process of ensuring a proper fit. This involves playing a short audio clip and using the built-in microphones to detect any sound leakage. Based on the results, you will be informed if you have a good fit or if you need to try a different size ear tip.
- Try different ear tip sizes if necessary: If the test indicates that you don’t have a good fit, you can try different sizes of ear tips to see which one provides the best seal and reduces sound leakage.
The Ear Tip Fit Test is a handy tool that helps you achieve an optimal fit, maximizing the effectiveness of noise cancellation on your AirPods Pro. It ensures that you’re using the correct size ear tips for the best audio experience and minimizes any sound leakage that might compromise noise isolation.
Avoiding Interference and Disturbances
To get the most out of the noise cancellation feature on your AirPods Pro, it’s important to minimize interference and disturbances that could impact its effectiveness. Here are some tips to help you avoid interference and enjoy uninterrupted audio:
- Ensure Proper Earbud Placement: Make sure that the AirPods Pro are properly inserted in your ears and that they have a secure and snug fit. This helps create a tight seal and improves the overall noise isolation.
- Avoid Obstructions: Avoid covering or obstructing the microphones located on the AirPods Pro. These microphones play a crucial role in detecting and canceling out external noise. By keeping them unobstructed, you’ll allow the noise cancellation technology to work at its best.
- Minimize Environmental Noise: Noise cancellation technology works more effectively in quieter environments. Try to minimize background noise by moving away from loud areas or using noise-cancelling headphones in situations with excessive noise.
- Manage Bluetooth Interference: Bluetooth signals can be susceptible to interference from other devices or Wi-Fi networks. To minimize interference, ensure that your AirPods Pro are connected to a device that has a stable Bluetooth connection and is away from other electronic devices that might cause interference.
- Keep Firmware Updated: As mentioned earlier, keeping your AirPods Pro firmware up to date is crucial to ensure optimal performance. Firmware updates often bring performance improvements that help minimize interference and enhance noise cancellation efficiency.
- Consider Customizable Controls: The AirPods Pro allow you to customize the controls to toggle noise cancellation and activate Siri. It’s worth experimenting with these settings to find the most convenient and intuitive way to manage noise cancellation on the go.
By following these tips, you can keep interference and disruptions to a minimum, allowing you to enjoy a more immersive and uninterrupted audio experience with your AirPods Pro.
Conclusion
The AirPods Pro offer an outstanding noise cancellation experience, allowing you to immerse yourself in your audio while blocking out external distractions. By understanding the technology behind noise cancellation and taking advantage of the various features and settings available, you can optimize this feature to suit your preferences and environment.
Starting with the basics, ensure that you have the right fit by using the Ear Tip Fit Test and trying different ear tip sizes if necessary. This step is crucial in maximizing noise isolation and the effectiveness of noise cancellation. Additionally, keeping your AirPods Pro firmware up to date ensures that you are benefiting from any performance enhancements and bug fixes.
Adjusting the noise cancellation settings to match your surroundings is also important. Experiment with different settings and find the right balance of noise cancellation and transparency mode that suits your needs at any given moment.
Furthermore, avoiding interference and disturbances can help maintain a smooth and uninterrupted noise cancellation experience. Proper placement of the earbuds, minimizing environmental noise, managing Bluetooth interference, and keeping the firmware updated are all essential in achieving the best possible performance.
With these tips and techniques, you can optimize the noise cancellation feature on your AirPods Pro and enjoy your audio with enhanced clarity and immersion, no matter where you are. So go ahead, rock your favorite tunes, binge-listen to podcasts, or find solace in a peaceful environment with your AirPods Pro and their exceptional noise cancellation capabilities.