Home>Production & Technology>Noise Cancellation>How To Hook Up Sony Bluetooth Headphones Noise Cancellation
Noise Cancellation
How To Hook Up Sony Bluetooth Headphones Noise Cancellation
Published: November 3, 2023
Learn how to hook up Sony Bluetooth headphones with noise cancellation for the ultimate audio experience. Step-by-step instructions and troubleshooting tips included.
(Many of the links in this article redirect to a specific reviewed product. Your purchase of these products through affiliate links helps to generate commission for AudioLover.com, at no extra cost. Learn more)
Table of Contents
- Introduction
- Step 1: Check Headphone Compatibility
- Step 2: Turn on Bluetooth on the Sony Headphones
- Step 3: Activate Pairing Mode on the Sony Headphones
- Step 4: Enable Bluetooth on Your Device
- Step 5: Locate and Select the Sony Headphones in the Bluetooth Settings
- Step 6: Complete the Pairing Process
- Step 7: Test the Connection and Noise Cancellation Feature
- Troubleshooting Common Issues
- Conclusion
Introduction
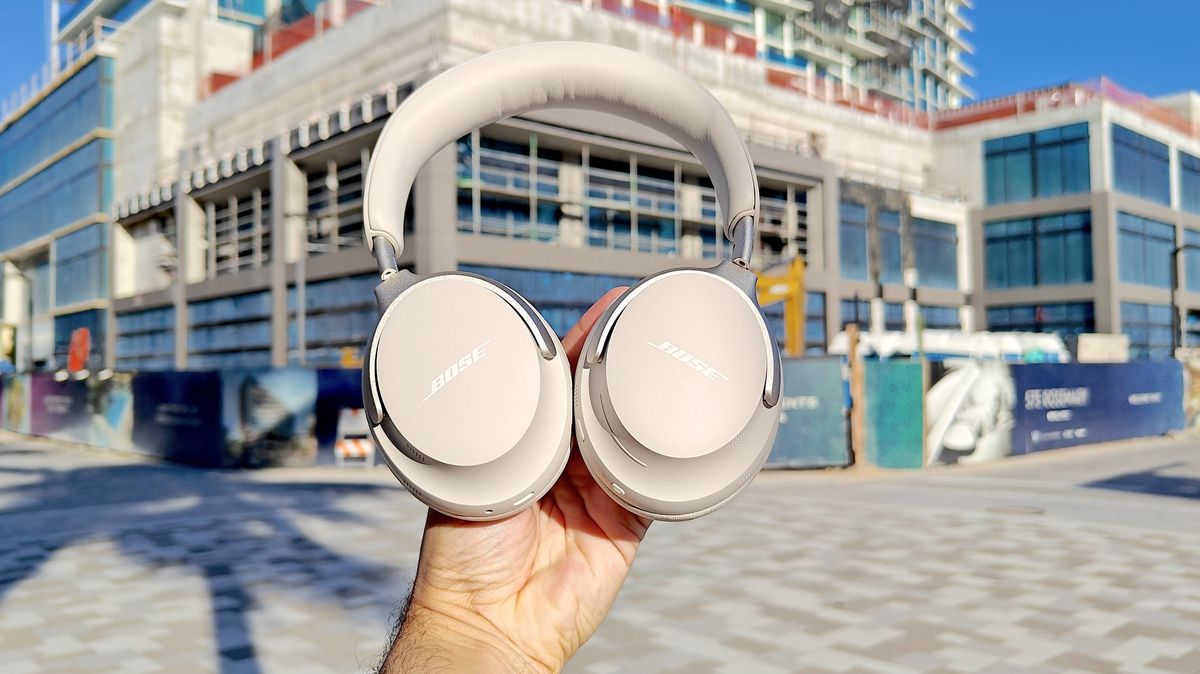
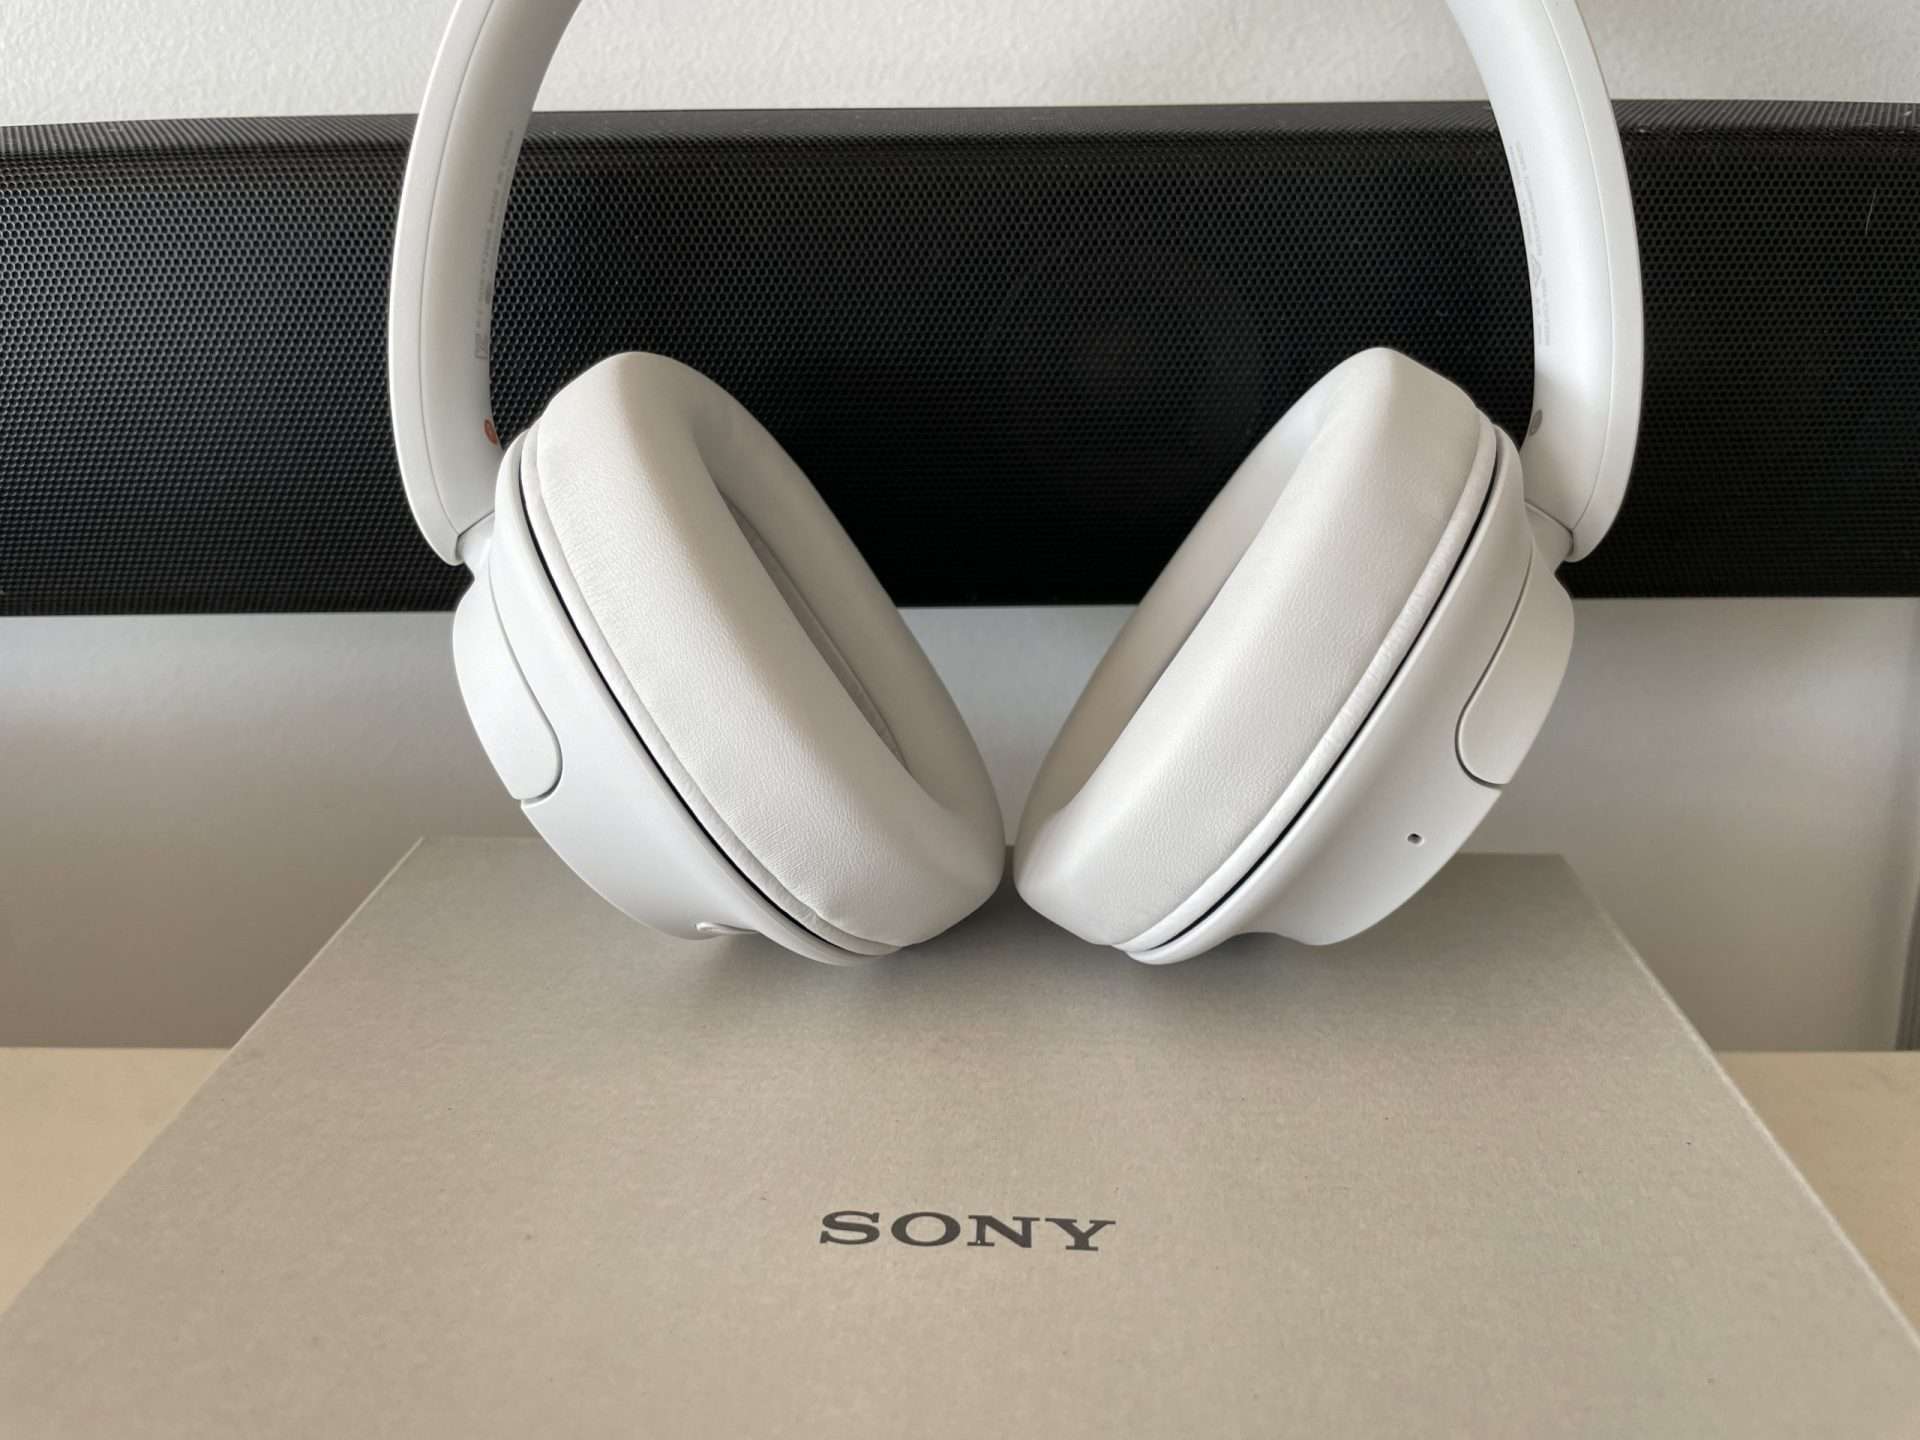
Welcome to the world of Sony Bluetooth headphones with noise cancellation! Whether you’re a music lover, a frequent traveler, or someone who simply wants to enjoy their audio without outside distractions, noise cancellation headphones can be a game changer. With Sony’s cutting-edge technology and superior sound quality, these headphones offer an immersive audio experience like no other.
In this article, we will guide you through the process of connecting your Sony Bluetooth headphones with noise cancellation to your device. Whether you own the popular Sony WH-1000XM4, WH-1000XM3, or any other model, the steps outlined in this guide will help you seamlessly pair your headphones and take advantage of the noise cancellation feature.
Before we dive into the steps, it’s important to note that the specific pairing process may vary slightly depending on the model you own. However, the general principles remain the same and should work for most Sony Bluetooth headphones with noise cancellation.
Now, let’s get started and ensure you can enjoy your favorite music, podcasts, or movies in pristine audio quality, free from external distractions!
Step 1: Check Headphone Compatibility
Before you begin the pairing process, it’s essential to ensure that your device is compatible with Sony Bluetooth headphones and supports the necessary Bluetooth profiles. Most modern smartphones, tablets, and computers are equipped with Bluetooth technology, but it’s always a good idea to double-check.
Firstly, check the specifications of your device to confirm if it has Bluetooth connectivity. This information can typically be found in the user manual or on the manufacturer’s website. Additionally, you can go to the Settings on your device and look for a Bluetooth option. If you can see a Bluetooth menu, it means that your device is Bluetooth-enabled.
Secondly, make sure your Sony Bluetooth headphones are compatible with your device. The headphones should support the same Bluetooth version or higher as your device. For example, if your device supports Bluetooth version 5.0, it’s best to have headphones that also support Bluetooth 5.0 or higher for optimal compatibility and performance.
If your device and headphones meet the compatibility requirements, you’re ready to move on to the next step and pair your Sony Bluetooth headphones with noise cancellation.
Step 2: Turn on Bluetooth on the Sony Headphones
Now that you’ve confirmed the compatibility of your device and headphones, it’s time to turn on the Bluetooth functionality on your Sony headphones. The steps may vary slightly depending on the model you own, but the general process remains the same.
Start by locating the power button on your Sony headphones. This button is typically located on the side or bottom of the earcup. Press and hold the power button for a few seconds until you see a light indicator or hear a sound cue, indicating that the headphones are powered on.
Once the headphones are turned on, look for a dedicated Bluetooth button or combination of buttons to activate the Bluetooth mode. Some Sony headphones have a specific Bluetooth button, while others might require you to press and hold a combination of buttons simultaneously.
Refer to the user manual of your headphones or check the manufacturer’s website for specific instructions on how to turn on the Bluetooth mode for your particular model.
After successfully enabling Bluetooth mode on your Sony headphones, you will notice a flashing Bluetooth indicator light or a voice prompt confirming that the headphones are ready to be paired with a device.
With Bluetooth turned on, you’re now prepared to move on to the next step and activate pairing mode on your Sony headphones.
Step 3: Activate Pairing Mode on the Sony Headphones
In order to connect your Sony headphones to your device, you need to activate the pairing mode. This allows your headphones to be discoverable by other devices, including your smartphone, tablet, or computer. The process of entering pairing mode may vary depending on the model of your Sony headphones.
Start by ensuring that your headphones are turned on and in standby mode. If they are currently connected to another device, disconnect them first.
Now, locate the pairing or Bluetooth button on your Sony headphones. This button is usually marked with a Bluetooth symbol or the letter “P”. Press and hold the pairing button for a few seconds, or until you see the Bluetooth indicator light start to flash, indicating that the headphones are in pairing mode.
For some models, you might need to follow a specific sequence of button presses to enter pairing mode. Refer to the user manual of your headphones or check the manufacturer’s website for detailed instructions on how to activate pairing mode for your specific model.
Once you have successfully activated the pairing mode, your Sony headphones are now ready to be discovered by your device during the Bluetooth pairing process.
Now that your headphones are in pairing mode, it’s time to move on to the next step and enable Bluetooth on your device.
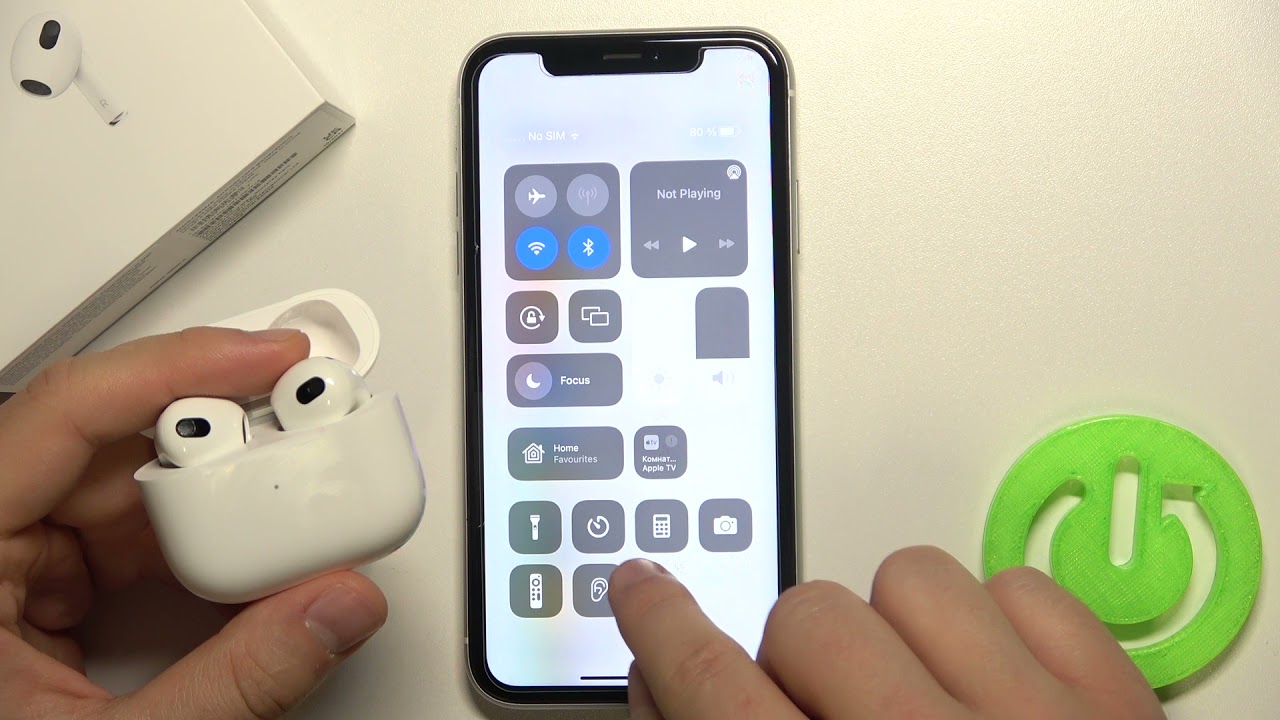
Step 4: Enable Bluetooth on Your Device
In order to connect your Sony headphones to your device, you need to ensure that Bluetooth is enabled on your device. Whether you’re using a smartphone, tablet, or computer, enabling Bluetooth is a straightforward process.
Start by accessing the Settings menu on your device. On most smartphones and tablets, you can find the Settings app on your home screen or in the app drawer. On computers, you can usually find the Bluetooth settings in the system tray or control panel.
Once you’re in the Settings menu, look for the Bluetooth option. It is typically represented by the Bluetooth symbol (a stylized “B”) or found under the “Connections” or “Wireless & Networks” category.
Tap or click on the Bluetooth option to access the Bluetooth settings. On some devices, you may need to toggle the Bluetooth switch to the “on” position to enable it. On others, you may need to select “Enable” or “Turn on Bluetooth.”
After enabling Bluetooth on your device, it will start searching for nearby Bluetooth devices, including your Sony headphones. You should see a list of available devices shortly.
Now that Bluetooth is enabled on your device, you’re ready to move on to the next step and locate and select your Sony headphones in the Bluetooth settings.
Step 5: Locate and Select the Sony Headphones in the Bluetooth Settings
With Bluetooth enabled on your device, it’s time to locate and select your Sony headphones in the Bluetooth settings. This step ensures that your device establishes a connection with your headphones.
Open the Bluetooth settings on your device. If you’re using a smartphone or tablet, this can usually be found in the Settings menu. On a computer, it may be accessible through the system tray or control panel.
In the Bluetooth settings, your device will start scanning for nearby Bluetooth devices. This process may take a few seconds. Once the scan is complete, you should see a list of available devices, including your Sony headphones.
In the list of available devices, look for the name or model number of your Sony headphones. It might be labeled as “Sony WH-1000XM4,” “Sony WH-1000XM3,” or a similar identifier depending on your specific model.
If you have multiple Bluetooth devices in the vicinity, make sure you select the correct device corresponding to your Sony headphones. The device name on the list should match the name on your headphones or the model number.
Once you’ve located your Sony headphones in the Bluetooth settings, tap or click on the device name to initiate the pairing process. Your device will attempt to establish a connection with the headphones.
Note that some devices may require a passkey or PIN to complete the pairing process. In most cases, the passkey or PIN is provided in the user manual of your headphones. Follow the on-screen prompts to enter the passkey or PIN if required.
After selecting your Sony headphones and entering the passkey, your device will try to establish a connection. If the pairing is successful, you will receive a notification or see a “Connected” status next to your headphones’ name in the Bluetooth settings.
Congratulations! You have successfully located and selected your Sony headphones in the Bluetooth settings. Now, it’s time to move on to the next step and complete the pairing process.
Step 6: Complete the Pairing Process
After selecting your Sony headphones in the Bluetooth settings, it’s time to complete the pairing process and establish a stable connection between your device and your headphones.
Once you have successfully located and selected your Sony headphones in the Bluetooth settings, your device will attempt to establish a connection. This process may take a few seconds.
During the pairing process, your device will exchange information with your Sony headphones to ensure a secure and reliable connection. You may see a progress indicator or a spinning icon on your device’s screen indicating that the pairing is in progress.
After a successful pairing, your device will display a notification or indicate that it is connected to your Sony headphones. Depending on your device, you may also hear a sound cue or see a Bluetooth indicator light on your headphones indicating that the pairing is complete.
Once the pairing is complete, your device and your Sony headphones are now connected. You can now start enjoying your favorite audio content with the immersive sound quality and noise cancellation feature that Sony headphones provide.
If you’re planning to use your Sony headphones with multiple devices, make sure you repeat the pairing process for each device. However, keep in mind that most Sony headphones can only be connected to one device at a time. If you want to connect your headphones to a new device, you may need to disconnect them from the previously connected device first.
With the pairing process completed, you’re all set to explore the range of features and benefits that your Sony Bluetooth headphones with noise cancellation offer. Whether you’re listening to music, watching movies, or making phone calls, you can now do so with enhanced sound quality and a distraction-free experience.
Step 7: Test the Connection and Noise Cancellation Feature
Now that your Sony headphones are paired with your device, it’s important to test the connection and verify that the noise cancellation feature is functioning properly. This step ensures that you can fully enjoy the immersive audio experience that your headphones offer.
To test the connection, start by playing audio on your device. Whether it’s a song, a podcast, or a movie, make sure the volume is set to an audible level.
Listen carefully through your Sony headphones and ensure that the audio is playing through them instead of the device’s speakers. If you can hear the audio through the headphones, it indicates that the connection is established successfully.
Next, it’s time to test the noise cancellation feature. Activate the noise cancellation feature on your Sony headphones. Depending on the model you own, this can typically be done through a physical button on the headphones or the accompanying mobile app.
With the noise cancellation mode activated, pay attention to the reduction of external sounds. The effective noise cancellation should minimize or eliminate unwanted background noise, allowing you to focus on your audio content without distractions.
Test the noise cancellation feature in different environments to gauge its effectiveness. Try it in a noisy room, office, or even during a commute to truly experience the benefits of noise cancellation technology.
If you’re satisfied with the connection and noise cancellation performance, congratulations! Your Sony headphones are ready to deliver an exceptional audio experience. If you encounter any issues or have concerns about the connection or noise cancellation, refer to the troubleshooting section or reach out to Sony customer support for assistance.
With the connection and noise cancellation tested, you can now fully enjoy your audio content in high-quality sound while immersing yourself in a world free from external disturbances.
Troubleshooting Common Issues
While connecting and using your Sony Bluetooth headphones with noise cancellation is generally a seamless process, you may encounter some common issues along the way. Here are a few troubleshooting tips to help you resolve these issues and ensure smooth functionality:
1. Connection Problems: If you’re having trouble pairing your Sony headphones with your device, try the following steps:
- Ensure that both your device and headphones are in close proximity and have sufficient battery power.
- Restart your device and headphones, then attempt the pairing process again.
- Clear the Bluetooth cache on your device by going to the Bluetooth settings and selecting “Forget” or “Unpair” your headphones. Then, try pairing them again as if they were a new device.
2. Poor Audio Quality: If you’re experiencing distorted or low-quality audio, try the following steps:
- Ensure that your headphones are within the effective range of your device and that there are no physical obstructions between them.
- Check the sound settings on your device and make sure the audio output is directed to your Sony headphones.
- Try adjusting the volume levels on both your device and headphones to find the optimum sound quality.
3. Noise Cancellation Issues: If the noise cancellation feature is not working as expected, try the following steps:
- Ensure that the noise cancellation feature is activated on your headphones. Some models have different levels of noise cancellation, so experiment with the settings to find the level that suits your needs.
- Make sure that your headphones are securely fit and properly covering your ears to maximize the effectiveness of the noise cancellation feature.
- Update the firmware of your headphones to the latest version. Check the Sony support website or consult the user manual for instructions on how to perform the firmware update.
If you’ve tried these troubleshooting steps and are still experiencing issues, it may be helpful to consult the user manual of your Sony headphones or contact Sony customer support for further assistance. They can provide specific guidance based on your model and address any technical problems that you may encounter.
Remember, troubleshooting is a normal part of the process, and don’t get discouraged if you encounter challenges along the way. With patience and persistence, you’ll be able to resolve any issues and fully enjoy the exceptional audio experience that your Sony Bluetooth headphones with noise cancellation offer.
Conclusion
Congratulations! You have successfully learned how to connect and use your Sony Bluetooth headphones with noise cancellation. By following the steps outlined in this guide, you can now immerse yourself in high-quality audio and enjoy a distraction-free listening experience.
We started by checking the compatibility of your device and headphones, ensuring that they meet the necessary requirements for a seamless connection. Then, we enabled Bluetooth on both your device and headphones, activated pairing mode, and located and selected your Sony headphones in the Bluetooth settings.
After completing the pairing process, we tested the connection and verified that the noise cancellation feature was working effectively. By following the troubleshooting tips, you gained the ability to resolve common issues that may arise during the connection process.
Now, you can experience the full potential of your Sony Bluetooth headphones with noise cancellation. Whether you’re traveling, working, or simply enjoying your favorite music, you can immerse yourself in crystal-clear sound while eliminating background noise.
Remember, if you encounter any difficulties or have any questions, refer to the user manual of your headphones or reach out to Sony customer support for assistance. They will be able to provide specific guidance based on your headphone model.
Enjoy your Sony Bluetooth headphones with noise cancellation and embrace the world of high-quality audio without the distractions!