Home>Production & Technology>Surround Sound>How To Hook Up Sony Surround Sound To TV
Surround Sound
How To Hook Up Sony Surround Sound To TV
Modified: January 22, 2024
Learn how to easily hook up Sony surround sound to your TV and enjoy an immersive audio experience at home. Get step-by-step instructions and troubleshooting tips.
(Many of the links in this article redirect to a specific reviewed product. Your purchase of these products through affiliate links helps to generate commission for AudioLover.com, at no extra cost. Learn more)
Table of Contents
Introduction
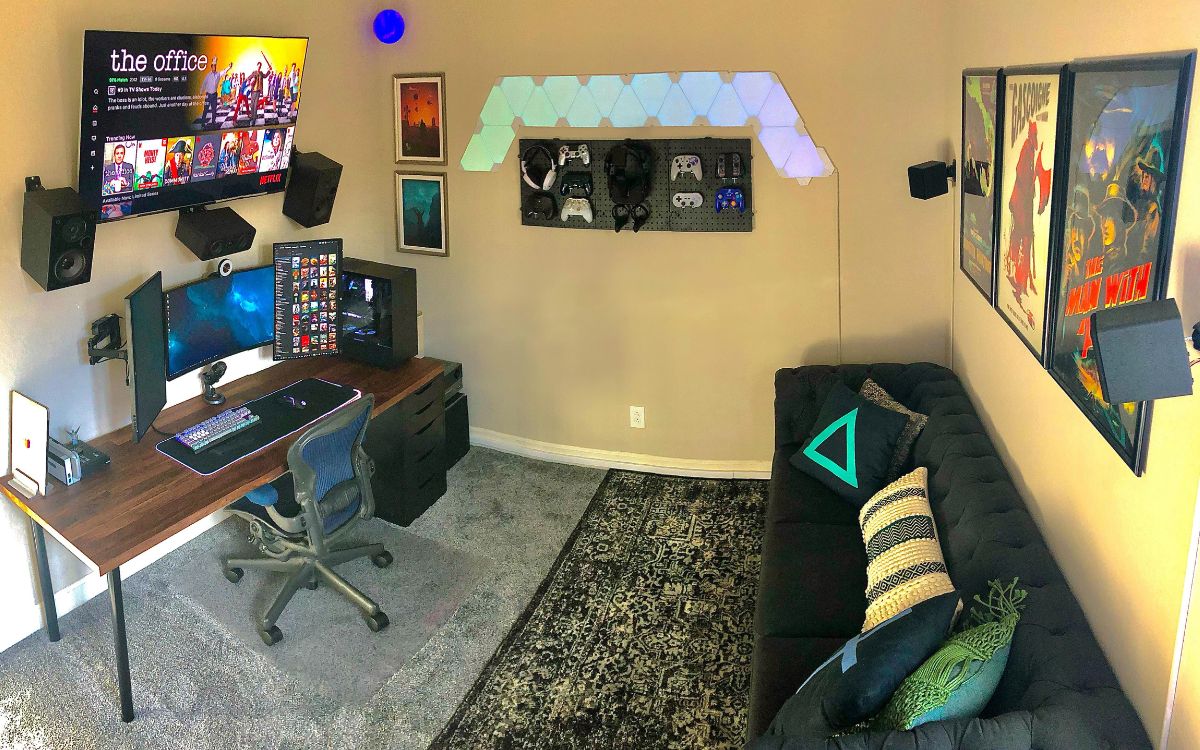
Welcome to the world of immersive audio experience with surround sound. Whether you are a movie enthusiast, a gaming aficionado, or simply someone who appreciates high-quality audio, setting up a surround sound system can elevate your entertainment to a whole new level. With the right equipment and proper connections, you can bring the cinema experience right into your living room.
In this article, we will guide you through the process of hooking up your Sony surround sound system to your TV. Even if you are new to this technology, don’t worry; we’ve got you covered. By following these simple steps, you’ll be able to enjoy the immersive sound that surrounds you in no time.
Before we dive into the specifics, let’s talk a little bit about what surround sound actually is. Surround sound refers to a system that uses multiple audio channels to create a three-dimensional audio experience. This means that sound comes from different directions, just like it would in a movie theater. By placing speakers strategically around the room, surround sound systems can deliver an incredibly immersive and realistic audio experience.
If you have a Sony surround sound system and a compatible TV, you’re all set to enjoy the benefits of surround sound. Let’s get started on connecting your surround sound system to your TV and bringing your entertainment to life.
Step 1: Gather the necessary equipment
Before you begin the setup process, it’s important to make sure you have all the necessary equipment. Here’s a checklist of what you’ll need:
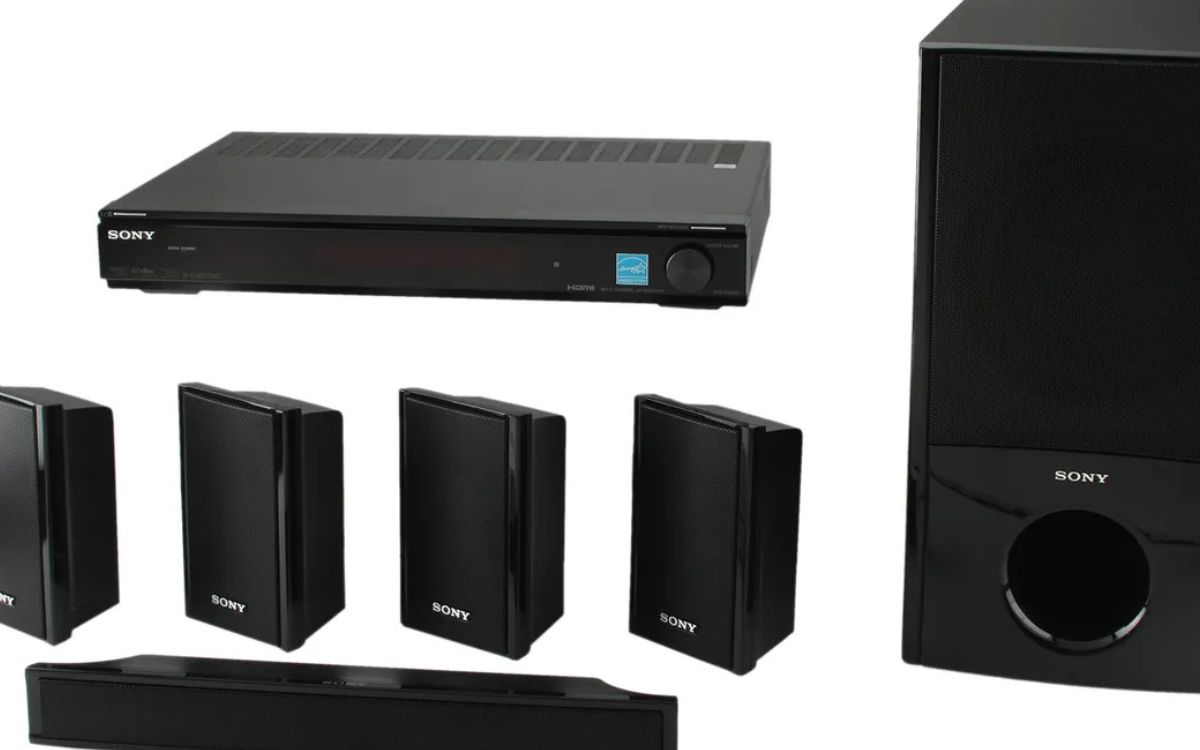
- Sony surround sound system: This includes the audio receiver and the speakers. Ensure that your surround sound system is compatible with your TV.
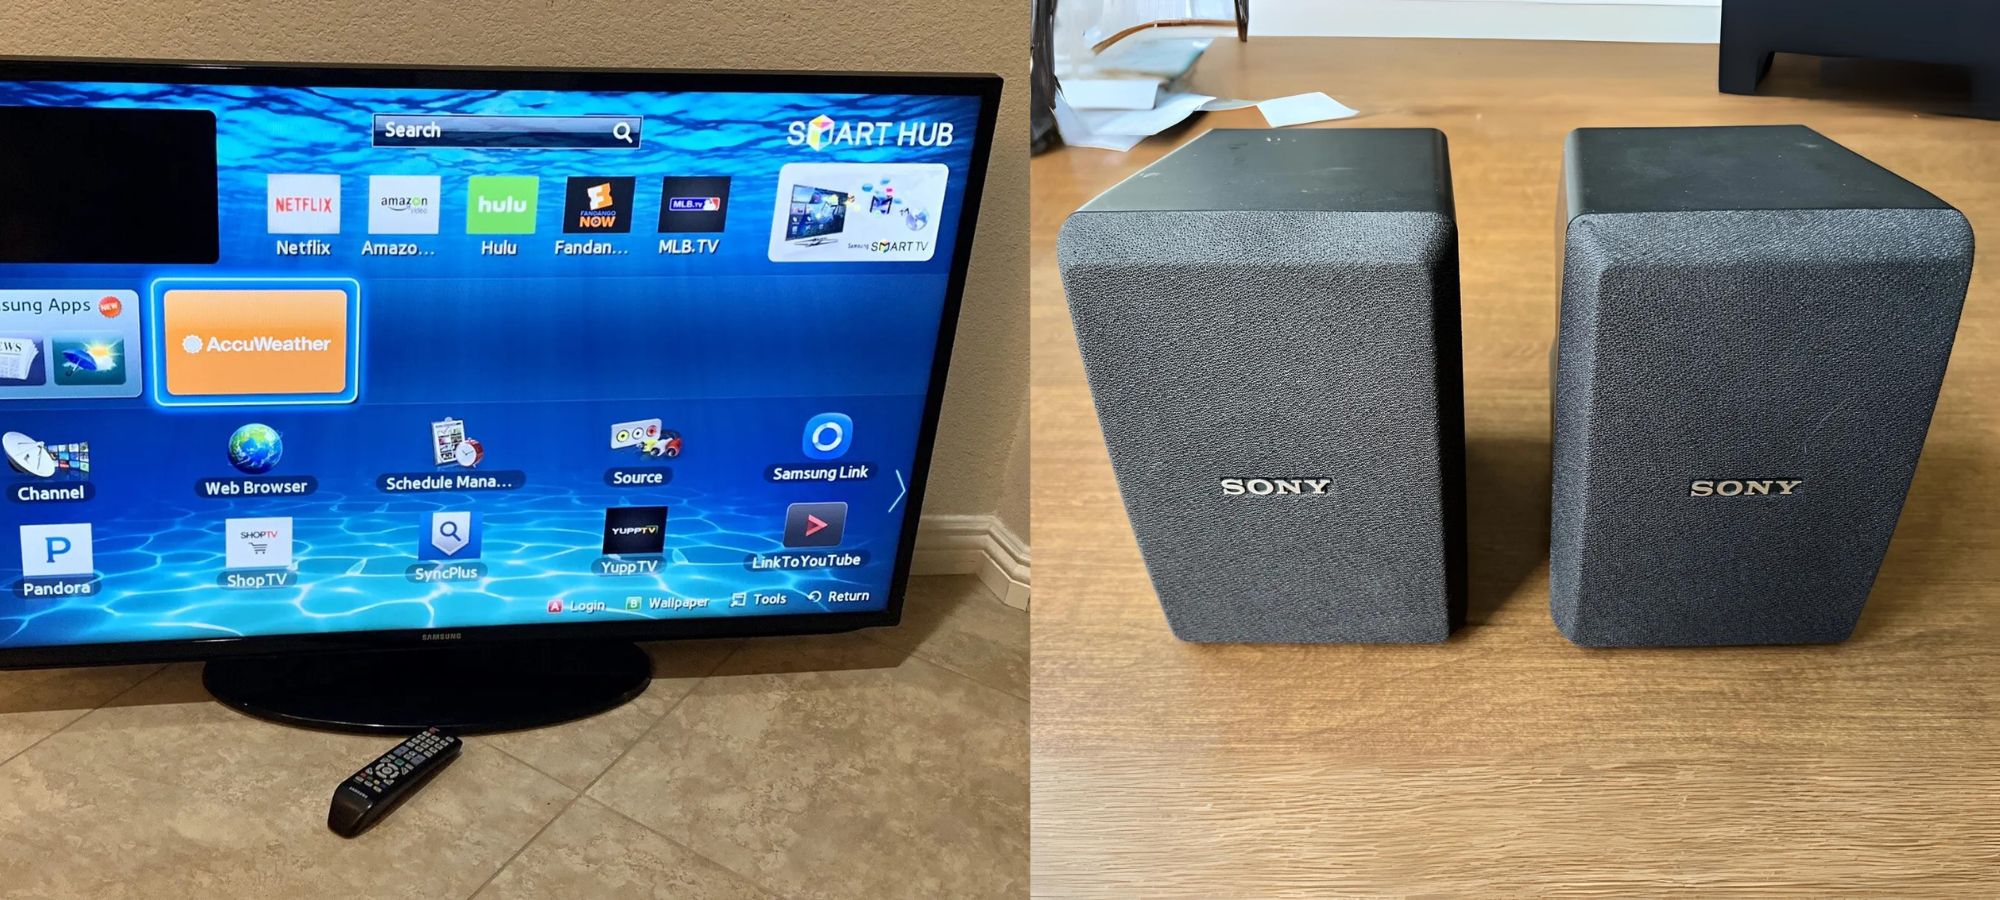
- TV: You’ll need a TV with audio output connections that are compatible with your surround sound system. Most modern TVs have HDMI, optical, or RCA outputs.
- HDMI cable: If you plan to use HDMI audio connection, make sure you have a high-quality HDMI cable. This cable will transmit both video and audio signals.
- Optical cable: If you prefer to use an optical connection, you’ll need an optical cable. This cable will transmit digital audio signals from your TV to the audio receiver.
- RCA cables: If your TV and audio receiver have RCA connections, you’ll need RCA cables. These cables transmit analog audio signals.
- Power cords: Make sure you have the power cords for both your TV and audio receiver.
Once you have gathered all the necessary equipment, you’re ready to move on to the next step: choosing the appropriate audio connection.
Step 2: Choose the appropriate audio connection
Now that you have all the necessary equipment, it’s time to choose the appropriate audio connection between your TV and the Sony surround sound system. The choice of connection will depend on the available ports on both devices and the audio quality you desire.
If your TV and audio receiver have HDMI ports, using an HDMI connection is generally the best choice. HDMI supports high-quality audio and video transmission in a single cable, which simplifies the setup. Simply connect one end of the HDMI cable to the HDMI ARC (Audio Return Channel) port on the TV and the other end to the HDMI ARC input on the audio receiver.
Alternatively, if your TV has an optical output and your audio receiver has an optical input, you can use an optical cable. This connection allows for digital audio transmission, providing a high-quality audio experience.
If your TV and audio receiver only have RCA connections, you can use RCA cables to connect the devices. However, keep in mind that RCA cables transmit analog audio, which may result in a lower audio quality compared to HDMI or optical connections.
It’s worth noting that some TVs may have multiple audio outputs. In such cases, ensure that you select the correct audio output that is compatible with your surround sound system.
Once you have chosen the appropriate audio connection, you’re ready to proceed to the next step: connecting the audio receiver to the TV.
Step 3: Connect the audio receiver to the TV
With the appropriate audio connection selected, it’s time to connect the audio receiver to your TV. Follow these steps:
- Turn off both your TV and the audio receiver.
- Locate the audio output on your TV. This could be an HDMI ARC port, an optical output, or RCA outputs.
- If you’re using an HDMI connection, connect one end of the HDMI cable to the HDMI ARC port on the TV and the other end to the HDMI ARC input on the audio receiver.
- If you’re using an optical connection, insert one end of the optical cable into the optical output on the TV and the other end into the optical input on the audio receiver.
- If you’re using RCA cables, plug the red and white connectors into the corresponding audio output ports on your TV and connect the other end to the audio input ports on the audio receiver.
- Once all the connections are made, ensure they are secure.
Now that the audio receiver is connected to the TV, it’s time to move on to the next step: setting up the audio receiver.
Step 4: Set up the audio receiver
Setting up the audio receiver is crucial to ensure that it recognizes the connected devices and delivers the best audio performance. Follow these steps to properly configure your Sony surround sound system:
- Turn on both your TV and the audio receiver.
- Using the remote control of the audio receiver, select the input source that corresponds to the connection you made in the previous step (HDMI, optical, or RCA).
- Navigate through the audio receiver’s menu system to access the audio settings.
- Configure the audio settings according to your preferences. You may adjust the speaker levels, audio modes, and other options to optimize the surround sound experience.
- Ensure that the audio receiver is set to output audio to the connected speakers. Depending on your receiver model, you may need to select “TV speakers off” or a similar option to route the audio to the surround sound speakers.
- Once you have made the necessary configurations, save the settings and exit the menu.
By properly setting up the audio receiver, you’ll ensure that it recognizes and utilizes the connected devices, resulting in optimal audio performance. With the audio receiver set up, it’s time to move on to the next step: adjusting the audio settings on your TV.
Step 5: Adjust the audio settings on your TV
Now that you have connected and set up the audio receiver, it’s time to adjust the audio settings on your TV to ensure that it works seamlessly with your Sony surround sound system. Follow these steps:
- Access the settings menu on your TV.
- Navigate to the audio settings section.
- Adjust the audio output settings to match the connection you have made. For example, if you are using HDMI ARC, select the appropriate HDMI ARC output.
- Ensure that the audio output format matches the capabilities of your surround sound system. You may have options such as stereo, Dolby Digital, DTS, or other surround sound formats.
- Verify that the volume control on your TV is set to a comfortable level, as you will primarily control the audio volume through the audio receiver.
- Save the settings and exit the menu.
By adjusting the audio settings on your TV, you’ll ensure that the audio output is properly configured to work with your Sony surround sound system. This will help deliver the best audio experience when enjoying movies, music, or games.
Now that the audio settings on your TV are adjusted, it’s time for the final step: testing the surround sound system.
Step 6: Test the surround sound system
With everything connected and configured, it’s time to test your Sony surround sound system. This step allows you to ensure that the audio is properly distributed to the speakers and that you’re getting the immersive audio experience you desire. Follow these steps to test your surround sound system:
- Play a source that supports surround sound, such as a Blu-ray movie with Dolby Atmos or a video game with surround sound capabilities. Make sure the audio is set to output through your connected audio receiver.
- Listen carefully to the audio coming from each speaker. You should hear distinct sounds and effects coming from different directions. For example, in a movie scene with a car driving from left to right, you should hear the sound move from the left speaker to the right speaker.
- If the audio is not properly distributed or if you’re not hearing sound from all the speakers, check the connections and settings on both your TV and audio receiver. Double-check that you have selected the correct audio output and that the speakers are properly configured in the audio receiver’s settings.
- Make any necessary adjustments and retest until you’re satisfied with the audio performance.
Testing your surround sound system is crucial to ensure that you’re getting the full benefits of the immersive audio experience. By verifying the audio distribution and making any necessary adjustments, you’ll be able to enjoy your favorite movies, music, and games with incredible sound quality.
Congratulations! You have successfully connected and set up your Sony surround sound system to your TV. Now sit back, relax, and enjoy the immersive audio experience that only surround sound can deliver.
Conclusion
Setting up a Sony surround sound system with your TV can significantly enhance your audio-visual experience and bring the cinema-like atmosphere right into your own home. By following the step-by-step guide outlined in this article, you can easily connect and configure your surround sound system and enjoy immersive, high-quality audio.
Remember to gather all the necessary equipment, choose the appropriate audio connection, and connect the audio receiver to your TV. Make sure to set up the audio receiver and adjust the audio settings on your TV for optimal performance. Finally, test the surround sound system to ensure the audio is properly distributed to all the speakers. If you encounter any issues along the way, double-check the connections and settings and make the necessary adjustments.
With your Sony surround sound system properly set up, you’ll be able to immerse yourself in your favorite movies, TV shows, games, and music like never before. The surround sound experience will allow you to hear every detail, feel like you’re a part of the action, and truly elevate your entertainment enjoyment.
So, go ahead and experience sound in a whole new way with your Sony surround sound system. Sit back, relax, and let the immersive audio transport you to new dimensions of entertainment.