Home>Production & Technology>Audio Interface>How To Hook Up An Audio Interface To A Headphone Amp
Audio Interface
How To Hook Up An Audio Interface To A Headphone Amp
Published: February 4, 2024
Learn how to easily connect an audio interface to a headphone amp for enhanced sound quality. Discover step-by-step instructions and expert tips to optimize your audio experience.
(Many of the links in this article redirect to a specific reviewed product. Your purchase of these products through affiliate links helps to generate commission for AudioLover.com, at no extra cost. Learn more)
Table of Contents
- Introduction
- Understanding Audio Interfaces and Headphone Amps
- Types of Audio Interfaces
- Types of Headphone Amps
- Connecting the Audio Interface to the Headphone Amp
- Step 1: Gather the necessary equipment
- Step 2: Preparing the audio interface
- Step 3: Connecting the audio interface to the headphone amp
- Step 4: Checking the audio settings
- Step 5: Adjusting volume levels
- Step 6: Testing the setup
- Troubleshooting common issues
- Conclusion
Introduction
Audio interfaces and headphone amps are essential tools for anyone involved in the world of audio recording or music production. They play key roles in ensuring high-quality audio output and optimal listening experiences.
An audio interface acts as a bridge between your computer or recording device and your audio equipment, such as microphones and instruments. It converts analog audio into digital signals that can be processed and recorded on your computer. On the other hand, a headphone amp amplifies the audio signal, allowing you to drive high-quality headphones or monitor speakers.
Whether you are a professional musician, a podcaster, or simply a music enthusiast looking to enhance your listening experience, understanding how to properly connect an audio interface to a headphone amp is crucial. This setup enables you to listen to audio playback with utmost clarity and detail.
In this article, we will delve into the world of audio interfaces and headphone amps, exploring the different types available and providing step-by-step instructions on how to connect them. By the end, you’ll have a better understanding of how to hook up your audio interface to a headphone amp and optimize your audio quality.
Let’s dive in and explore the exciting world of audio interfaces and headphone amps!
Understanding Audio Interfaces and Headphone Amps
Before we dive into the process of connecting an audio interface to a headphone amp, it’s important to have a solid understanding of what these two components are and how they work together.
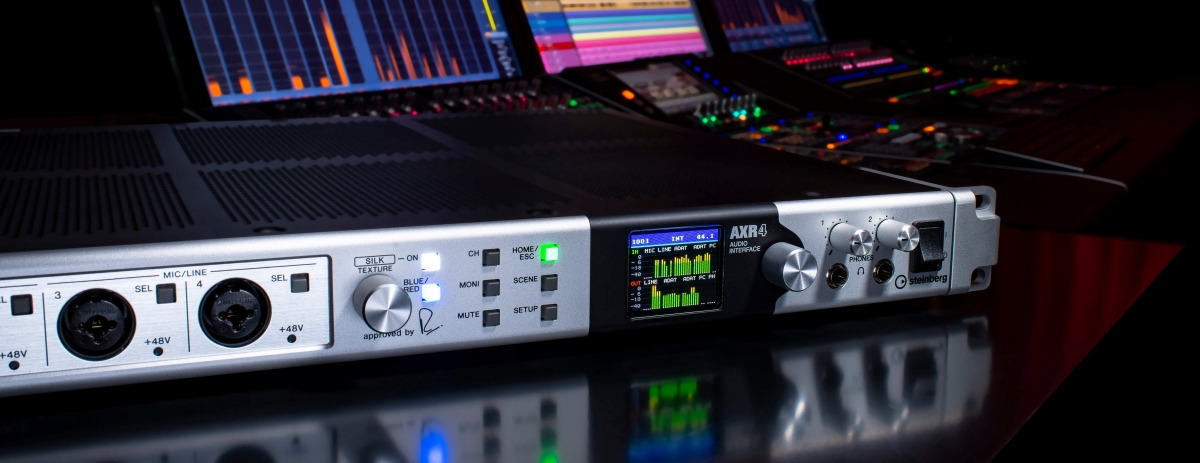
An audio interface is a piece of hardware that allows you to connect your audio equipment, such as microphones or instruments, to your computer or recording device. It acts as a sound card, converting analog audio signals into digital data that can be processed by your computer. Audio interfaces come in various shapes and sizes, with different input and output options to accommodate different recording needs.
A headphone amp, on the other hand, amplifies the audio signal and drives high-quality headphones or monitor speakers. It ensures that you can hear your audio playback with optimal clarity and detail. Some audio interfaces have built-in headphone amps, while others require a separate headphone amp for monitoring.
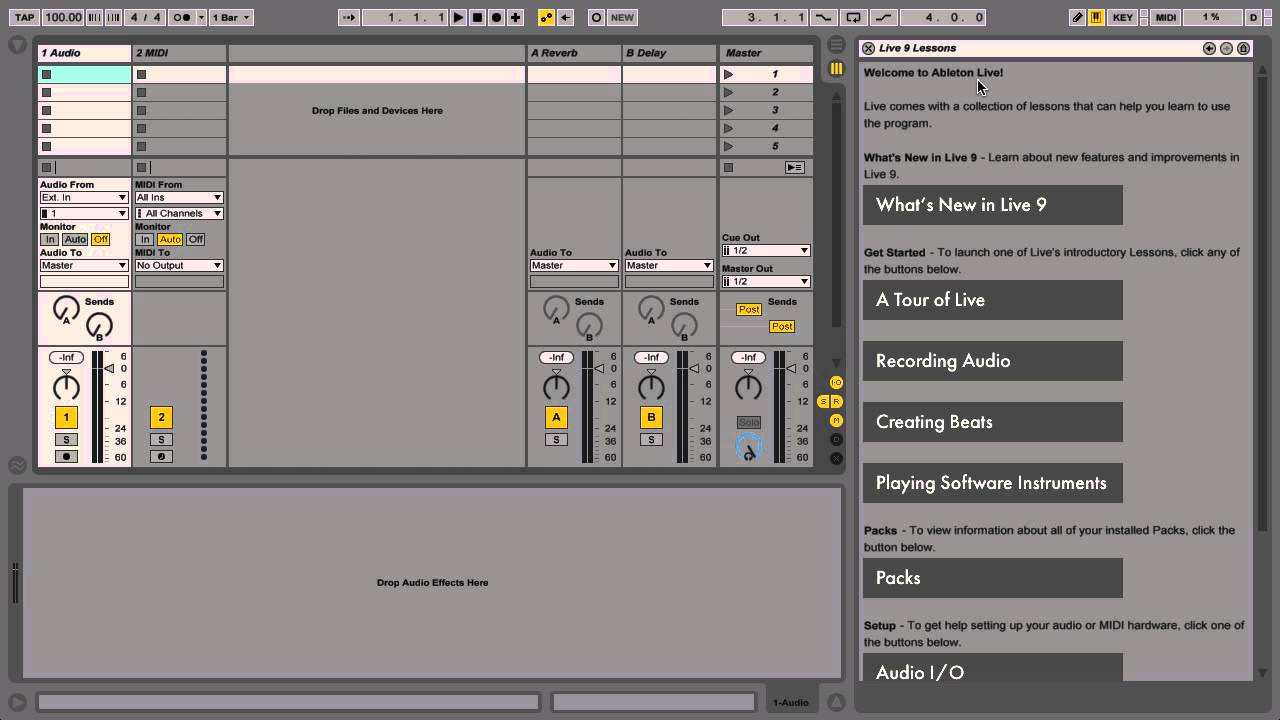
When it comes to audio interfaces, there are two main types: USB and Thunderbolt. USB audio interfaces are the most common and widely used, providing a convenient plug-and-play solution for most recording needs. They typically connect to your computer via a USB port and offer a range of inputs and outputs for connecting your audio equipment.
Thunderbolt audio interfaces, on the other hand, offer faster data transfer rates and lower latency, making them ideal for professional recording and production setups. They connect to your computer via a Thunderbolt port and offer even more inputs and outputs for expanded recording capabilities.
Similarly, headphone amps can be categorized into two main types: dedicated headphone amps and integrated headphone amps. Dedicated headphone amps are standalone units that are specifically designed to amplify the audio signal for headphones. They often offer a higher power output and improved audio quality compared to integrated headphone amps.
Integrated headphone amps, on the other hand, are built into audio interfaces or other audio equipment. While they may not offer the same power output as dedicated headphone amps, they are still capable of driving headphones or monitor speakers effectively.
By understanding the different types of audio interfaces and headphone amps, you can choose the setup that best suits your recording and listening needs. Now that we have a grasp of these components, let’s move on to the process of connecting an audio interface to a headphone amp.
Types of Audio Interfaces
When it comes to audio interfaces, there are several different types available, each with its own unique features and capabilities. Understanding the different types will help you choose the right interface for your recording needs.
1. USB Audio Interfaces: These are the most common and widely used types of audio interfaces. They connect to your computer via a USB port, allowing for easy plug-and-play functionality. USB audio interfaces are suitable for home studios, podcasting, and small-scale recording projects. They usually offer a range of inputs and outputs, including microphone preamps, instrument inputs, and headphone outputs.
2. Thunderbolt Audio Interfaces: These interfaces offer faster data transfer rates and lower latency compared to USB interfaces, making them ideal for professional recording and production setups. They connect to your computer via a Thunderbolt port, providing high-speed connectivity and expanded input/output options. Thunderbolt audio interfaces are often used in larger studios or for demanding recording tasks that require multiple inputs and high-quality audio conversion.
3. FireWire Audio Interfaces: While less common in recent years, FireWire audio interfaces are still used in some professional recording setups. These interfaces connect to your computer via a FireWire port, offering low-latency performance and high-bandwidth data transfer. However, FireWire ports are becoming less prevalent on modern computers, so ensure your computer has a compatible port before considering a FireWire audio interface.
4. PCIe Audio Interfaces: PCIe (Peripheral Component Interconnect Express) audio interfaces are designed to be installed directly into your computer’s PCIe slot. These interfaces offer the fastest data transfer rates and lowest latency, making them ideal for high-end recording and production environments. However, PCIe interfaces require opening up your computer and installing the card, so they are generally used in professional studios with dedicated audio workstations.
5. iOS Interfaces: With the rise of mobile recording and music production, there are also audio interfaces specifically designed for use with iOS devices like iPhones and iPads. These interfaces connect to your iOS device via the Lightning or USB-C port and allow for recording and playback on the go. They are compact, portable, and often come with dedicated mobile recording apps.
When choosing an audio interface, consider factors such as the number and type of inputs and outputs you need, the recording quality and resolution, the compatibility with your computer or device, and the budget. It’s also important to consider future expansion needs and the software compatibility with your recording software or Digital Audio Workstation (DAW).
Now that you have an understanding of the different types of audio interfaces, you can make an informed decision on the interface that suits your recording requirements.
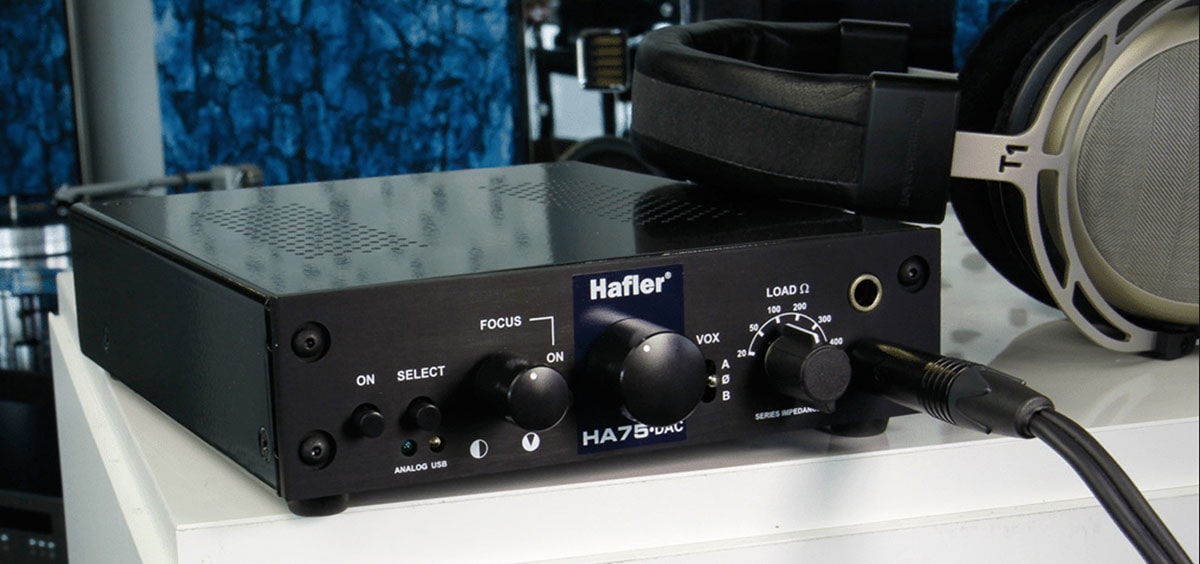
Types of Headphone Amps
Just as there are different types of audio interfaces, there are also various types of headphone amps available on the market. Understanding the differences between these types will help you choose the right headphone amp for your specific needs and preferences.
1. Dedicated Headphone Amps: These are standalone units that are designed solely for amplifying and driving headphones. Dedicated headphone amps often offer a higher power output, allowing for better control and dynamic range. They are suitable for audiophiles, professional audio engineers, and individuals who prioritize the highest-quality audio experience.
2. Integrated Headphone Amps: Some audio interfaces, mixers, and audio equipment come with built-in headphone amps. Integrated headphone amps provide a convenient solution by eliminating the need for an additional standalone amp. While they may not offer the same power output as dedicated headphone amps, they still provide sufficient amplification for most headphones and monitor speakers.
3. Portable Headphone Amps: As the name suggests, portable headphone amps are designed for on-the-go use. They are compact, lightweight, and often battery-powered, making them ideal for mobile recording, listening, or DJing. Portable headphone amps ensure that you can enjoy high-quality audio regardless of your location.
4. Desktop Headphone Amps: Desktop headphone amps are larger and more powerful than portable amps. They are designed to sit on your desk and often offer more connectivity options, including multiple inputs and outputs. Desktop amps are suitable for home studios, professional recording setups, or anyone who wants a dedicated amp for their listening station.
5. Tube Headphone Amps: Tube headphone amps, also known as valve amps, use vacuum tubes in their amplification circuitry. They are valued for their warm, vintage sound characteristics. Tube amps often add a touch of smoothness and richness to the audio, appealing to audiophiles and individuals who enjoy a classic sound profile.
When choosing a headphone amp, consider factors such as the impedance and sensitivity of your headphones, the power output of the amp, the type of audio you’ll be listening to, and your desired sound characteristics. Additionally, look for features like multiple headphone outputs, adjustable gain settings, and equalization options to tailor your listening experience.
By understanding the different types of headphone amps and their features, you can find the perfect match for your specific audio needs, whether it’s for studio recording, critical listening, or enjoying your favorite music on the go.
Connecting the Audio Interface to the Headphone Amp
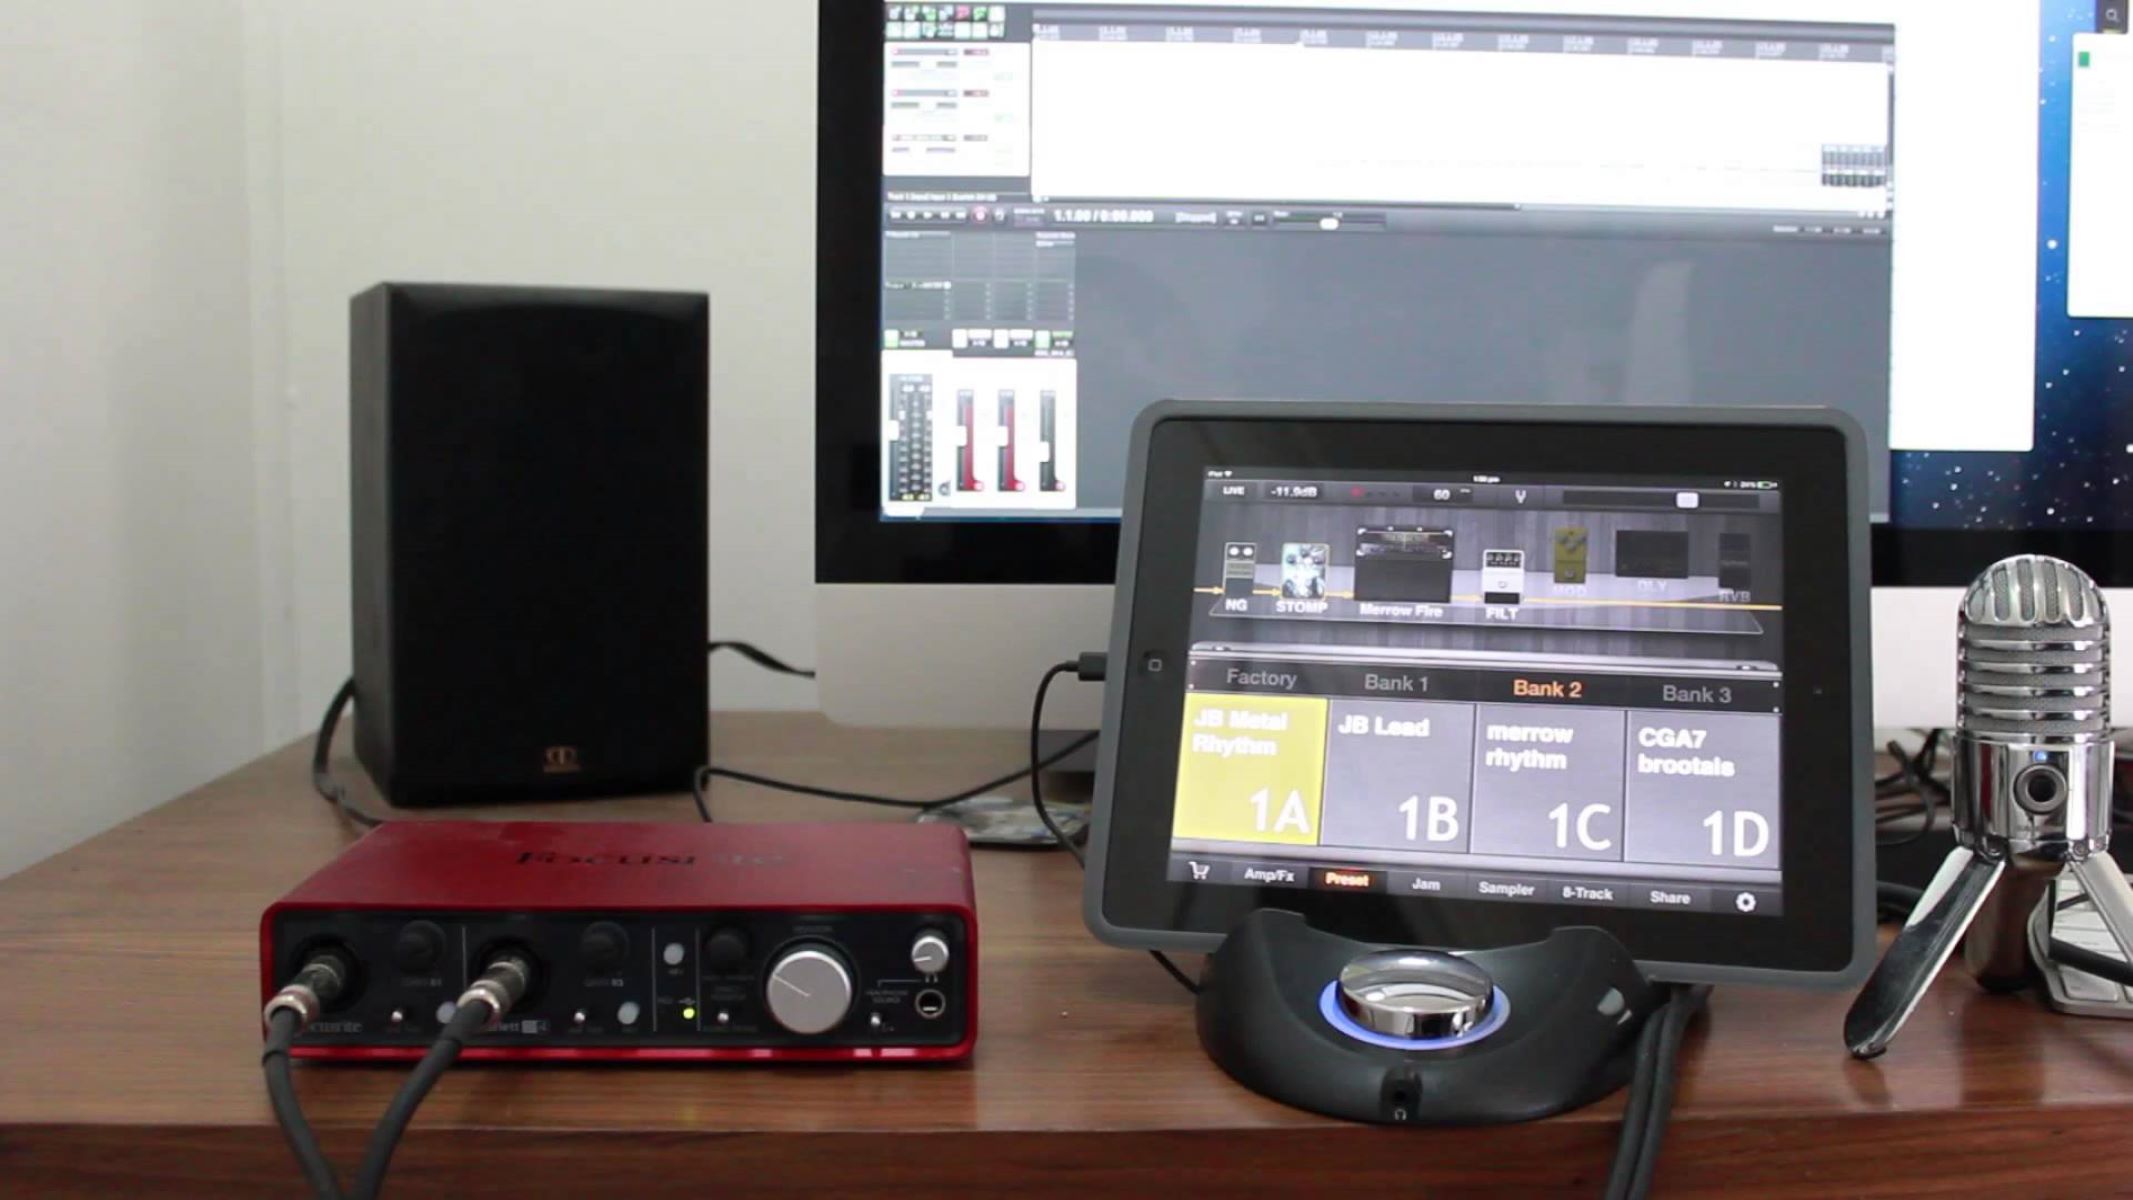
Now that we understand the basics of audio interfaces and headphone amps, let’s explore the process of connecting them together. Properly connecting your audio interface to your headphone amp ensures optimal audio quality and allows you to monitor your recordings or enjoy your music with clarity and precision.
Follow these steps to connect your audio interface to your headphone amp:
Step 1: Gather the necessary equipment:
- An audio interface with appropriate outputs
- A headphone amp with inputs compatible with your audio interface outputs
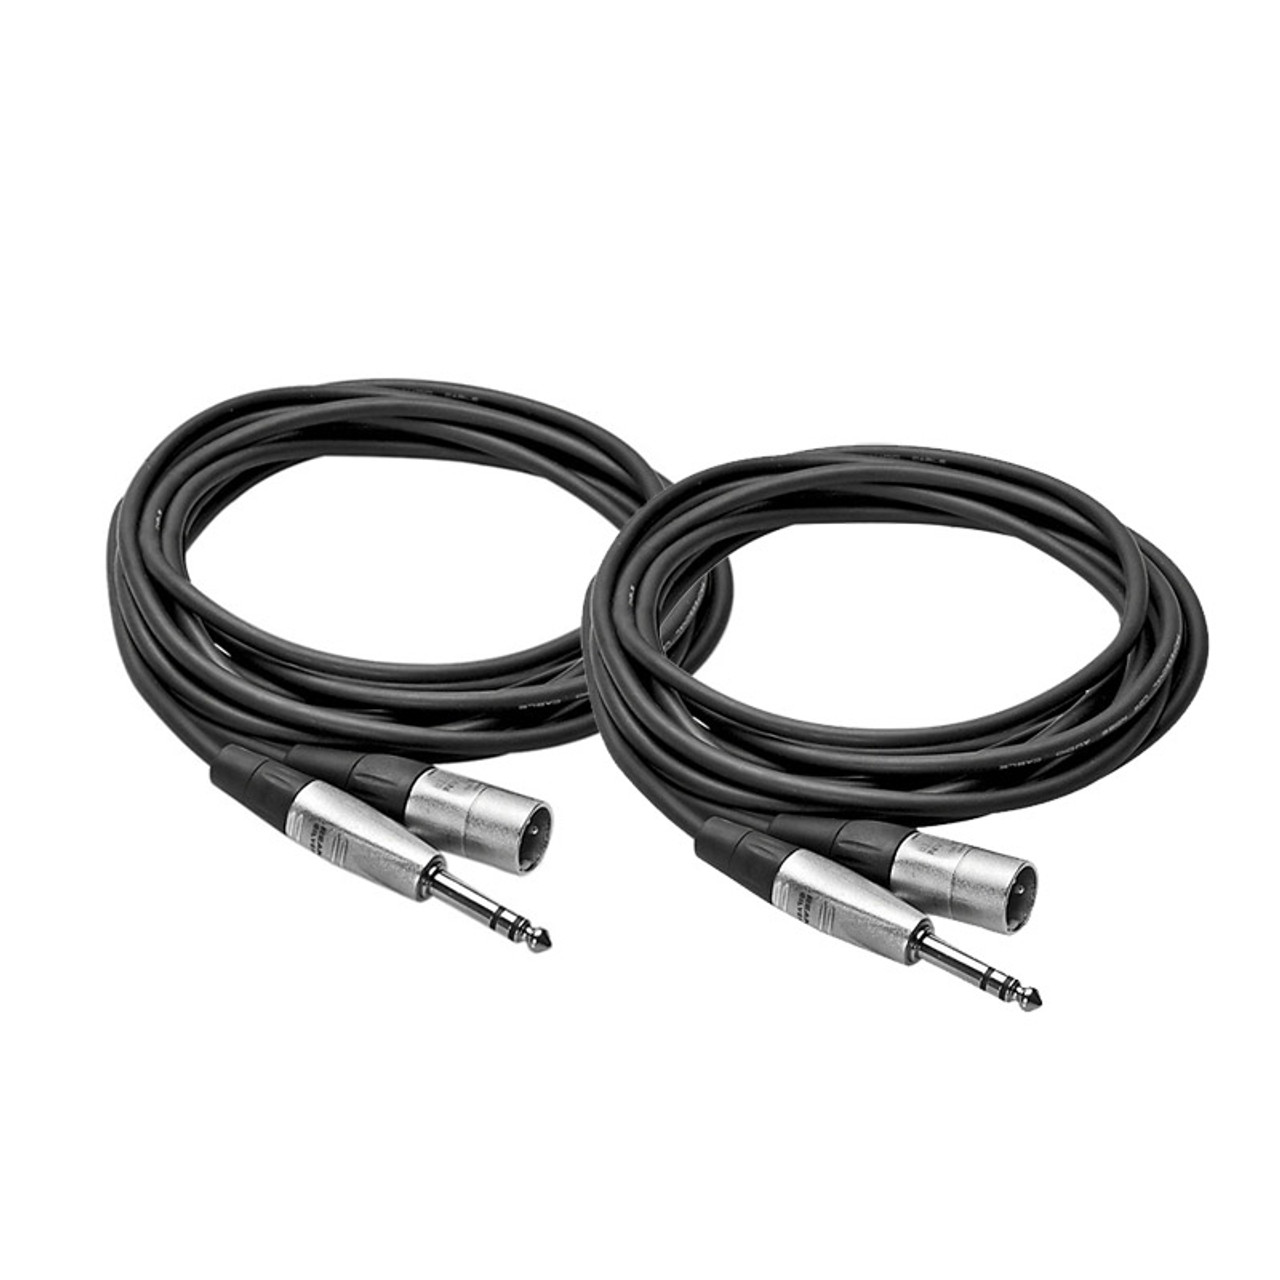
- Audio cables (such as 1/4-inch TRS or XLR cables) to connect the audio interface and headphone amp
- Headphones or monitor speakers
Step 2: Prepare the audio interface:
- Power off your audio interface and computer for safety.
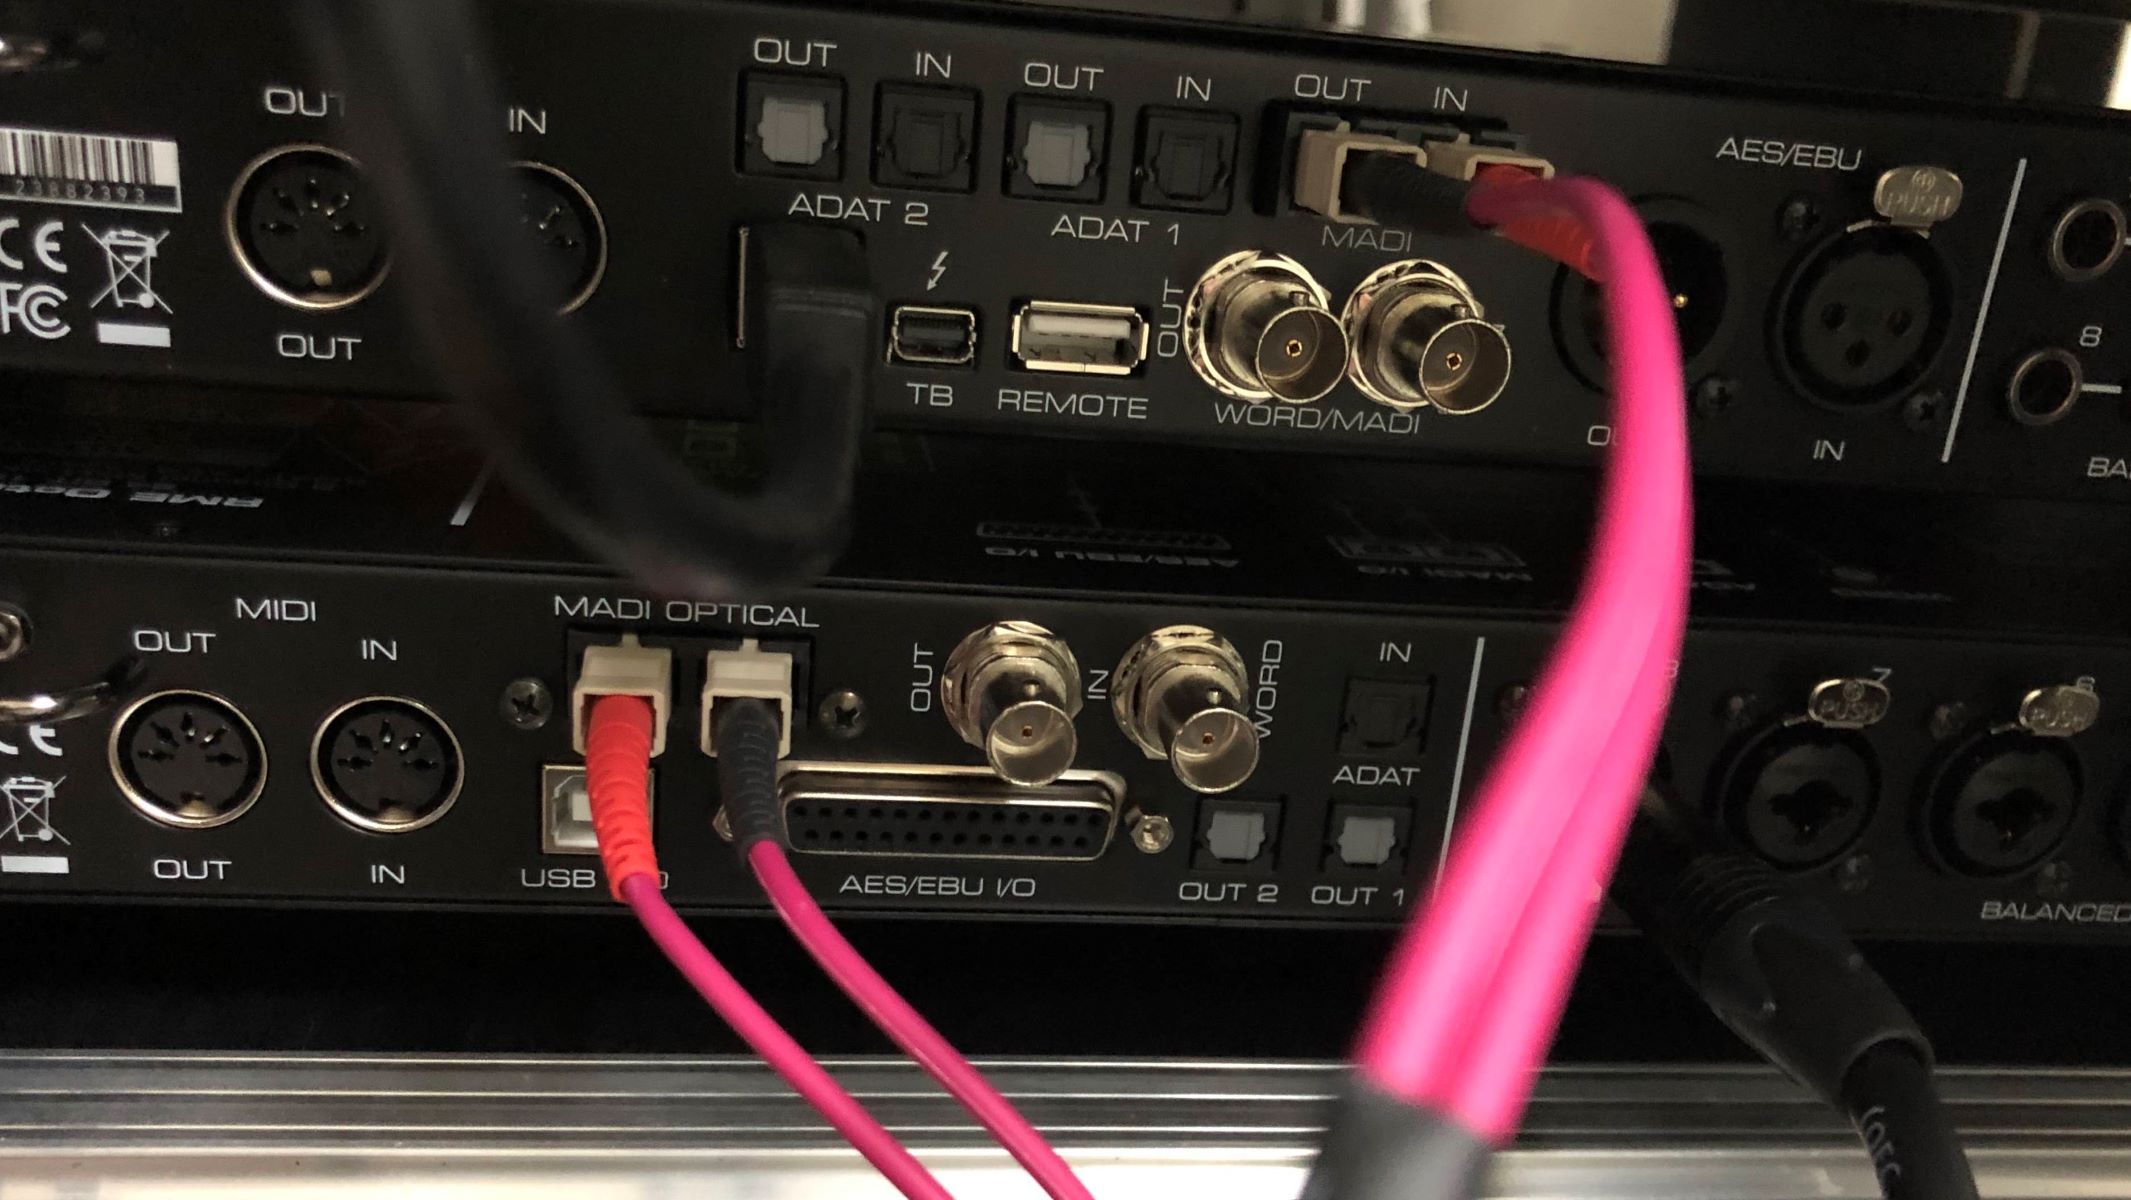
- Locate the main output ports on your audio interface. These are usually 1/4-inch TRS jacks or XLR connectors.
- Connect one end of the audio cable to the main output ports on your audio interface.
Step 3: Connect the audio interface to the headphone amp:
- Locate the input ports on the headphone amp, usually labeled as “Line In” or “Input”.
- Connect the other end of the audio cable to the input ports on the headphone amp.
Step 4: Check the audio settings:
- Power on your audio interface and headphone amp.
- Ensure that the volume controls on both the audio interface and headphone amp are set to their minimum levels to prevent any sudden loud sounds.
- Check the audio settings on your computer or recording device to ensure that the audio output is routed through your audio interface.
Step 5: Adjust volume levels:
- Gradually increase the volume levels on your audio interface and headphone amp to a comfortable listening level.
- Pay attention to any clipping or distortion in the audio and adjust the settings accordingly.
Step 6: Test the setup:
- Play a test audio source, such as a music track or recording, on your computer or recording device.
- Listen through your headphones or monitor speakers connected to the headphone amp and ensure that the audio is clear and balanced.
If you encounter any issues during the setup process, refer to the troubleshooting section in this article for common solutions.
By following these steps, you can successfully connect your audio interface to your headphone amp and enjoy high-quality audio monitoring or playback for your recording or listening sessions.
Step 1: Gather the necessary equipment
Before you can connect your audio interface to your headphone amp, it’s important to gather all the necessary equipment. Having the right tools on hand will ensure a smooth and successful setup process.
Here’s what you’ll need:
- Audio interface: Choose an audio interface that suits your recording and playback needs. Make sure it has the appropriate outputs to connect to your headphone amp. Consider factors such as the number of inputs and outputs, audio resolution, and compatibility with your computer or recording device.
- Headphone amp: Select a headphone amp that matches your audio interface’s output specifications. Decide whether you prefer a dedicated headphone amp or an integrated one that comes with your audio interface. Consider factors such as power output, impedance matching with your headphones, and desired sound characteristics.
- Audio cables: Depending on the output ports of your audio interface and the input ports of your headphone amp, you’ll need the appropriate audio cables. Common options include 1/4-inch TRS cables, XLR cables, or RCA cables. Make sure the cables are of good quality to maintain signal integrity.
- Headphones or monitor speakers: Choose a pair of headphones or monitor speakers that suit your listening preferences and recording requirements. Ensure they have the appropriate connector (such as a 1/4-inch or 3.5mm TRS plug) to connect to your headphone amp.
By gathering these essential tools, you’ll be well-prepared to connect your audio interface to your headphone amp and set up a professional audio monitoring or playback system.
Step 2: Preparing the audio interface
Before you can connect your audio interface to your headphone amp, it’s important to prepare the audio interface for the setup process. Taking the necessary steps to properly set up your audio interface will ensure optimal performance and audio quality.
Follow these steps to prepare your audio interface:
- Power off your audio interface and computer: Before making any connections, ensure that both your audio interface and computer are powered off. This is a precautionary measure to avoid any potential damage to the equipment.
- Locate the main output ports: Identify the main output ports on your audio interface. These ports are usually 1/4-inch TRS jacks or XLR connectors. Depending on the specific model of your audio interface, these output ports may be labeled as “Line Out,” “Main Out,” or something similar.
- Connect the audio cable: Take one end of the audio cable (such as a 1/4-inch TRS or XLR cable) and plug it into the main output ports of your audio interface. Make sure the connection is secure and tight to ensure reliable signal transmission.
- Prepare the other end of the cable: Depending on the input ports of your headphone amp, you may need to prepare the other end of the audio cable accordingly. For example, if your headphone amp has XLR input ports, you may need to use an XLR-to-XLR cable or prepare an adapter if necessary. Ensure that you have the appropriate connectors to match the inputs of your headphone amp.
By following these steps to prepare your audio interface, you are ready to proceed with connecting it to your headphone amp. This ensures that the audio signal from your audio interface will be properly transmitted to the next stage of the setup process.
Step 3: Connecting the audio interface to the headphone amp
After preparing your audio interface, the next step in connecting it to your headphone amp is making the physical connections between the two devices. Properly connecting the audio interface to the headphone amp will ensure that the audio signal is transferred accurately, allowing you to monitor or enjoy playback with optimal clarity.
Follow these steps to connect the audio interface to the headphone amp:
- Locate the input ports on the headphone amp: Identify the input ports on your headphone amp. These ports may be labeled as “Line In,” “Input,” or something similar. The input ports are where you’ll connect the audio cables from your audio interface.
- Connect the other end of the audio cable: Take the other end of the audio cable, which is connected to the main output ports of your audio interface, and plug it into the corresponding input ports on your headphone amp. Ensure that the connection is secure and tight.
- Repeat the process if necessary: If your headphone amp has multiple input channels or if you want to connect other devices, such as external processors or additional audio sources, you can repeat the previous steps for each additional connection. Refer to the user manual of your headphone amp for specific instructions on how to handle multiple input connections.
- Check the connection: Once all the necessary connections are made, visually inspect the cables and ports to ensure that everything is connected properly and securely. A loose or faulty connection can result in signal loss or audio degradation.
By following these steps, you have successfully connected your audio interface to your headphone amp. The audio signal from your audio interface will now flow to and be amplified by the headphone amp, allowing you to monitor or enjoy your audio playback with enhanced clarity and accuracy.
Step 4: Checking the audio settings
Once you have connected your audio interface to your headphone amp, it’s important to check and adjust the audio settings to ensure the proper routing of the audio signal. This step will ensure that the audio playback or monitoring is directed through the connected devices and that you can hear your audio with the desired settings.
Follow these steps to check the audio settings:
- Power on your audio interface and headphone amp: Ensure that both your audio interface and headphone amp are powered on and ready for use. This will allow the devices to initialize and be recognized by your computer or recording device.
- Set the volume controls to minimum: Before increasing the volume levels, it’s important to set both the audio interface and headphone amp volume controls to their minimum levels. This precautionary step helps prevent any sudden loud sounds or potential damage to your headphones or speakers.
- Check the audio settings on your computer: Open the audio settings on your computer or recording device. Select the audio output device as your audio interface to ensure that the audio signal is routed through it. This step ensures that your audio playback or monitoring is directed through the connected devices and not through the computer’s built-in speakers or headphone output.
- Configure sample rate and buffer size: In your computer’s audio settings or recording software, configure the sample rate and buffer size according to your preference and recording requirements. The sample rate determines the quality and resolution of the audio, while the buffer size influences the latency of the audio playback. Adjust these settings based on your specific needs.
By checking and adjusting the audio settings, you ensure that the audio signal is properly routed through your audio interface and headphone amp, providing the desired output for monitoring or playback. This step sets the foundation for a smooth and optimized audio experience.
Step 5: Adjusting volume levels
After checking the audio settings, the next step is to adjust the volume levels on your audio interface and headphone amp. Properly setting the volume levels ensures that you can hear your audio playback or monitoring at an appropriate and comfortable level without any distortion or clipping.
Follow these steps to adjust the volume levels:
- Gradually increase the volume: Start by gradually increasing the volume levels on your audio interface and headphone amp. Begin with both controls set to their minimum levels and slowly raise the volume until the desired listening level is achieved.
- Use your ears as a guide: Pay close attention to the audio quality and listen for any signs of distortion, clipping, or imbalance in the sound. Adjust the volume controls accordingly to achieve a balanced and clear audio output.
- Take breaks and rest your ears: When adjusting volume levels, it’s important to take breaks and rest your ears periodically. Prolonged exposure to high sound levels can lead to hearing fatigue. Give yourself and your ears brief intervals of rest throughout the adjustment process.
- Consider the optimal listening level: Aim for a volume level that is loud enough to hear all the details in your audio, but not excessively loud that it causes discomfort or potential harm to your hearing. The ideal volume level may vary depending on personal preference and the specific audio content.
- Make adjustments as needed: Depending on the audio content and your listening environment, you may need to make additional adjustments to the volume levels from time to time. Trust your ears and make the necessary tweaks to ensure an enjoyable and balanced listening experience.
By taking the time to adjust the volume levels on both your audio interface and headphone amp, you can achieve an optimal listening experience. Finding the right balance ensures that you can hear your audio accurately, without any distortions or discomfort, whether it’s for recording, mixing, or general music enjoyment.
Step 6: Testing the setup
After connecting and adjusting the volume levels, it’s crucial to test the setup to ensure that the audio signal is being reproduced accurately through your headphones or monitor speakers. Testing allows you to identify any potential issues and make any necessary adjustments before immersing yourself in your audio production or listening session.
Follow these steps to test the setup:
- Play a test audio source: Start by playing a test audio source, such as a music track or a recorded piece of audio, on your computer or recording device. Choose something familiar and diverse in terms of audio frequencies to evaluate the overall sound quality.
- Listen through your headphones or monitor speakers: Put on your headphones or listen through your connected monitor speakers. Pay close attention to the audio quality, assessing factors such as clarity, balance, and depth. Listen for any audio artifacts, distortions, or inconsistencies.
- Check for audio balance: Ensure that the audio is balanced between the left and right channels. Check that the stereo imaging is accurate, with instruments or sound elements appropriately positioned in the stereo field.
- Inspect for any unwanted noise: Listen for any unwanted noise, such as hum, hiss, or interference. Excessive noise may indicate issues with the setup or interference from external sources. Troubleshoot and resolve any such issues accordingly.
- Make adjustments if necessary: If you notice any issues or inconsistencies during the testing phase, make adjustments to the volume levels, audio settings, or cable connections as needed. Iterate the testing and adjustment process until you achieve a satisfactory audio experience.
Testing the setup ensures that your audio interface, headphone amp, and connected devices are working together harmoniously. This step allows you to fine-tune your equipment and optimize your listening or recording experience before diving into your audio production tasks or simply enjoying your favorite music with enhanced clarity and accuracy.
Troubleshooting common issues
While setting up and connecting your audio interface to your headphone amp, you may encounter a few common issues. Troubleshooting these issues can help resolve any technical problems and ensure a smooth audio experience. Here are some common issues and their potential solutions:
No audio output:
- Check that all cables are securely connected and that the audio interface and headphone amp are powered on.
- Confirm that the audio settings on your computer or recording device are configured to use the audio interface as the designated output device.
- Ensure that the volume levels on both the audio interface and headphone amp are adjusted appropriately.
Distorted or clipped audio:
- Ensure that the volume levels are not set too high on the audio interface or headphone amp. Lower the volume levels and gradually increase them until you find a comfortable and distortion-free listening level.
- Check the gain settings on your audio interface if applicable. Adjusting the gain can help prevent distortion caused by input levels being too high.
- Inspect your audio cables for any damage or faulty connections. Replace cables if necessary.
Imbalanced audio or stereo image:
- Check the cable connections between the audio interface and headphone amp. Ensure that they are secure and not loose.
- Confirm that the left and right channels are connected correctly. Swap the cables if needed.
- Inspect the audio settings on your computer or recording device to ensure proper stereo panning and balance configuration.
Excessive noise or interference:
- Check for any nearby sources of electromagnetic interference, such as other electrical devices or cables. Move cables and devices away from potential sources of interference.
- Ensure that all equipment is grounded properly. This can help reduce the chances of unwanted noise or interference.
- Consider using shielded cables to minimize the impact of external interference.
If you’ve tried troubleshooting the common issues but are still experiencing problems, consult the user manuals for both your audio interface and headphone amp. Alternatively, reach out to the manufacturer’s customer support for further assistance.
Remember, every setup may have unique challenges, so don’t hesitate to explore additional resources or seek professional help if needed. Troubleshooting and resolving any issues will help you fully enjoy your audio interface and headphone amp setup.
Conclusion
Connecting an audio interface to a headphone amp is a crucial step in optimizing your audio recording, production, and listening experience. With the right equipment and understanding of the process, you can achieve high-quality sound playback and accurate monitoring.
In this article, we explored the basics of audio interfaces and headphone amps, understanding their roles in converting and amplifying audio signals. We discussed the different types of audio interfaces and headphone amps available, allowing you to choose the setup that best suits your needs and preferences.
We then went through a step-by-step guide on how to connect the audio interface to the headphone amp, from gathering the necessary equipment to adjusting volume levels. Additionally, we covered checking audio settings and testing the setup to ensure optimal performance and audio quality.
We also provided troubleshooting tips for common issues that may arise during the setup process, helping you overcome any technical difficulties and enjoy a seamless audio experience.
By following the steps outlined in this article and troubleshooting any potential problems, you can successfully connect your audio interface to your headphone amp and immerse yourself in your audio projects with confidence.
Remember to adapt these instructions to your specific equipment and consult the user manuals if needed. As you continue to explore and refine your setup, you’ll unlock the full potential of your audio interface and headphone amp, achieving professional-grade audio results and an enhanced listening experience.