Home>Production & Technology>Noise Cancellation>How To Setup Noise Cancellation Arctis 7
Noise Cancellation
How To Setup Noise Cancellation Arctis 7
Modified: January 22, 2024
Learn how to easily set up noise cancellation on your Arctis 7 headset for a more immersive and distraction-free gaming experience.
(Many of the links in this article redirect to a specific reviewed product. Your purchase of these products through affiliate links helps to generate commission for AudioLover.com, at no extra cost. Learn more)
Table of Contents
- Introduction
- Step 1: Unboxing the Arctis 7 headset
- Step 2: Charging the headset
- Step 3: Connecting the headset to your device
- Step 4: Installing the SteelSeries Engine software
- Step 5: Accessing the noise cancellation settings
- Step 6: Adjusting the noise cancellation level
- Step 7: Testing the noise cancellation feature
- Step 8: Troubleshooting common issues
- Conclusion
Introduction
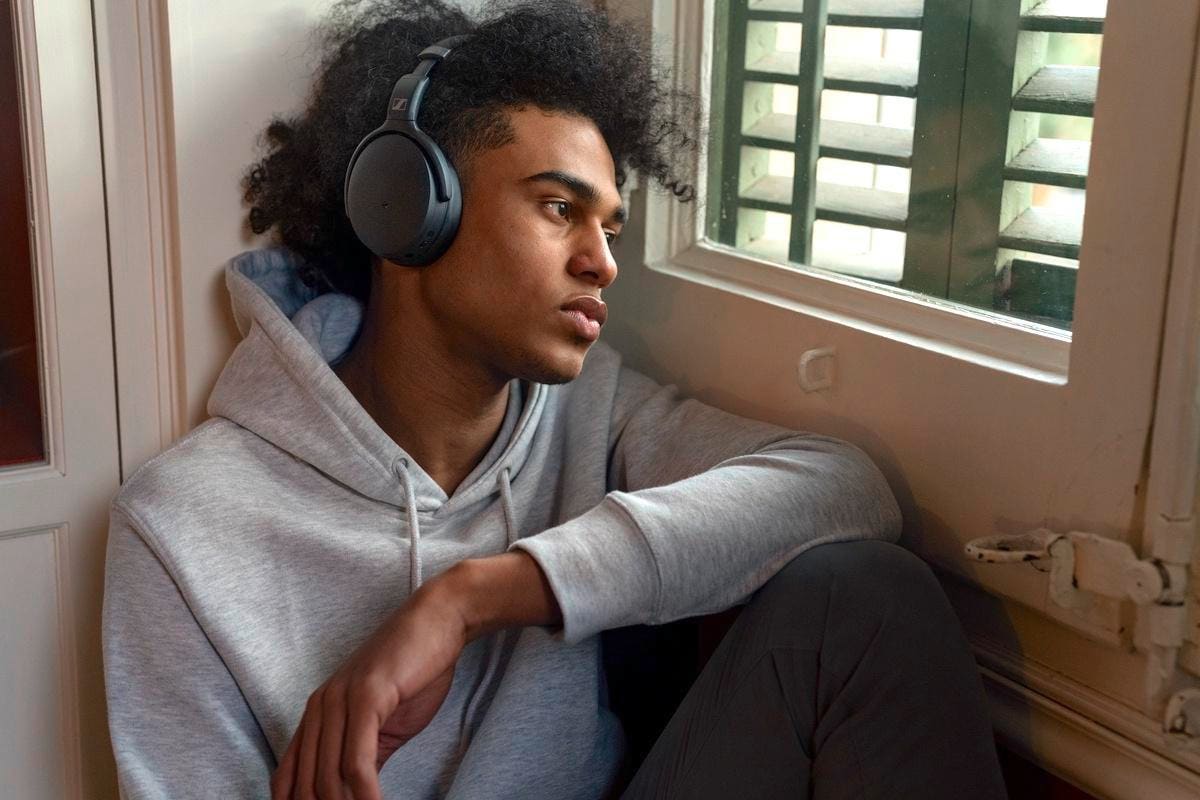
Welcome to the world of noise cancellation! In an increasingly noisy and chaotic environment, having the ability to shut out unwanted sounds and immerse yourself in pure audio bliss is a game-changer. This is where the Arctis 7 headset with noise cancellation comes in to save the day.
The Arctis 7 is a popular gaming headset designed by SteelSeries, renowned for their top-notch audio quality and cutting-edge technology. With its advanced noise cancellation feature, the Arctis 7 allows you to enjoy your games, movies, and music without any distracting background noise.
The purpose of this article is to guide you through the setup process of the noise cancellation feature on your Arctis 7 headset. Whether you’re a seasoned gamer, an avid movie enthusiast, or simply someone who appreciates high-quality audio, this step-by-step tutorial will help you make the most of your noise cancellation experience.
From unboxing the headset to adjusting the noise cancellation level, we will cover everything you need to know to set up and fine-tune your Arctis 7 for maximum noise cancellation performance. So, grab your headset, get ready to embark on a journey of immersive sound, and let’s dive into the world of noise cancellation!
Step 1: Unboxing the Arctis 7 headset
Congratulations on your new Arctis 7 headset! Before we dive into the setup process, let’s start by unboxing the headset and familiarizing ourselves with its components.
When you open the box, you will find the Arctis 7 headset neatly packed along with a USB transmitter dongle, a USB charging cable, and a user manual. Take a moment to carefully remove all the items from the box and arrange them on your workspace.
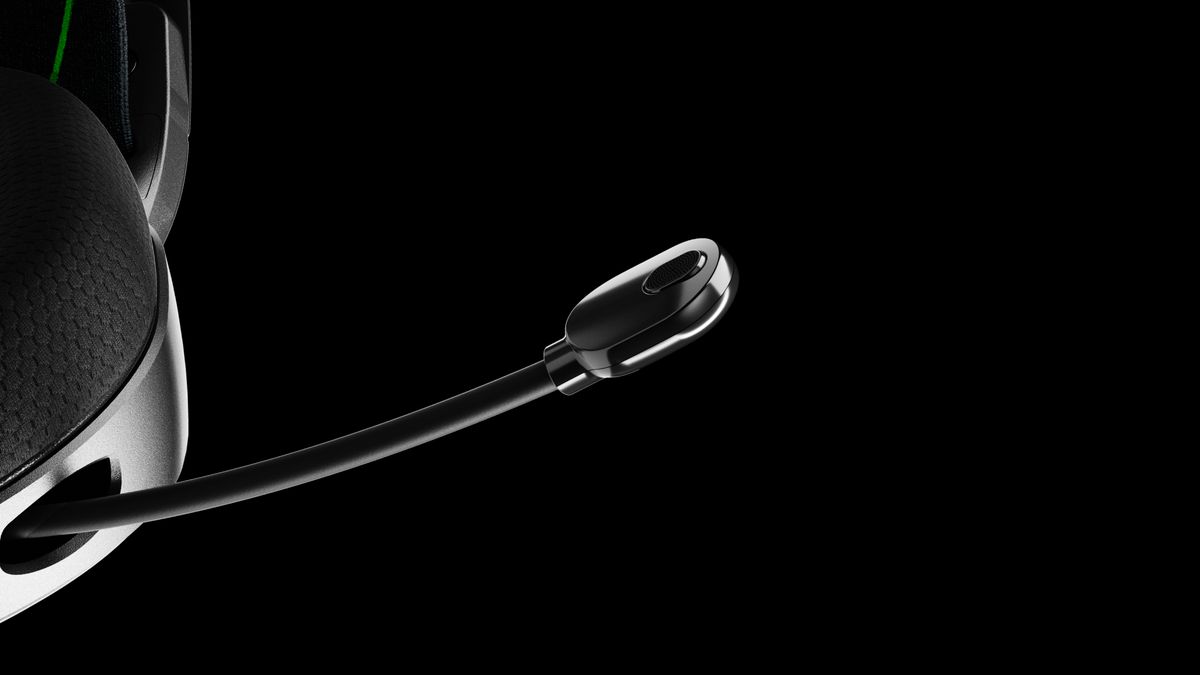
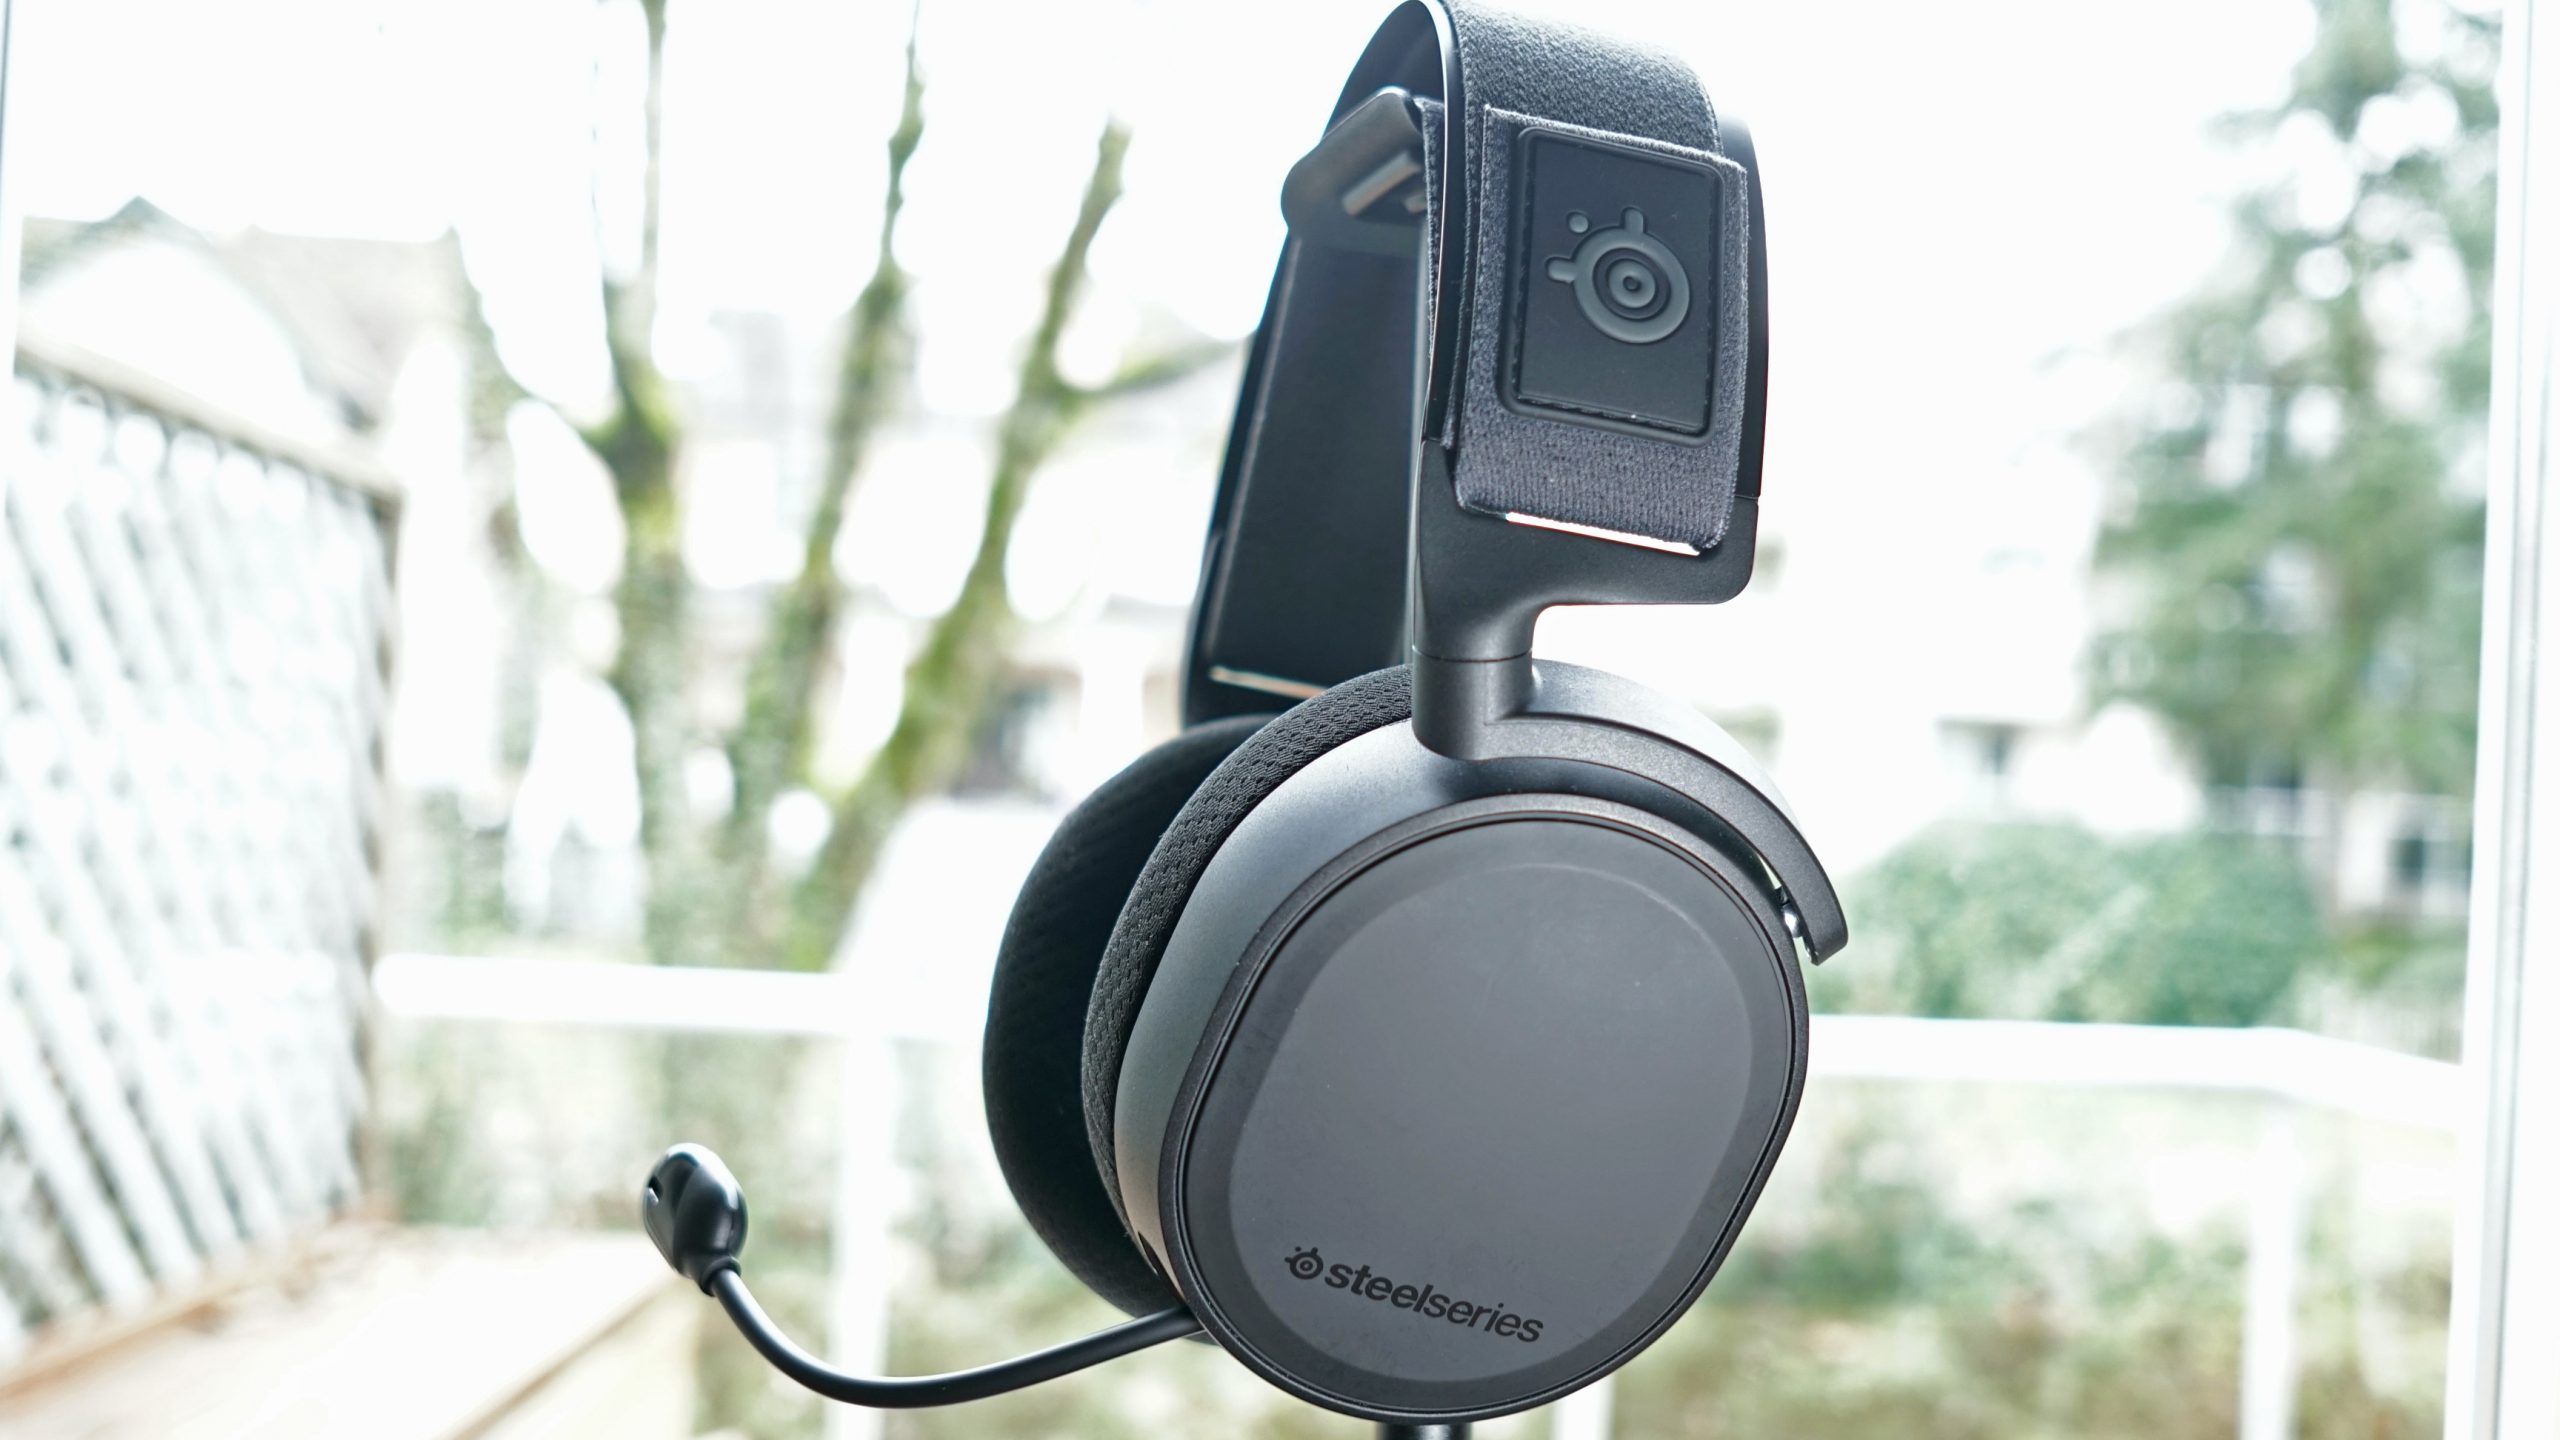
The Arctis 7 headset features a sleek and comfortable design, with a retractable microphone and soft, cushioned ear cups that provide hours of gaming or listening comfort. The USB transmitter dongle acts as the wireless receiver for the headset and allows for seamless connection to your device.
To begin setting up the Arctis 7, locate the USB charging cable and connect it to the headset. Plug the other end of the cable into a USB port on your computer or a compatible charging adapter. This will ensure that your headset is fully charged before proceeding with the setup process.
While the headset is charging, take a moment to review the user manual. It will provide you with detailed instructions on how to pair the headset with the USB transmitter dongle and how to access the noise cancellation settings. Familiarizing yourself with the manual will make the setup process much smoother.
Once your Arctis 7 headset is fully charged, you’re ready to move on to the next step of the setup process. In the following steps, we will explore how to connect the headset to your device, install the necessary software, and access the noise cancellation settings. So, let’s keep the excitement going and move on to the next step!
Step 2: Charging the headset
Before diving into the world of noise cancellation, it’s important to make sure your Arctis 7 headset is fully charged. This will ensure optimal performance and longevity of the battery.
To begin, locate the USB charging cable that came with your Arctis 7 headset. It has a USB-A connector on one end and a micro USB connector on the other. Plug the USB-A end into a USB port on your computer or a compatible charging adapter.
Next, gently insert the micro USB connector into the charging port located on the bottom of the left ear cup of the headset. Make sure the connection is secure but be careful not to force it or bend the connector.
Once connected, a small LED indicator light near the charging port will illuminate, indicating that the charging process has begun. The LED light will turn red while the headset is charging and will turn off once the battery is fully charged.
It is recommended to fully charge the headset before using it for the first time. The charging time may vary, but it usually takes a couple of hours to achieve a full charge. While the headset is charging, it’s a good time to take a break, grab a snack, or read the user manual to familiarize yourself with other features of the Arctis 7 headset.
Once the battery is fully charged, you can disconnect the USB charging cable from both the headset and the power source. Now you are ready to embark on an immersive audio journey with your Arctis 7 headset!
Remember, it is important to periodically recharge the headset to ensure consistent performance. Whenever you notice the battery running low, simply connect the USB charging cable and repeat the above steps to replenish the power.
In the next step, we will explore how to connect the fully charged Arctis 7 headset to your device, so you can start enjoying the benefits of the noise cancellation feature. Let’s move on to the next step of the setup process!
Step 3: Connecting the headset to your device
Now that your Arctis 7 headset is fully charged, it’s time to connect it to your device so you can start experiencing the immersive sound and noise cancellation capabilities.
The Arctis 7 headset offers both wired and wireless connection options, providing you with flexibility based on your preference and the compatibility of your device.
To connect the headset wirelessly, locate the small USB transmitter dongle that came with your Arctis 7. Insert the dongle into an available USB port on your computer or gaming console. The dongle will establish a wireless connection between your device and the headset, ensuring high-quality audio transmission.
If you prefer a wired connection or you’re encountering any issues with the wireless connection, you can use the included 3.5mm audio cable. Connect one end of the cable to the audio output port on your device and the other end to the corresponding audio input port on the Arctis 7 headset.
Once the connection is established, you may need to switch the audio output settings on your device to ensure that the audio is routed through the Arctis 7 headset. Refer to your device’s user manual or settings menu for instructions on how to do this.
It’s important to note that for the best audio experience and to access advanced features like noise cancellation, you should use the wireless connection with the USB transmitter dongle.
Now that your Arctis 7 headset is successfully connected to your device, you’re one step closer to experiencing the superior audio performance and noise cancellation capabilities. In the next step, we will discuss how to install the necessary software to unlock additional features and customize your audio settings. Let’s move on to the next step!
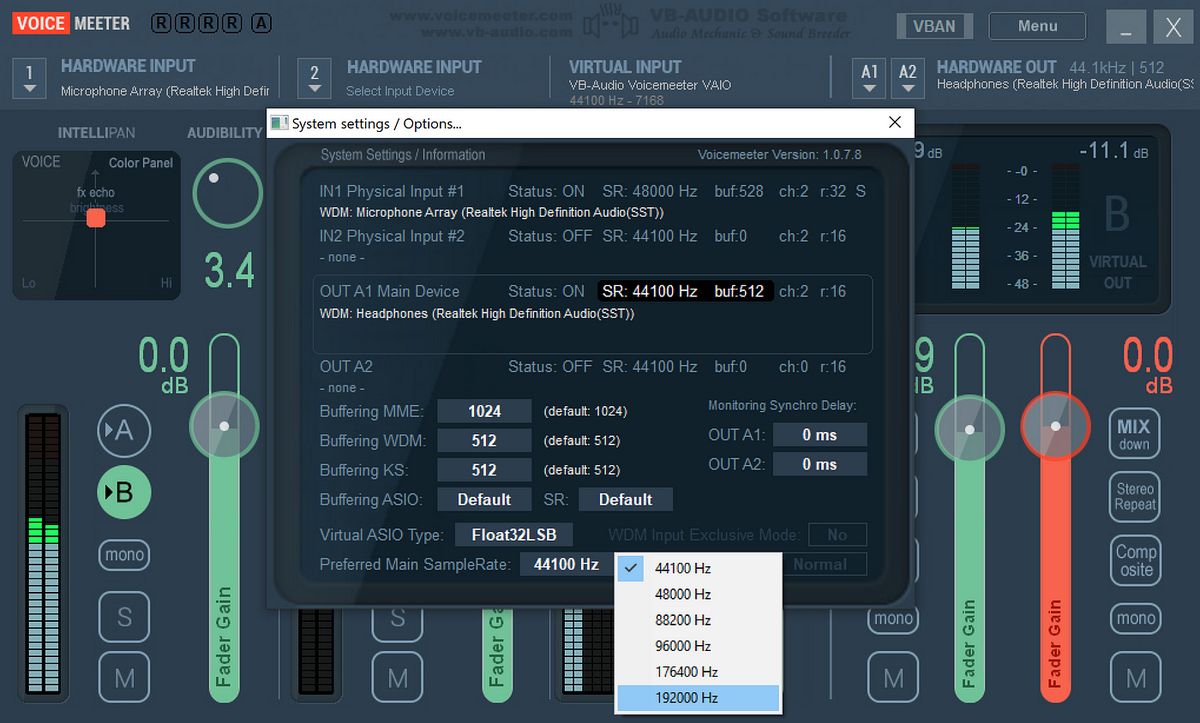
Step 4: Installing the SteelSeries Engine software
To fully unlock the potential of your Arctis 7 headset and access advanced customization features, you’ll need to install the SteelSeries Engine software. This software allows you to fine-tune your audio settings, adjust noise cancellation levels, and create personalized profiles.
Start by visiting the official SteelSeries website and navigating to the Downloads or Support section. Look for the SteelSeries Engine software that is compatible with your operating system, whether it’s Windows, macOS, or Linux.
Download the software and double-click on the installation file to begin the installation process. Follow the prompts on the screen to complete the installation. Once the software is installed, open it and connect your Arctis 7 headset to your device if you haven’t done so already.
The SteelSeries Engine software will automatically detect your headset and display it on the main dashboard. From here, you can explore the various customization options available.
One of the key features of the SteelSeries Engine software is the ability to adjust the noise cancellation levels. You can fine-tune the amount of outside noise that is blocked by the headset, allowing you to create a tailored experience based on your environment and personal preferences.
In addition, the software offers equalizer settings, microphone adjustments, and the ability to create audio presets for different scenarios or gaming genres. Take the time to experiment with these settings and find the perfect balance that enhances your audio experience.
Remember to save your settings and create personalized profiles so you can easily switch between different configurations depending on your needs. This is especially useful if you use your Arctis 7 headset for various activities like gaming, watching movies, or listening to music.
With the SteelSeries Engine software installed and your Arctis 7 headset connected, you now have full control over your audio experience. In the next step, we will explore how to access the noise cancellation settings and adjust them to your liking. Let’s proceed to the next step!
Step 5: Accessing the noise cancellation settings
Now that you have the SteelSeries Engine software installed and your Arctis 7 headset connected, it’s time to delve into the noise cancellation settings. These settings allow you to fine-tune the level of noise isolation and tailor your audio experience to your specific environment and preferences.
Open the SteelSeries Engine software on your computer. You will see a user-friendly interface with various options and settings. Look for the noise cancellation feature or a similar option that allows you to adjust the level of noise isolation.
Click on the noise cancellation settings and a new window or tab will open, displaying a range of options and sliders. Here, you can adjust the noise cancellation level from minimum to maximum, based on your preference. Moving the slider towards the maximum setting will block out more background noise, while moving it towards the minimum setting will allow some ambient sounds to come through.
It’s important to note that the effectiveness of noise cancellation may vary depending on the specific environment and the type of noise you want to cancel. In noisy environments, such as crowded cafes or airplanes, you may need to set the noise cancellation level to maximum for optimal results. In quieter environments, like a home office or a library, a lower setting may be sufficient.
Take some time to experiment with different levels of noise cancellation and find the sweet spot that suits your needs. Pay attention to how the changes in the noise cancellation settings affect your overall audio experience.
Additionally, some Arctis 7 headsets may offer specific modes or presets designed for different scenarios, such as gaming or music. Explore these options within the noise cancellation settings to further customize your audio experience.
Once you have adjusted the noise cancellation settings to your satisfaction, don’t forget to save your changes. This way, your preferred settings will be applied whenever you use your Arctis 7 headset.
Now that you have mastered accessing and adjusting the noise cancellation settings, it’s time to put them to the test. In the next step, we will discuss how to test the noise cancellation feature and ensure it’s working effectively. Let’s move on to the next step!
Step 6: Adjusting the noise cancellation level
Now that you have accessed the noise cancellation settings, it’s time to fine-tune the level of noise isolation to achieve the perfect balance between audio immersion and awareness of your surroundings.
Start by putting on your Arctis 7 headset and positioning it comfortably on your head. Ensure that the ear cups fully cover your ears to maximize the noise cancellation effect.
In the SteelSeries Engine software, locate the noise cancellation settings. You will typically find a slider or a range of options that allow you to adjust the level of noise cancellation.
Begin by setting the noise cancellation level to the default or mid-range setting. This provides a good starting point for your adjustments.
While wearing the headset, play audio content that you typically engage with, whether it’s a game, a movie, or your favorite music. Pay attention to the background noise you want to cancel, such as the hum of a fan or the chatter in a nearby room.
Gradually adjust the noise cancellation level up or down using the slider or the available options. Take note of how these adjustments affect the background noise and your overall audio experience.
If you find that the noise cancellation is too aggressive and blocks out important audio cues or ambient sounds, consider dialing it back to a lower level. This will allow some of the external noise to come through, providing a better balance between isolation and situational awareness.
On the other hand, if the background noise is still noticeable and distracting, gradually increase the noise cancellation level until you achieve the desired level of isolation.
Remember, the optimal level of noise cancellation may vary depending on your specific environment and personal preferences. It’s all about finding the sweet spot that enhances your audio experience without compromising your awareness of important external sounds.
Take your time to experiment and fine-tune the noise cancellation level until you’re satisfied with the results. This can be an iterative process, so don’t be afraid to make adjustments and test them in different environments and situations.
Once you have found the perfect noise cancellation level for your Arctis 7 headset, remember to save your settings in the SteelSeries Engine software. This way, your preferred configuration will be automatically applied whenever you use your headset.
In the next step, we will move on to testing the noise cancellation feature to ensure its effectiveness. Let’s proceed to the next step!
Step 7: Testing the noise cancellation feature
Now that you have adjusted the noise cancellation level to your liking, it’s time to put the feature to the test and see how effectively it blocks out unwanted background noise.
To get started, find a noisy environment or create one by playing a recording of ambient noise, such as a bustling coffee shop or a crowded street. This will help you evaluate the effectiveness of the noise cancellation feature.
Put on your Arctis 7 headset and ensure that it is properly connected to your device. Open your chosen audio content – whether it’s a game, a movie, or your favorite music – and play it at a reasonable volume.
Pay close attention to how well the noise cancellation feature works in eliminating or reducing the ambient noise around you. The goal is to create a more immersive and focused audio experience by minimizing the distractions caused by external sounds.
Notice how effectively the noise cancellation feature blocks out the background noise you selected. Is it able to reduce the noise to a level where it becomes barely audible? Are there any residual sounds that are still noticeable?
If the noise cancellation feature is working as intended, you should experience a significant reduction in background noise, allowing you to fully immerse yourself in your audio content. The overall audio quality should also remain crisp and clear.
However, it’s important to keep in mind that no noise cancellation technology is perfect, and there may be instances where certain frequencies or types of sounds are not fully blocked out. Different environmental conditions and external noises can impact the effectiveness of noise cancellation.
During the testing phase, take note of any specific sounds or frequencies that the noise cancellation feature struggles to eliminate, if any. This information will help you better understand the limitations of the technology and make informed decisions about when and where to use the noise cancellation feature.
After testing the noise cancellation feature in a noisy environment, try utilizing it in quieter surroundings. You may find that even in a relatively calm environment, the noise cancellation feature can enhance your audio experience by creating a more immersive and focused soundscape.
With the noise cancellation feature successfully tested, you can now enjoy the benefits of a more immersive audio experience, thanks to your Arctis 7 headset. In the next step, we will discuss some common issues that may arise during the setup process and provide troubleshooting tips. Let’s move on to the final step!
Step 8: Troubleshooting common issues
While setting up and using your Arctis 7 headset with noise cancellation, you may encounter some common issues. Don’t worry, as most of these issues can be easily resolved with a few simple troubleshooting steps. Here are some common problems and their solutions:
1. No sound or audio: If you’re not hearing any sound or audio through your Arctis 7 headset, ensure that it’s properly connected to your device and that the volume is not muted. Check the audio output settings on your device and make sure they are correctly configured to route audio to the headset.
2. Interference or connectivity issues: If you experience interference or connectivity issues with the wireless connection, try moving the USB transmitter dongle to a different USB port on your device. Additionally, ensure that there are no physical obstructions or interference sources, such as other wireless devices, near the dongle.
3. Low battery life: If you find that your Arctis 7 battery drains quickly, make sure you fully charge it before use. If the issue persists, try adjusting the LED lighting settings on the headset, as brighter LED settings can contribute to faster battery depletion. Also, consider lowering the noise cancellation level, as higher levels of noise cancellation can slightly reduce battery life.
4. Unresponsive buttons or controls: If the buttons or controls on your Arctis 7 headset are unresponsive, try resetting the device. This can usually be done by powering off the headset, removing the USB transmitter dongle, and holding down the power button on the headset for a few seconds. Then, reinsert the dongle and power on the headset.
5. Poor microphone quality: If your microphone quality is not up to par, check the microphone settings in the SteelSeries Engine software. Ensure that the microphone volume is appropriately set and that the microphone is correctly positioned near your mouth. If the issue persists, try testing the microphone on a different device to determine if it’s a hardware or software-related issue.
If you have exhausted these troubleshooting steps and the issue still persists, check the user manual or visit the SteelSeries support website for further assistance. They may have specific troubleshooting guides or firmware updates that can help resolve the problem.
Remember, patience is key when troubleshooting. Most issues can be resolved by following these simple steps. By addressing these common problems, you can ensure a smooth and enjoyable experience with your Arctis 7 headset and its noise cancellation feature.
With the troubleshooting steps in mind, you are now equipped with the knowledge to overcome common issues and optimize your Arctis 7 headset with noise cancellation. Enjoy the immersive audio experience and the ability to shut out unwanted background noise!
As a final note, always refer to the user manual and official support channels for detailed instructions and guidance specific to your Arctis 7 headset model.
With that, we conclude the setup process for the Arctis 7 headset with noise cancellation. We hope this guide has been helpful in assisting you with setting up and maximizing your audio experience. Enjoy your immersive and noise-free journey!
Conclusion
Congratulations! You have successfully set up your Arctis 7 headset with noise cancellation and are now ready to enjoy an immersive audio experience like never before. By following the step-by-step instructions in this guide, you have learned how to unbox the headset, charge it, connect it to your device, install the SteelSeries Engine software, access the noise cancellation settings, adjust the noise cancellation level, test the feature, and troubleshoot common issues.
The Arctis 7 headset with noise cancellation offers a world of possibilities for gamers, movie enthusiasts, and audio aficionados alike. It allows you to fully immerse yourself in your favorite games, movies, and music by eliminating distracting background noise.
Remember, finding the perfect noise cancellation level is a personal preference that may require some experimentation. Take the time to adjust the settings to your liking and create personalized profiles within the SteelSeries Engine software.
Whether you are gaming in a noisy environment, watching a movie in a crowded coffee shop, or simply want to enjoy your music without distractions, the noise cancellation feature of the Arctis 7 headset will elevate your audio experience to new heights.
In the event that you encounter any issues, refer to the troubleshooting section of this guide and reach out to the SteelSeries support team for further assistance. They are always ready to help you get the most out of your headset.
Now, sit back, relax, and enjoy the impressive sound quality and noise cancellation capabilities of your Arctis 7 headset. Immerse yourself in your favorite media, communicate clearly with your teammates, and experience audio like never before.
Thank you for choosing the Arctis 7 headset with noise cancellation. We hope this guide has been informative and valuable in getting you started on your audio journey. Feel free to explore further customization options and features within the SteelSeries Engine software to truly tailor your audio experience to your preferences.
Happy gaming, movie-watching, and music-listening!