Home>Production & Technology>Treble>How To Draw The Treble Clef Symbol

Treble
How To Draw The Treble Clef Symbol
Published: November 26, 2023
Learn how to draw the treble clef symbol with ease using our step-by-step guide. Master the art of creating the treble clef in just a few simple steps.
(Many of the links in this article redirect to a specific reviewed product. Your purchase of these products through affiliate links helps to generate commission for AudioLover.com, at no extra cost. Learn more)
Table of Contents
Introduction
Welcome to this comprehensive guide on how to draw the treble clef symbol! If you have ever been fascinated by the intricate lines and curves of this musical symbol, then you have come to the right place. The treble clef symbol, also known as the G clef, is one of the most recognizable symbols in music notation.
The treble clef symbol is used to indicate the pitch range for instruments such as the piano, violin, flute, and many others. It is typically found on the top staff of musical scores, representing the higher-pitched notes. Learning how to draw the treble clef symbol is not only a fun artistic endeavor but also a practical skill for musicians, educators, and enthusiasts alike.
In this article, we will provide you with a step-by-step guide on how to draw the treble clef symbol. We will also share some useful tips and techniques to help you perfect your drawing. Whether you are a music student, a hobbyist, or simply curious about the world of music notation, this guide will equip you with the knowledge and skills to create a beautiful treble clef symbol.
So, let’s dive in and unlock the secrets of drawing the treble clef symbol!
Understanding the Treble Clef Symbol
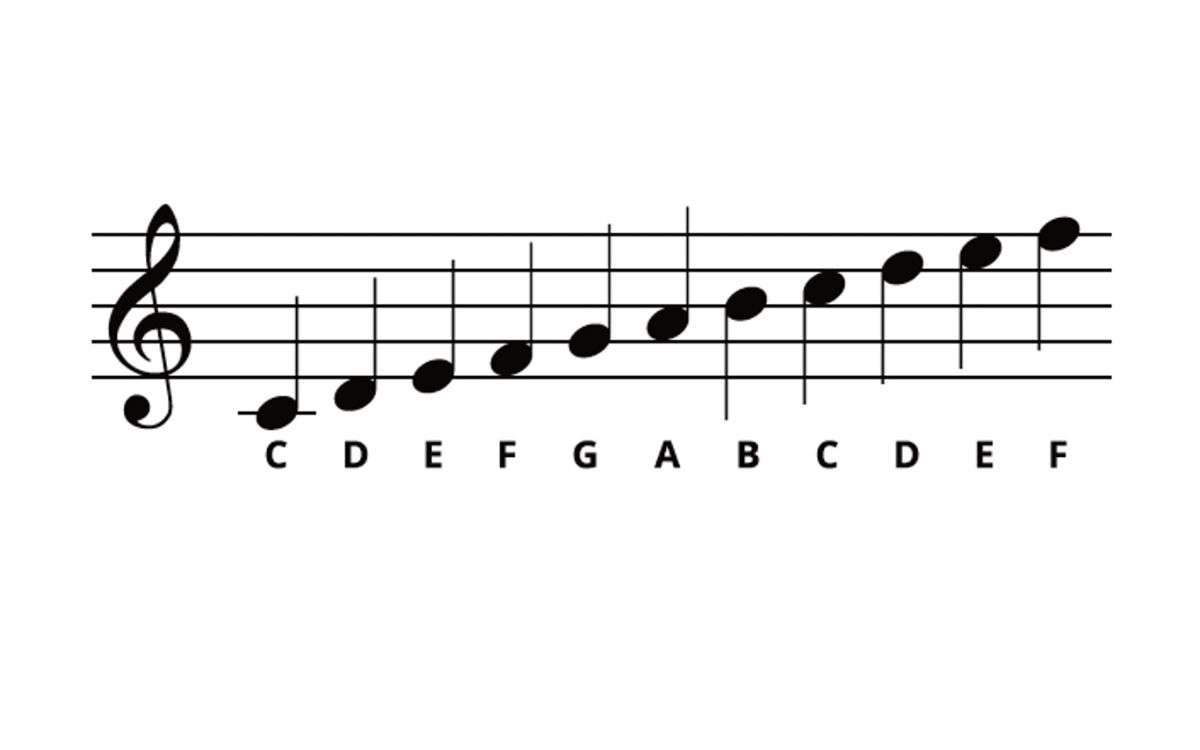
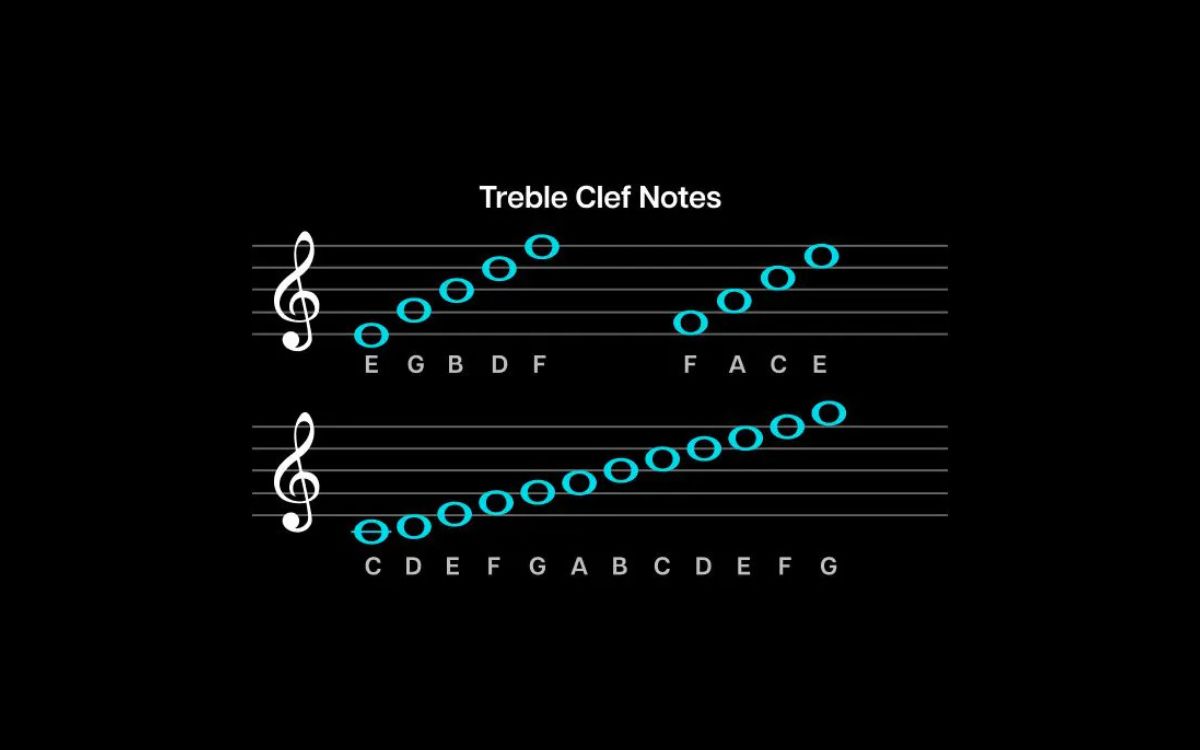
Before we delve into the process of drawing the treble clef symbol, it is important to have a basic understanding of its significance and structure. The treble clef symbol is a notational symbol used in sheet music to represent the pitch range and placement of notes on the staff.
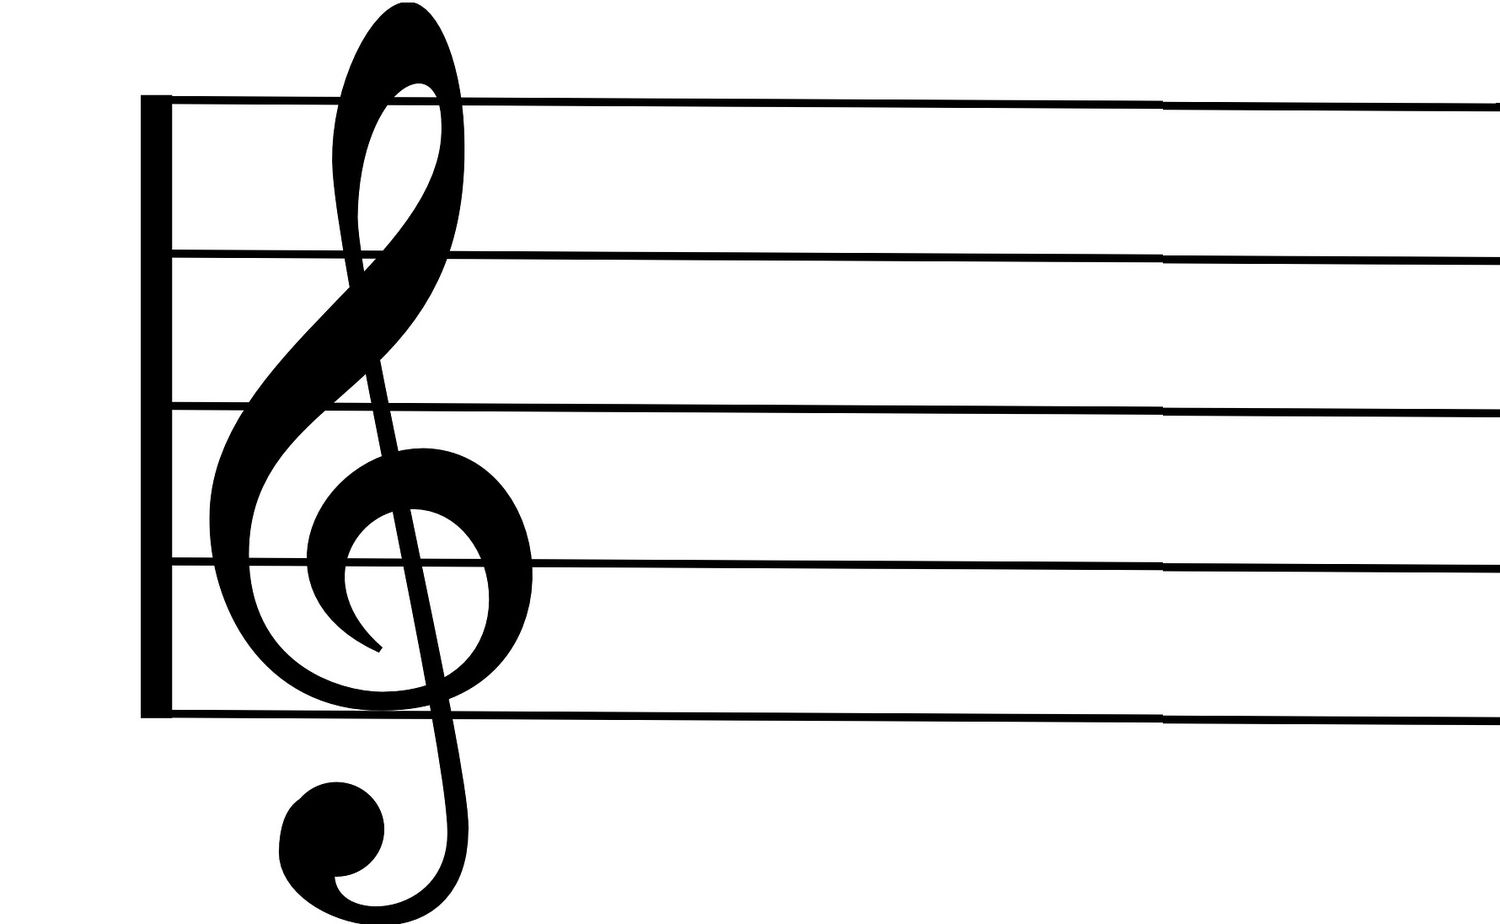
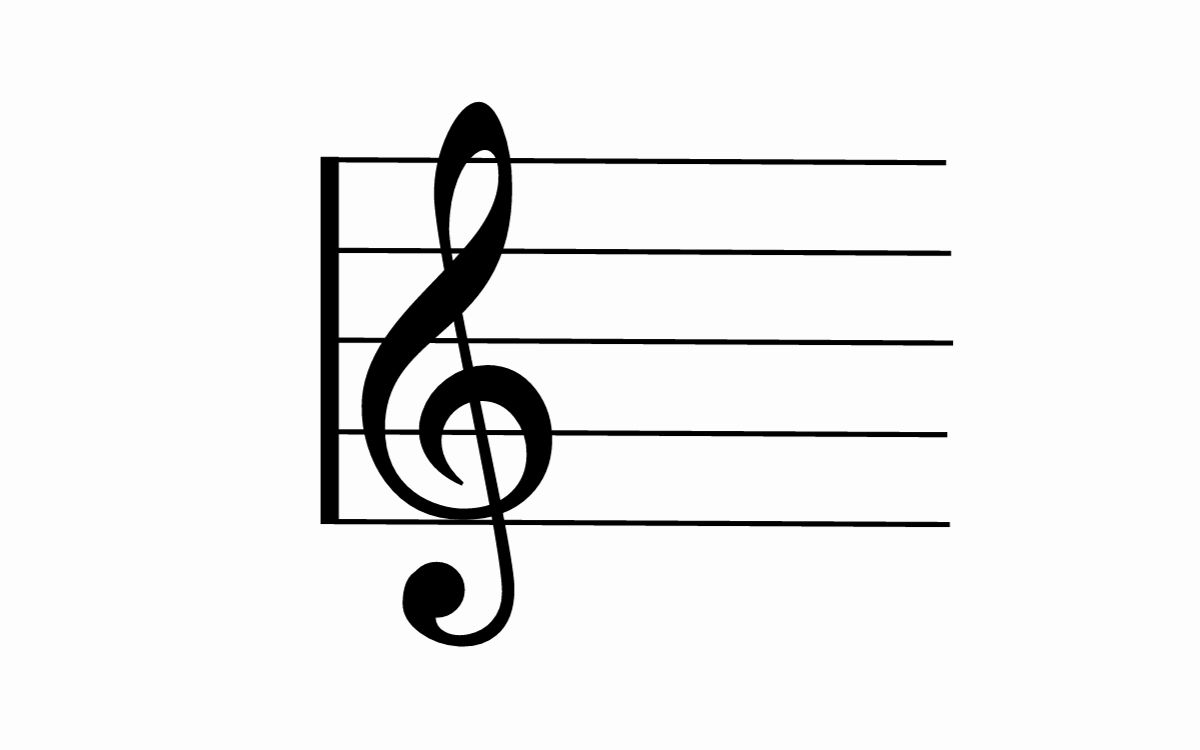
The treble clef symbol resembles a stylized letter ‘G’ with a swirl at the bottom. This swirl wraps around the second line of the staff, also known as the G line, hence its alternative name, the G clef. The treble clef symbol determines the pitch range for the higher notes and is typically used for instruments with higher registers, such as the soprano voice, violin, flute, and trumpet.
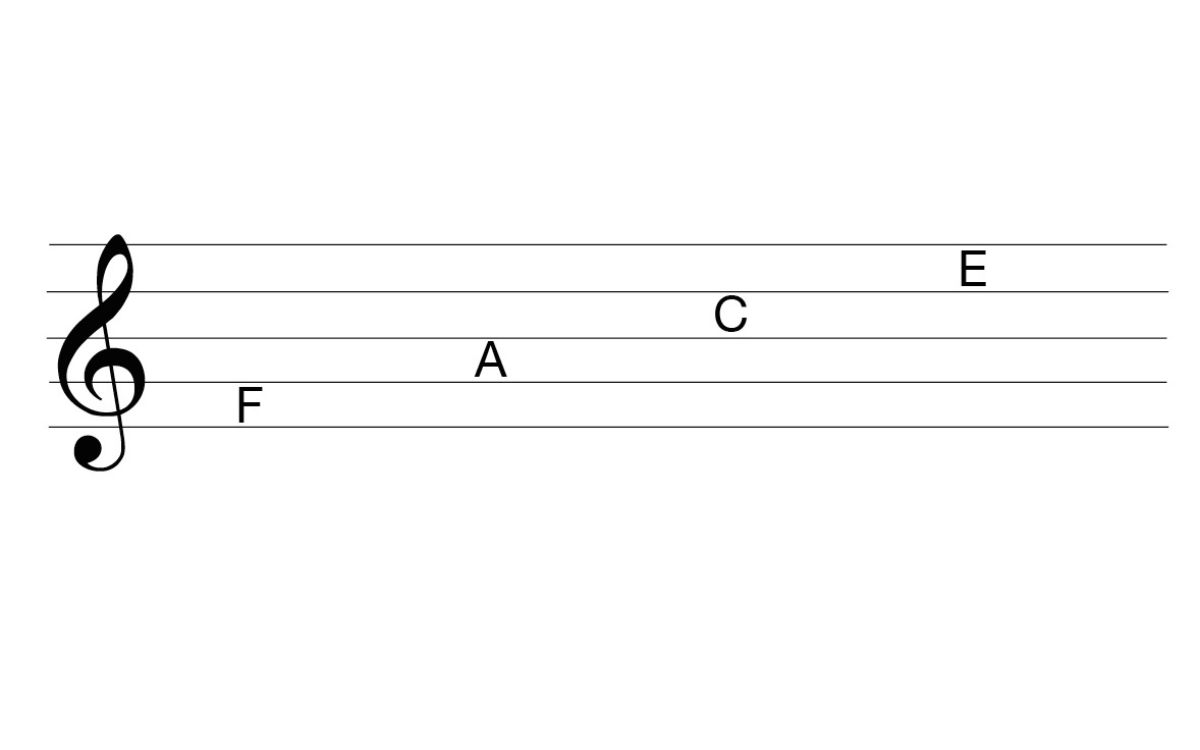
The treble clef symbol serves as a reference point for musicians, indicating where the notes are positioned on the staff. It helps to identify the notes that fall within its range and enables musicians to read and interpret music accurately.
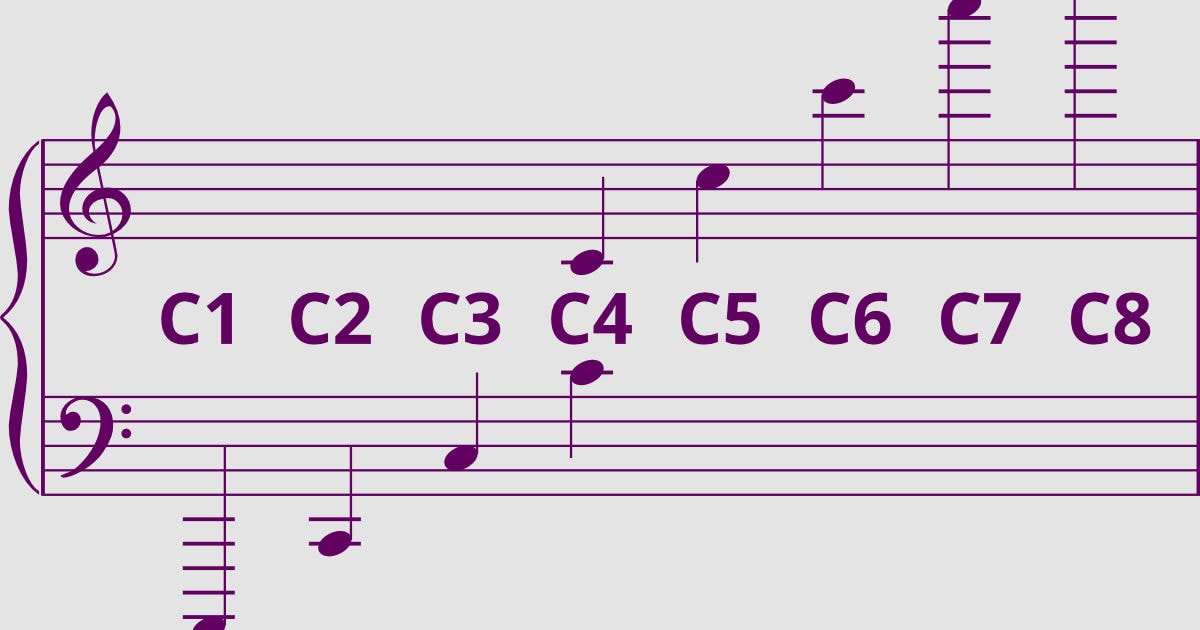
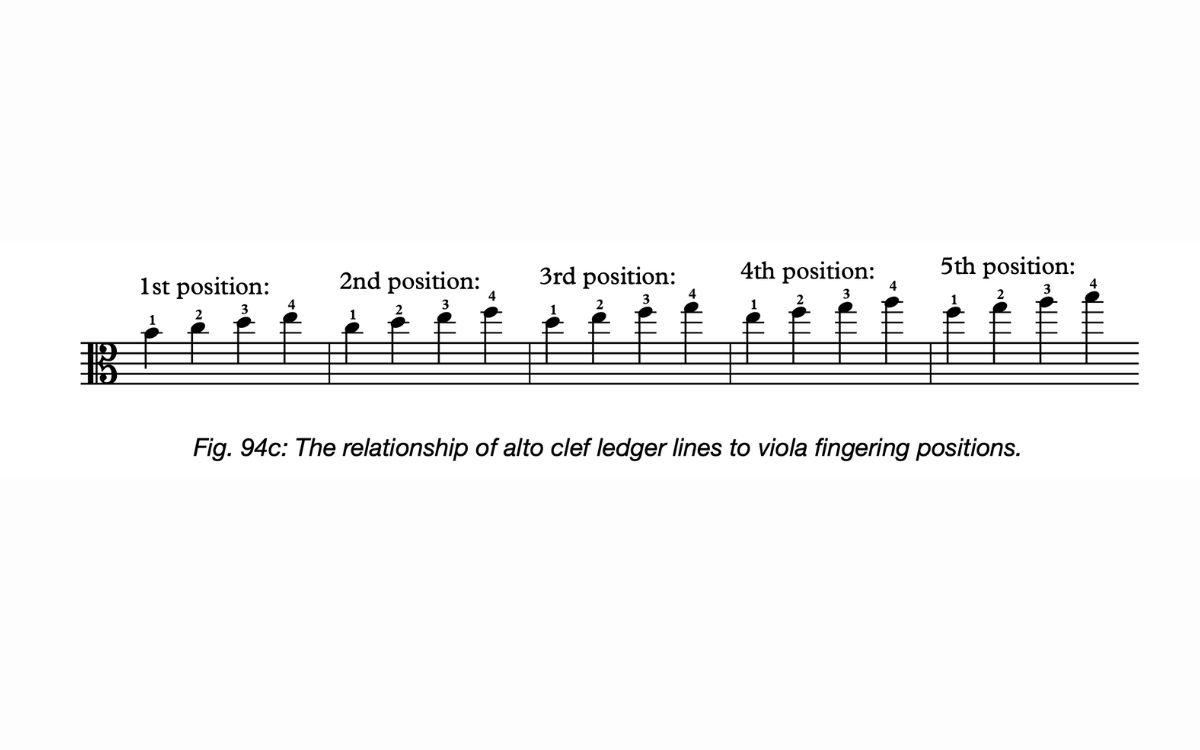
It is worth noting that different clefs are used for different instruments or vocal ranges. For example, the bass clef is used for lower-pitched instruments, such as the cello, bass guitar, and bassoon. The alto clef is used for the viola, while the tenor clef is used for instruments like the trombone and the upper register of the cello.
By understanding the treble clef symbol and its role in music notation, you can better appreciate its importance in communicating the pitch and melody of a musical piece. Now that we have a foundational knowledge of the treble clef symbol, let’s move on to the practical aspect of drawing it.
Step-by-Step Guide on Drawing the Treble Clef Symbol
Now that we are ready to dive into the process of drawing the treble clef symbol, let’s break it down into simple steps to make it more manageable. Follow these steps to create your very own treble clef symbol:
- Start by drawing a slightly curved vertical line pointing upwards. This line will be the center of the treble clef symbol.
- At the top of the vertical line, draw a small loop that curves to the left. This loop forms the top part of the treble clef symbol.
- From the loop, draw another curved line that swirls downwards and wraps around the center line. This line will form the bottom part of the treble clef symbol.
- Continue the swirling motion of the line until it reaches the center line again. Make sure the line is smooth and flowing.
- At the bottom of the swirling line, draw a small inward loop that curves to the right. This loop completes the treble clef symbol.
Remember to take your time and adjust the curves and angles to achieve a balanced and visually pleasing treble clef symbol. Practice drawing it multiple times to improve your technique and confidence.
It’s important to note that there may be slight variations in the style and interpretation of the treble clef symbol. The overall shape and structure should remain consistent, but artists and musicians may add their own unique touches or embellishments to make it their own.
Don’t worry if your first attempts don’t look perfect. Drawing the treble clef symbol takes practice and patience. With time, your drawings will become more refined and accurate.
Now that you have completed your treble clef symbol, you can use it to enhance your sheet music, create artwork, or even personalize your musical instruments. Embrace your creativity and enjoy the process of bringing this iconic symbol to life!
Tips and Techniques for Drawing the Treble Clef Symbol
Drawing the treble clef symbol requires attention to detail and a steady hand. Here are some helpful tips and techniques to improve your drawing:
- Use guidelines: Start by drawing light guidelines to establish the height and width of the treble clef symbol. This will help maintain proportion and ensure consistency in your drawings.
- Practice basic shapes: Break down the treble clef symbol into simple shapes. The loop at the top can be thought of as a smaller circle, while the swirl can be represented by a curved line. Mastering these basic shapes will make the drawing process easier.
- Focus on symmetry: Pay attention to the symmetry of the treble clef symbol. Both sides should be balanced, with curves that mirror each other. Take your time to adjust the curves until you achieve a visually pleasing and symmetrical result.
- Experiment with line weight: Vary the thickness of your lines to add depth and dimension to your drawing. Thicker lines can be used for the outer parts of the symbol, while thinner lines can be used for the inner curves and details.
- Refine with eraser: Use an eraser to refine your drawing and clean up any stray lines. This will help achieve a crisp and polished treble clef symbol.
- Study references: Look at various references of the treble clef symbol to understand its nuances and variations. Study different renditions and try to incorporate elements that resonate with your personal style.
- Practice regularly: Like any skill, drawing the treble clef symbol requires practice. Set aside dedicated time to practice and experiment with different techniques. The more you draw, the better you will become!
Remember, drawing the treble clef symbol is both an art form and a technical skill. Embrace your individual style and have fun with the process. Don’t be afraid to make mistakes; they are part of the learning journey. With time and practice, you will develop your own unique interpretation of this iconic musical symbol.
Common Mistakes to Avoid
When drawing the treble clef symbol, it’s easy to fall into some common pitfalls. Here are a few mistakes to avoid to ensure your drawing is accurate and visually appealing:
- Overly tight curves: One common mistake is making the curves of the treble clef symbol too tight or angular. Remember to keep the curves smooth and flowing to capture the elegance of the symbol.
- Uneven proportions: It’s crucial to maintain consistent proportions throughout the drawing. Avoid uneven spacing between the lines and loops, as this can distort the shape of the treble clef symbol.
- Inaccurate placement: Be mindful of where the lines intersect and wrap around each other. Make sure the starting and ending points of each line are correct to create a cohesive and recognizable symbol.
- Ignoring guidelines: Guidelines are essential for maintaining symmetry and proportion. Neglecting to use them or not erasing them after drawing can result in a messy and unbalanced final image.
- Skipping practice: Drawing the treble clef symbol requires practice to improve technique and precision. Avoid the temptation to rush through the learning process and make time for regular practice sessions.
- Not studying references: While adding your personal touch to the treble clef symbol is encouraged, it’s still important to study references and understand the core structure of the symbol. Neglecting this can lead to inaccuracies and missed opportunities for artistic expression.
- Being too critical: It’s easy to be overly critical of your drawings, especially when you’re just starting. Remember that perfection takes time, and every attempt brings you closer to mastering the treble clef symbol.
By being aware of these common mistakes, you can actively avoid them and elevate the quality of your treble clef symbol drawings. Take your time, be patient, and enjoy the process of honing your artistic skills!
Conclusion
Congratulations! You have reached the end of this comprehensive guide on how to draw the treble clef symbol. By following the step-by-step instructions, the tips and techniques, and avoiding common mistakes, you are now equipped with the knowledge and skills to create beautiful and accurate treble clef symbols.
Remember, drawing the treble clef symbol is both a technical skill and an artistic expression. It requires practice, patience, and attention to detail. Embrace your individual style and add your personal touch to each drawing.
Whether you are a musician, music student, or simply someone who appreciates the beauty of this musical symbol, learning how to draw the treble clef symbol opens up a deeper understanding and connection with the world of music notation.
Take the time to practice regularly, study references, and experiment with different techniques. With each drawing, you will improve and refine your skills, bringing you closer to creating treble clef symbols that are visually captivating and accurate representations of this iconic symbol.
So, grab a pencil and paper, and let your creativity flow as you bring the treble clef symbol to life. Enjoy the process, embrace the artistry, and have fun exploring the world of music notation through your drawings!

