Home>Devices & Equipment>Earbuds>How Do I Reset My Earbuds
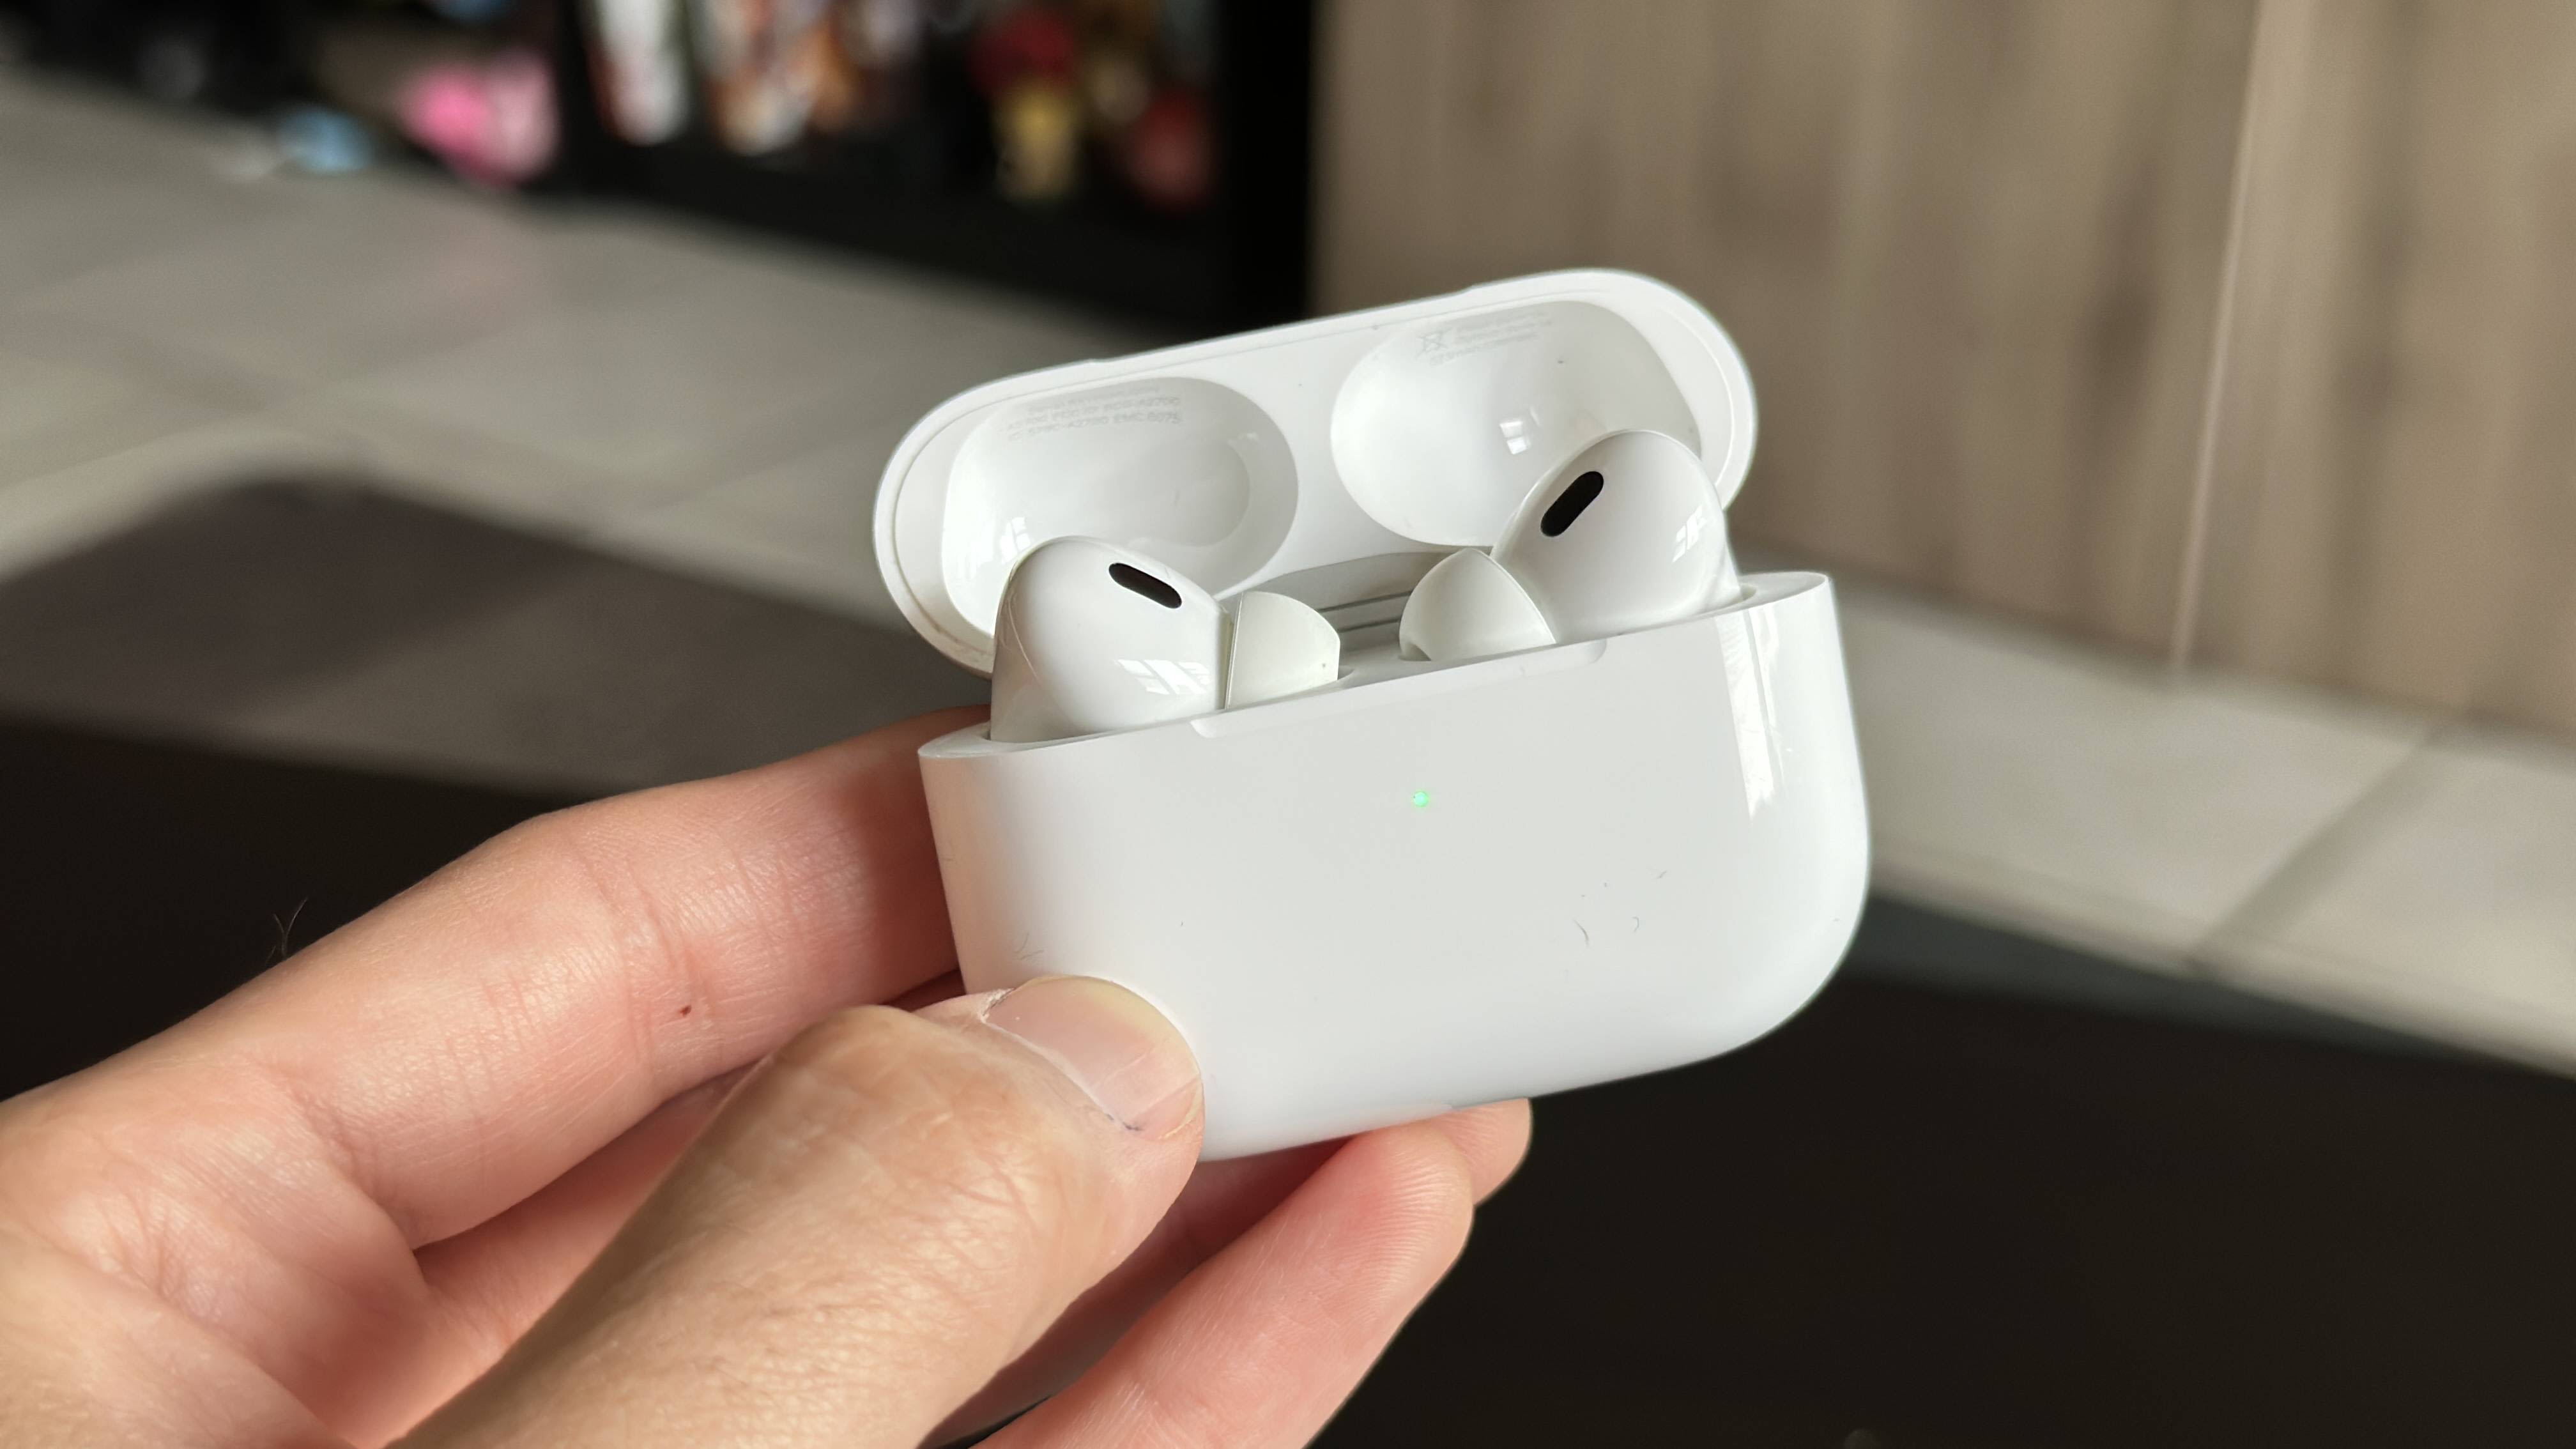

Earbuds
How Do I Reset My Earbuds
Published: November 14, 2023
Learn how to reset your earbuds and troubleshoot common issues. Find step-by-step instructions and helpful tips to get your earbuds working again.
(Many of the links in this article redirect to a specific reviewed product. Your purchase of these products through affiliate links helps to generate commission for AudioLover.com, at no extra cost. Learn more)
Table of Contents
Introduction
Welcome to the world of earbuds, the must-have accessory for modern music enthusiasts and podcast lovers. Earbuds provide a convenient and immersive audio experience, allowing you to enjoy your favorite tunes or podcasts on the go. However, like any electronic device, earbuds may encounter occasional issues that require troubleshooting. One common solution to various problems is resetting the earbuds.
Resetting your earbuds can help resolve issues such as connectivity problems, syncing difficulties, audio imbalance, or unresponsiveness. It essentially allows you to start afresh and restore your earbuds to their default settings. In this article, we will explore different methods to reset your earbuds and get them back to optimal performance.
Before diving into the different resetting methods, it’s important to note that each earbud model may have slight variations in their reset procedures. Always refer to the manufacturer’s instructions or user manual for specific guidance tailored to your earbuds. Now, let’s explore some common troubleshooting scenarios and the corresponding reset methods to help you get your earbuds back on track.
Troubleshooting Common Issues
Earbuds may experience a range of issues that can affect their performance. Here are some common problems you might encounter:
- Audio cutting in and out
- One earbud not working
- Poor sound quality
- Connectivity issues with Bluetooth devices
- Unresponsiveness to controls
- Charging problems
These issues can be frustrating but don’t worry. Resetting your earbuds can often solve these problems, allowing you to enjoy uninterrupted audio again.
It’s important to note that before attempting a reset, you should try some basic troubleshooting steps first. These include charging your earbuds, checking the Bluetooth connection, ensuring the volume is turned up, and cleaning the earbuds if necessary. If these steps don’t resolve the issue, then it’s time to proceed with a reset.
Now let’s explore the various methods you can use to reset your earbuds and fix these common issues.
Method 1: Factory Resetting the Earbuds
If you’re experiencing persistent issues with your earbuds, factory resetting them can be an effective solution. This method restores the earbuds to their original factory settings, essentially wiping out any personalized settings or connections. Here’s how you can perform a factory reset:
- Start by turning off your earbuds completely.
- Next, locate the reset button on your earbuds. This is usually a small button or pinhole on the charging case or the earbud itself.
- Using a small pin or paperclip, press and hold the reset button for about 10-15 seconds. Make sure to keep it pressed for the entire duration.
- You may see some indicator lights blinking or hear a sound indicating that the reset process has started.
- Once the reset is complete, the earbuds will power off.
- Turn the earbuds back on and follow the initial setup instructions provided by the manufacturer.
Note that the exact steps may vary depending on your specific earbud model, so refer to the user manual or the manufacturer’s website for detailed instructions.
Performing a factory reset can often resolve issues related to connectivity, audio quality, or unresponsiveness. However, keep in mind that this reset will erase any personalized settings, so you’ll need to set them up again after the reset.
If the factory reset doesn’t solve the problem, don’t worry. There are other methods you can try to troubleshoot your earbuds.
Method 2: Clearing Bluetooth Pairing Data
If you’re facing connectivity issues or your earbuds are not pairing correctly with your Bluetooth device, clearing the Bluetooth pairing data can help resolve the problem. This method essentially removes any previously saved Bluetooth connections, allowing you to start fresh. Follow these steps to clear the pairing data:
- Go to the Bluetooth settings on your device (e.g., smartphone, tablet, or computer).
- Locate the list of paired devices and find the entry for your earbuds.
- Depending on your device, there may be an option to forget or remove the device. Tap on this option to remove the earbuds from the list of paired devices.
- Once the earbuds are removed, turn off your Bluetooth device and your earbuds.
- Turn on your Bluetooth device and enable Bluetooth on your earbuds.
- Follow the pairing instructions provided by the manufacturer to reconnect your earbuds to your device.
Clearing the Bluetooth pairing data can help establish a fresh connection between your device and your earbuds. This method is especially useful if you’re experiencing frequent disconnections or pairing failures.
Remember that the steps to clear Bluetooth pairing data may vary slightly depending on your device’s operating system. Consult the user manual or the manufacturer’s support documentation for specific instructions if needed.
If your earbuds are still not connecting properly after clearing the pairing data, there are additional troubleshooting methods to try.
Method 3: Updating the Earbuds Firmware
Updating the firmware of your earbuds can sometimes resolve certain issues and improve their overall performance. Firmware updates provide bug fixes, optimizations, and new features that can enhance the functionality of your earbuds. Here’s how you can update the firmware:
- Check if there is a firmware update available for your earbuds. Visit the manufacturer’s website or check their official app (if available) for any firmware updates.
- Download the firmware update file to your computer or mobile device, following the instructions provided by the manufacturer.
- Make sure your earbuds are fully charged before proceeding with the firmware update.
- Connect your earbuds to your computer or mobile device using the provided USB cable or any other connection method specified by the manufacturer.
- Access the firmware update utility or app and follow the on-screen instructions to initiate the update process.
- Wait for the update to complete. Do not disconnect or turn off your earbuds during the update process, as it can cause irreversible damage.
- Once the update is finished, disconnect the earbuds from your computer or mobile device.
Updating the firmware of your earbuds ensures that you have the latest software improvements, which can help address issues and enhance the overall performance and functionality of your earbuds.
Remember to always follow the specific instructions provided by the manufacturer for updating the firmware. Failure to do so may result in errors or potential damage to your earbuds.
If updating the firmware does not resolve the problem, there is one more method you can try before seeking further assistance.
Method 4: Contacting Customer Support
If you have tried the previous methods and are still experiencing issues with your earbuds, it may be time to reach out to the customer support of the earbud manufacturer. The customer support team is trained to assist with troubleshooting and can provide more specific guidance based on your earbud model and the nature of the problem. Here’s how you can contact customer support:
- Visit the manufacturer’s website and navigate to the support or contact page.
- Look for the customer support contact information, which may include a phone number, email address, or live chat option.
- Choose the most convenient method of communication for you and reach out to the customer support team.
- Clearly describe the issue you’re facing, providing as much detail as possible to facilitate a quicker resolution.
- Follow any additional instructions provided by the customer support representative.
Customer support is there to help you, so don’t hesitate to reach out if you’re unable to resolve the issue on your own. They have the expertise and resources to guide you through any further troubleshooting steps or assist with warranty claims if necessary.
Remember to be patient and polite when communicating with customer support. Provide all relevant information, such as the model of your earbuds, purchase details, and any steps you have already taken to troubleshoot the problem.
If all else fails, customer support can provide recommendations for further action, such as repair or replacement options.
Conclusion
Earbuds are incredible devices that allow us to enjoy our favorite music and podcasts with convenience and portability. However, they may encounter issues from time to time, ranging from connectivity problems to unresponsiveness. In these situations, resetting your earbuds can often be an effective solution.
In this article, we explored several methods for resetting earbuds. These methods included factory resetting the earbuds, clearing Bluetooth pairing data, updating the firmware, and contacting customer support for further assistance. By following these steps, you can troubleshoot and resolve common issues that may be hindering your earbud experience.
Remember to always refer to the manufacturer’s instructions or user manual for specific guidance tailored to your earbud model. Each model may have slightly different reset procedures and troubleshooting steps.
If you’re facing persistent issues with your earbuds, don’t hesitate to reach out to customer support. They are there to assist you with any further troubleshooting or provide warranty and repair services if needed.
By taking the time to reset and troubleshoot your earbuds, you can restore them to optimal performance and continue enjoying your favorite audio content with seamless connectivity and audio quality.
So, the next time you encounter an issue with your earbuds, remember the techniques mentioned in this article and get ready to reset and resolve!

