Home>Devices & Equipment>Earbuds>How Do I Charge My Earbuds
Earbuds
How Do I Charge My Earbuds
Published: December 20, 2023
Learn how to properly charge your earbuds and extend their battery life. Discover tips and tricks for maximizing the performance of your earbuds.
(Many of the links in this article redirect to a specific reviewed product. Your purchase of these products through affiliate links helps to generate commission for AudioLover.com, at no extra cost. Learn more)
Table of Contents
Introduction
Earbuds have become an essential accessory for many of us, providing a convenient way to listen to music, podcasts, and make hands-free calls. But just like any electronic device, earbuds require regular charging to keep them powered and ready for use.
However, if you’re new to the world of earbuds, you may have some questions about how to properly charge them. Don’t worry, though – we’ve got you covered! In this article, we will guide you through the process of charging your earbuds, ensuring that you can enjoy uninterrupted audio whenever you need it.
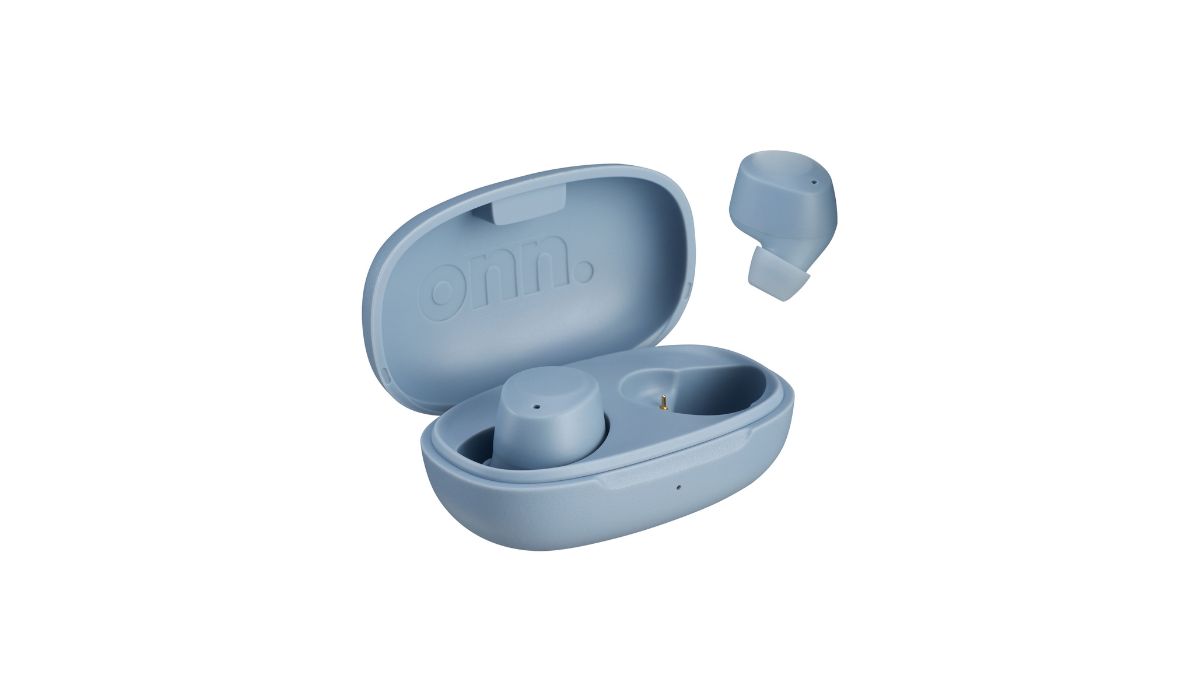
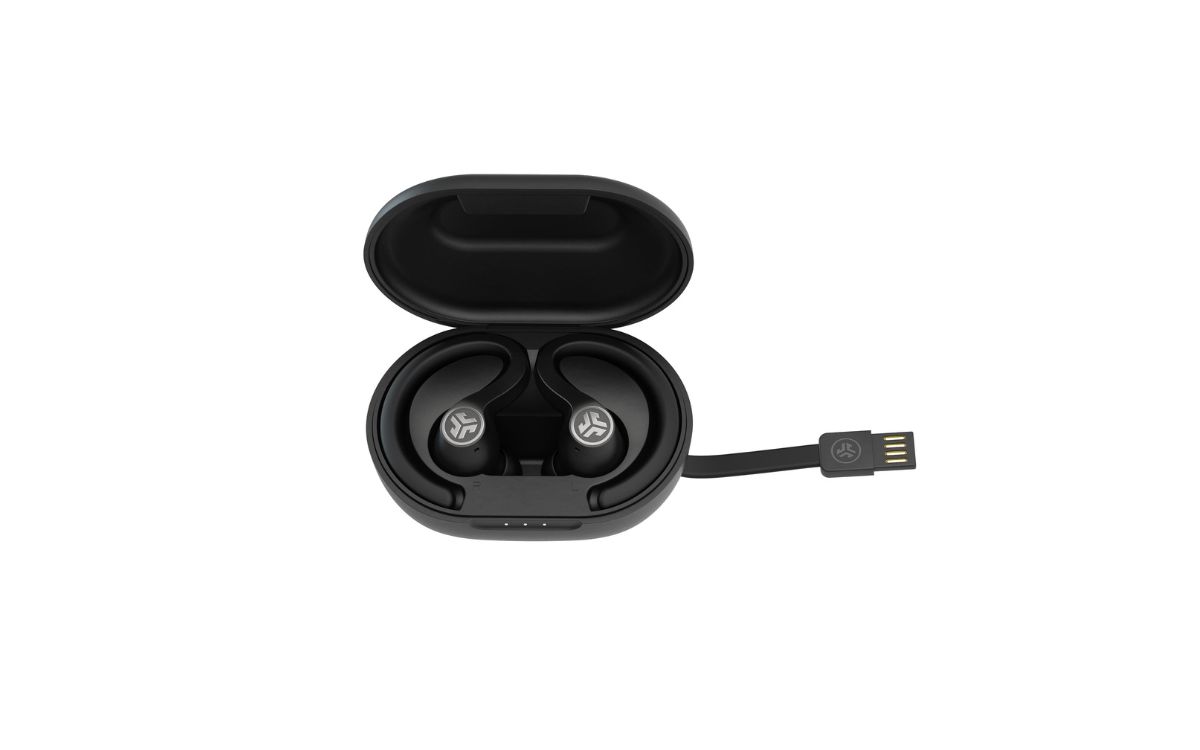
Before we dive into the specifics of charging your earbuds, it’s crucial to understand the charging method employed by most earbud models. Typically, earbuds come with a charging case that has a built-in battery. The case serves two purposes – protecting and storing the earbuds when not in use and charging them when needed.
Now that you have a basic understanding let’s move on to the step-by-step process of charging your earbuds.
Understanding the Charging Method
To effectively charge your earbuds, it’s important to understand the charging method employed by most earbud models. As mentioned earlier, earbuds typically come with a charging case that doubles as a storage unit for the earbuds. The case itself contains a built-in battery that charges the earbuds when they are placed inside.
The charging process usually involves connecting the charging case to a power source through a charging cable. The case then transfers power to the earbuds, replenishing their battery levels. This method ensures that your earbuds are always ready for use anytime you need them.
It’s worth noting that some earbud models may have slight variations in their charging methods. For instance, some earbuds may have individual charging ports, where you need to connect each earbud directly to a power source instead of using a charging case. However, the majority of earbuds utilize the charging case method, which we will focus on in this article.
Now that you have a general understanding of the charging method, let’s move on to the step-by-step process of charging your earbuds.
Step 1: Checking the Battery Level
Before you begin the charging process, it’s a good idea to check the current battery level of your earbuds. This will give you an idea of how much charging they need and help you plan accordingly.
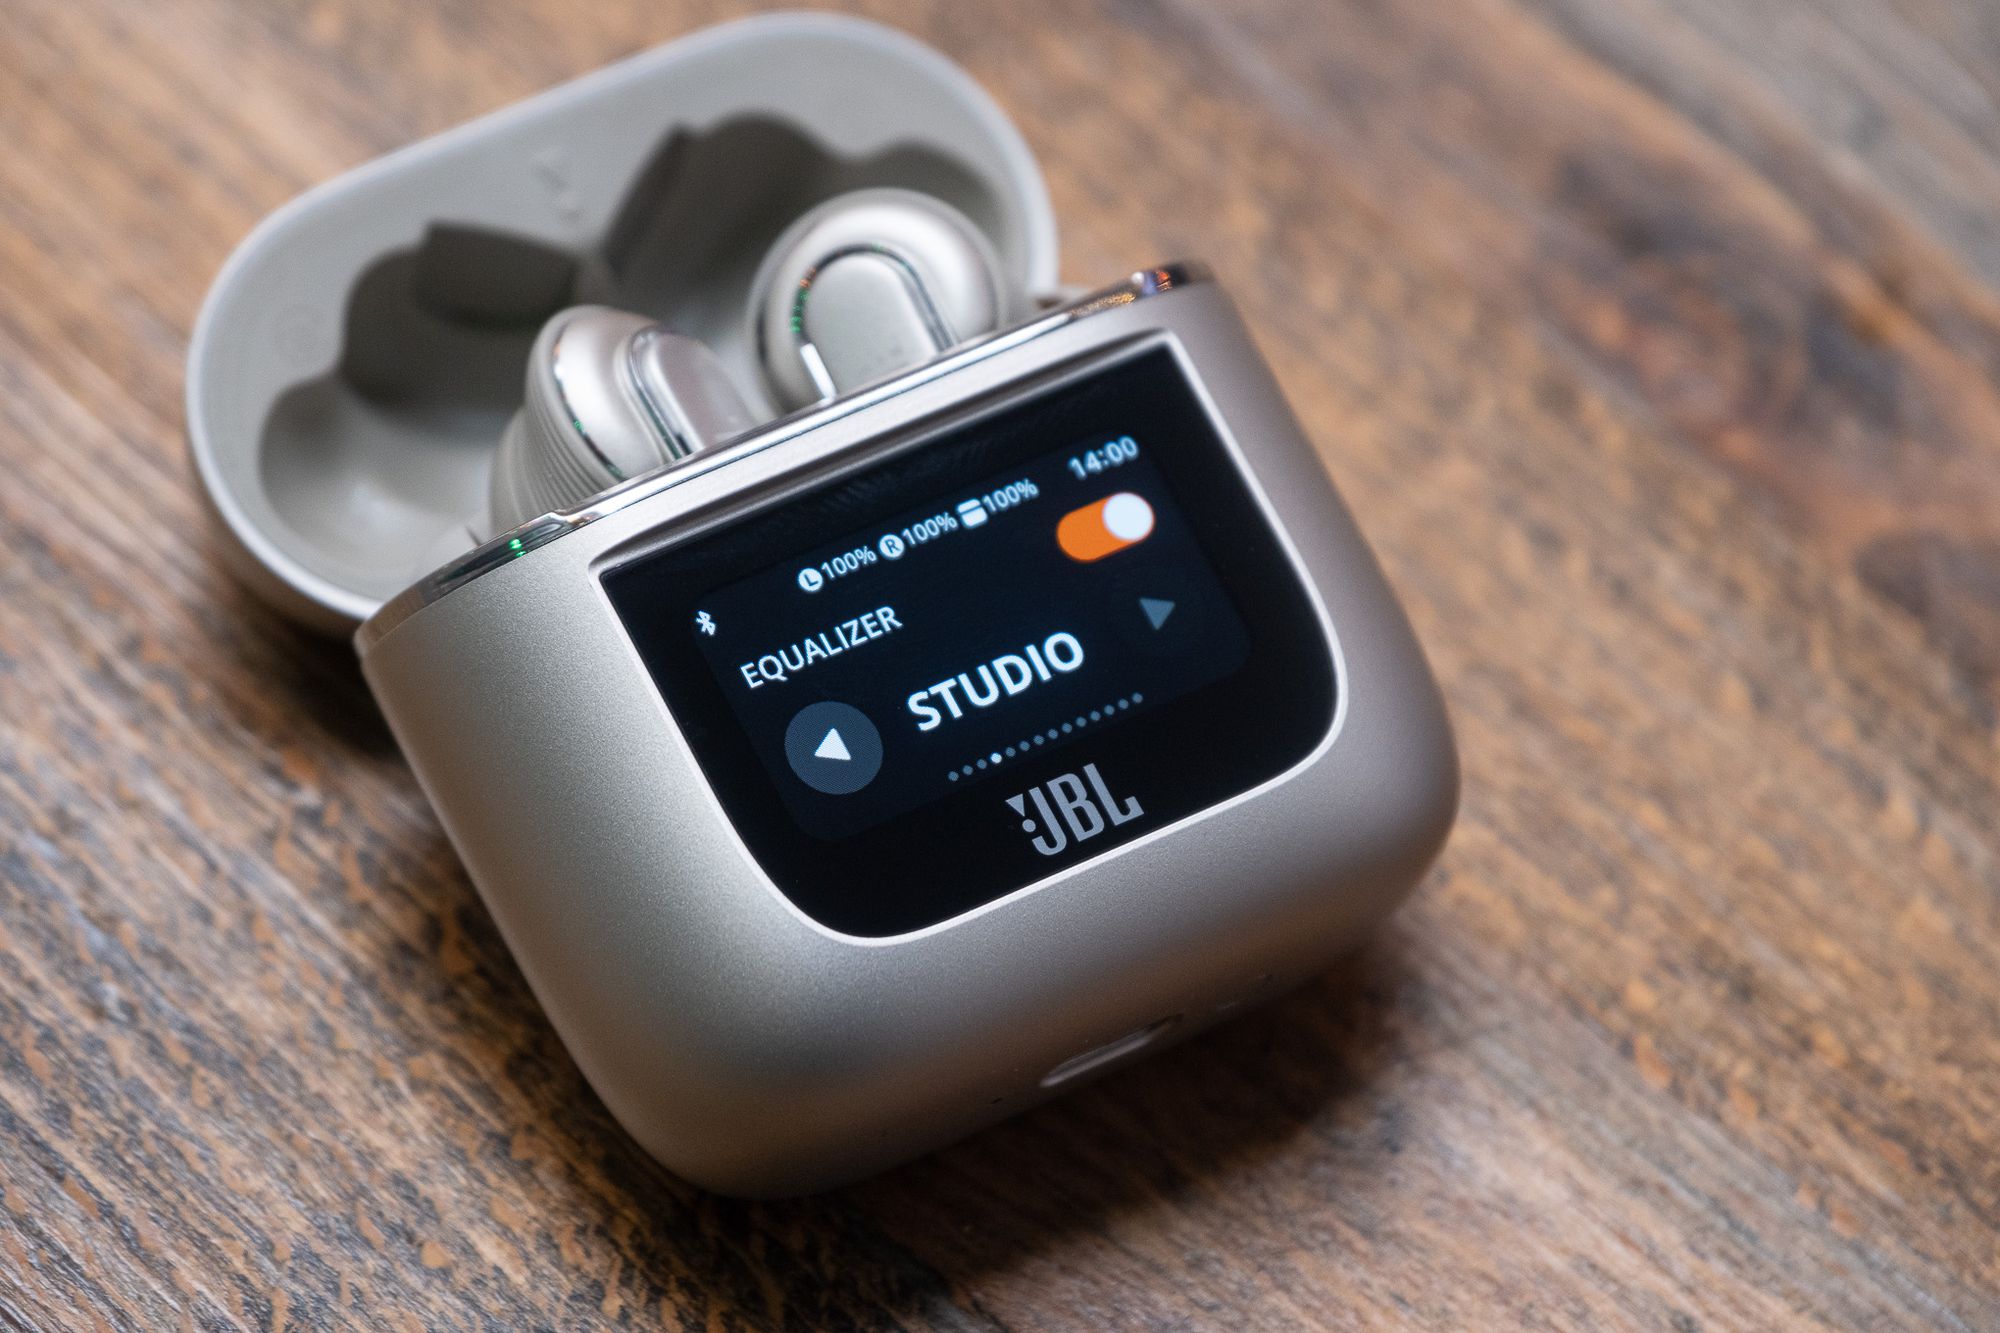
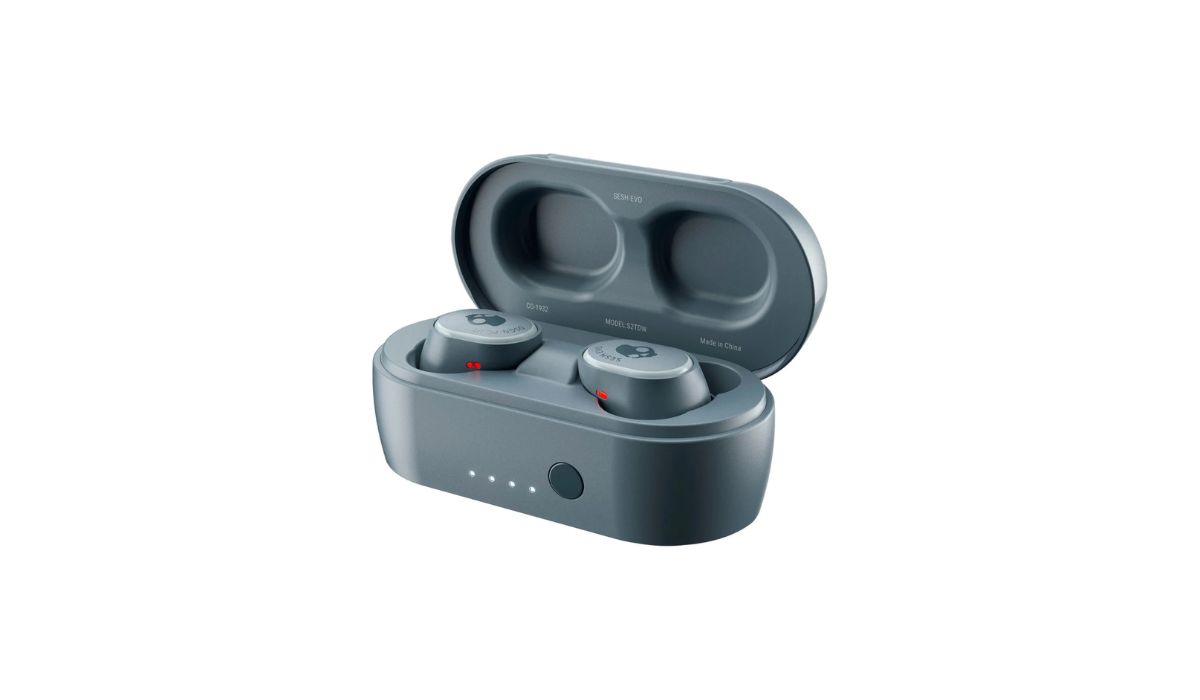
To check the battery level, open the charging case and take out your earbuds. Most earbuds have LED indicators on the case or the earbuds themselves that display the battery status. These indicators may flash or change colors to indicate the battery level.
If the LED light is solid or green, it usually means the battery level is high or fully charged. A blinking or red light often indicates a low battery level and the need for charging.
It’s important to note that the specific LED light patterns and colors may vary depending on the brand and model of your earbuds. Therefore, it’s always a good idea to refer to the user manual that came with your earbuds for precise information on the battery level indicators.
By checking the battery level before charging, you can ensure that you recharge your earbuds at the right time, preventing any unexpected battery drain during your next use.
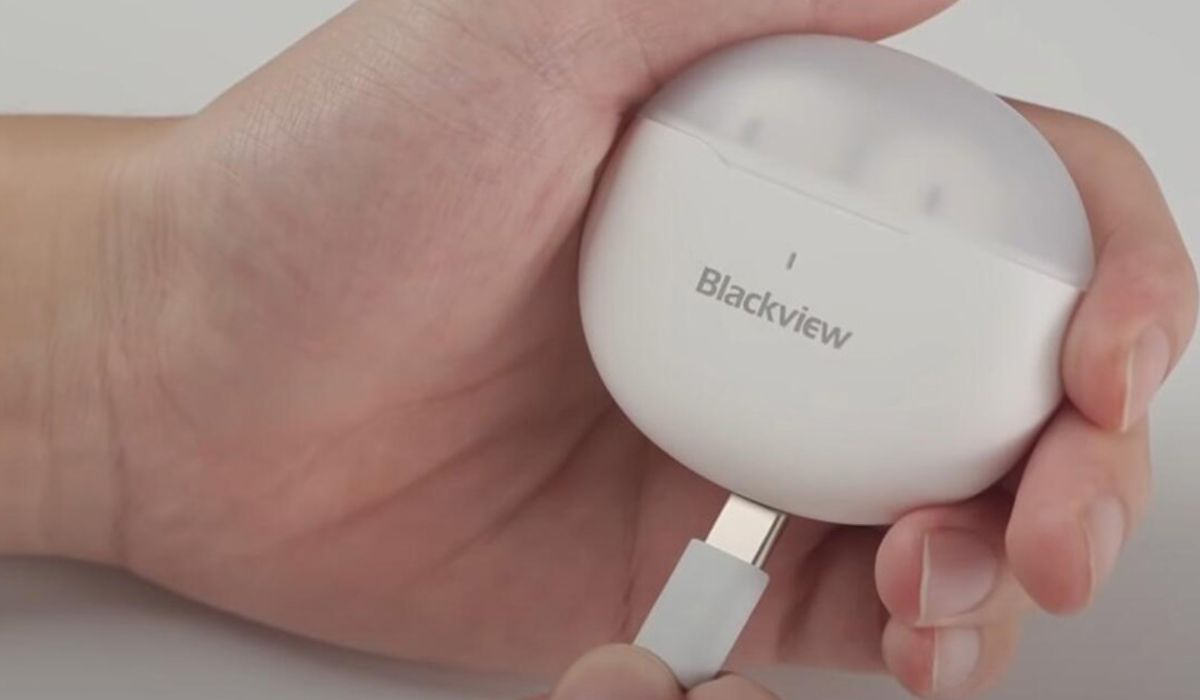
Step 2: Connecting the Charging Cable
Once you have checked the battery level of your earbuds and confirmed the need for charging, the next step is to connect the charging cable to the charging case.
First, locate the charging port on the case. This port is usually located on the bottom or back of the case and is specifically designed to connect the charging cable.
Take the charging cable that came with your earbuds and insert the appropriate end into the charging port on the case. Make sure the connection is secure to ensure proper charging.
If your earbuds have individual charging ports instead of a charging case, insert the charging cable into the respective ports of each earbud. Again, ensure a secure connection.
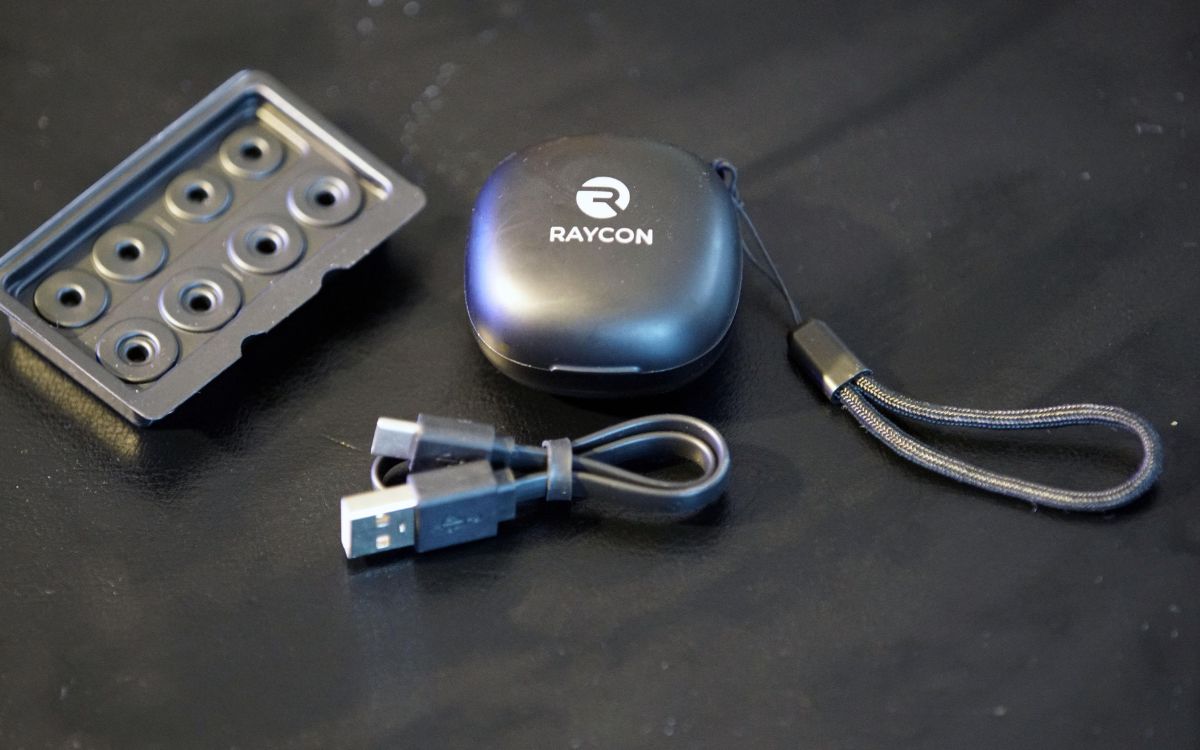
It’s worth mentioning that most earbud charging cables have a USB end, allowing you to connect it to a variety of power sources, such as a computer, wall adapter, or even a portable power bank. Choose the power source that is most convenient for you.
Once the charging cable is securely connected to the charging case or the earbuds, you are ready to move on to the next step of the charging process – plugging into a power source.
Step 3: Plugging into a Power Source
Now that you have connected the charging cable to your earbuds, it’s time to plug it into a power source. This will provide the necessary electricity to charge the earbuds’ battery.
Depending on the charging cable’s end, you have a few options for power sources. You can plug the USB end directly into a USB port on your computer or laptop. Alternatively, you can use a wall adapter and plug it into a power outlet. Some earbuds also support wireless charging, in which case you can place the charging case on a compatible wireless charging pad.
Choose the power source that suits your needs and is readily available. Ensure that the power source is functioning correctly and is providing a stable power supply.
Once you have identified the suitable power source, gently insert the charging cable’s end into the USB port or the charging pad’s designated space. Make sure the connection is secure to ensure consistent and uninterrupted charging.
Now that you have successfully connected the charging cable to a power source, your earbuds are ready to start charging. The next step involves monitoring the charging progress using the charging indicator.
Step 4: Charging Indicator
Once your earbuds are connected to a power source, most charging cases are equipped with an LED indicator that displays the charging status. This indicator provides valuable information about the progress of the charging process.
The charging indicator may vary in design and location, depending on the brand and model of your earbuds. In some cases, the LED light is located on the front of the case, while in others, it may be on the inside or near the charging port.
Typically, the charging indicator light will turn on or start blinking once the charging process begins. This indicates that the earbuds are successfully receiving power and the battery is being replenished. The speed at which the light blinks or the color it changes to can indicate different charging levels or stages.
It is recommended to refer to the user manual provided by the earbud manufacturer for specific details about the charging indicator and its corresponding meanings. This will help you understand the charging progress accurately.
During the charging process, it’s important to keep an eye on the charging indicator. Once the indicator light stops blinking or turns a solid color, it generally indicates that the earbuds are fully charged or nearly there.
Remember, the charging time may vary depending on the earbud model and the initial battery level. It is best to let the earbuds charge for the recommended duration stated in the user manual to ensure optimal battery performance.
Now that you are aware of the charging indicator and its significance, let’s move on to the next step – the estimated charging time.
Step 5: Charging Time
The charging time of your earbuds can vary depending on the brand, model, and battery capacity. It’s important to be aware of the estimated charging time to ensure that you leave the earbuds connected to the power source for the appropriate duration.
Generally, earbuds take anywhere from 1 to 3 hours to fully charge. However, it’s always recommended to consult the user manual provided by the manufacturer for the most accurate information on the charging time specific to your earbuds.
Different LED light patterns or colors on the charging case can also indicate the charging progress. For example, a steady, solid light might mean that the earbuds are fully charged, while a blinking light may indicate that they are still in the charging process.
During the charging time, it’s important to refrain from using the earbuds. Disconnecting them prematurely might result in a partially charged battery, leading to shorter usage time once the earbuds are in use.
If you need to use your earbuds urgently but don’t have enough time for a full charge, even a short charging duration can provide some power boost. However, keep in mind that a full charge is always recommended for the best performance.
Once the estimated charging time has passed or the charging indicator shows that the earbuds are fully charged, it’s time to move on to the final step – disconnecting the charging cable.
Step 6: Disconnecting the Charging Cable
After the recommended charging time has elapsed or the charging indicator shows that your earbuds are fully charged, it’s time to disconnect the charging cable from the power source. This will ensure that your earbuds are not overcharged and prevent any potential damage to the battery.
Gently remove the USB end of the charging cable from the power source, whether it’s a USB port on your computer, a wall adapter, or a wireless charging pad. Make sure to disconnect it carefully to avoid any undue stress on the charging port or cable.
You can then gently unplug the charging cable from the charging port of the case, if applicable. Ensure a secure grip on the cable and avoid forcefully twisting or pulling it to prevent any damage to the connector or the case itself.
Properly disconnecting the charging cable from the power source and the charging case is crucial in maintaining the longevity and functionality of both the earbuds and the charging components.
Once the charging cable is safely disconnected, you can now securely store it for future use or move on to enjoy your fully charged earbuds! Simply place the earbuds back into the charging case to keep them protected and ready for your next use.
By following these steps, you can ensure that your earbuds are properly charged, extending their battery life and ensuring that you can enjoy uninterrupted audio whenever you need it.
If you encounter any difficulties or issues during the charging process, please refer to the troubleshooting section or consult the user manual provided by the earbud manufacturer.
Congratulations! You have successfully learned how to charge your earbuds. Happy listening!
Troubleshooting Common Charging Issues
While charging your earbuds is generally a straightforward process, there may be instances when you encounter some common charging issues. Here are a few troubleshooting tips to help you address them:
1. No charging indication: If you connect your earbuds to a power source but there is no charging indication, double-check the connection between the charging cable and the charging port. Make sure the cable is securely inserted and try using a different power source or cable if necessary.
2. Slow or erratic charging: If you notice that your earbuds are charging slowly or the charging levels are inconsistent, try to clean the charging ports on both the earbuds and the charging case. Dust, debris, or dirt in the ports can hinder effective charging. Use a soft, dry cloth or a cotton swab to gently clean the ports.
3. Overheating during charging: If you feel that your charging case or the earbuds become excessively hot during the charging process, disconnect them from the power source immediately. Allow them to cool down before attempting to charge them again. Continuous overheating may indicate a problem with the battery or the charging circuit, and it’s advisable to seek assistance from the manufacturer.
4. Battery drain after charging: If you notice that your earbuds’ battery drains quickly after charging, there may be an issue with the battery or the charging circuit. Try performing a reset on your earbuds if available, or contact the manufacturer’s customer support for further guidance.
5. Charging case not working: If your charging case does not charge your earbuds or shows no signs of functionality, check if the case itself needs to be charged. Connect the case to a power source and see if the LED indicator lights up or blinks. If not, there may be an issue with the case’s battery or the charging circuit. Contact the manufacturer for further assistance.
If none of these troubleshooting tips resolve the charging issues with your earbuds, it’s recommended to reach out to the manufacturer’s customer support. They will be able to provide you with specific troubleshooting steps or arrange for a repair or replacement if needed.
Remember to always consult the user manual provided by the manufacturer for precise troubleshooting steps and guidance related to your specific earbud model.
Conclusion
Charging your earbuds is a simple yet essential process to ensure that they are always ready for use. By following the step-by-step guidelines outlined in this article, you can effectively charge your earbuds and avoid any common charging issues that may arise.
Remember to check the battery level before charging, connect the charging cable securely to the charging case, and plug it into a suitable power source. Keep an eye on the charging indicator to monitor the progress and follow the recommended charging time to optimize battery performance.
If you encounter any charging issues, refer to the troubleshooting section or contact the manufacturer’s customer support for assistance. They will be able to provide proper guidance based on your specific earbud model.
By practicing proper charging habits, you can prolong the battery life of your earbuds and ensure uninterrupted audio enjoyment whenever you need it.
Now that you have learned how to charge your earbuds like a pro, it’s time to plug in, rock on, and immerse yourself in your favorite tunes!