Home>Devices & Equipment>Earbuds>How Do I Turn On My Earbuds
Earbuds
How Do I Turn On My Earbuds
Published: December 20, 2023
Discover how to easily turn on your earbuds and enjoy high-quality sound on the go. Our step-by-step guide will help you activate your earbuds effortlessly.
(Many of the links in this article redirect to a specific reviewed product. Your purchase of these products through affiliate links helps to generate commission for AudioLover.com, at no extra cost. Learn more)
Table of Contents
Introduction
Welcome to the world of earbuds, the compact and wireless audio devices that have revolutionized the way we listen to music and take calls on the go. With their sleek design and portability, earbuds have become a popular choice among music enthusiasts, fitness enthusiasts, and professionals alike.
One common question that often arises is, “How do I turn on my earbuds?” Whether you’ve just purchased a new pair of earbuds or are using them for the first time, understanding the power button and how to operate it is essential for a seamless audio experience.
In this article, we will walk you through the process of turning on your earbuds, checking the battery status, charging them when needed, and pairing them with your device. Additionally, we will cover troubleshooting tips to help you overcome any potential power-related issues.
So, let’s dive in and discover the world of earbuds!
Understanding Earbud Power Button
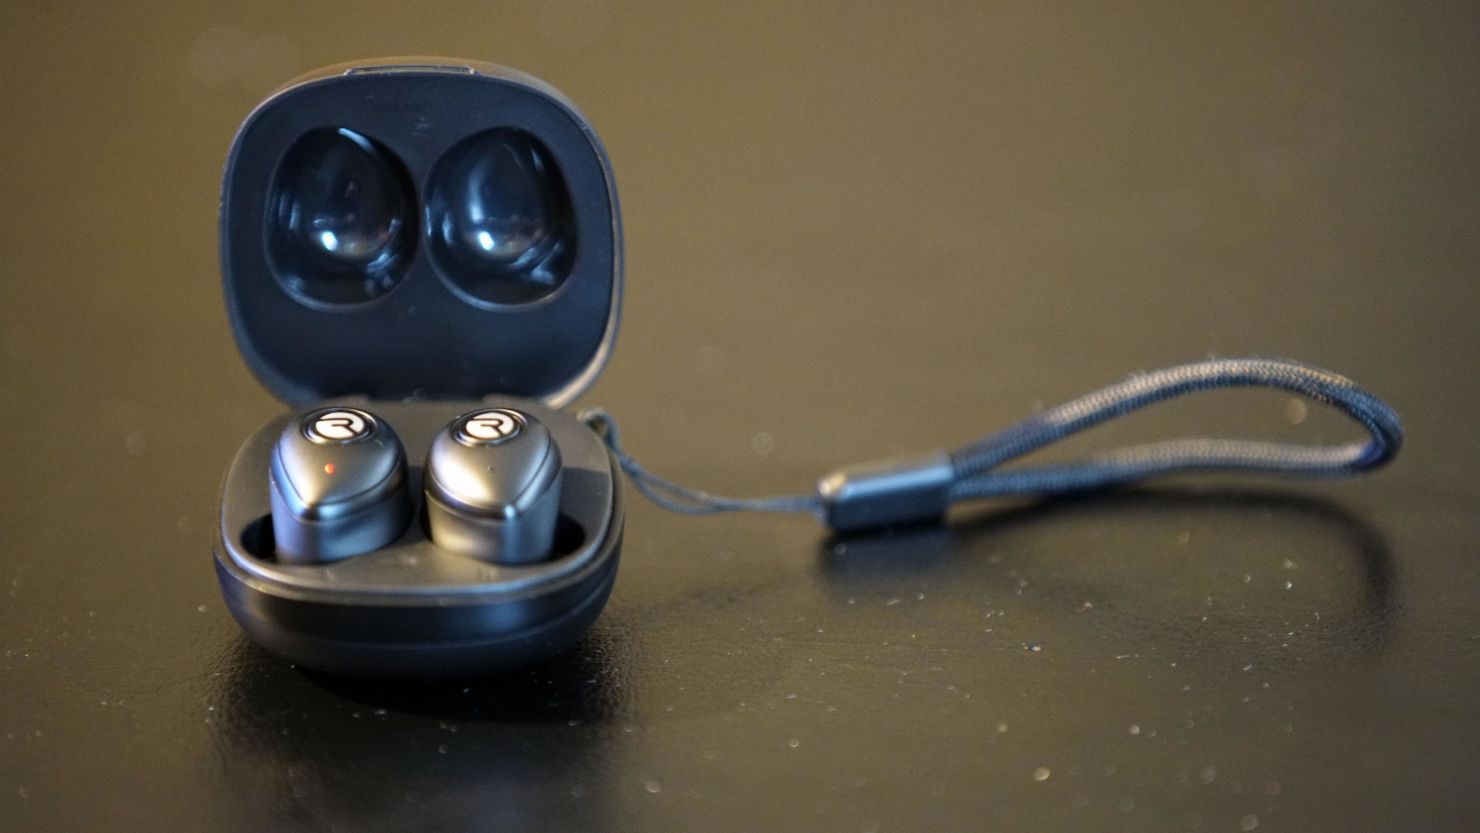
The power button on your earbuds is the key to turning them on and off. It is usually located on one of the earpieces, either on the side or at the back. The exact location may vary depending on the brand and model of your earbuds.
To turn on your earbuds, locate the power button and press it for a few seconds until you see a light indicator or hear a sound cue. This indicates that the earbuds are now powered on and ready to use. Some earbuds may have a separate power button for each earpiece, while others may have a single button that controls both earpieces simultaneously.
Similarly, to turn off your earbuds, press and hold the power button until the light indicator turns off or you hear a sound cue. This indicates that the earbuds have been powered off and are no longer actively connected to any device.
It’s important to note that some earbuds have additional functions associated with the power button, such as skipping tracks, answering calls, or activating voice assistants. These functions can usually be accessed by pressing the power button multiple times or in combination with other buttons on the earbuds.
If you’re not sure about the exact location or function of the power button on your earbuds, refer to the user manual or product guide provided by the manufacturer. This will give you specific instructions tailored to your earbuds’ make and model.
Now that you have a better understanding of the earbud power button, let’s move on to checking the battery status of your earbuds.
Checking Battery Status
Knowing the battery status of your earbuds is crucial to ensure uninterrupted usage and avoid any sudden power outages. Most modern earbuds come equipped with a built-in battery indicator feature that allows you to check the battery level easily.
To check the battery status of your earbuds, you can follow these steps:
- Refer to the earbud’s user manual: The user manual provided with your earbuds will often include instructions on checking the battery status. It will also provide information on the specific light indicators or sound cues associated with different battery levels.
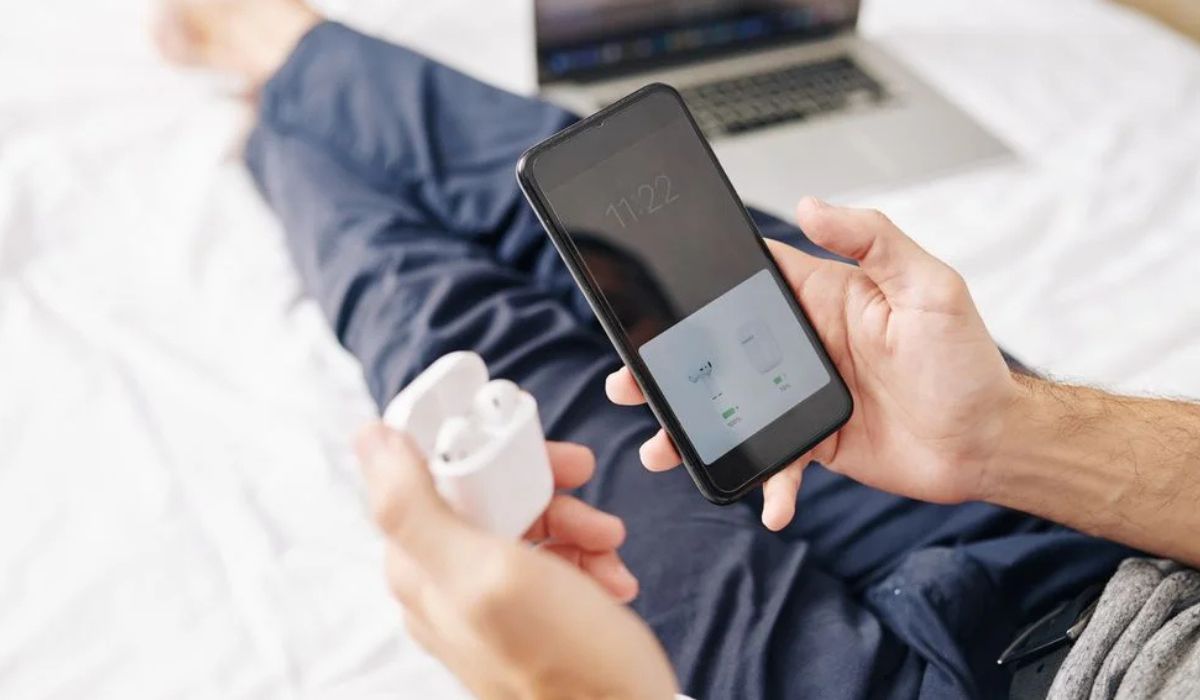
- Use the companion app: Many earbuds have companion apps that you can download on your smartphone or tablet. These apps often provide detailed battery status information, including the exact percentage of battery remaining.
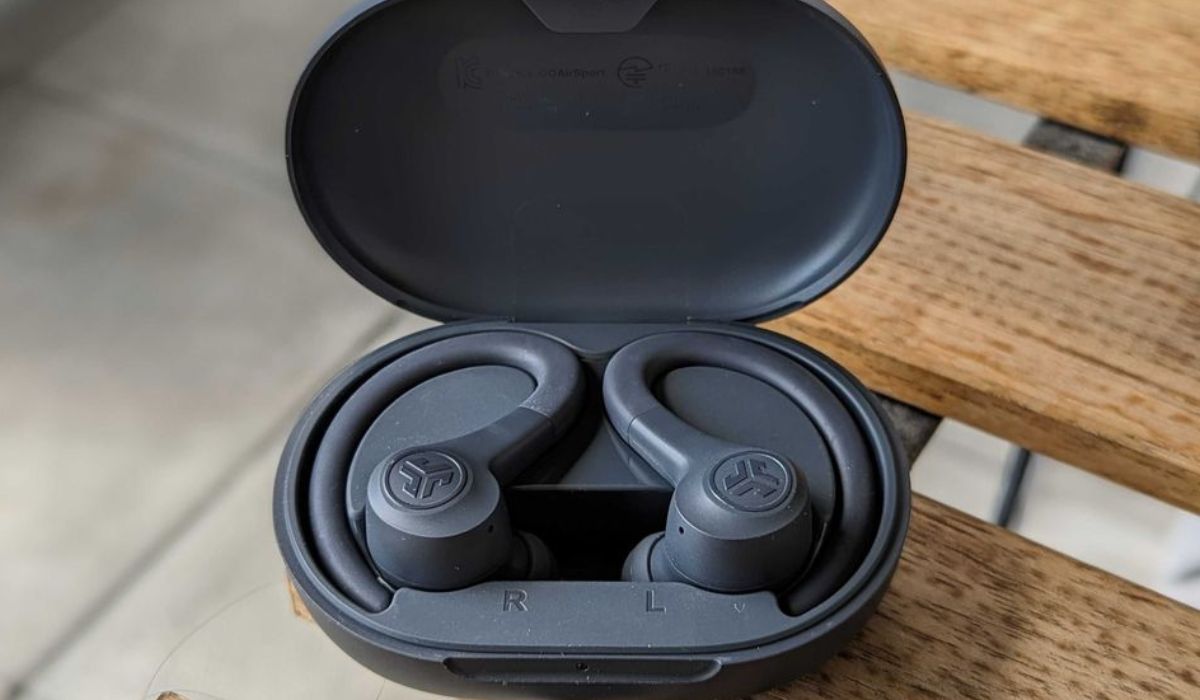
- Check the earbud charging case: If your earbuds come with a charging case, the case itself might have a battery status indicator. This is especially common in true wireless earbuds, where the case doubles as a portable charger.
- Visual and audio cues: Some earbuds have built-in LED lights or audible cues that indicate the battery status. These cues could be different colored lights or different patterns of beeps to represent low, medium, or high battery levels.
Regularly checking the battery status of your earbuds will ensure that you can plan your usage accordingly and avoid any unexpected interruptions. If you notice that the battery level is low, it’s time to charge your earbuds.
In the next section, we will explore the process of charging your earbuds and ensuring they are ready for use.
Charging the Earbuds
Charging your earbuds regularly is essential to maintain optimal performance and ensure uninterrupted usage. Most earbuds come with a charging case that serves as a convenient and portable charging solution. Here’s how you can charge your earbuds:
- Locate the charging port: The charging port is usually located on the bottom or the back of the earbud’s charging case. It is typically a micro-USB or USB-C port.
- Connect the charging cable: Plug one end of the charging cable into a power source, such as a wall adapter or USB port on your computer, and the other end into the charging port of the case.
- Place the earbuds inside the case: Open the charging case and carefully place the earbuds inside, making sure they are properly aligned with the charging connectors. The case should have designated slots for each earbud.
- Ensure proper connection: Check that the earbuds are securely connected to the charging pins or contacts in the case. This will ensure a stable charging connection.
- Monitor the charging progress: Some charging cases have LED lights that indicate the charging status of both the case and the earbuds. These lights may change color or flash to show the progress of the charging process.
- Allow sufficient charging time: Leave the earbuds in the charging case for the recommended amount of time to ensure a full charge. The charging time can vary depending on the earbud model and battery capacity.
- Remove the earbuds: Once the earbuds are fully charged, you can remove them from the charging case and prepare them for use.
It’s important to note that proper charging practices can prolong the battery life of your earbuds. Avoid overcharging your earbuds and ensure that you use the provided charging cable or a compatible one recommended by the manufacturer.
Now that your earbuds are charged and ready for use, let’s move on to the process of pairing them with your device.
Pairing with a Device
Prior to using your earbuds, you need to pair them with a compatible device, such as a smartphone, tablet, or computer. Pairing establishes a wireless connection between your earbuds and the device, allowing you to enjoy your favorite music, podcasts, or take calls without the hassle of wires. Here’s how you can pair your earbuds with a device:
- Ensure your earbuds are turned on: Press and hold the power button on your earbuds until you see a light indicator or hear a sound cue. This indicates that the earbuds are in pairing mode and ready to connect.
- Activate Bluetooth on your device: On your device, go to the Settings menu and locate the Bluetooth option. Turn on Bluetooth to enable the device to discover nearby Bluetooth devices.
- Select your earbuds: Your device will scan for available Bluetooth devices. In the list of detected devices, you should see the name or model number of your earbuds. Tap on the name to initiate the pairing process.
- Follow any on-screen prompts: Depending on your device and earbud model, you may be prompted to enter a pairing code or confirm the connection. Follow the on-screen instructions to complete the pairing process.
- Connection confirmation: Once the pairing is successful, you will see a confirmation message or a Bluetooth icon indicating that your earbuds are now connected to your device.
- Test the connection: Play some audio on your device to ensure that the audio is being routed to your earbuds. If the audio is coming out of the device’s speakers instead, try disconnecting and reconnecting the earbuds or adjusting the audio settings on your device.
It’s worth noting that some earbuds support multi-device pairing, allowing you to connect them to multiple devices simultaneously. This can be convenient if you frequently switch between devices or want to seamlessly transition from one device to another.
Now that your earbuds are successfully paired with your device, you can enjoy your favorite audio content on the go. However, if you encounter any power-related issues with your earbuds, troubleshooting them can help resolve the problem.
Troubleshooting Earbud Power Issues
While earbuds are generally reliable devices, there may be instances where you encounter power-related issues. Here are some common troubleshooting steps to help you resolve earbud power issues:
- Check the battery level: Make sure your earbuds have sufficient battery power by checking the battery status indicator or using the companion app. If the battery level is low, charge your earbuds following the steps mentioned earlier.
- Reset your earbuds: If your earbuds are unresponsive or not powering on, try resetting them. Refer to the user manual for specific instructions on how to perform a reset. This process usually involves holding down a combination of buttons for a certain duration. Resetting your earbuds can often resolve minor technical issues.
- Clean the charging contacts: Over time, dirt, dust, or debris can accumulate on the charging contacts of your earbuds or charging case. Use a clean, dry cloth or cotton swab to gently clean the contacts to ensure a proper charging connection.
- Try a different charging cable or port: If you’re unable to charge your earbuds, try using a different charging cable or connecting to a different USB port or power source. This can help determine if the issue lies with the cable, port, or power source.
- Remove obstructions: Check for any obstructions, such as debris or lint, that may be blocking the charging port or affecting the power button on your earbuds. Clearing any obstructions can restore functionality.
- Update firmware: Some earbud models can receive firmware updates that address performance and power-related issues. Check for any available firmware updates through the companion app or the manufacturer’s website.
- Contact customer support: If you’ve tried the above troubleshooting steps and are still experiencing power issues, it may be helpful to contact the customer support of the earbud manufacturer. They can provide further assistance and guidance tailored to your specific earbud model.
By following these troubleshooting steps, you can usually identify and resolve common earbud power issues. However, if the problem persists or if your earbuds are still under warranty, it’s advisable to seek professional assistance from the manufacturer or authorized service centers.
Now that we’ve covered troubleshooting, let’s summarize what we’ve discussed so far.
Conclusion
Turning on your earbuds and understanding the power button is the first step towards unlocking a world of wireless audio experiences. In this article, we’ve explored the process of turning on earbuds, checking the battery status, charging them when needed, pairing them with a device, and troubleshooting common power issues.
Remember to locate the power button on your earbuds and familiarize yourself with its functionality. This will enable you to power your earbuds on and off effortlessly. Checking the battery status regularly ensures that you can plan your usage and avoid any unexpected interruptions.
When it comes to charging your earbuds, using the provided charging case and cable, as well as following proper charging practices, will help maintain the longevity of the battery. Pairing your earbuds with a device allows you to enjoy wireless audio and take advantage of the convenience they offer.
If you encounter power-related issues with your earbuds, troubleshooting steps such as resetting, cleaning charging contacts, and checking for obstructions can often resolve the problem. However, if the issues persist, contacting customer support or seeking professional assistance is recommended.
With these tips and knowledge, you can confidently navigate the world of earbuds and embark on a seamless wireless listening journey. So, power on your earbuds, immerse yourself in crisp audio, and enjoy the freedom they provide!