Home>Production & Technology>Audio Cable>How Do I Connect My Soundbar To My Sanyo TV Through A Digital Audio Cable
Audio Cable
How Do I Connect My Soundbar To My Sanyo TV Through A Digital Audio Cable
Modified: January 22, 2024
Learn how to connect your soundbar to your Sanyo TV using a digital audio cable, ensuring high-quality audio transmission. Follow our step-by-step guide now!
(Many of the links in this article redirect to a specific reviewed product. Your purchase of these products through affiliate links helps to generate commission for AudioLover.com, at no extra cost. Learn more)
Table of Contents
- Introduction
- Step 1: Check the available ports on your soundbar
- Step 2: Check the available ports on your Sanyo TV
- Step 3: Obtain a digital audio cable
- Step 4: Connect the digital audio cable to your soundbar and Sanyo TV
- Step 5: Adjust the audio settings on your Sanyo TV
- Step 6: Test the soundbar connection
- Conclusion
Introduction
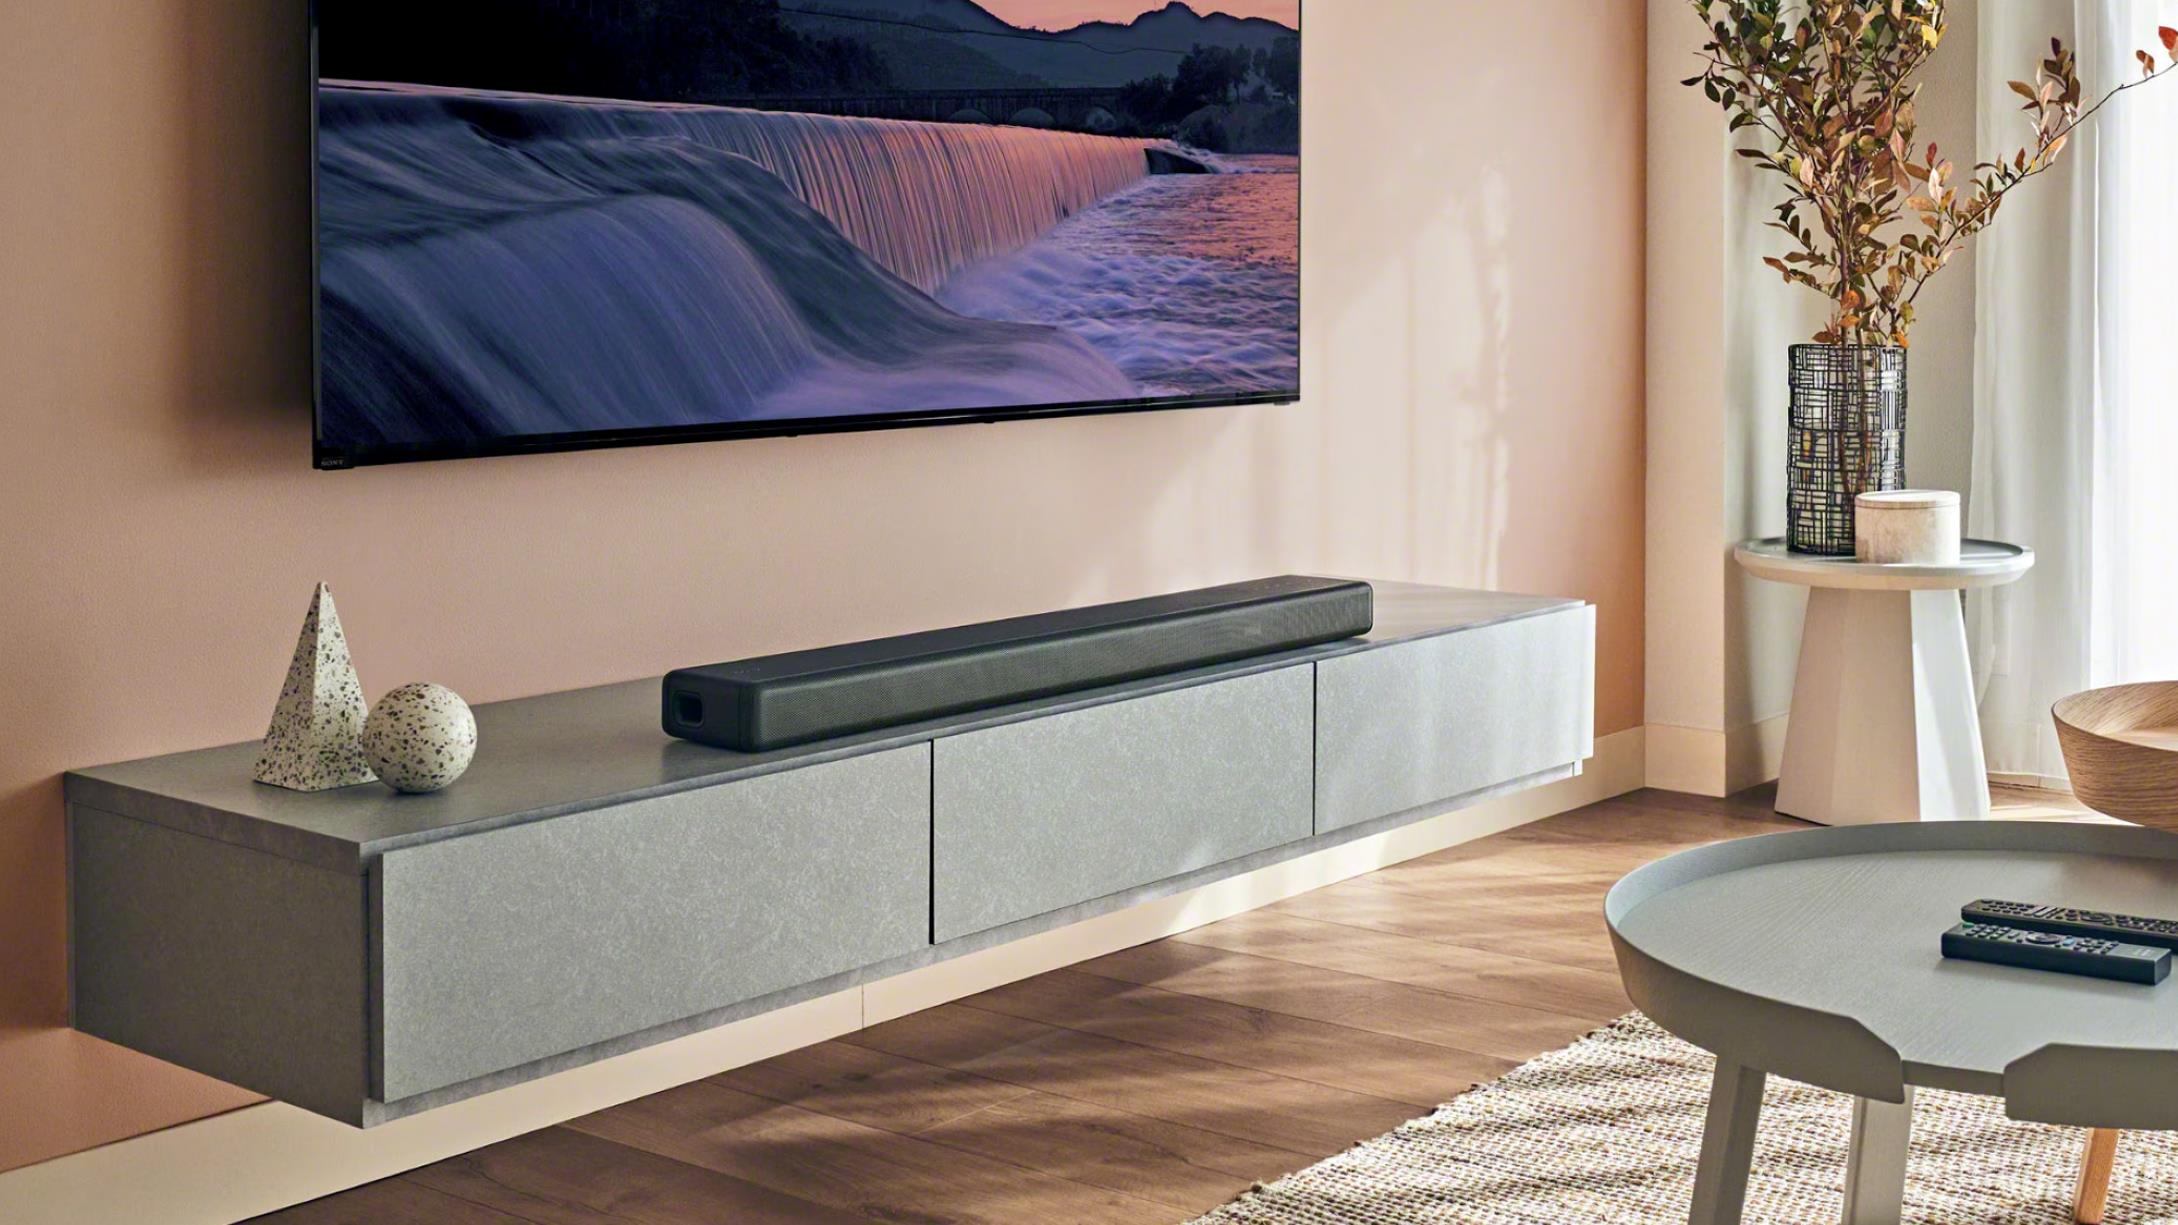
When it comes to enhancing your audio experience while watching movies or listening to music on your Sanyo TV, a soundbar can make a significant difference. A soundbar is a compact speaker system that provides a more immersive and high-quality sound compared to the built-in speakers on your TV.
Connecting your soundbar to your Sanyo TV using a digital audio cable is a simple and effective way to enjoy improved audio performance. The digital audio cable, also known as an optical or TOSLINK cable, is designed to transmit digital audio signals between devices.
In this guide, we will walk you through the step-by-step process of connecting your soundbar to your Sanyo TV using a digital audio cable. Whether you are a tech-savvy individual or a beginner, you will find this guide easy to follow.
Before we begin, it’s essential to ensure that your soundbar and Sanyo TV are compatible and have the necessary ports for the digital audio connection. While most modern soundbars and TVs come with these ports, it’s good to double-check before proceeding.
So, if you’re ready to take your audio experience to the next level, let’s dive into the steps of connecting your soundbar to your Sanyo TV using a digital audio cable!
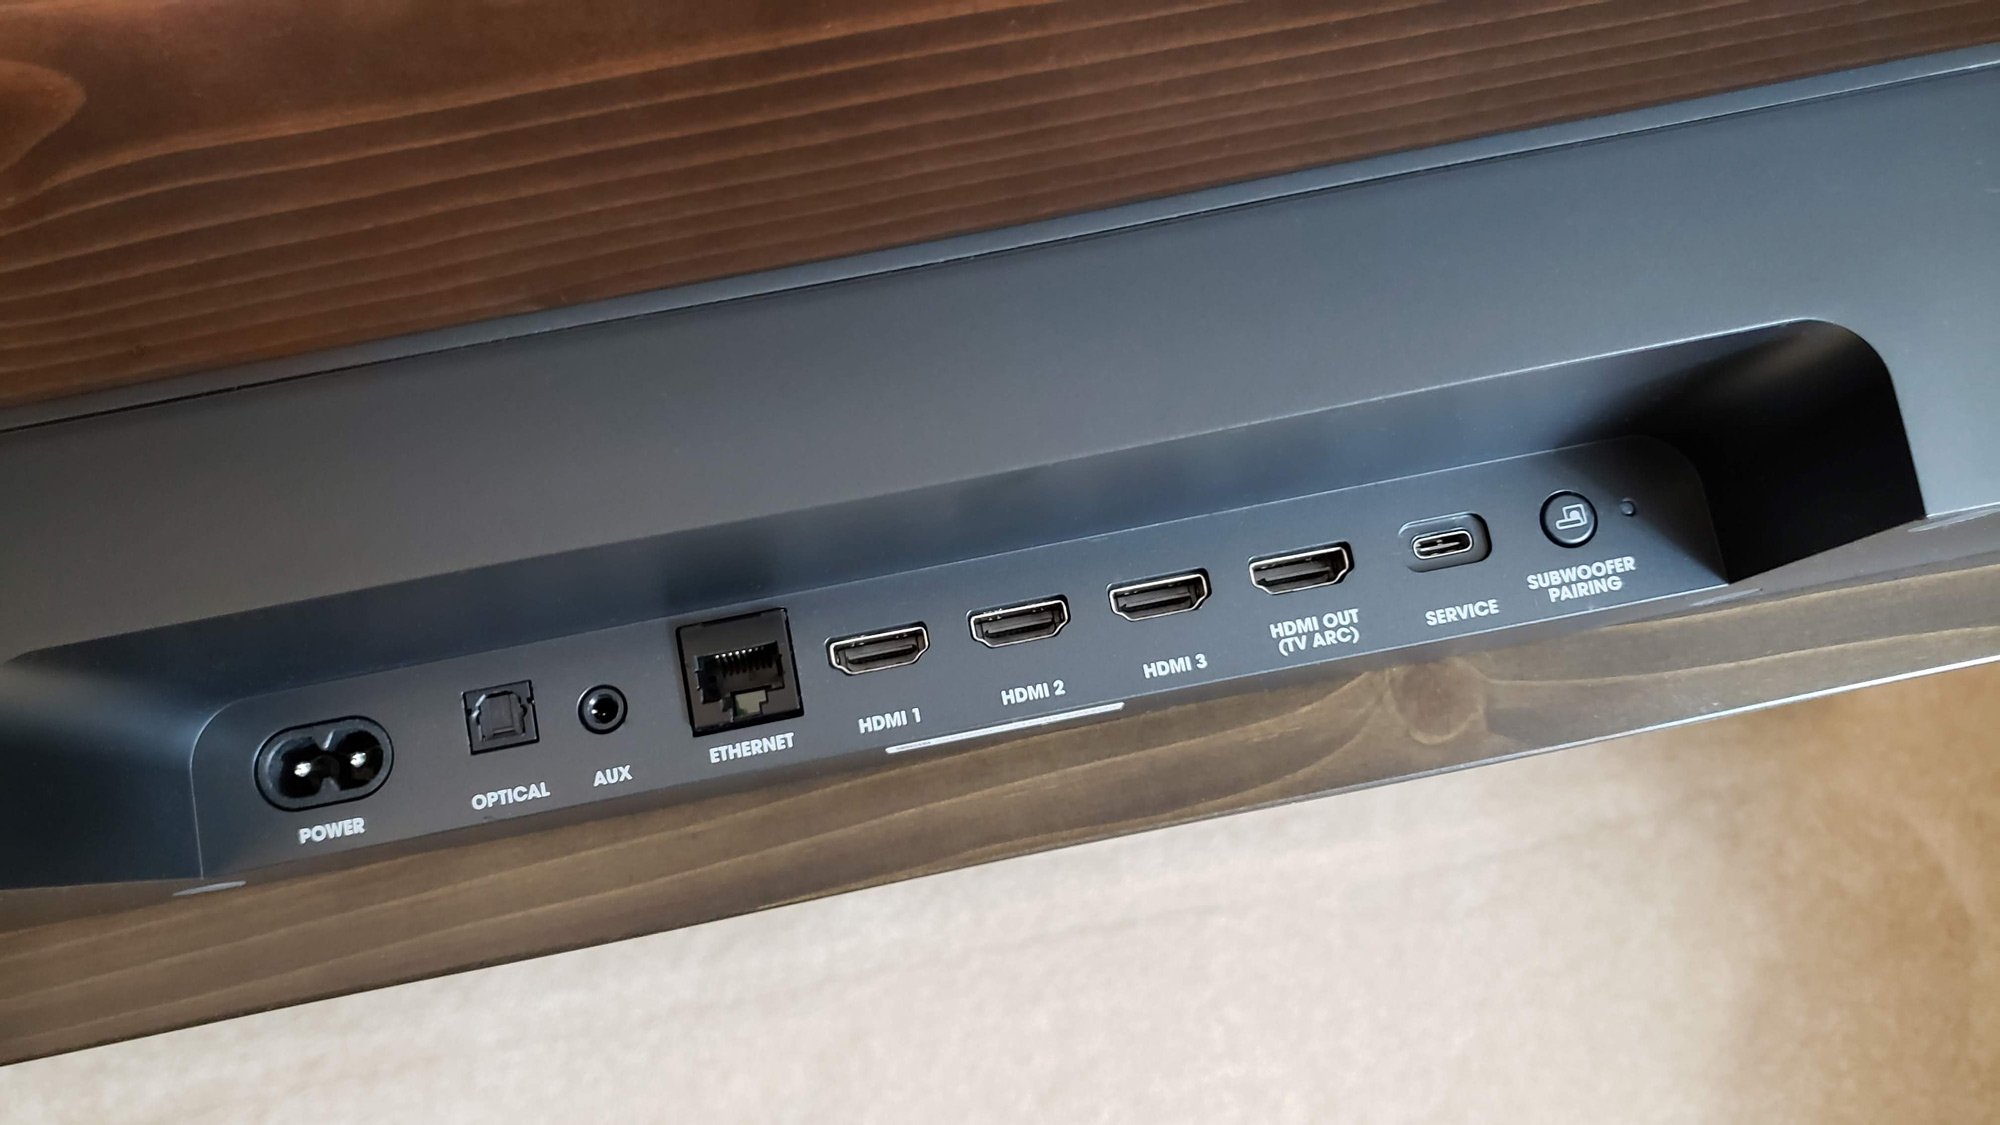
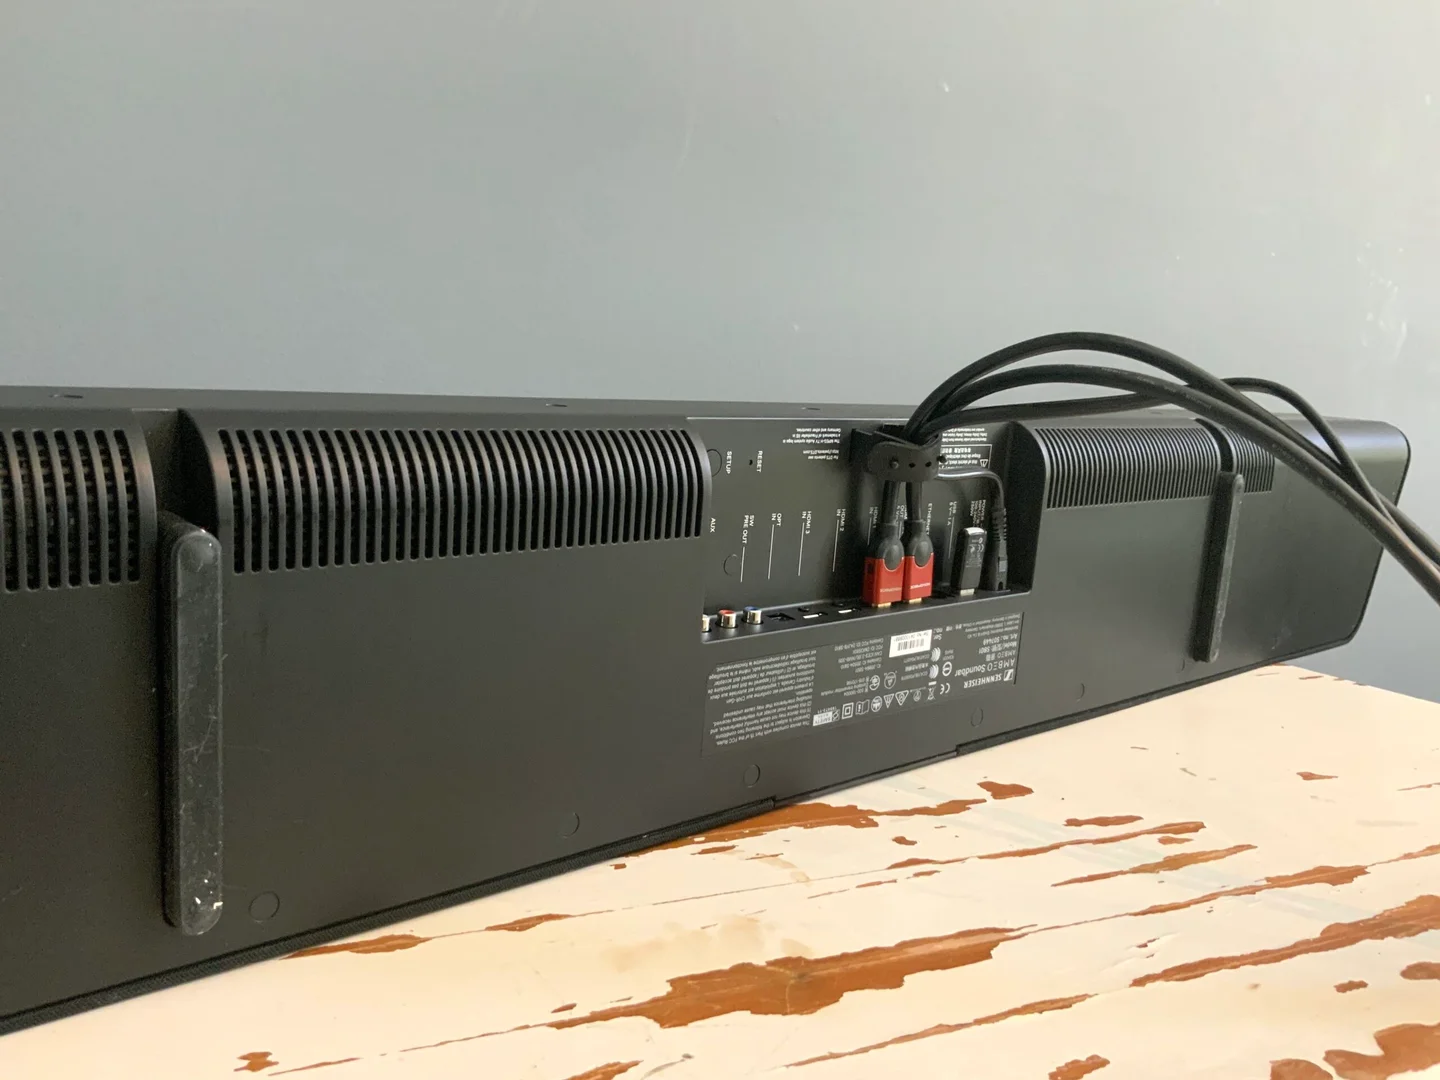
Step 1: Check the available ports on your soundbar
The first step in connecting your soundbar to your Sanyo TV is to identify the available ports on your soundbar. Different soundbars have varying port options, so it’s essential to check your soundbar’s manual or examine the physical connections on the device.
Here are the common audio ports found on soundbars:
- Optical Digital Audio Input: This port uses a TOSLINK cable to transmit digital audio signals. It is the most common and recommended connection for connecting your soundbar to your Sanyo TV.
- HDMI ARC: This port allows for a two-way audio connection between your soundbar and TV using an HDMI cable. It supports high-quality audio formats and can also control the volume of your soundbar through your TV remote.
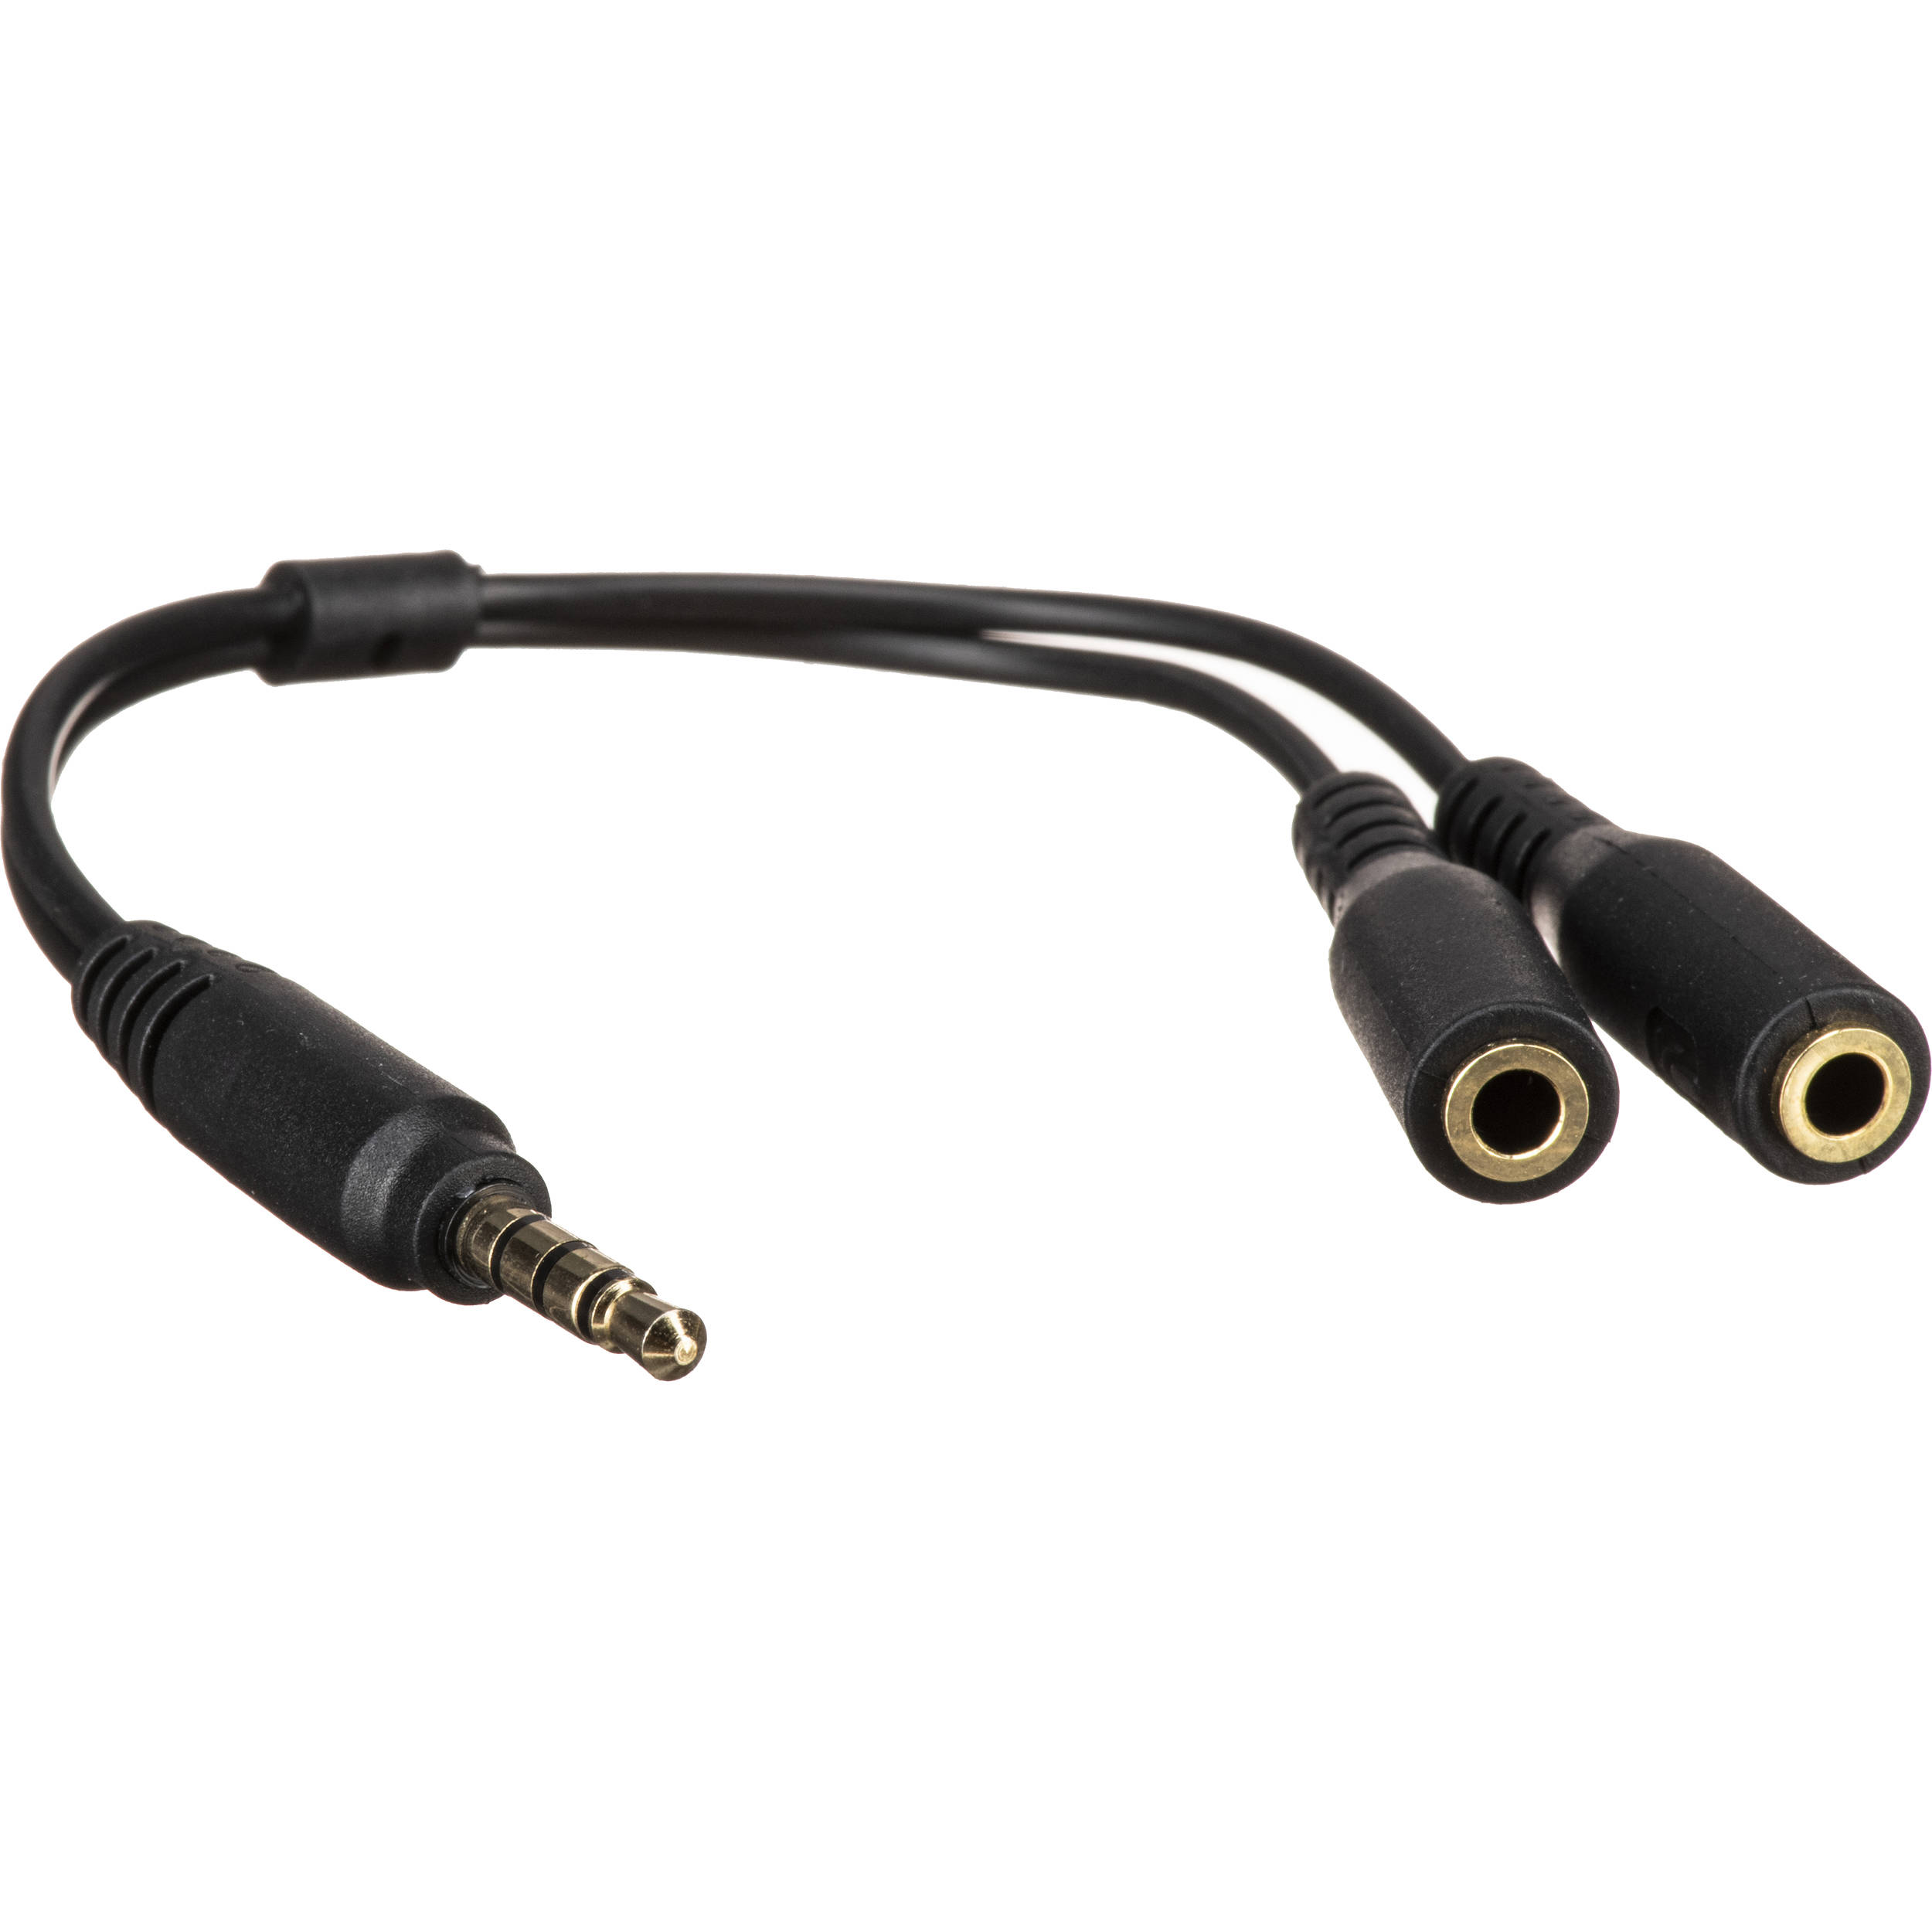
- Auxiliary (Aux) Input: This port uses a 3.5mm audio cable to connect your soundbar to your TV. While it is a less common option, some older TVs might have this port available.
- Bluetooth Connectivity: Some modern soundbars have built-in Bluetooth capability, allowing you to connect your TV wirelessly. However, this method might not provide the same audio quality as a direct digital audio connection.
Once you have identified the available ports on your soundbar, you can proceed to the next step of checking the ports on your Sanyo TV.
Note: If your soundbar has multiple options for audio connections, it’s recommended to use the optical digital audio input for the best audio quality.
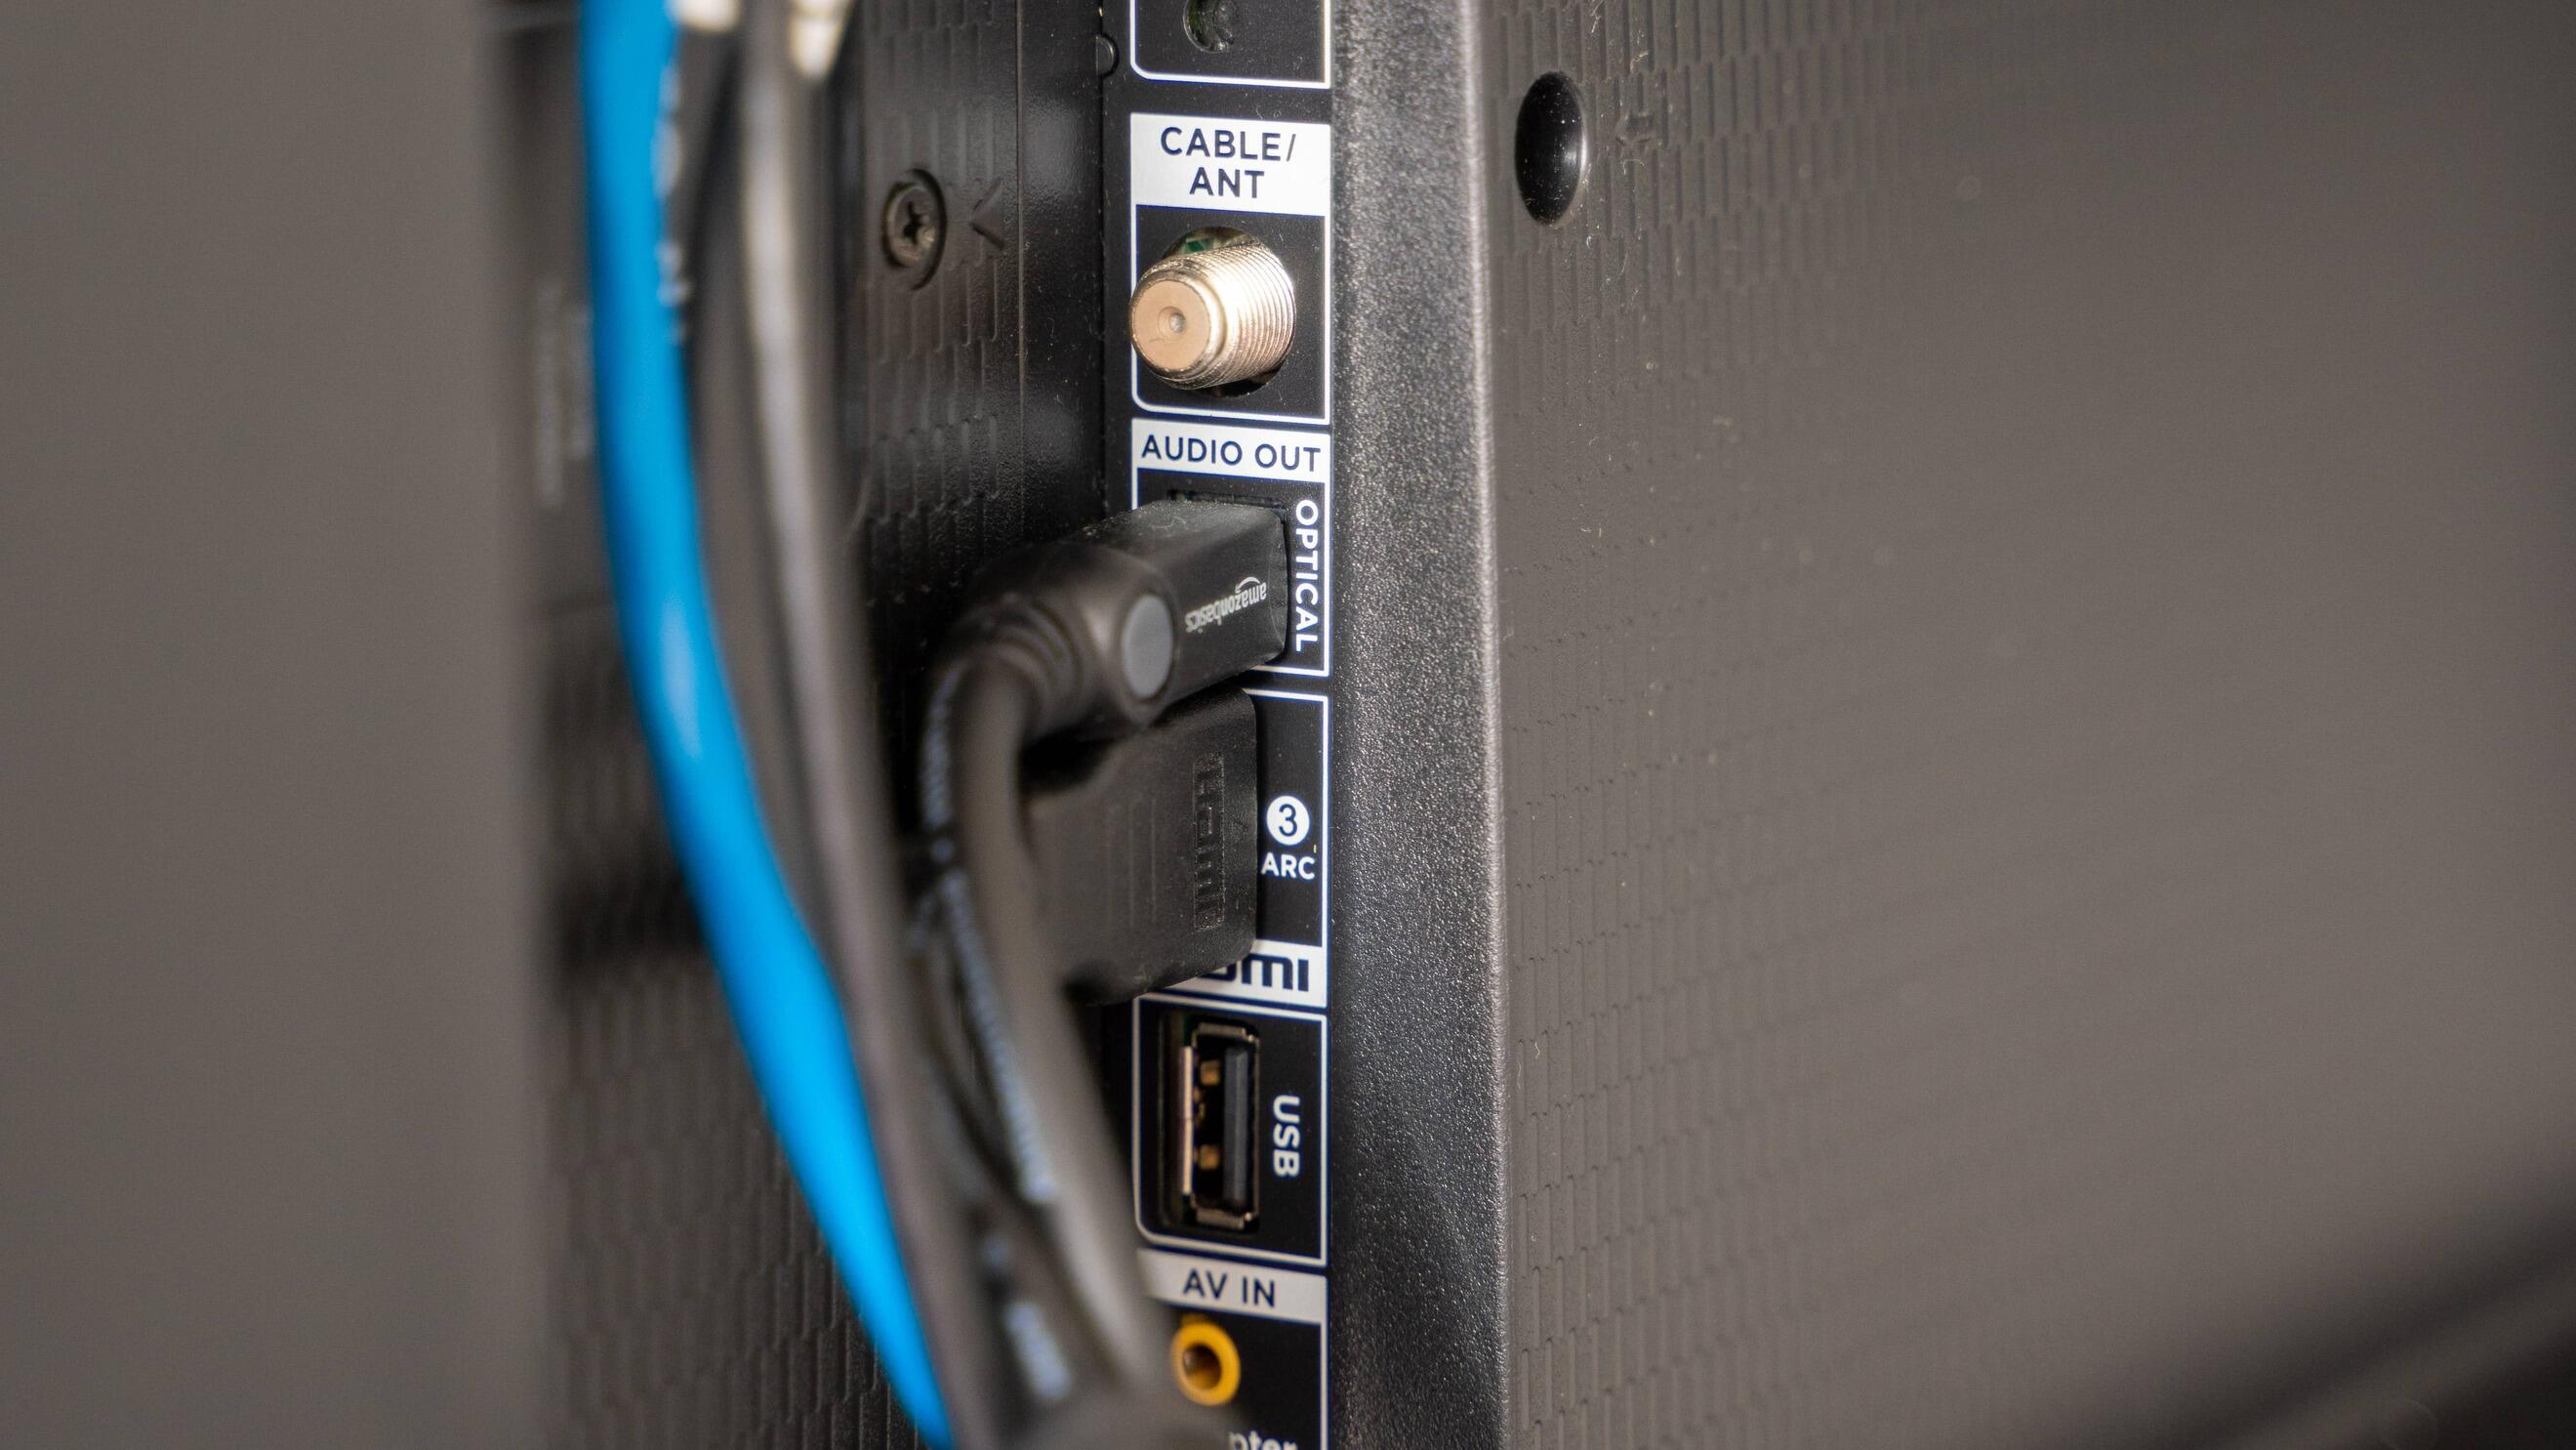
Step 2: Check the available ports on your Sanyo TV
After identifying the available ports on your soundbar, the next step is to check the ports on your Sanyo TV. This will ensure that you have compatible ports for connecting the soundbar.
Here are the common audio ports found on Sanyo TVs:
- Optical Digital Audio Output: Look for a port labeled as “Digital Audio Out” or “Optical Out.” This port is used to transmit digital audio signals from your TV to external devices like soundbars.
- HDMI ARC: If your Sanyo TV has an HDMI port labeled as “ARC” (Audio Return Channel), it allows for a two-way audio connection with compatible devices like soundbars.
- Headphone Jack: Some Sanyo TVs might have a 3.5mm headphone jack that can be used to connect your soundbar. However, this option might not provide the best audio quality compared to the digital audio connection.
- Bluetooth Connectivity: Like soundbars, some Sanyo TVs come with built-in Bluetooth capability, allowing you to connect your soundbar wirelessly.
Once you have identified the available ports on your Sanyo TV, you will have a clear understanding of the connection options and can choose the most suitable one for your soundbar.
Note: If both your soundbar and Sanyo TV have an optical digital audio port and an HDMI ARC port, it is generally recommended to use the HDMI ARC connection for its added benefits, such as volume control through the TV remote.
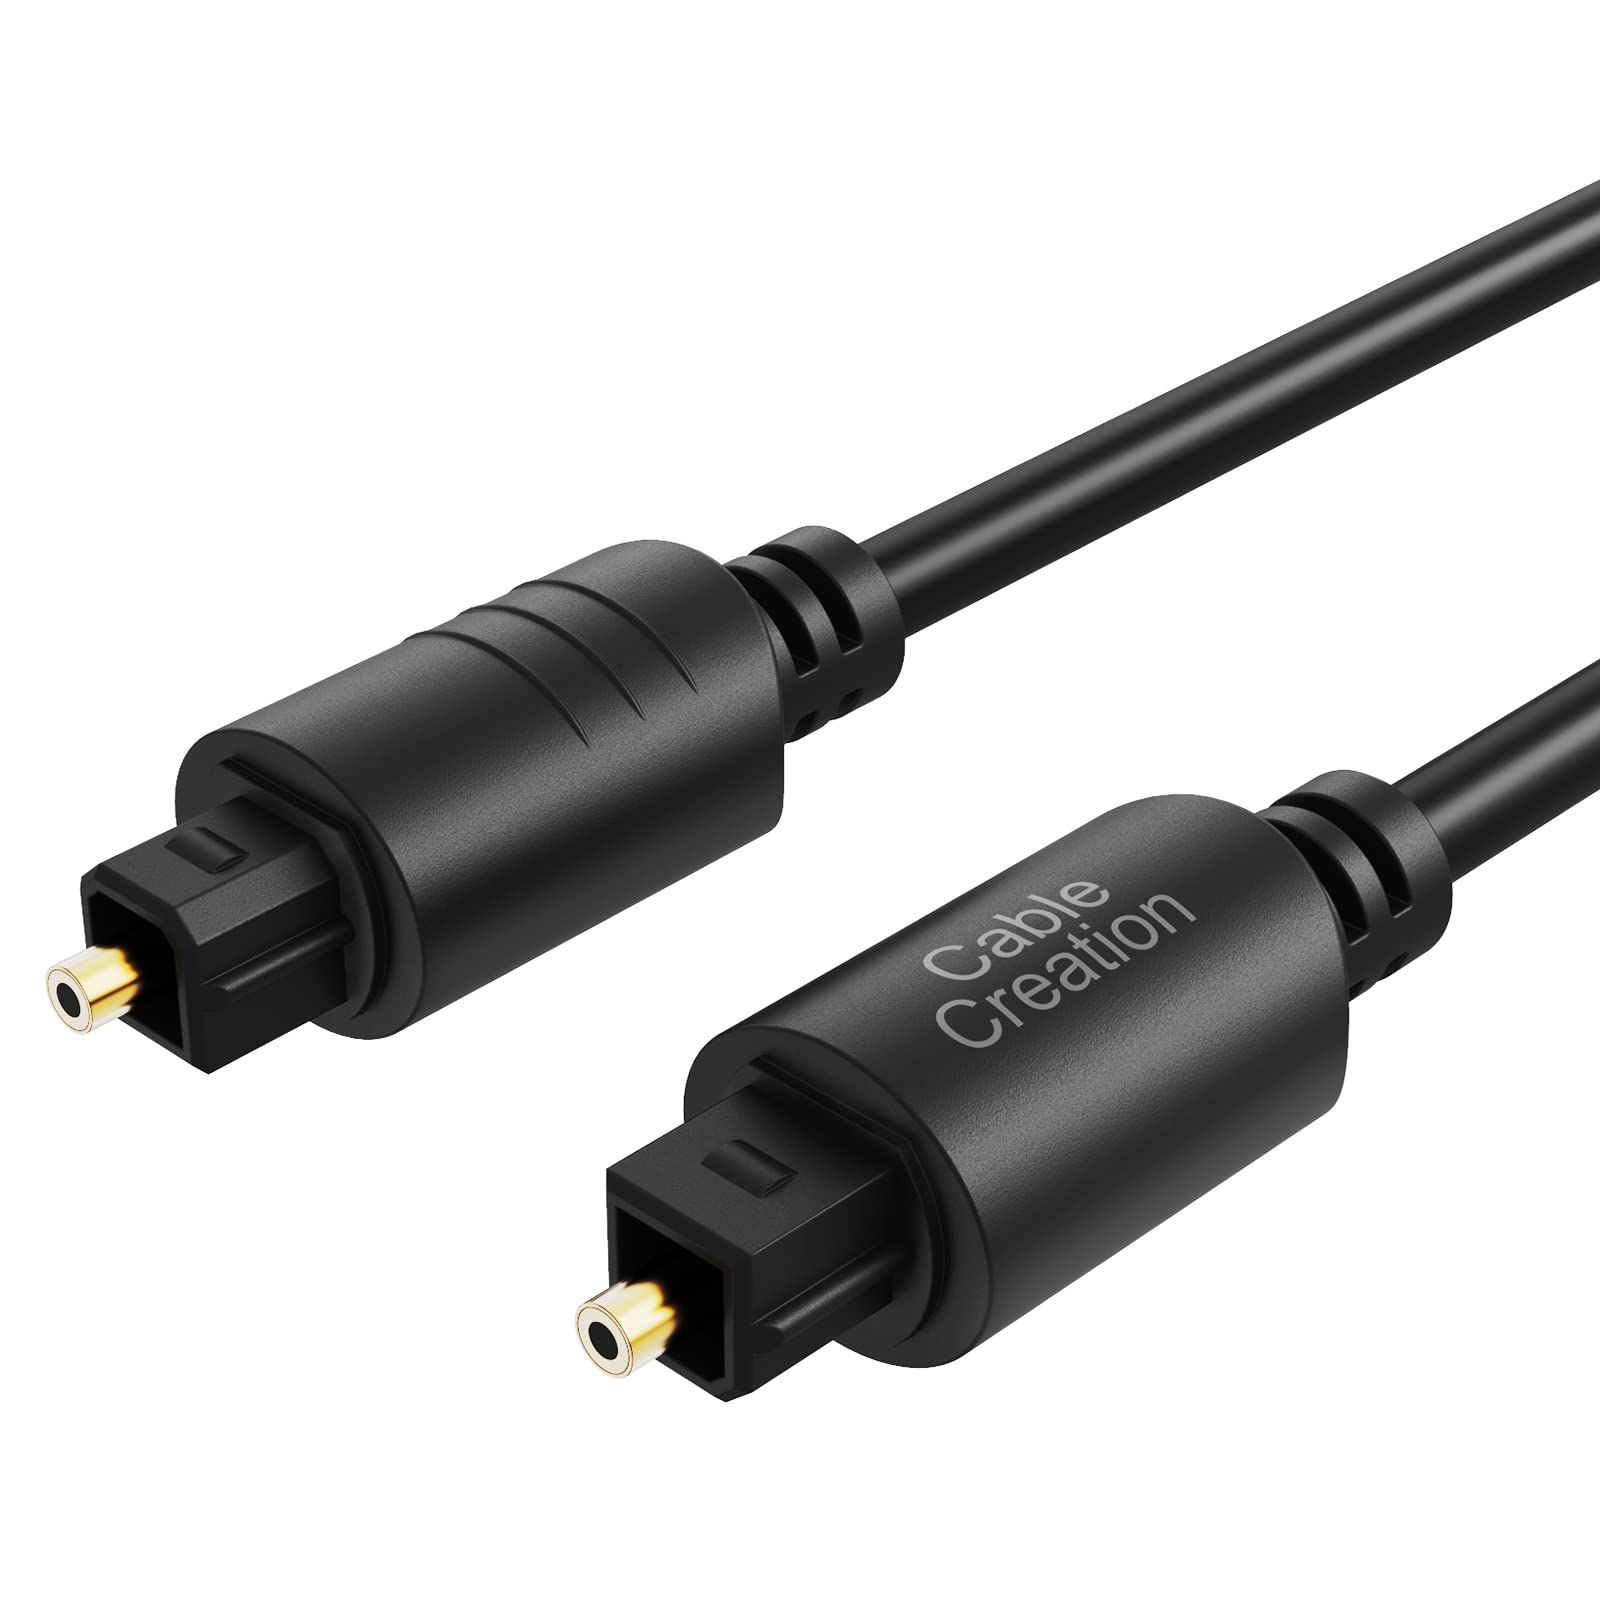
Step 3: Obtain a digital audio cable
Now that you have identified the available ports on both your soundbar and Sanyo TV, it’s time to obtain a digital audio cable for the connection. The digital audio cable, commonly known as an optical or TOSLINK cable, is specifically designed for transmitting digital audio signals.
You can find digital audio cables at most electronic stores or online retailers. When purchasing a cable, make sure it has the necessary connectors to fit into the optical digital audio ports of both your soundbar and Sanyo TV. The connectors typically have a square shape with a small protrusion on one side.
Keep in mind the length of the cable you need. It’s a good idea to measure the distance between your soundbar and Sanyo TV to get the appropriate length. It’s recommended to avoid excessive cable length to minimize signal loss or interference.
While there are different brands and price ranges available, it’s important to prioritize the quality of the cable to ensure a reliable and high-quality audio connection. Look for cables that have good insulation and are made from durable materials for long-term use.
Once you have obtained a digital audio cable, you’re now ready to proceed with connecting your soundbar to your Sanyo TV in the next step.
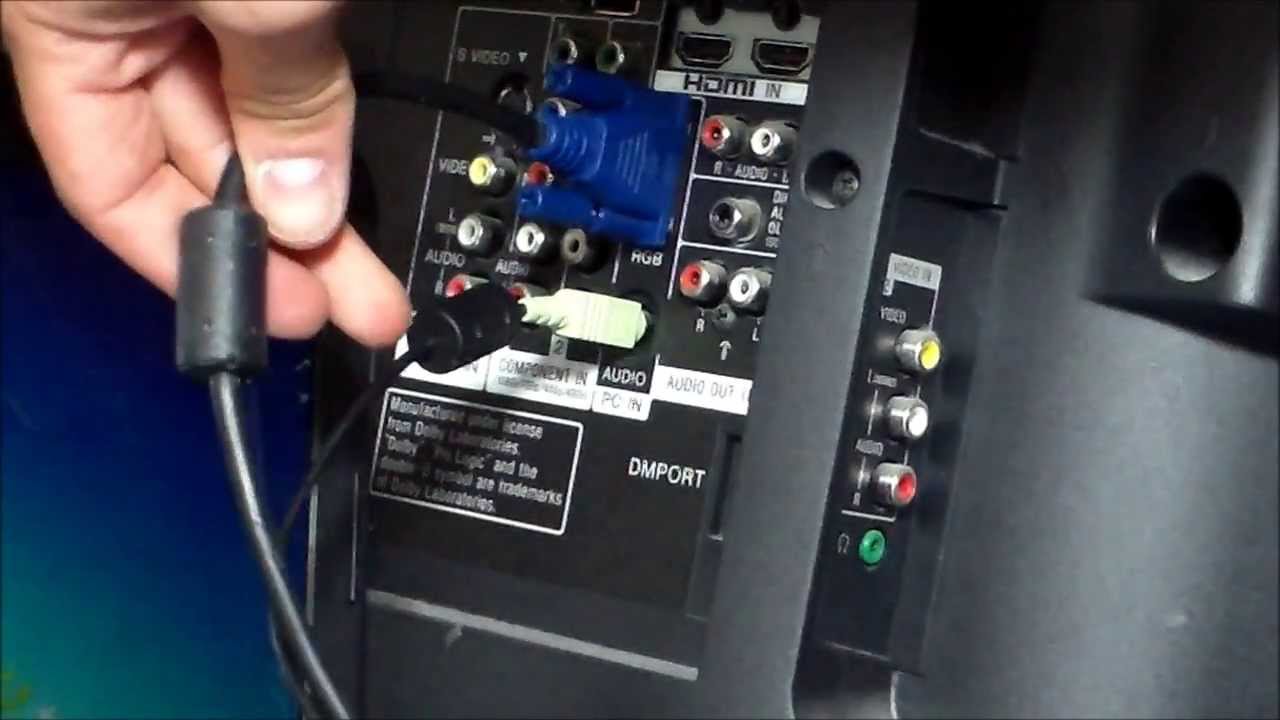
Step 4: Connect the digital audio cable to your soundbar and Sanyo TV
With the digital audio cable in hand, it’s time to connect it to both your soundbar and Sanyo TV to establish the audio connection.
Here’s how to do it:
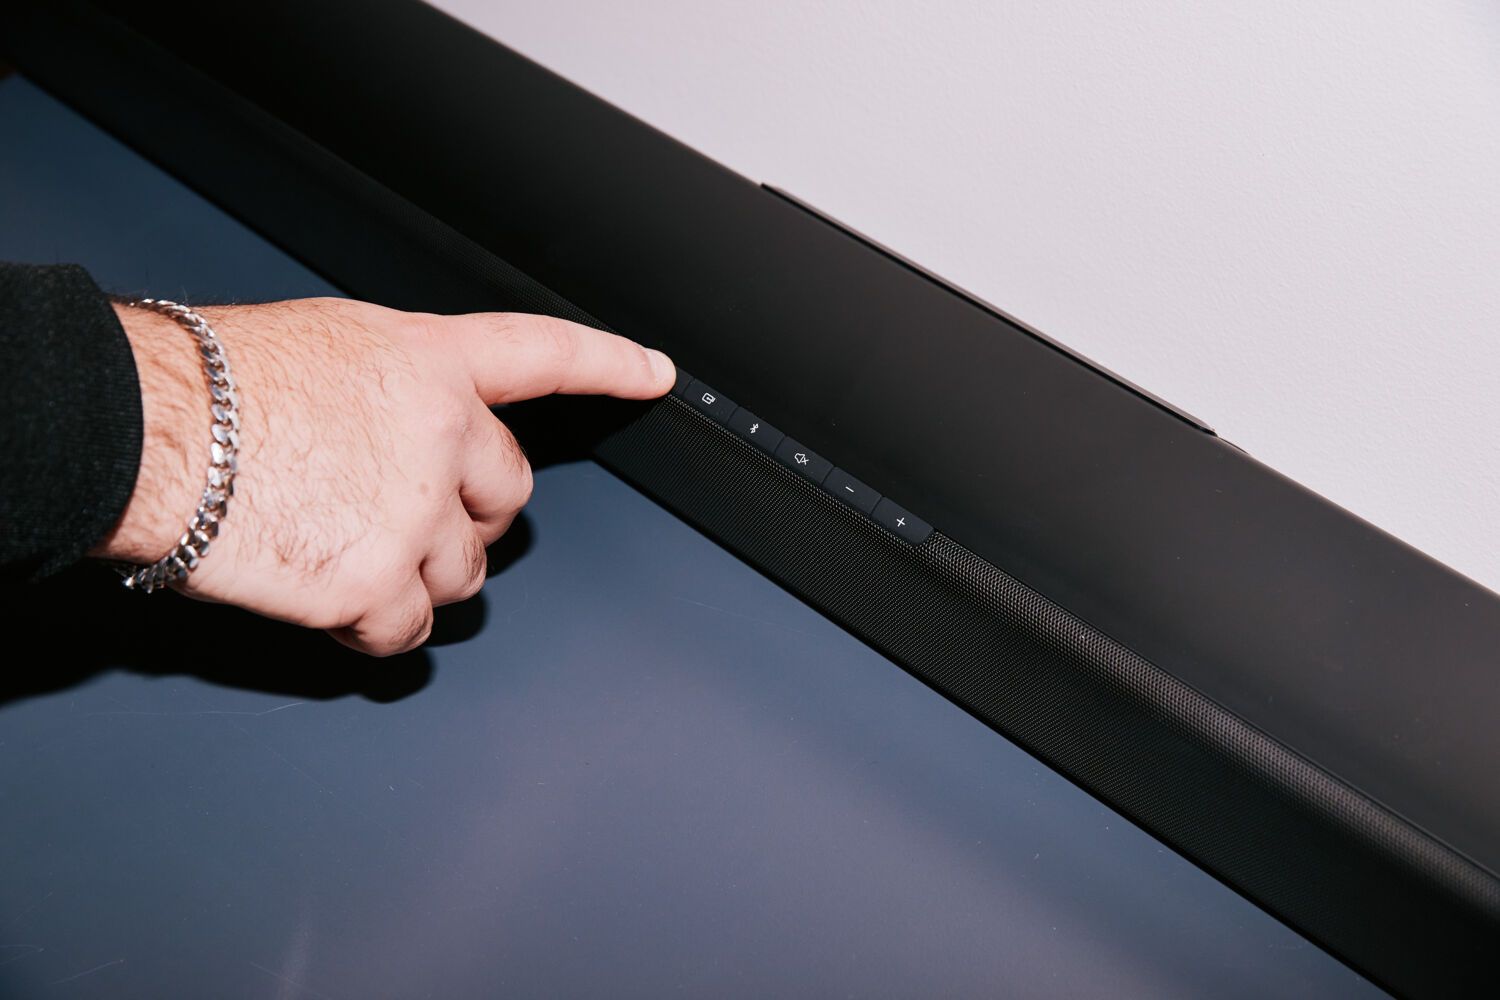
- Locate the optical digital audio input port on your soundbar. It is usually labeled as “Digital In” or “Optical In.” Insert one end of the digital audio cable into this port.
- Next, find the optical digital audio output port on your Sanyo TV. It is typically labeled as “Digital Audio Out” or “Optical Out.” Insert the other end of the digital audio cable into this port.
- Ensure that the cable is securely connected to both the soundbar and TV. You should feel a slight click indicating a proper connection.
Once the digital audio cable is connected, you have completed the physical setup of the audio connection. The digital audio cable ensures a reliable and high-quality transfer of digital audio signals between your soundbar and Sanyo TV.
Keep in mind that if you are using the HDMI ARC connection instead, you will need to connect an HDMI cable to the HDMI ARC port on both your soundbar and Sanyo TV.
Now that the cable is connected, you can proceed to the next step of adjusting the audio settings on your Sanyo TV.
Step 5: Adjust the audio settings on your Sanyo TV
After connecting the digital audio cable between your soundbar and Sanyo TV, it’s important to adjust the audio settings on your TV to ensure the optimal audio output.
Here are the steps to adjust the audio settings on your Sanyo TV:
- Turn on your Sanyo TV and navigate to the settings menu. The exact steps may vary depending on the model of your TV, but typically, you can access the settings by pressing the “Menu” button on your TV remote.
- Select the “Audio” or “Sound” option from the settings menu.
- Within the audio settings, locate the audio output option. Choose the option that corresponds to the optical digital audio output or HDMI ARC, depending on the connection you made.
- Ensure that the selected audio output is set to “Digital” or “Bitstream” mode to enable the transmission of digital audio signals to your soundbar.
- Adjust any additional audio settings, such as volume levels, sound modes, or equalizer settings, based on your personal preferences.
- Save the changes and exit the settings menu.
By adjusting the audio settings on your Sanyo TV, you are optimizing the audio output to work seamlessly with your connected soundbar. This ensures that you get the best audio performance while watching your favorite movies, shows, or listening to music.
Now that you have adjusted the audio settings on your Sanyo TV, you’re almost ready to enjoy the enhanced audio experience. Let’s move on to the final step of testing the soundbar connection.
Step 6: Test the soundbar connection
Once you have completed the previous steps of connecting the digital audio cable and adjusting the audio settings on your Sanyo TV, it’s time to test the soundbar connection to ensure everything is working correctly.
Here’s how you can test the soundbar connection:
- Turn on your Sanyo TV and soundbar.
- Select a source on your Sanyo TV that is connected to an audio output, such as a cable box or DVD player.
- Play a audio or video content on your selected source.
- Listen for the audio coming from the soundbar. You should hear clear and enhanced sound compared to the built-in speakers of your Sanyo TV.
- Adjust the volume on both your TV and soundbar to achieve the desired audio level.
- Verify that the soundbar is responding to volume adjustments made from your TV remote.
- If the soundbar connection is working properly, congratulations! You can now enjoy a heightened audio experience while watching your favorite content.
- In case you encounter any issues, double-check the cable connections, audio settings, and ensure that the soundbar and TV are both powered on.
If you are still experiencing difficulties, refer to the user manual of your soundbar and Sanyo TV for troubleshooting tips or consult the manufacturer’s customer support for further assistance.
Remember to periodically check the connections and settings to ensure that the soundbar remains connected and functioning optimally.
Now that you have successfully tested the soundbar connection, you can sit back, relax, and enjoy an immersive audio experience while watching your favorite movies, TV shows, or listening to music on your Sanyo TV.
Conclusion
Connecting your soundbar to your Sanyo TV using a digital audio cable is a straightforward process that can greatly enhance your audio experience. By following the steps outlined in this guide, you can enjoy clear and immersive sound while watching your favorite movies, shows, or listening to music.
Remember to check the available ports on both your soundbar and Sanyo TV, and obtain a digital audio cable that is compatible with these ports. The connection can be made through the optical digital audio input/output or HDMI ARC ports, depending on the capabilities of your devices.
Adjusting the audio settings on your Sanyo TV is crucial to ensure that the audio output is optimized for your soundbar. By selecting the appropriate audio output and making any necessary adjustments, you can achieve the best sound quality and tailor it to your preferences.
Once the connection and audio settings have been established, it’s important to test the soundbar connection by playing audio or video content. This allows you to verify that the soundbar is receiving the audio signals and producing the desired sound output.
If you encounter any issues during the connection process or testing, refer to the user manuals of your soundbar and Sanyo TV or contact the manufacturer’s customer support for assistance.
Now that you have successfully connected your soundbar to your Sanyo TV, sit back, relax, and enjoy an enhanced audio experience that will bring your entertainment to life.
Enjoy the immersive sound and get ready to embark on a new level of audio enjoyment with your Sanyo TV and soundbar combination!