Home>Devices & Equipment>Earbuds>How To Connect Beats Earbuds To Macbook

Earbuds
How To Connect Beats Earbuds To Macbook
Published: November 15, 2023
Learn how to connect your Beats earbuds to your MacBook and enjoy high-quality audio on the go. Follow our step-by-step guide to simplify the process and enhance your listening experience.
(Many of the links in this article redirect to a specific reviewed product. Your purchase of these products through affiliate links helps to generate commission for AudioLover.com, at no extra cost. Learn more)
Table of Contents
- Introduction
- Step 1: Ensure Bluetooth is enabled on your MacBook
- Step 2: Put your Beats earbuds in pairing mode
- Step 3: Open the Bluetooth settings on your MacBook
- Step 4: Locate and select your Beats earbuds from the list of available devices
- Step 5: Complete the pairing process
- Step 6: Test the connection and adjust audio settings
- Conclusion
Introduction
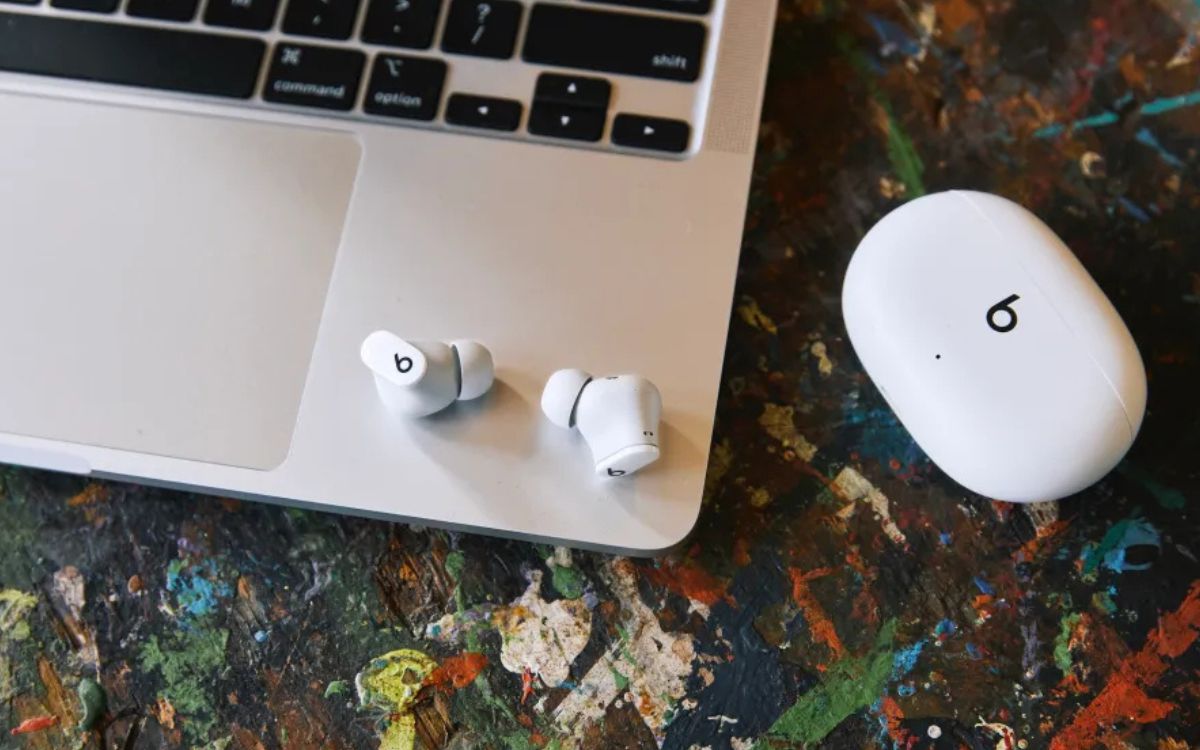
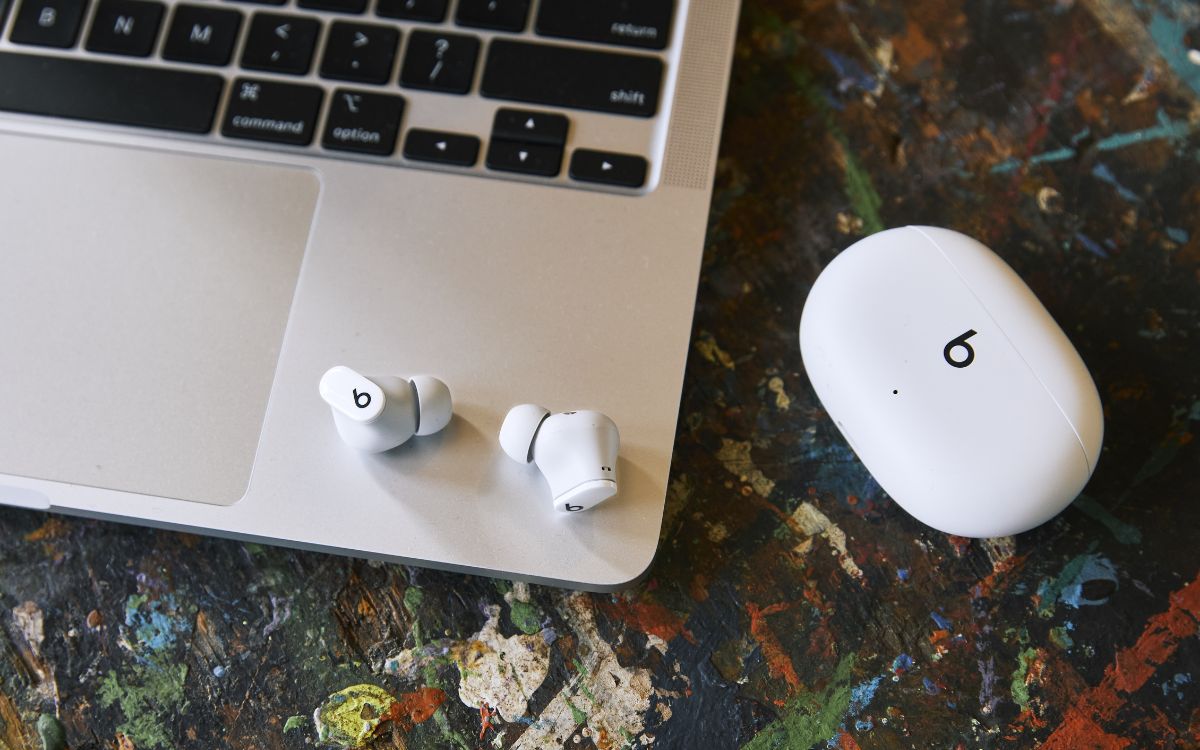
Beats earbuds are a popular choice among music enthusiasts and professionals alike, thanks to their impressive sound quality and sleek design. If you own a MacBook and want to enjoy the immersive audio experience offered by Beats earbuds, you’ll be pleased to know that connecting them to your device is a fairly straightforward process.
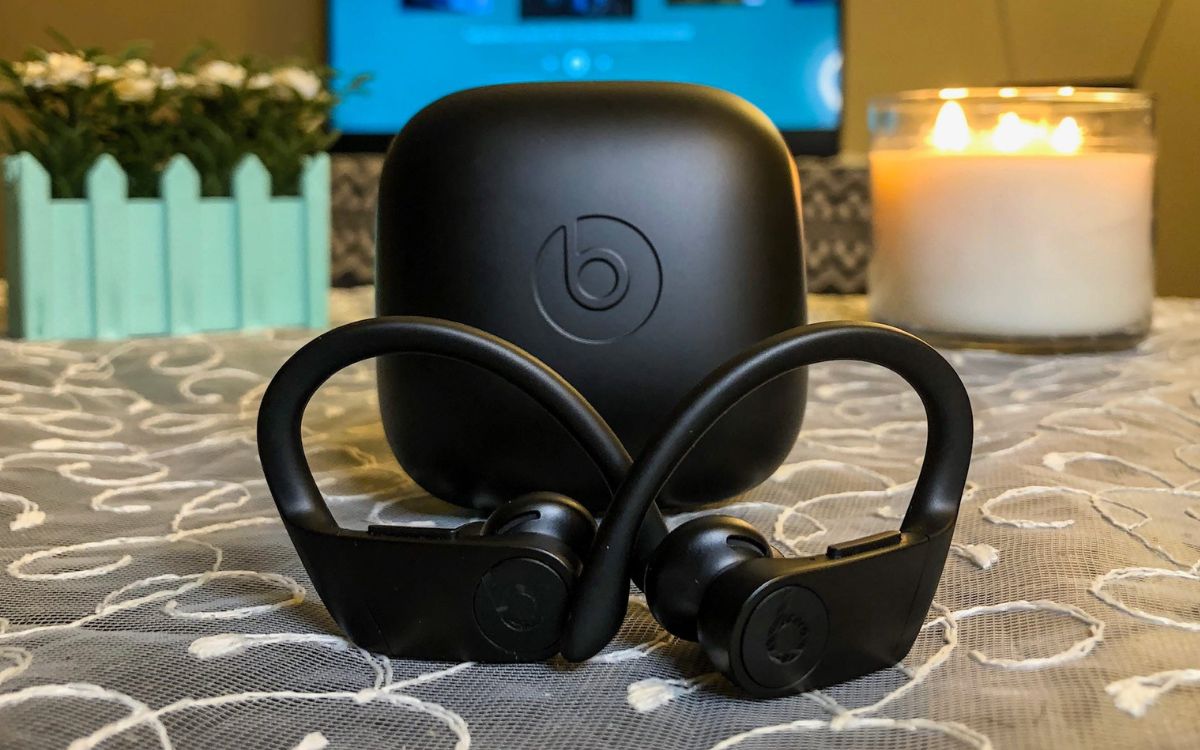
By utilizing the Bluetooth functionality on your MacBook, you can easily establish a wireless connection with your Beats earbuds, allowing you to listen to your favorite music, podcasts, or videos without the hassle of wires. Whether you’re using Beats X, Powerbeats Pro, or any other Beats earbuds model, the steps to connect them to your MacBook remain largely the same.
In this article, we will guide you through the step-by-step process of connecting your Beats earbuds to your MacBook, ensuring that you can enjoy the rich audio quality they provide while working, studying, or simply relaxing.
So, grab your MacBook, put on your favorite Beats earbuds, and let’s dive into the simple and convenient process of connecting them to your device.
Step 1: Ensure Bluetooth is enabled on your MacBook
Before you start the pairing process, it’s essential to ensure that the Bluetooth feature on your MacBook is turned on. Bluetooth allows your device to connect wirelessly with other compatible devices, such as your Beats earbuds.
To enable Bluetooth on your MacBook, follow these simple steps:
- Click on the Apple menu located on the top left corner of your screen.
- From the dropdown menu, select “System Preferences.”
- In the System Preferences window, click on the “Bluetooth” icon.
- A new window will open, displaying the available Bluetooth devices and their status. Make sure the “Bluetooth” checkbox is ticked, indicating that Bluetooth is enabled.
Once you’ve ensured that Bluetooth is enabled, you’re ready to proceed to the next step and put your Beats earbuds in pairing mode.
Step 2: Put your Beats earbuds in pairing mode
In order for your MacBook to recognize and establish a connection with your Beats earbuds, you’ll need to put your earbuds into pairing mode. This mode allows your earbuds to be discoverable by other devices, including your MacBook. The process of putting your Beats earbuds in pairing mode may vary depending on the model you own, but the general steps are as follows:
- Make sure your Beats earbuds are charged and turned on.
- If your Beats earbuds have an on/off switch, turn them on. If not, they may automatically power on when you remove them from the charging case or when you press a button on the earbuds.
- Check the user manual or the Beats website to confirm the specific method to enable pairing mode for your earbuds.
- Typically, to activate pairing mode, you may need to press and hold a specific button or combination of buttons on your earbuds. This button is usually located on the earbud itself or on the charging case.
- Look for an LED indicator on your Beats earbuds that will start flashing or changing color to indicate that they are in pairing mode.
Once your Beats earbuds are in pairing mode and ready to be discovered, you can proceed to the next step of connecting them to your MacBook.
Step 3: Open the Bluetooth settings on your MacBook
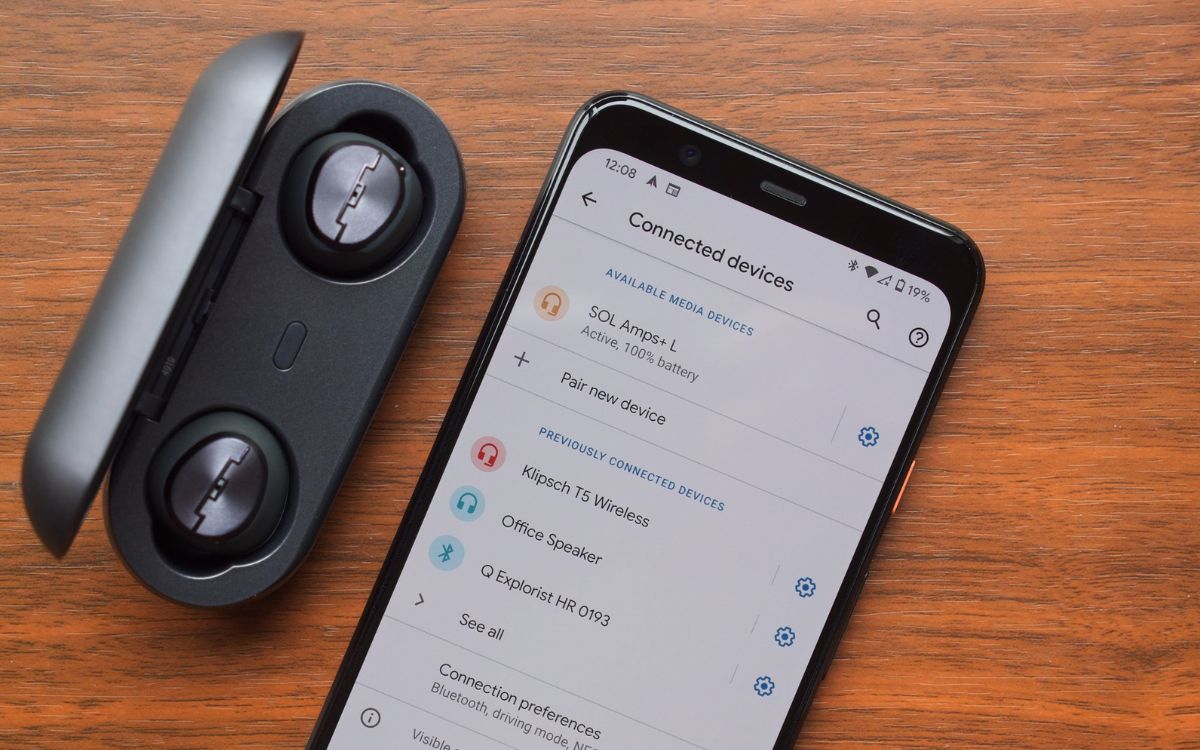
Now that your Beats earbuds are in pairing mode, it’s time to open the Bluetooth settings on your MacBook. By accessing the Bluetooth settings, you can search for available devices, including your Beats earbuds, and initiate the pairing process. Here’s how to open the Bluetooth settings:
- Click on the Bluetooth icon in the menu bar at the top-right corner of your MacBook screen. If you don’t see the Bluetooth icon in the menu bar, you can access the settings through the System Preferences menu.
- If you choose to access the settings through the System Preferences menu, click on the Apple menu on the top-left corner of your screen and select “System Preferences” from the drop-down menu. Within the System Preferences window, click on the “Bluetooth” icon.
- Once you have opened the Bluetooth settings, you will see a list of available devices in the vicinity that can be paired with your MacBook.
It’s important to note that the availability of devices may take a moment to populate on the screen, so be patient if you don’t see your Beats earbuds listed immediately. If you still can’t see your earbuds after waiting for a while, refer to the troubleshooting guide provided by Beats or consult the user manual for your specific earbuds model.
With the Bluetooth settings open and the list of available devices visible, you’re now ready to move on to the next step and locate your Beats earbuds in the list of devices.
Step 4: Locate and select your Beats earbuds from the list of available devices
Once you have opened the Bluetooth settings on your MacBook, it’s time to locate and select your Beats earbuds from the list of available devices. Follow these steps to find and pair your earbuds:
- In the Bluetooth settings window, you will see a list of nearby devices that are discoverable.
- Look for the name of your Beats earbuds in the list. It might appear as “Powerbeats Pro,” “Beats X,” or a similar name depending on the specific model you own.
- When you locate your earbuds in the list, click on them to select them.
It’s important to ensure that you are selecting the correct device to pair. Double-check the name of your earbuds and compare it with the information provided in the user manual or on the Beats website to confirm the correct selection.
If you don’t see your Beats earbuds listed initially, try the following troubleshooting steps:
- Make sure your earbuds are in pairing mode and close to your MacBook.
- Refresh the Bluetooth settings by turning Bluetooth off and then turning it back on again.
- Restart your MacBook to resolve any potential connection issues.
Once you have successfully located and selected your Beats earbuds, you’re ready to proceed to the next step and complete the pairing process.
Step 5: Complete the pairing process
After you have located and selected your Beats earbuds in the Bluetooth settings on your MacBook, it’s time to complete the pairing process. Pairing involves establishing a secure connection between your MacBook and your Beats earbuds, allowing them to communicate wirelessly. Follow these steps to complete the pairing process:
- Once you have selected your Beats earbuds from the list of available devices, your MacBook will begin the pairing process.
- During the pairing process, your MacBook will prompt you to confirm the connection. Look for a pop-up window or a notification asking for the pairing confirmation.
- Click on the “Pair” or “Connect” button to initiate the connection between your MacBook and your Beats earbuds.
- Wait for a few moments as your MacBook establishes the connection with your earbuds. You may see a spinning indicator or a progress bar on the screen.
- Once the pairing is complete, you will receive a notification or see a “Connected” status next to your Beats earbuds in the Bluetooth settings.
After successfully completing the pairing process, your MacBook is now connected to your Beats earbuds, and you can enjoy your favorite audio wirelessly. It’s important to note that once the initial pairing is established, your MacBook should automatically connect to your Beats earbuds whenever they are in range and Bluetooth is enabled.
If you encounter any issues during the pairing process, make sure that your earbuds are properly charged, in pairing mode, and in close proximity to your MacBook. You can also refer to the troubleshooting guide provided by Beats or contact their support team for further assistance.
Now that the pairing process is complete, it’s time to test the connection and adjust the audio settings to optimize your listening experience.
Step 6: Test the connection and adjust audio settings
After successfully pairing your Beats earbuds with your MacBook, it’s important to test the connection and adjust the audio settings to ensure optimal performance. Here’s how you can test the connection and make necessary adjustments:
- Play a audio or video file on your MacBook that contains sound.
- Put on your Beats earbuds and ensure they are properly fitted in your ears.
- Listen to the audio coming through your earbuds and make sure it is clear and balanced. If you notice any distortion, low volume, or any other issue, continue to the next step.
- Adjust the volume on your MacBook by using the volume keys on the keyboard or by clicking on the volume icon in the menu bar. Ensure that the volume is set to an appropriate level.
- If you’re still experiencing audio issues, you may need to adjust the audio settings specific to your MacBook. To access these settings, follow the steps below:
- Click on the Apple menu located on the top left corner of your screen.
- Select “System Preferences” from the drop-down menu.
- Click on the “Sound” icon in the System Preferences window.
- Within the Sound settings, you can adjust various audio-related options, such as input/output volume, balance, and ambient noise reduction. Experiment with different settings to find the ideal configuration for your Beats earbuds.
By testing the connection and adjusting the audio settings, you ensure that you’re experiencing the best possible sound quality while using your Beats earbuds with your MacBook. Don’t hesitate to experiment with different settings until you find the perfect combination.
Congratulations! You have successfully connected your Beats earbuds to your MacBook and tested the connection. Now, you can enjoy your favorite music, podcasts, or videos with the freedom and convenience of wireless audio.
Conclusion
Connecting your Beats earbuds to your MacBook is a simple and convenient process that allows you to enjoy wireless audio while working, studying, or simply relaxing. By following the steps outlined in this article, you can establish a reliable connection between your MacBook and your Beats earbuds, unlocking the full potential of their immersive sound quality.
Remember, the key steps involved in connecting Beats earbuds to a MacBook include ensuring Bluetooth is enabled on your MacBook, putting your earbuds in pairing mode, opening the Bluetooth settings on your MacBook, locating and selecting your earbuds from the list of available devices, completing the pairing process, and finally, testing the connection and adjusting the audio settings.
Once the initial pairing is complete, your MacBook should automatically connect to your Beats earbuds whenever they are within range and Bluetooth is enabled. This allows you to seamlessly switch between devices and enjoy your audio without the hassle of wires.
It’s important to note that the specific steps and features may vary slightly depending on the model of your Beats earbuds and MacBook. Therefore, it’s always a good idea to consult the user manual or the Beats website for detailed instructions tailored to your specific devices.
Now that you know how to connect your Beats earbuds to your MacBook, it’s time to experience the freedom of wireless audio and enjoy your favorite music, podcasts, and videos with enhanced sound quality. So, grab your MacBook, put on your Beats earbuds, and immerse yourself in an extraordinary audio experience.

